Peppermint Chocolate Cake Pops Delicious Holiday Treat
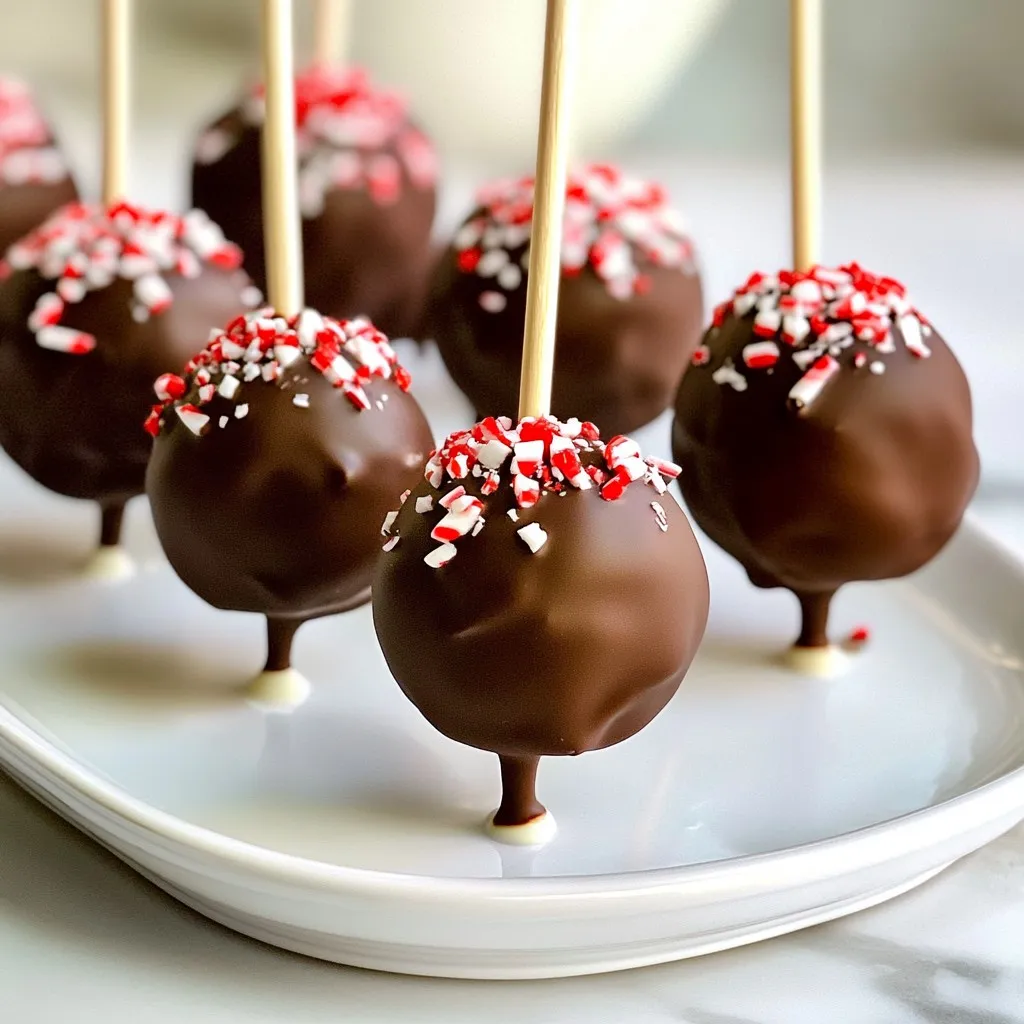
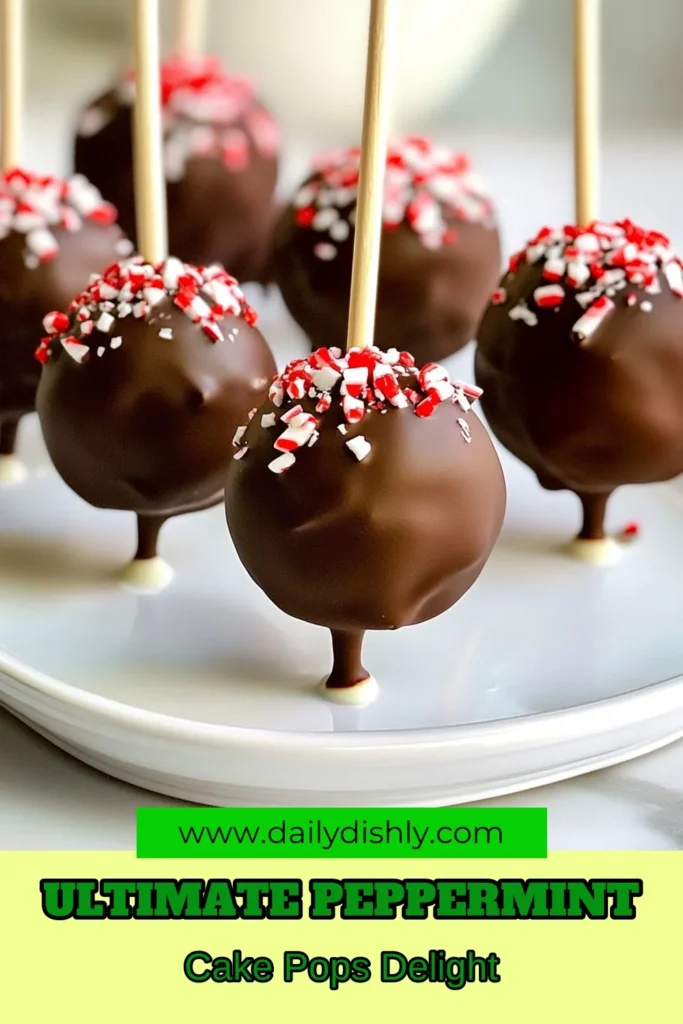
Looking for a festive treat that will wow your friends and family? Peppermint Chocolate Cake Pops combine the rich flavor of chocolate cake with a refreshing peppermint twist! In this article, I’ll share easy steps to make these delicious pops, perfect for any holiday gathering. From gathering your ingredients to pro tips on storage, you’ll find everything you need to create a sweet sensation this season. Let’s dive in!
Why I Love This Recipe
- Festive Flavor Combination: The blend of rich chocolate and refreshing peppermint creates a delightful treat that perfectly embodies the holiday spirit.
- Easy to Make: This recipe is straightforward and fun, making it a perfect activity for families or gatherings during the festive season.
- Customizable: You can easily adjust the toppings or even the cake flavor to suit your taste, making each batch unique and special.
- Perfect for Gifting: These cake pops are not only delicious but also beautifully presented, making them a wonderful gift for friends and family.
Ingredients
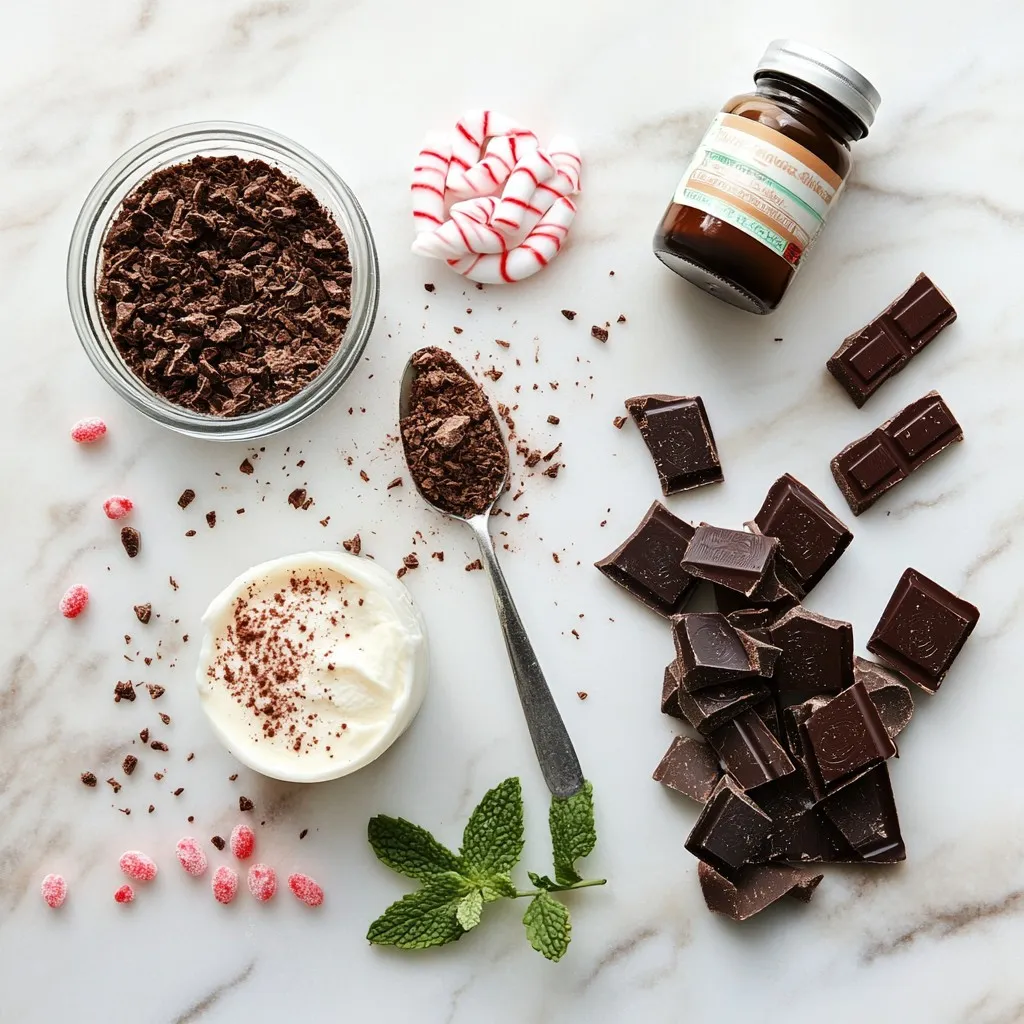
Key Ingredients List
– 1 cup chocolate cake crumbs (from 1 baked chocolate cake)
– 1/2 cup cream cheese, softened
– 1/4 cup peppermint extract
– 1 cup dark chocolate melting wafers
– 1 tablespoon coconut oil
– 1/2 cup crushed peppermint candies or candy canes
The key ingredients for peppermint chocolate cake pops make them rich and festive. Chocolate cake crumbs bring moisture and a deep flavor. Cream cheese adds a creamy texture and binds the mixture well. Peppermint extract gives the pops their refreshing taste. Dark chocolate melting wafers coat the pops, creating a smooth outer layer. Coconut oil helps the chocolate melt evenly and gives a nice shine. Lastly, crushed peppermint candies add a crunchy topping and a holiday feel.
Recommended Ingredients for Best Flavor
– Use a rich chocolate cake for deeper flavor, like a devil’s food cake.
– Peppermint oil is stronger than extract. If you prefer a strong mint flavor, consider using it.
Choosing the right cake matters. A rich chocolate cake gives the best taste. Peppermint oil works well too. Just remember, it is very strong, so use less than you would with extract.
Alternative Ingredients
– For a cream cheese substitute, use Greek yogurt or mascarpone.
– For gluten-free cake pops, use a gluten-free chocolate cake mix.
If you need alternatives, Greek yogurt can replace cream cheese. It still holds the pops well and adds creaminess. For gluten-free options, choose a gluten-free cake mix. This way, everyone can enjoy this treat!
Step-by-Step Instructions
Preparation Steps
– Mixing Cake Crumbs and Cream Cheese
Start by taking a large mixing bowl. Add 1 cup of chocolate cake crumbs and 1/2 cup of softened cream cheese. Use a spatula or your hands to mix them well. You want a smooth texture that holds together when squeezed. This step is key for the cake pops to hold their shape.
– Incorporating Peppermint Extract
Next, pour in 1/4 cup of peppermint extract. Blend it in until you cannot see any streaks. This extract brings a fresh, festive flavor. Make sure it’s evenly mixed for the best taste.
Forming and Freezing Cake Pops
– Shaping the Cake Mixture
Now, take small amounts of the mixture and roll them into balls. Aim for about 1 inch in diameter. Place each ball on a baking sheet lined with parchment paper. This helps keep them from sticking.
– Importance of Freezing
Insert a lollipop stick into each ball, pushing it halfway through. Freezing is a must here. Pop the tray in the freezer for at least 30 minutes. This makes the cake pops firm and easier to dip later.
Dipping and Decorating
– Melting Chocolate Safely
While the pops freeze, melt 1 cup of dark chocolate melting wafers. Use a microwave-safe bowl. Heat for 30 seconds, then stir. Continue heating in 15-second bursts until fully melted. Stirring helps prevent burning.
– Techniques for Dipping
Once the chocolate is smooth, stir in 1 tablespoon of coconut oil. This gives your chocolate a nice sheen. Remove the cake pops from the freezer. Dip each one into the melted chocolate, making sure to cover it well. Tap gently to shake off the extra chocolate.
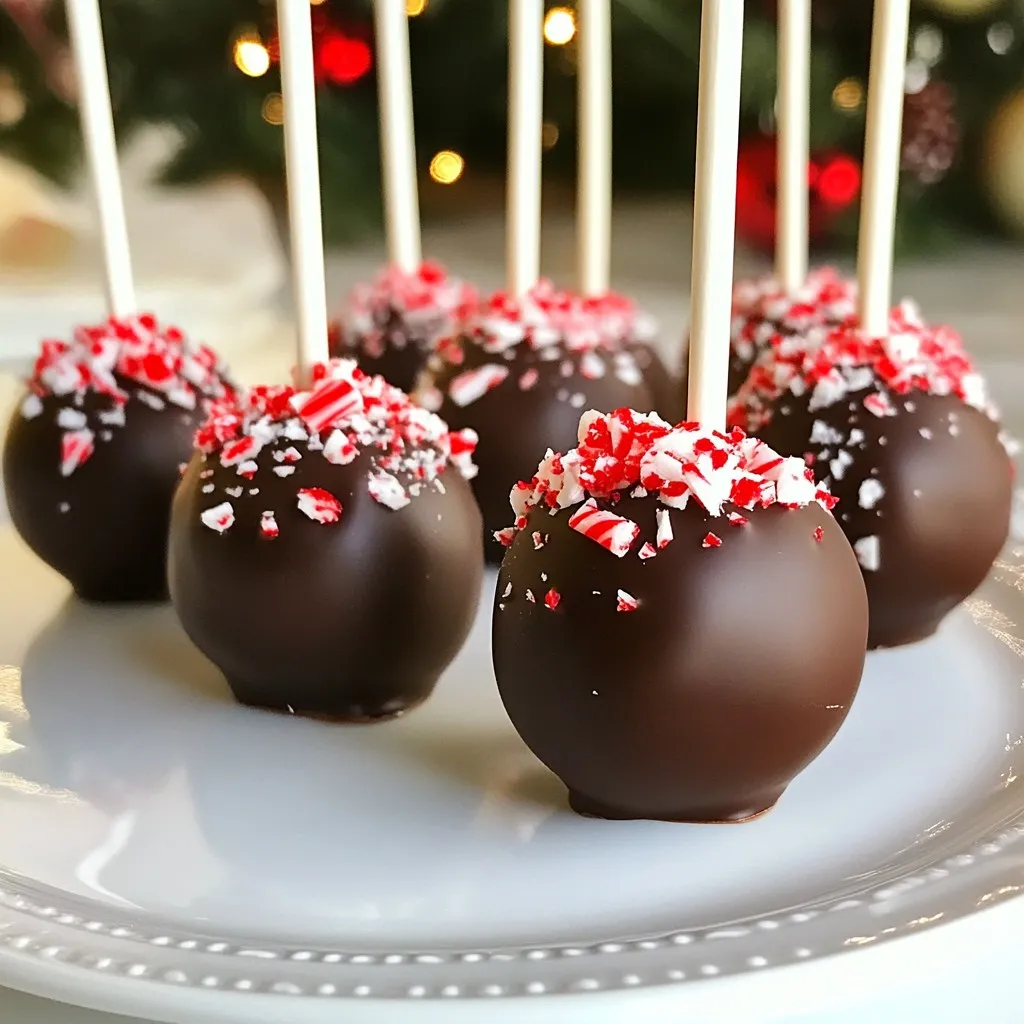
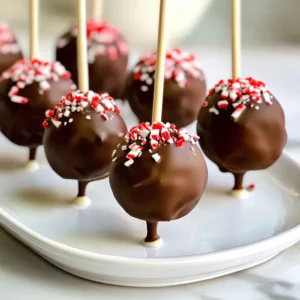
Before the chocolate hardens, sprinkle the tops with crushed peppermint candies or candy canes. This adds a festive touch and enhances the peppermint flavor. Place the coated cake pops in a foam block or holder to set completely. Enjoy your holiday treat!
Tips & Tricks
Achieving the Perfect Consistency
– Mixing Tips: When you mix the chocolate cake crumbs and cream cheese, use a fork or your hands. Make sure to mix until it’s smooth and holds together. If it feels too dry, add a bit more cream cheese. If it’s too wet, add a touch more cake crumbs.
– Avoiding Cracks in the Chocolate: To keep your chocolate coating smooth, stir in coconut oil. It helps the chocolate stay glossy and prevents cracks. Make sure to dip the pops when the chocolate is warm but not too hot.
Presentation and Serving Suggestions
– Creative Ways to Arrange Cake Pops: Use a tall glass or decorative container to display your cake pops. You can also place them in a foam block for a fun centerpiece. Drizzle extra melted chocolate on top for an eye-catching look.
– Holiday Serving Ideas: Add festive touches like colored ribbons or themed paper to your display. Pair the cake pops with hot cocoa or eggnog for a complete holiday treat.
Storing and Keeping Fresh
– Best Practices for Storage: Keep your cake pops in an airtight container. This helps them stay fresh and moist. Place parchment paper between layers to prevent sticking.
– Shelf Life Tips: Cake pops can last about a week at room temperature. If you want them to last longer, store them in the fridge for up to two weeks.
Pro Tips
- Chill Before Dipping: Ensure the cake pops are well chilled before dipping them in chocolate. This helps maintain their shape and prevents them from falling off the stick.
- Quality Chocolate: Use high-quality chocolate melting wafers for a smoother finish and better flavor. Avoid using regular chocolate chips as they may not melt as smoothly.
- Mixing Variations: Experiment with different extracts like vanilla or almond for unique flavor profiles. Just remember to adjust the amount to your taste!
- Perfect Peppermint Crunch: For an extra festive touch, lightly crush the peppermint candies just before sprinkling them on the cake pops to retain their crunchiness.
Variations
Flavor Variations
You can change the flavor of your cake pops easily. Here are some fun ideas:
– Different Extracts to Try: Instead of peppermint, you might like almond or vanilla. These flavors add a nice twist. You can also mix peppermint with a bit of vanilla for a unique taste.
– Chocolate Types (Milk vs. Dark): Using milk chocolate gives a sweeter pop. Dark chocolate offers a richer flavor. You can even mix both for a balanced taste.
Seasonal Decor Elements
Decorating your cake pops can make them even more special. Here are some ways to add charm:
– Themed Decorations for Holidays: Use red and green for Christmas. For other holidays, pick colors that match the theme. You can add edible glitter for sparkle, too!
– Colorful Sprinkles and Toppings: Sprinkles are a fun way to dress up your pops. Use festive shapes or colors, like stars or snowflakes. Crushed nuts or coconut can also add great texture.
Dietary Variants
You can adapt these cake pops to fit different diets. Here are some suggestions:
– Vegan Suggestions: Use a plant-based cream cheese to make it vegan. You can also make a cake using vegan ingredients, like applesauce instead of eggs.
– Low-Sugar Options: Try using sugar-free chocolate and cream cheese. You can also reduce the amount of peppermint candies on top to cut sugar even more.
Storage Info
How to Store Cake Pops
Short-Term Storage Solutions
You can store cake pops at room temperature for up to three days. Keep them in a cool, dry place. Use a cake pop stand or an airtight container. This keeps them fresh and tasty. If you prefer to chill them, place them in the fridge for up to a week.
Long-Term Storage Tips
For longer storage, freeze the cake pops. Wrap each one in plastic wrap. Place them in an airtight container or a freezer bag. They can last for up to three months. Just remember to label the container with the date.
Freezing Cake Pops
How to Freeze Before Coating
Before you dip the cake pops, freeze them for at least 30 minutes. This step helps them hold their shape. Place them on a baking sheet lined with parchment paper. Make sure they are not touching each other.
Storing After Coating
Once coated, let the chocolate set fully. Then, you can freeze them again if needed. Wrap them carefully to avoid any damage. They should be good for up to three months in the freezer.
Best Containers for Storage
Recommended Airtight Containers
Use airtight containers made of glass or plastic. These containers keep moisture out. They also prevent the cake pops from absorbing other smells in the fridge.
Fun Display Jars
For a festive touch, use clear jars. Fill them with cake pops for display. They make great gifts and party treats. Plus, they look lovely on the table!
FAQs
Common Questions
How long do Peppermint Chocolate Cake Pops last?
Peppermint Chocolate Cake Pops stay fresh for about one week in the fridge. Store them in an airtight container to keep them moist. If you freeze them, they can last up to three months. Just remember to thaw them in the fridge before enjoying.
Can I make cake pops in advance?
Yes, you can make these cake pops a few days ahead of your event. Just form and freeze them. Once frozen, coat them in chocolate later. This saves time when you need to serve them.
Troubleshooting
What to do if the chocolate isn’t smooth?
If your chocolate isn’t smooth, it may be too thick. Add a little coconut oil to the chocolate. Stir well until you get a creamy texture. If it’s still not smooth, try melting it again in shorter bursts.
How to fix cake pop mixtures that are too crumbly?
If your cake pop mix is crumbly, add more cream cheese. Mix it in slowly until the mixture holds together. You want it to be moist but not too wet. This helps form perfect balls.
Professional Tips
How to achieve a shiny chocolate coating
For a shiny coating, ensure your chocolate is fully melted and smooth. Stir in a little coconut oil for added sheen. Dip your cake pops quickly to create a glossy finish.
What tools do I need for making cake pops?
You will need a few simple tools: a mixing bowl, lollipop sticks, parchment paper, and a microwave-safe bowl for melting chocolate. A foam block helps hold the pops while they set.
This blog post covered making peppermint chocolate cake pops from start to finish. We discussed key ingredients, preparation steps, and tips for perfecting your treats. You can choose flavors, decorate them in fun ways, and store them properly to enjoy later. Remember, experimenting with different ingredients can lead to unique results. With a bit of practice, you’ll create cake pops that impress everyone. Enjoy making these sweet treats, and let your creativity shin
Peppermint Chocolate Cake Pops
Ingredients
- 1 cup chocolate cake crumbs (from 1 baked chocolate cake)
- 0.5 cup cream cheese, softened
- 0.25 cup peppermint extract
- 1 cup dark chocolate melting wafers
- 1 tablespoon coconut oil
- 0.5 cup crushed peppermint candies or candy canes
- as needed lollipop sticks
Instructions
- In a large mixing bowl, combine the chocolate cake crumbs and softened cream cheese. Mix well until the mixture is smooth and holds together when squeezed.
- Add the peppermint extract to the cake mixture and mix until fully incorporated.
- Using your hands, form the mixture into small balls (about 1 inch in diameter) and place them on a baking sheet lined with parchment paper.
- Insert a lollipop stick into each ball, making sure it goes halfway through.
- Freeze the cake pops for at least 30 minutes, or until they are firm.
- While the pops are freezing, melt the dark chocolate melting wafers in a microwave-safe bowl. Start with 30 seconds, stir, and continue heating in 15-second increments until fully melted.
- Stir the coconut oil into the melted chocolate to give it a smoother consistency.
- Remove the cake pops from the freezer and dip each pop into the melted chocolate, tapping gently to remove any excess.
- Before the chocolate sets, sprinkle the tops with crushed peppermint candies or candy canes for that festive touch.
- Place the coated cake pops in a foam block or a cake pop holder to allow them to set completely.