Skip to content
About
Contact
Cookie Policy
Copyright Policy
Disclaimer
Search
Home
Dinner
Appetizer
Desserts
Drinks
About
Contact
Privacy Policy
Toggle Menu
Home
/
Dinner
- Page 42
Dinner
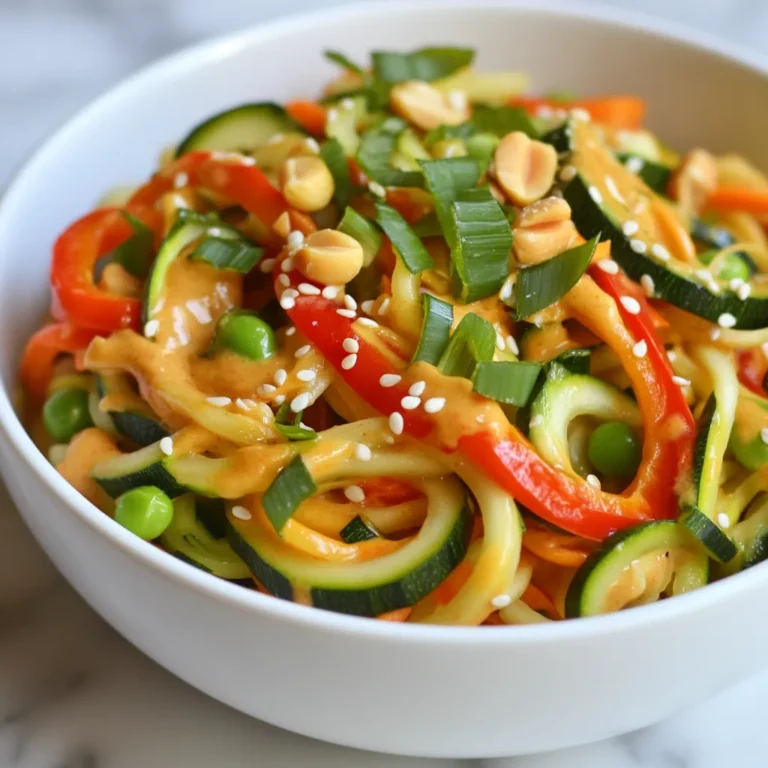
Spicy Peanut Zoodle Bowl Flavorful and Healthy Dish
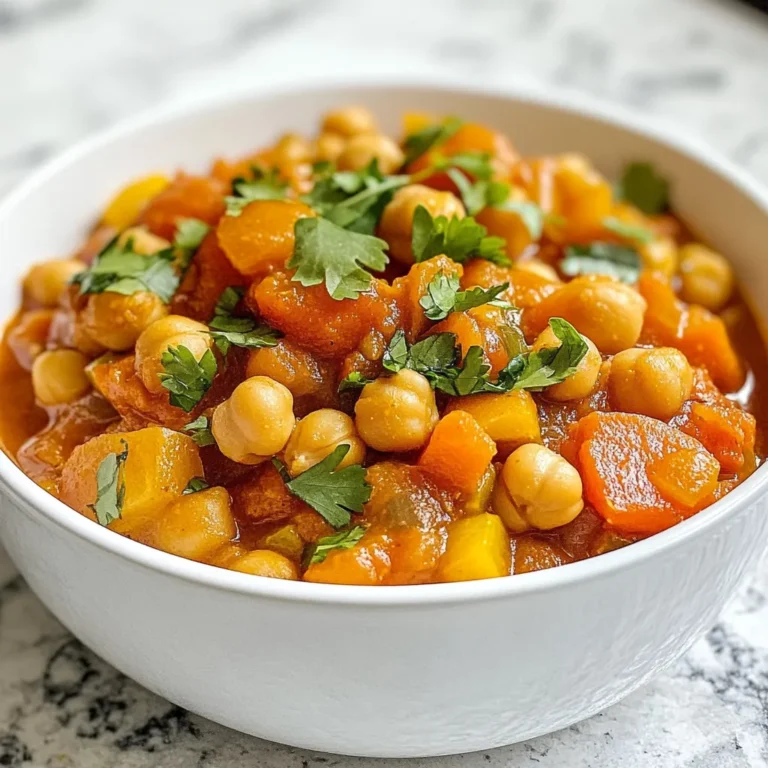
Moroccan Chickpea Stew Flavorful and Healthy Dish
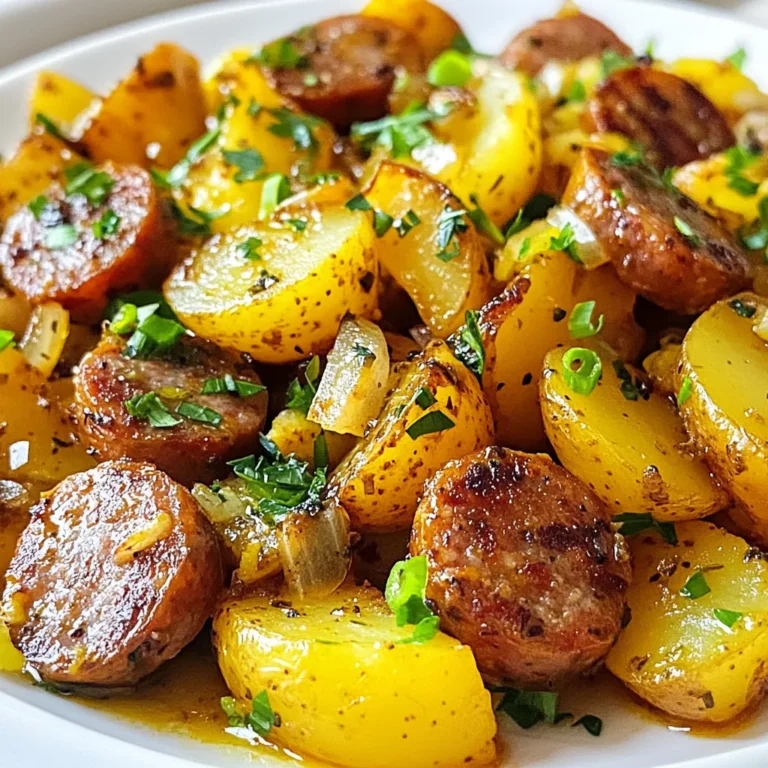
Cajun Sausage Potato Skillet Flavorful and Simple Meal
Chickpea Shawarma Pita Flavorful and Healthy Delight
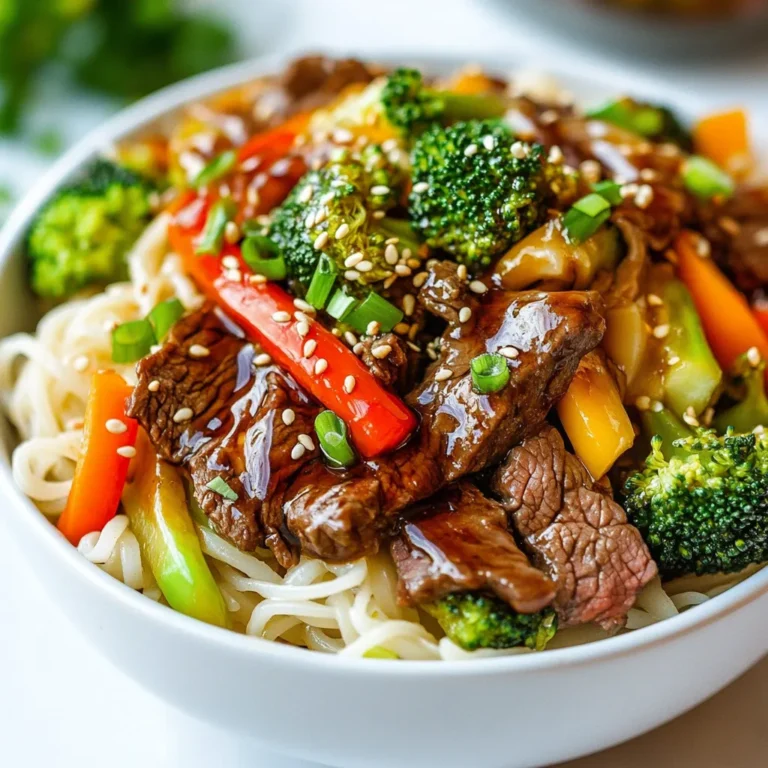
Teriyaki Beef Noodle Bowls Flavorful and Easy Recipe
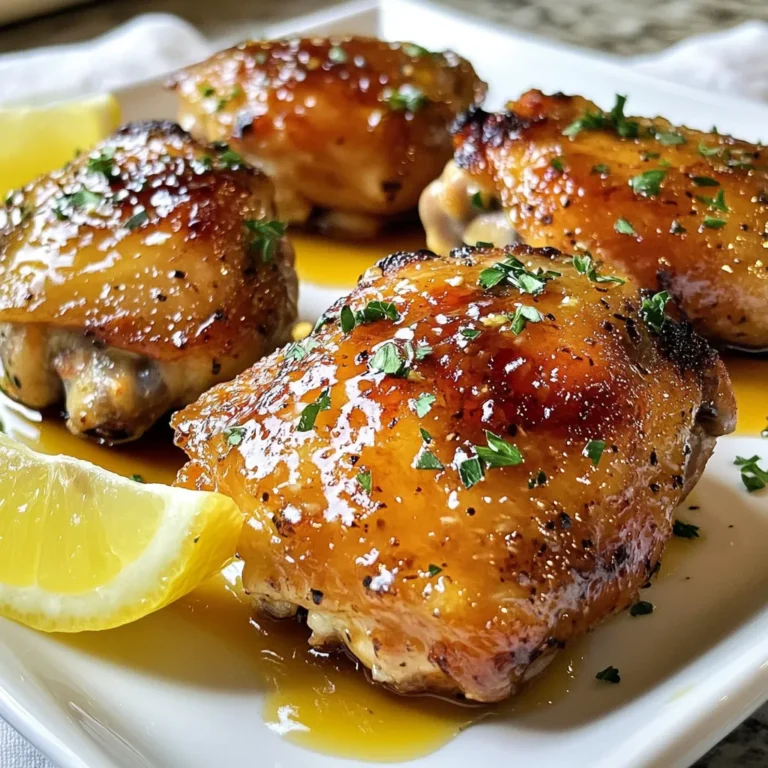
Honey Mustard Chicken Thighs Easy and Flavorful Recipe
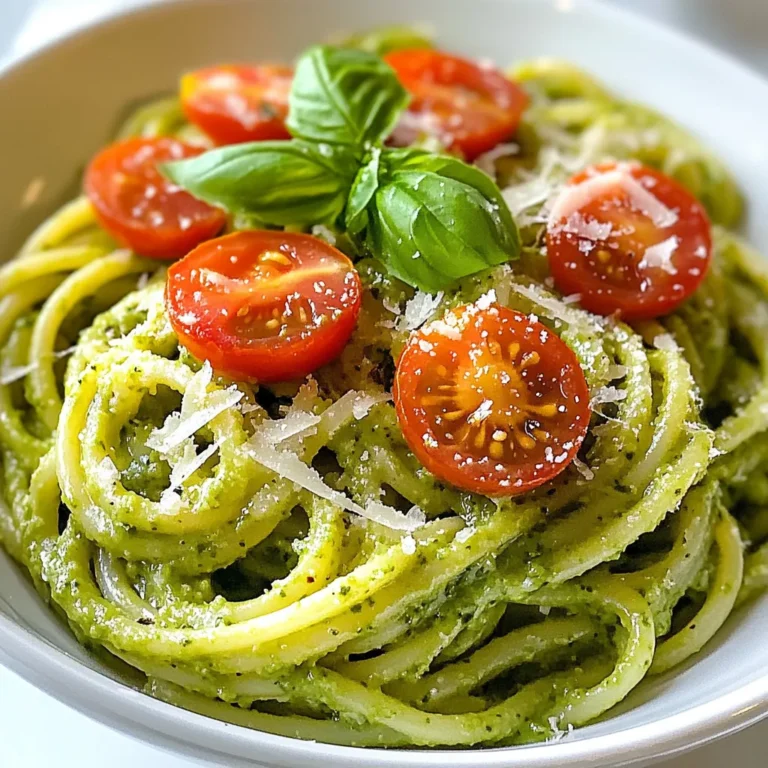
Creamy Avocado Pasta Simple and Tasty Meal Idea
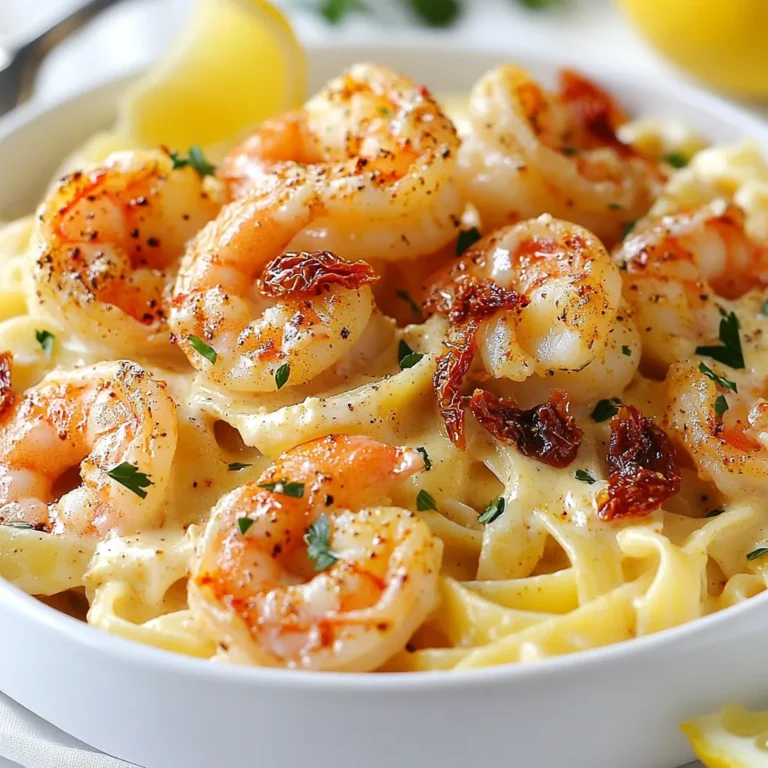
Cajun Shrimp Alfredo Creamy Pasta Dish Made Easy
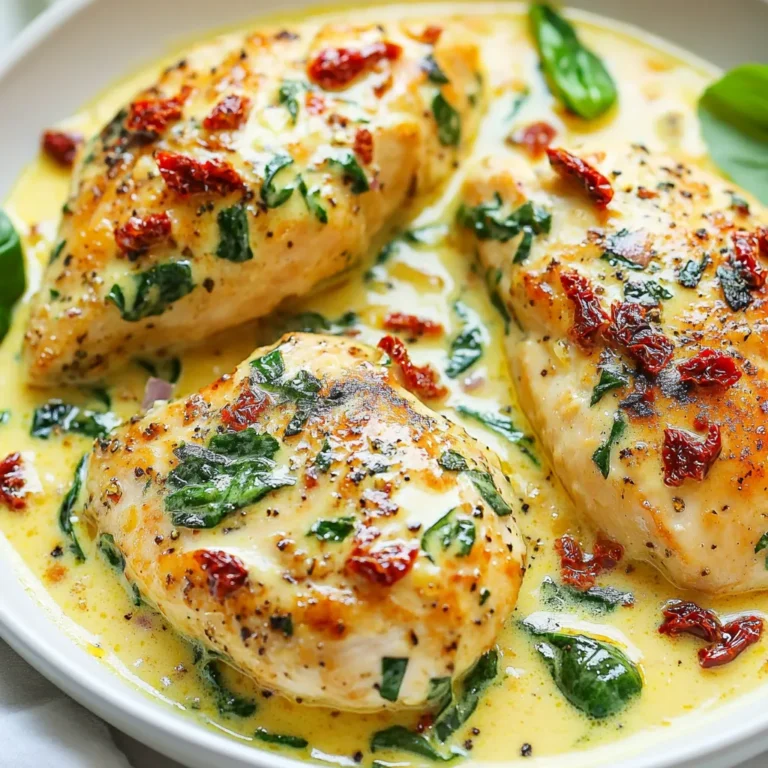
Creamy Sun Dried Tomato Chicken Delightful Dinner Dish
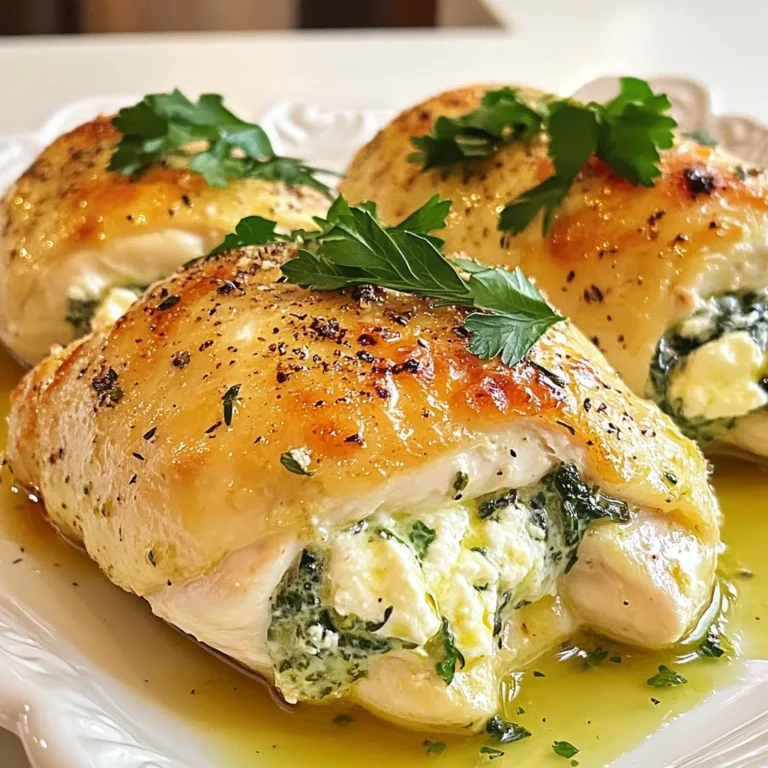
Creamy Spinach Feta Stuffed Chicken Delicious Recipe
Page navigation
Previous Page
Previous
1
…
40
41
42
43
Next Page
Next
Home
Dinner
Appetizer
Desserts
Drinks
About
Contact
Privacy Policy
Toggle Menu Close
Search for:
Search