Skip to content
About
Contact
Cookie Policy
Copyright Policy
Disclaimer
Search
Home
Dinner
Appetizer
Desserts
Drinks
About
Contact
Privacy Policy
Toggle Menu
Home
/
Desserts
- Page 25
Desserts
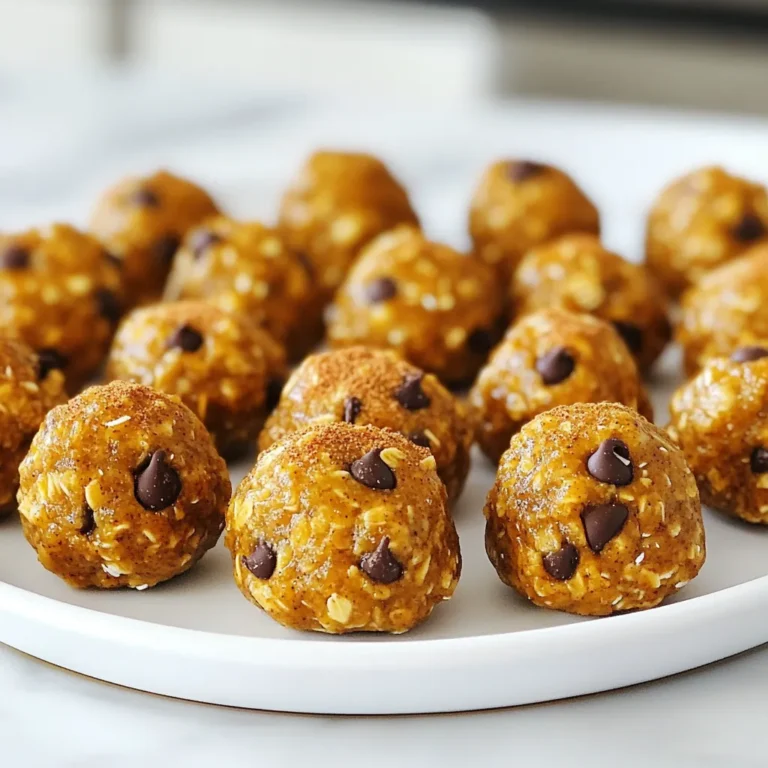
Pumpkin Spice Energy Bites Tasty and Healthy Snack
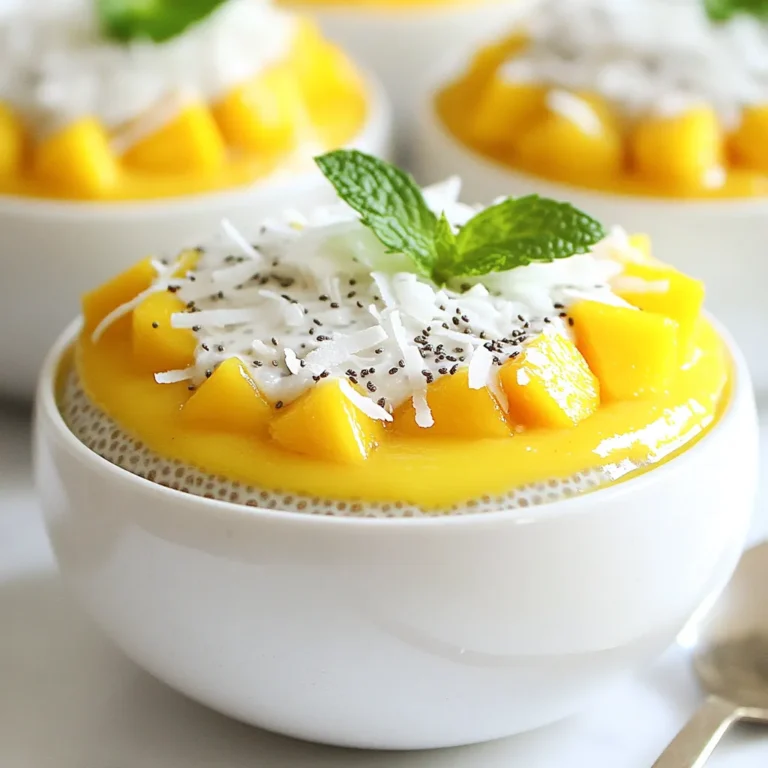
Coconut Mango Chia Pudding Delightfully Easy Recipe
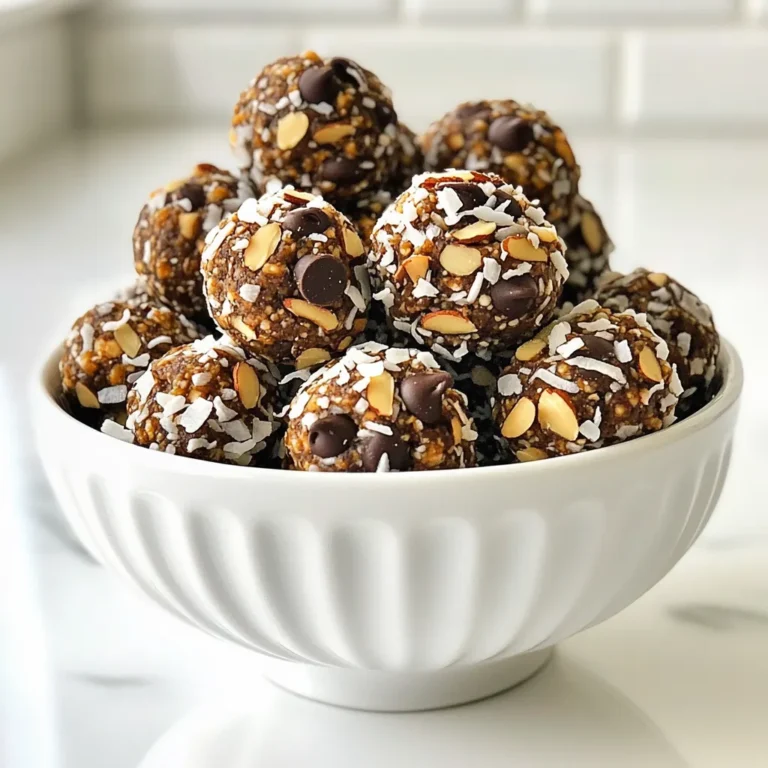
Almond Joy Energy Bites Easy and Tasty Snack Recipe
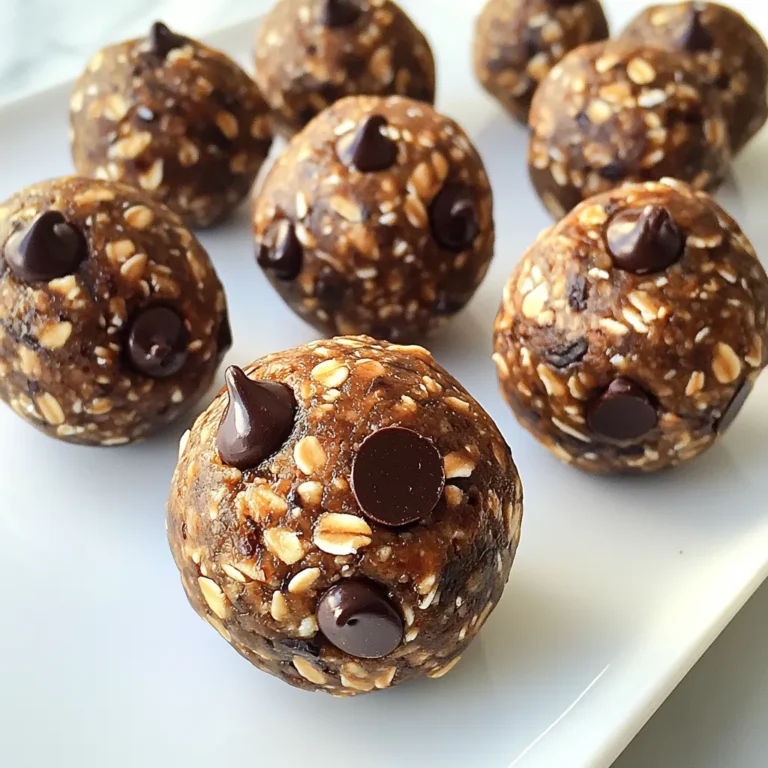
Chocolate Peanut Butter Energy Balls Healthy Snack Option
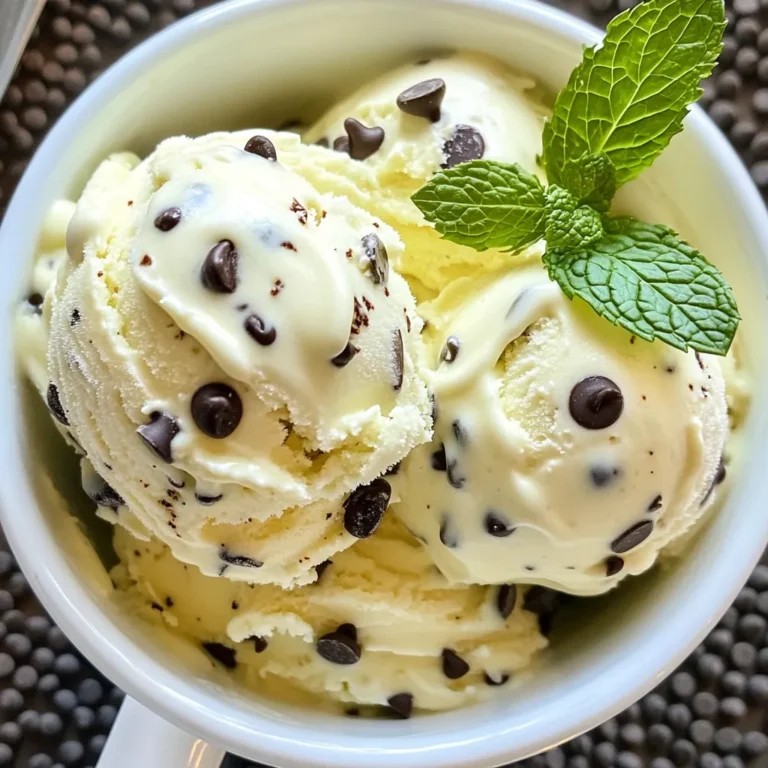
No-Churn Mint Chocolate Chip Ice Cream Delight
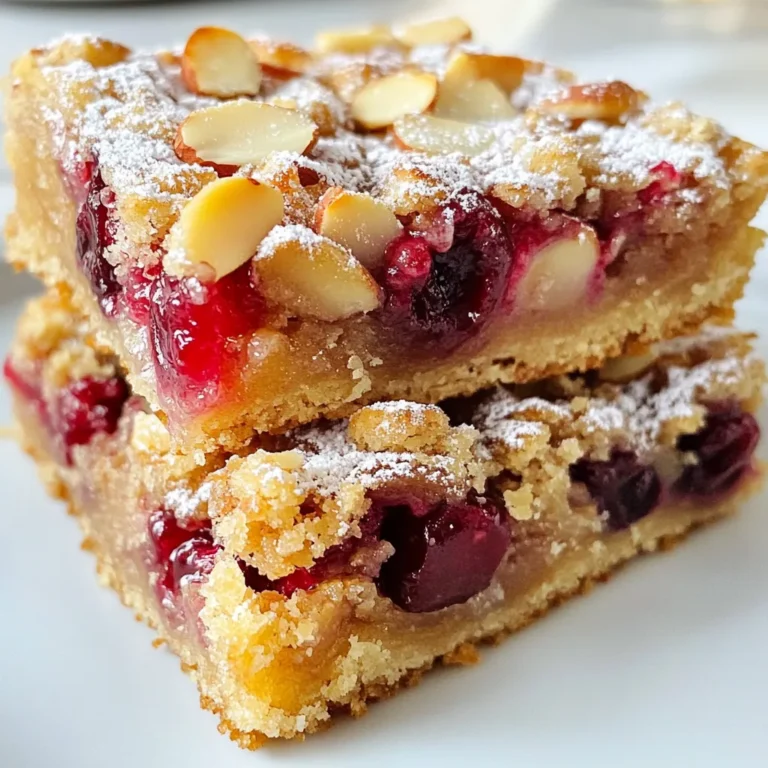
Cherry Almond Crumble Bars Tasty and Simple Treat
Page navigation
Previous Page
Previous
1
…
23
24
25
Home
Dinner
Appetizer
Desserts
Drinks
About
Contact
Privacy Policy
Toggle Menu Close
Search for:
Search