Skip to content
About
Contact
Cookie Policy
Copyright Policy
Disclaimer
Search
Home
Dinner
Appetizer
Desserts
Drinks
About
Contact
Privacy Policy
Toggle Menu
Home
/
Dinner
- Page 43
Dinner
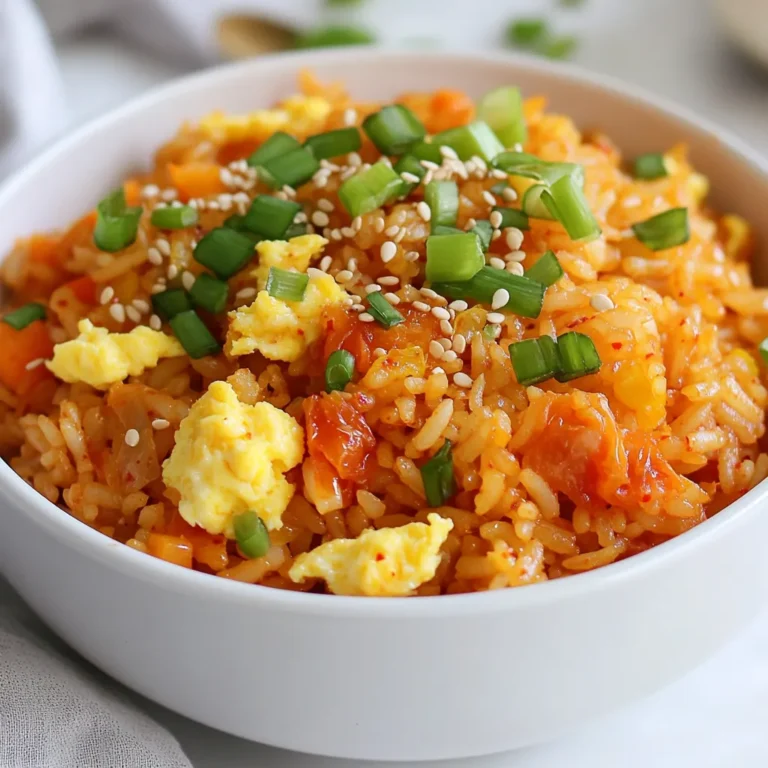
Spicy Kimchi Fried Rice Flavorful and Easy Recipe
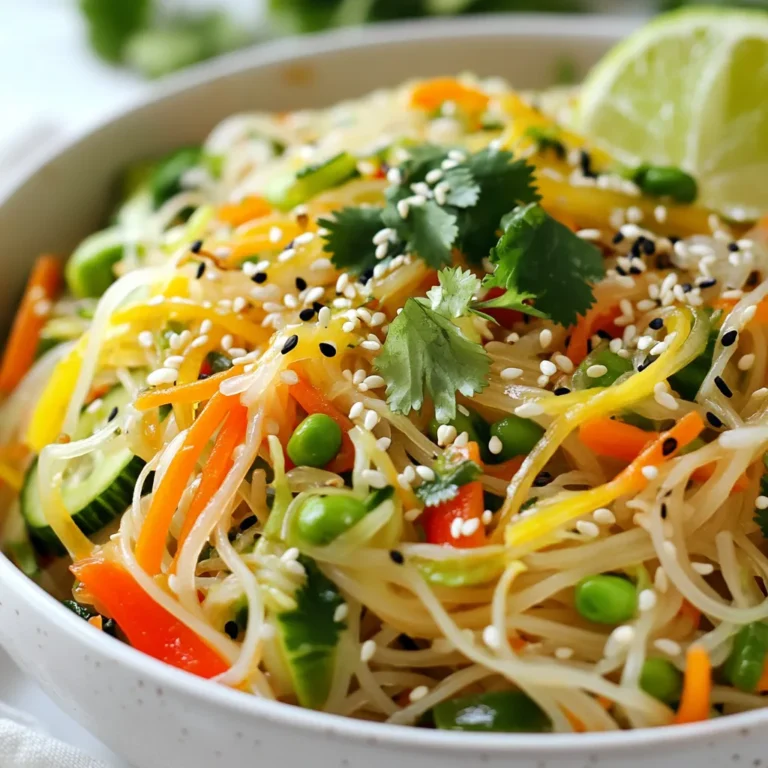
Savory Sesame Ginger Noodle Salad Easy and Healthy Dish
Greek Orzo Salad Fresh and Flavorful Recipe Guide
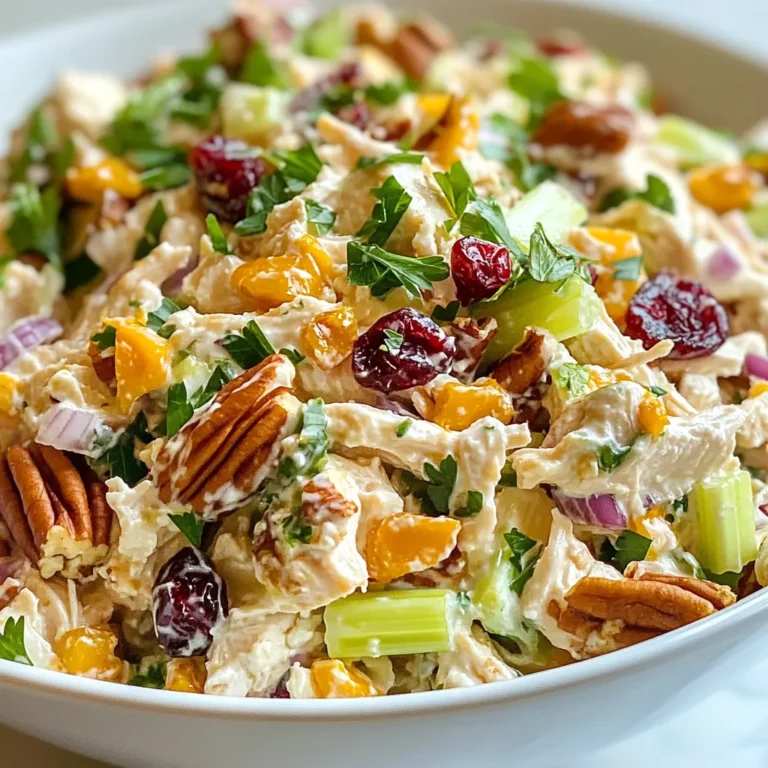
Cranberry Pecan Chicken Salad Fresh and Flavorful Meal
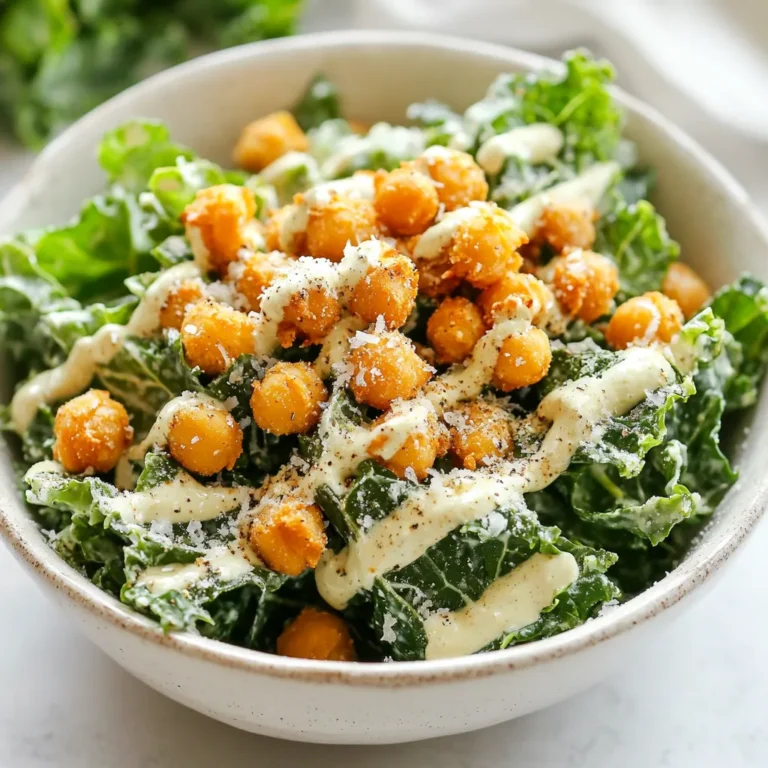
Kale Caesar Salad with Crispy Chickpeas Delight
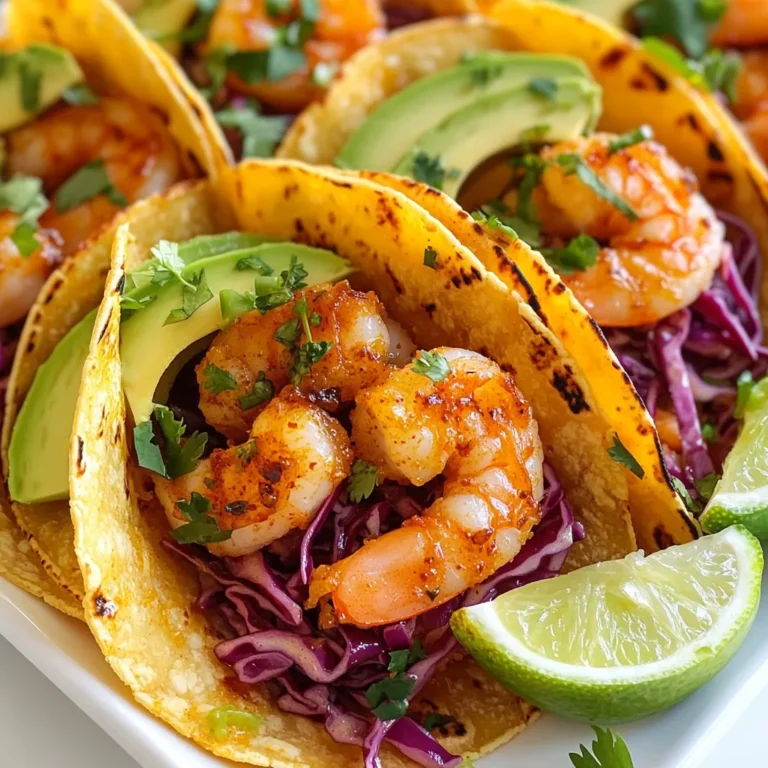
Spicy Garlic Shrimp Tacos Flavorful and Easy Recipe
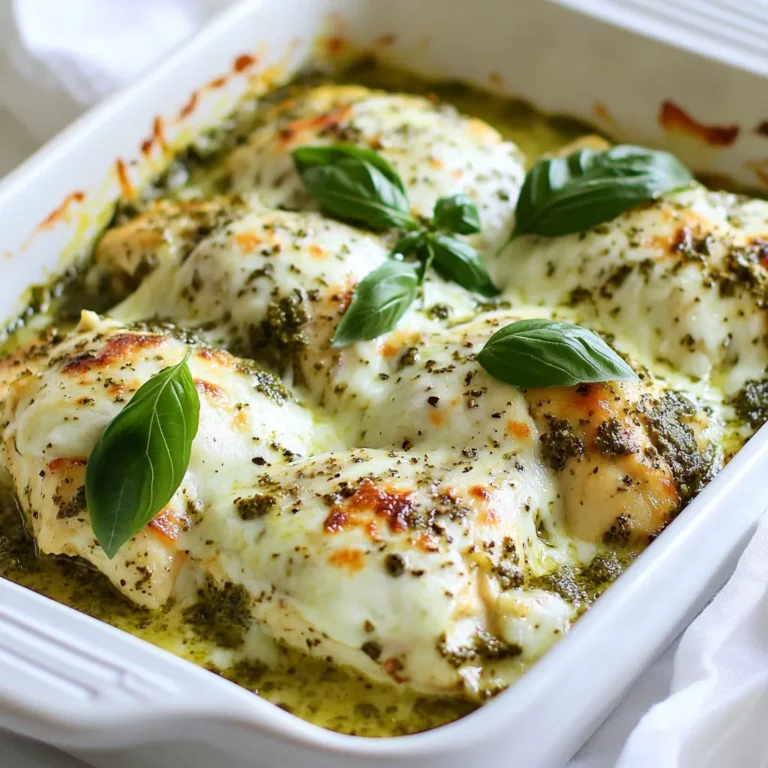
Creamy Pesto Chicken Bake Simple and Flavorful Delight
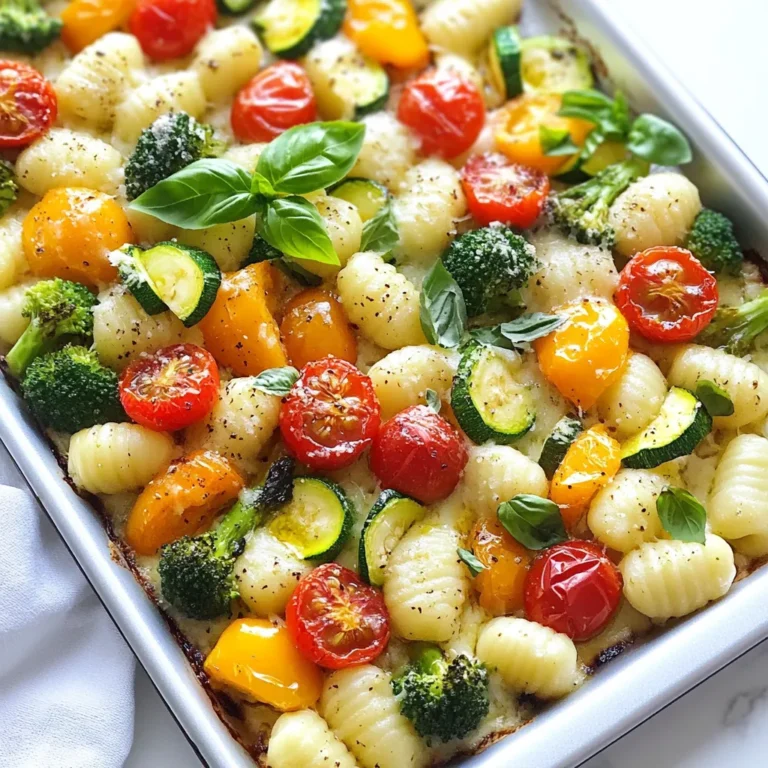
Sheet Pan Gnocchi Primavera Quick and Flavorful Dish
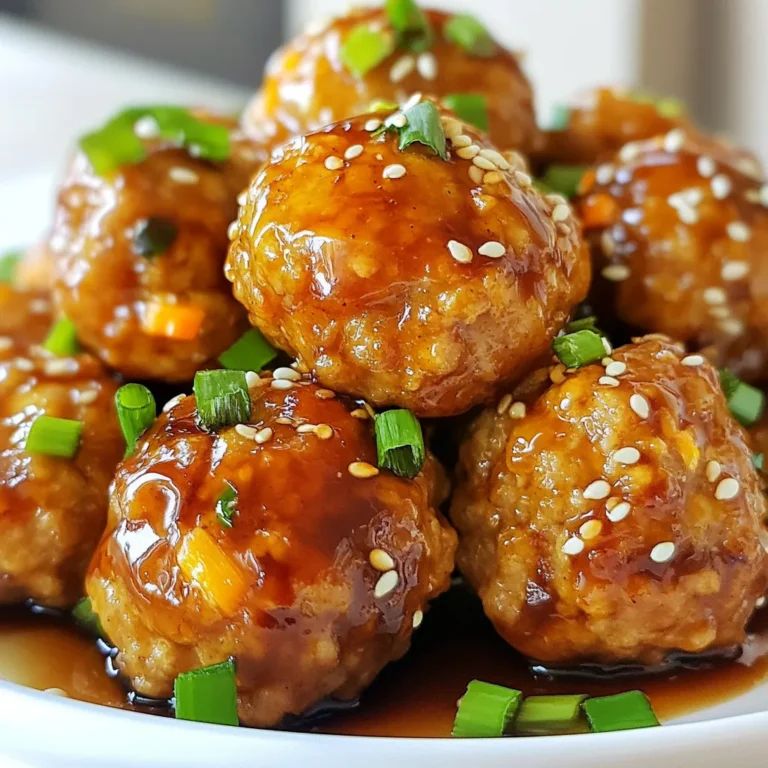
Teriyaki Chicken Meatballs Tasty and Easy Recipe
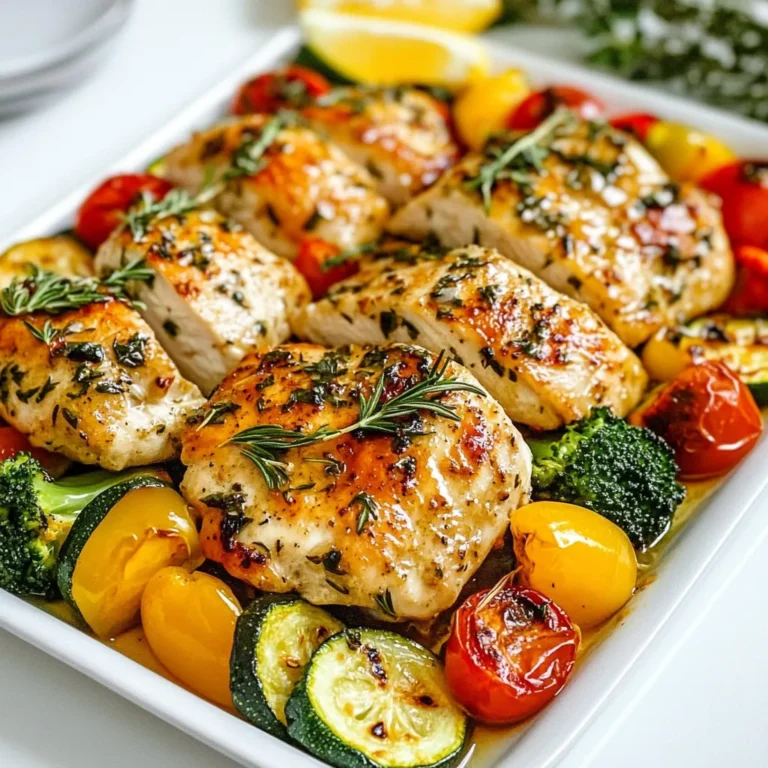
Garlic Herb Butter Chicken & Veggies Simple Delight
Page navigation
Previous Page
Previous
1
…
41
42
43
Home
Dinner
Appetizer
Desserts
Drinks
About
Contact
Privacy Policy
Toggle Menu Close
Search for:
Search