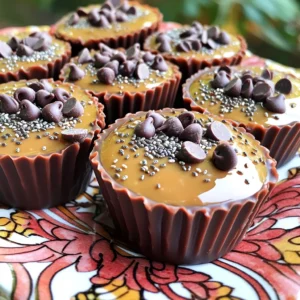
No Bake Chocolate Peanut Butter Protein Cups
Indulge in delicious No Bake Chocolate Peanut Butter Protein Cups that are not only easy to make but also healthy! With a perfect blend of peanut butter, oats, and protein powder, these treats are ideal for a quick snack or post-workout boost. Ready in just 45 minutes, these tasty cups will satisfy your cravings guilt-free. Click through to explore the full recipe and elevate your snack game today!