Pumpkin Spice Energy Bites Easy and Nutritious Treat
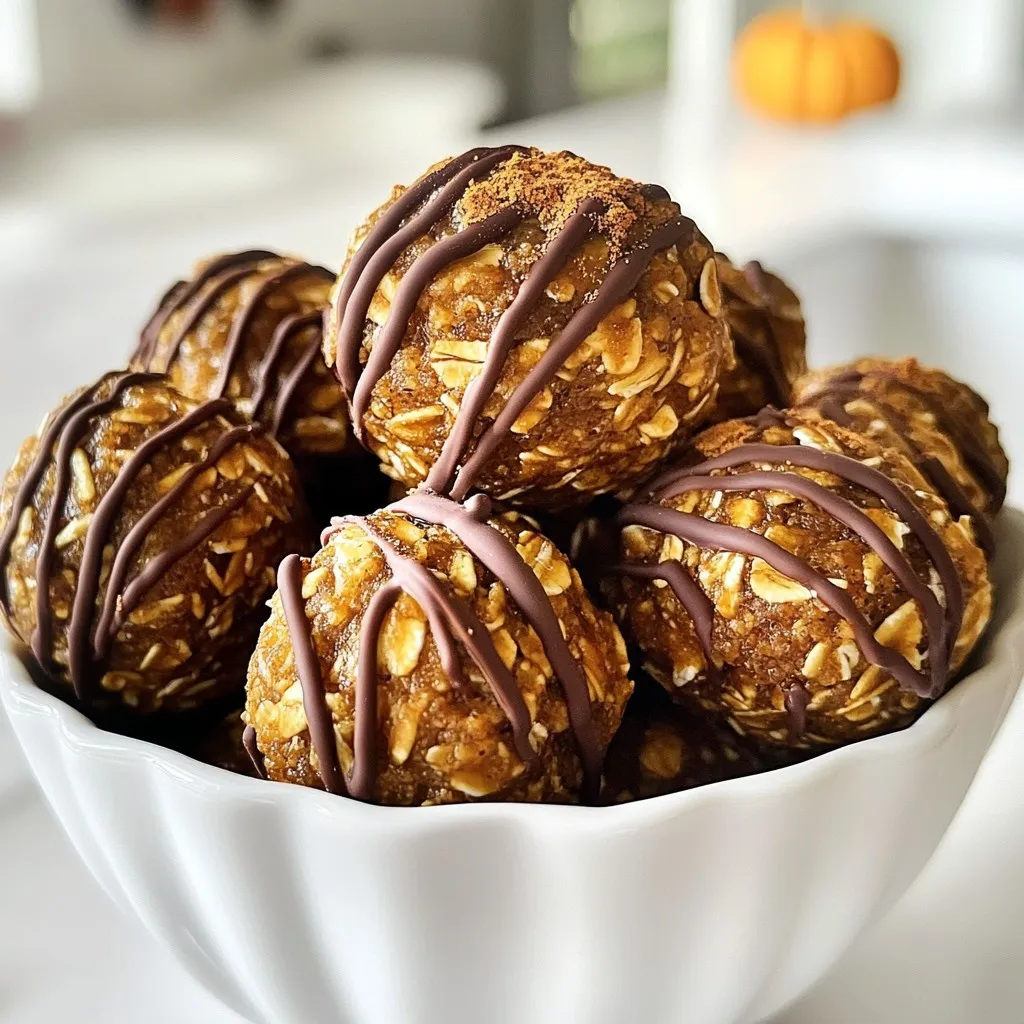
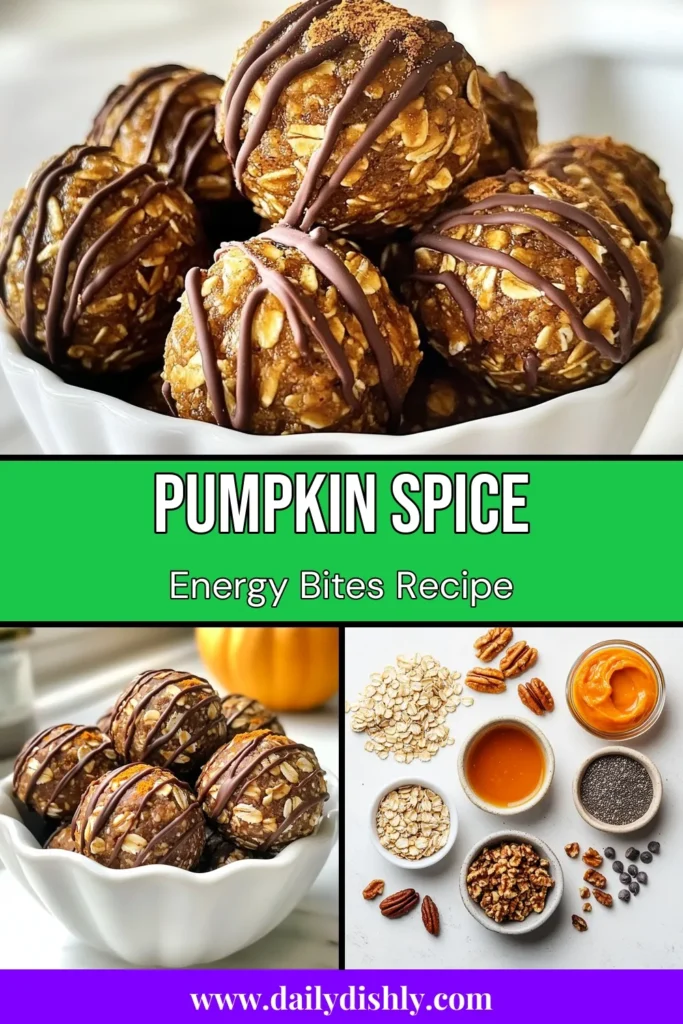
Are you ready to fuel your day with a delicious treat? These Pumpkin Spice Energy Bites are easy, nutritious, and perfect for any time of year. Packed with wholesome ingredients like rolled oats, pumpkin puree, and nut butter, they deliver great taste without sacrificing health. Plus, you can customize them to fit your flavors. Let’s dive into how to make these bites your new favorite snack!
Why I Love This Recipe
- Healthy Snack Option: These energy bites are packed with fiber, healthy fats, and protein, making them a nutritious choice to fuel your day.
- Easy to Make: With just a few simple steps, you can whip up these delicious bites in no time, perfect for busy schedules.
- Customizable Ingredients: You can easily swap in your favorite nuts, seeds, or sweeteners, allowing for endless variations to suit your taste.
- Seasonal Flavor: The pumpkin spice flavor adds a delightful autumn touch, making these bites a perfect treat for the fall season.
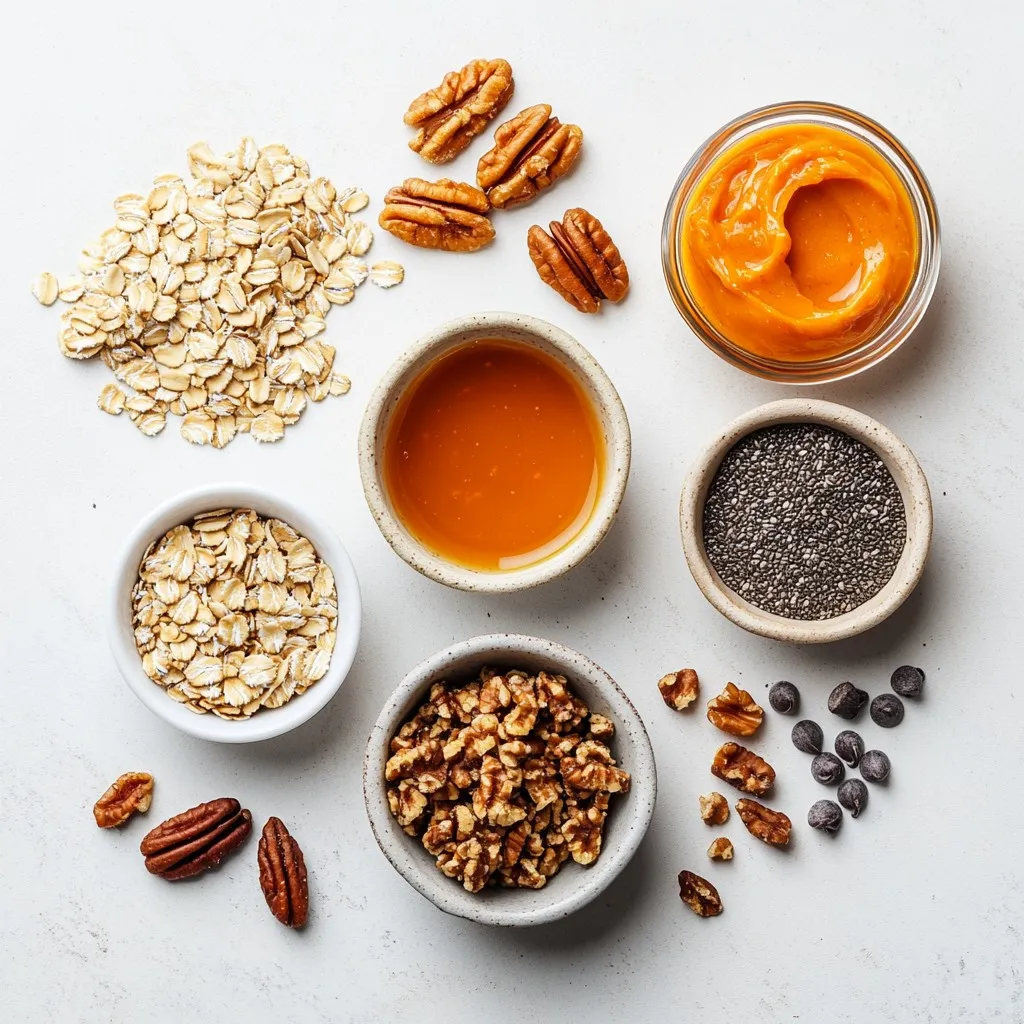
Ingredients
To make Pumpkin Spice Energy Bites, you need some simple and healthy ingredients. Here’s what you will need:
– 1 cup rolled oats
– 1/2 cup pumpkin puree
– 1/2 cup nut butter (almond or peanut)
– 1/4 cup honey or maple syrup
– 1 tsp pumpkin pie spice
– 1/2 tsp vanilla extract
– 1/4 cup chia seeds
– 1/4 cup chopped nuts (walnuts or pecans)
– 1/4 cup dark chocolate chips (optional)
Each ingredient plays a key role. The rolled oats provide a good base and add fiber. Pumpkin puree adds moisture and flavor, making the bites soft and tasty. Nut butter gives healthy fats and protein. Honey or maple syrup sweetens the bites naturally.
Pumpkin pie spice brings warmth and that lovely fall flavor we all love. Vanilla extract adds depth, while chia seeds pack in nutrients and help bind everything together. Finally, chopped nuts add crunch and richness, and dark chocolate chips can give a sweet treat if you choose to include them.
Feel free to mix and match to suit your taste!
Step-by-Step Instructions
Preparation Steps
– Mixing the ingredients
Start by grabbing a large mixing bowl. Add 1 cup of rolled oats, 1/2 cup of pumpkin puree, and 1/2 cup of nut butter. You can use almond or peanut butter. Then, pour in 1/4 cup of honey or maple syrup. Mix these ingredients until they blend well. This step creates a base for your tasty bites.
– Adding spices and extracts
Next, stir in 1 teaspoon of pumpkin pie spice and 1/2 teaspoon of vanilla extract. These flavors will make your bites smell and taste amazing. Mix until everything is evenly flavored. You want every bite to have that warm, spicy taste.
– Including chia seeds and nuts
Now, add 1/4 cup of chia seeds and 1/4 cup of chopped nuts. You can use walnuts or pecans for a nice crunch. If you like chocolate, toss in 1/4 cup of dark chocolate chips. Mix thoroughly to ensure all ingredients are well combined. The chia seeds add nutrition and keep the bites together.
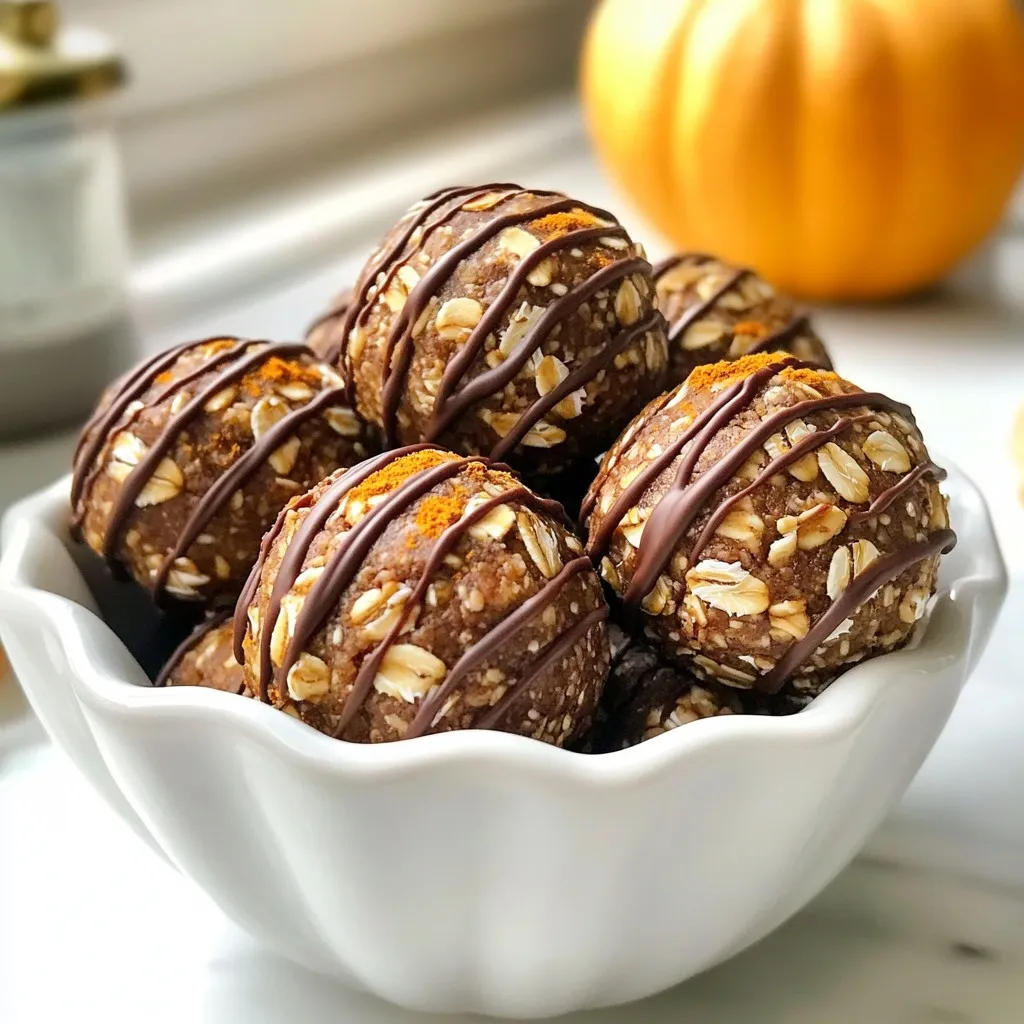
– Forming into balls
Using your hands or a tablespoon, scoop out a portion of the mixture. Roll it into a small ball, about 1 inch in diameter. This is where the fun begins! You can make them as big or small as you like, but keep them bite-sized for easy snacking.
– Refrigerating for firmness
Place the rolled energy bites on a parchment-lined baking sheet or plate. Once all the mixture is rolled out, refrigerate the bites for at least 30 minutes. This helps them firm up, making them easier to eat. You can enjoy them as a healthy snack or energy boost anytime!
Tips & Tricks
How to Enhance Flavor
To make your Pumpkin Spice Energy Bites even better, you can try different nut butters. Almond butter gives a mild taste. Peanut butter adds a richer flavor. Both work great in the recipe.
You can also adjust the sweetness. If you like things sweeter, add more honey or maple syrup. For a less sweet bite, use less. Just taste as you mix!
Adding mix-ins can change the game. Shredded coconut adds nice texture. Seeds like sunflower or pumpkin can boost nutrition and crunch. Get creative with what you already have!
Serving Suggestions
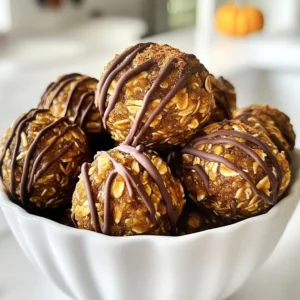
Presentation matters. Serve these bites in a bright bowl, and sprinkle extra pumpkin pie spice on top. This adds color and charm.
Think about what to drink with them. A warm cup of tea or coffee pairs well. You can also serve these bites with a smoothie for a tasty breakfast.
These energy bites are perfect for many occasions. They make great snacks for movie nights or parties. You can even gift them in small jars for friends or family. Enjoy!
Pro Tips
- Use Fresh Pumpkin: For the best flavor, consider using fresh pumpkin puree instead of canned. Roast and blend your own pumpkin for a richer taste.
- Chill for Firmness: Allowing the energy bites to chill in the refrigerator for at least 30 minutes will help them hold their shape better when making them.
- Experiment with Flavors: Feel free to customize the recipe by adding different spices like cinnamon or nutmeg, or by using different types of nut butter for a unique twist.
- Make Ahead: These energy bites can be made in advance and stored in the fridge for up to a week, making them a perfect grab-and-go snack!
Variations
Ingredient Swaps
You can easily change up the recipe with some swaps. If you want to skip the chocolate, use dried fruit. Dried cranberries or apricots add a sweet twist. For a different spice flavor, try cinnamon or ginger. You can mix and match spices to find what you love. If you need a gluten-free option, use gluten-free oats. For nut allergies, try sunflower seed butter instead of nut butter.
Seasonal Variations
Make these energy bites festive! For the holidays, add a sprinkle of festive colors. You can use red and green sprinkles to make them pop. For Halloween, shape them into little pumpkin balls. You can use orange food coloring and add candy eyes for fun. These small changes make your bites perfect for any occasion!
Storage Info
Best Storage Practices
To keep your Pumpkin Spice Energy Bites fresh, store them in an airtight container. Glass jars work great for this. You can also use plastic containers with a tight lid. If you want to freeze them, place the bites in a single layer on a baking sheet. After they freeze solid, move them to a freezer bag. This way, they won’t stick together. In the fridge, these bites last about one week.
Serving Portions
For a healthy snack, one or two bites are perfect. They give you energy without too many calories. If you’re on the go, pack a few in a small bag. They make a great pre-workout snack or a treat after school.
FAQs
Common Questions about Pumpkin Spice Energy Bites
Can I use canned pumpkin?
Yes, you can use canned pumpkin. It saves time and is still tasty. Make sure to choose plain pumpkin, not pumpkin pie filling. This keeps the flavor right.
How long do the energy bites last?
These energy bites last about one week in the fridge. Store them in a sealed container to keep them fresh. You can also freeze them for up to three months.
Are these energy bites vegan-friendly?
Yes, these energy bites can be vegan. Use maple syrup instead of honey. Choose almond butter or any plant-based nut butter.
What’s the best nut butter to use?
Almond butter works well, but peanut butter is great too. Choose what you like best. Each nut butter adds a unique flavor to the bites.
How can I make these bites more nutritious?
To boost nutrition, add seeds like pumpkin or sunflower seeds. You can also mix in dried fruit or protein powder. These add extra vitamins and minerals.
You learned how to create tasty pumpkin spice energy bites. We covered key ingredients, step-by-step instructions, and helpful tips. You can customize flavors, swap ingredients, and store them well. These bites fit any season and occasion.
Try making them your own with different spices and mix-ins. Enjoy these snacks while staying health
Pumpkin Spice Energy Bites
Ingredients
- 1 cup rolled oats
- 0.5 cup pumpkin puree
- 0.5 cup nut butter (almond or peanut)
- 0.25 cup honey or maple syrup
- 1 tsp pumpkin pie spice
- 0.5 tsp vanilla extract
- 0.25 cup chia seeds
- 0.25 cup chopped nuts (walnuts or pecans)
- 0.25 cup dark chocolate chips (optional)
Instructions
- In a large mixing bowl, combine the rolled oats, pumpkin puree, nut butter, and honey or maple syrup. Mix until well blended.
- Stir in the pumpkin pie spice and vanilla extract until the mixture is evenly flavored.
- Add the chia seeds, chopped nuts, and dark chocolate chips (if using) into the bowl. Mix thoroughly until all ingredients are combined.
- Using your hands or a tablespoon, scoop out a portion of the mixture and roll it into a small ball (about 1 inch in diameter).
- Place the energy bites on a parchment-lined baking sheet or plate.
- Once all the mixture is rolled out, refrigerate the bites for at least 30 minutes to help them firm up.
- After refrigeration, enjoy your Pumpkin Spice Energy Bites as a healthy snack or boost of energy anytime!
![- 200g dark chocolate (70% cocoa), chopped - 3 tablespoons unsalted butter - 3 large eggs, separated - 1/4 cup granulated sugar - 1 teaspoon vanilla extract - 1 cup heavy cream - A pinch of salt To make a great chocolate mousse, we need high-quality ingredients. The star of this dessert is dark chocolate, which gives it rich flavor. I always choose chocolate with at least 70% cocoa. This ensures a deep, intense taste. Next, we add unsalted butter. It helps the chocolate melt smoothly. Eggs are crucial, too. They add structure and richness. Separating them allows us to whip the whites for a light texture. Granulated sugar sweetens the mousse, while vanilla extract adds warmth. Heavy cream is essential for that luscious, creamy mouthfeel. Lastly, a pinch of salt balances the flavors. - Whipped cream - Chocolate shavings - Fresh berries While the mousse is delightful on its own, garnishes can elevate it. Whipped cream adds a fluffy touch. Chocolate shavings bring a nice crunch and more chocolate flavor. Fresh berries add color and a slight tartness. These toppings make your dessert even more appealing. For the full recipe, check [Full Recipe]. Melt Chocolate Start by chopping 200g of dark chocolate. Place it in a heatproof bowl with 3 tablespoons of unsalted butter. Put this bowl over a pot of simmering water. Stir it gently until the chocolate and butter melt and blend into a smooth mix. Once melted, take it off the heat and let it cool. Whisk Egg Yolks In another bowl, take 3 large egg yolks. Add 1/4 cup of granulated sugar. Whisk these together until the mix turns pale and creamy. Next, pour in the cooled chocolate and butter blend. Add 1 teaspoon of vanilla extract and mix until combined. Whip Egg Whites In a clean bowl, add 3 large egg whites with a pinch of salt. Beat them until soft peaks form. Now, slowly add the remaining sugar while beating until stiff peaks form. This will give your mousse a light texture. Fold Egg Whites into Chocolate Mixture Gently fold one-third of the whipped egg whites into the chocolate mix. This lightens it. Then, carefully fold in the remaining egg whites. This step is key to keeping your mousse fluffy. Incorporate Whipped Cream In a separate bowl, whip 1 cup of heavy cream until soft peaks form. Now, fold this whipped cream into the chocolate mixture. Do this slowly to avoid deflating the mousse. Spoon into Serving Cups Once everything is combined, spoon the mousse into serving cups. You can use bowls or fancy glasses. Chill Time Cover the cups and place them in the fridge. Chill for at least 2 hours, or until the mousse is set. This step is vital for the best texture. For the full recipe, check the detailed instructions above. Enjoy your creamy and decadent dessert! To get the best texture, I recommend using the right ingredients. Start with high-quality dark chocolate, about 70% cocoa. This gives your mousse a rich flavor. Room temperature ingredients are also key. Eggs and butter blend better when they are not cold. One common mistake is overwhipping the cream or egg whites. This can make your mousse grainy instead of smooth. Aim for soft peaks when whipping. Another pitfall is not cooling the chocolate properly. If you add hot chocolate to eggs, it can cook them. Let the melted chocolate cool a bit before mixing. By following these tips, you can create a mousse that is creamy and decadent. For a full recipe, check out the detailed instructions. {{image_2}} To make your chocolate mousse even more exciting, try adding some fun flavors. You can add espresso powder for a coffee twist. Just mix in one teaspoon of espresso powder with the melted chocolate. This gives the mousse a rich, coffee flavor that pairs well with chocolate. Another idea is to infuse your mousse with orange zest or mint. For orange, add one teaspoon of fresh zest to the chocolate mix. This adds a bright, citrus taste. For mint, use a few drops of mint extract. It creates a refreshing flavor that feels special. If you follow a vegan diet, you can still enjoy this dessert! Use aquafaba instead of eggs. Aquafaba is the liquid from canned chickpeas. It whips up just like egg whites. Replace the three egg whites with 1/2 cup of aquafaba. This keeps your mousse fluffy and light. For those looking for sugar-free options, try using sweeteners like erythritol or stevia. These substitutes can replace the granulated sugar in the recipe. Just follow the package instructions for the right amount. This way, you can enjoy a guilt-free treat without the extra sugar. These variations keep the mousse fun and fit for everyone. For the full recipe, check out the detailed instructions above. After you make the mousse, you can store leftovers in the fridge. Place the mousse in airtight containers. This keeps it fresh and prevents it from absorbing other smells. It lasts about 3 to 4 days in the fridge. Make sure to cover it well. If you want to keep it safe, place plastic wrap over the top of the container. You can freeze chocolate mousse if you want it to last longer. Use a freezer-safe container and fill it to leave some space. The mousse will expand as it freezes. It can stay in the freezer for up to 2 months. To thaw the mousse, take it out and place it in the fridge for several hours. This keeps the texture nice. Avoid using a microwave, as it may change the mousse's creamy feel. Once thawed, use it within a couple of days for the best taste. If you want the full recipe, check it out here: [Full Recipe]. Chocolate mousse can last about 3 to 5 days in the fridge. Make sure to cover the mousse well to keep it fresh. After a few days, the texture might change, but it should still taste good. Yes, you can make chocolate mousse ahead of time. It’s a great dessert for parties. Just make sure to chill it for at least 2 hours. You can prepare it a day before serving. This allows the flavors to develop fully. If you need a substitute for heavy cream, you can use coconut cream or full-fat yogurt. These options will change the flavor a bit but will still give a creamy texture. You can also whip silken tofu for a dairy-free alternative. Using raw eggs can be safe if they are pasteurized. Pasteurized eggs reduce the risk of foodborne illness. If you are concerned, you can use whipped aquafaba instead of egg whites. Aquafaba is the liquid from canned chickpeas and works well in this mousse. For the full recipe, check out the recipe section above. This blog post covers how to make a simple and delicious chocolate mousse. I shared key ingredients and easy steps to create the perfect dessert. Remember to avoid common mistakes, like overwhipping cream. You can also try different flavors or adjust for dietary needs. In the end, this mousse is a treat you can make any time. With practice, you'll impress everyone. Enjoy making it, and have fun with the toppings!](https://dailydishly.com/wp-content/uploads/2025/06/b5ca571b-81f1-451e-9d8a-f7e9dc6262da-768x768.webp)