Baked Parmesan Crusted Chicken Crispy and Simple Dish
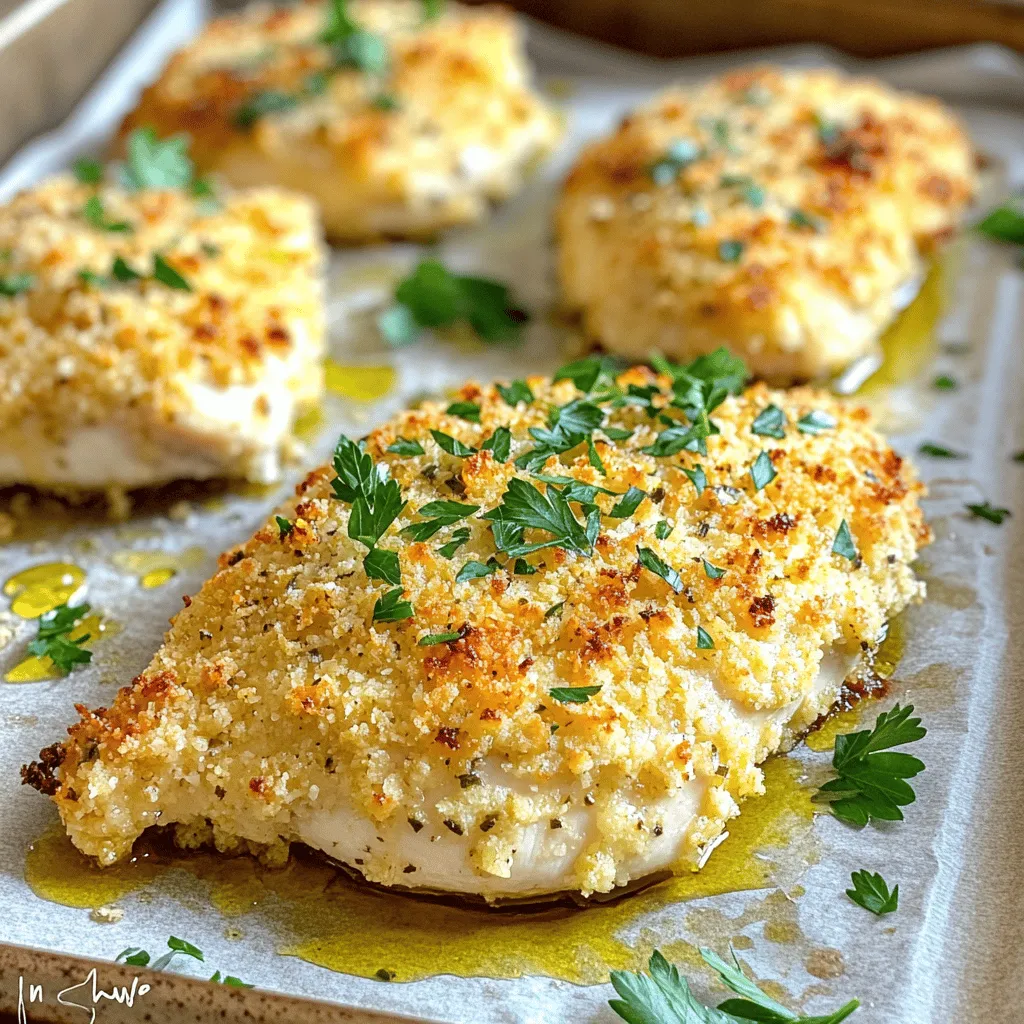
If you’re craving a simple yet delicious dish, Baked Parmesan Crusted Chicken is your answer! This easy recipe transforms plain chicken breasts into a crispy delight that your whole family will love. With just a few ingredients and steps, you can create a meal that’s both satisfying and quick. Let’s dive into how to make your chicken crispy and full of flavor, ensuring your next dinner is a hit!
Ingredients
Main Ingredients
– 4 boneless, skinless chicken breasts
– 1 cup grated Parmesan cheese
– 1 cup breadcrumbs (preferably panko for extra crunch)
Seasoning and Coating
– 2 teaspoons garlic powder
– 1 teaspoon onion powder
– 1 teaspoon dried Italian herbs (oregano, thyme, or basil)
– Salt and pepper to taste
Binding and Drizzling
– 2 large eggs
– 2 tablespoons olive oil
– 1 tablespoon fresh parsley, chopped (for garnish)
To make this baked Parmesan crusted chicken, you will need simple, tasty ingredients. Start with chicken breasts. You want them boneless and skinless for the best results. The cheese and breadcrumbs give flavor and a crispy crust. I love using panko breadcrumbs because they add an extra crunch.
Next, we have the seasonings. Garlic powder and onion powder bring a savory taste. Dried Italian herbs add warmth and aroma. Don’t forget salt and pepper to enhance the flavors.
For binding, we use eggs. They help the cheese and breadcrumbs stick to the chicken. Drizzling olive oil adds richness and helps the crust get crispy in the oven. Lastly, a sprinkle of fresh parsley makes the dish look bright and fresh.
Step-by-Step Instructions
Preparation Steps
– Preheat oven to 400°F (200°C).
– Prepare baking sheet with parchment paper or olive oil.
To start, I always make sure my oven is ready. Preheating helps cook the chicken evenly. A hot oven makes a big difference in getting that nice golden crust. I line my baking sheet with parchment paper. This step helps with cleanup and prevents sticking.
Coating Procedure
– Combine Parmesan, breadcrumbs, and seasonings in a bowl.
– Beat eggs and mix with olive oil.
Next, I mix the grated Parmesan cheese, breadcrumbs, garlic powder, onion powder, dried herbs, salt, and pepper in a bowl. This blend gives the chicken its yummy flavor. In another bowl, I beat the eggs with a splash of olive oil. This mixture will help the crumbs stick well to the chicken.
Baking the Chicken
– Dip chicken in egg mixture, coat in breadcrumb mixture.
– Place on baking sheet and drizzle with olive oil.
– Bake for 25-30 minutes until crispy and cooked through (165°F/75°C).
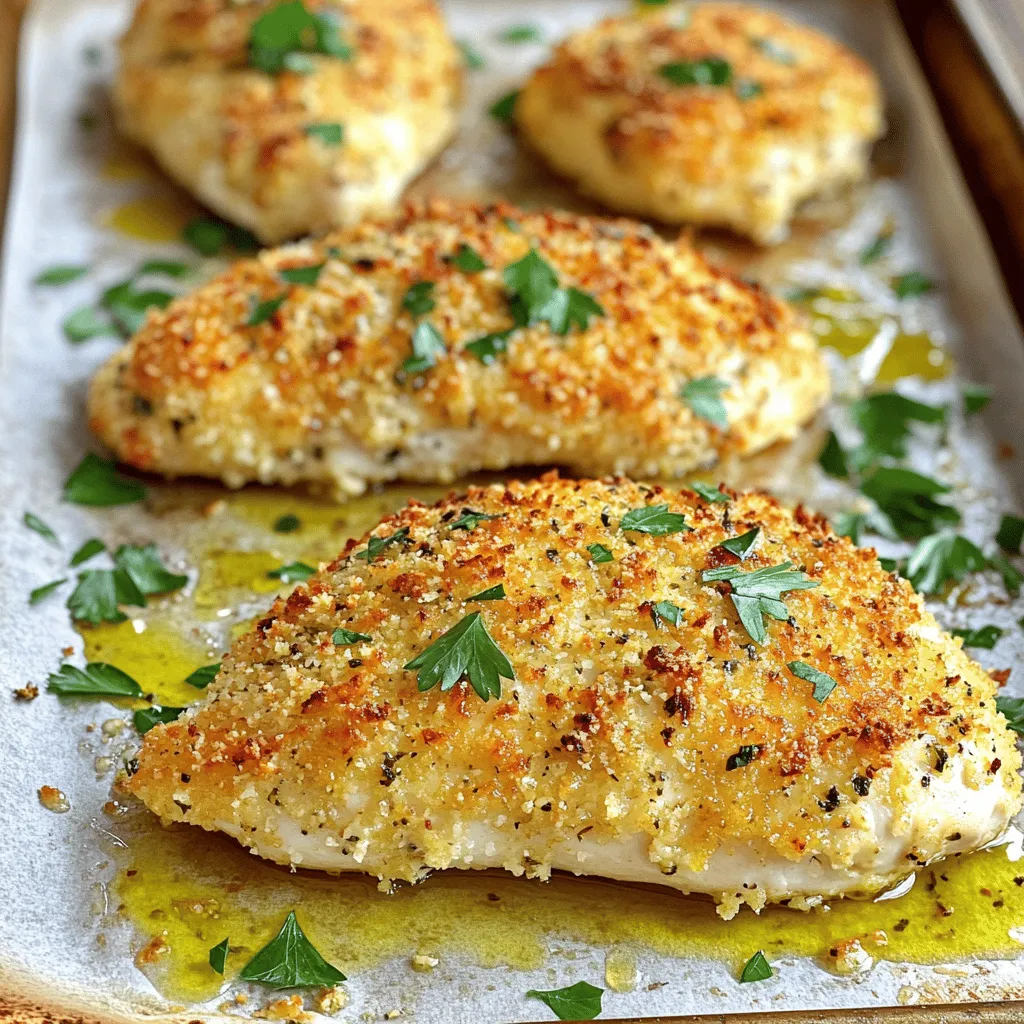
Now comes the fun part! I dip each chicken breast into the egg mix. Then I coat it in the breadcrumb mix. I make sure each piece is covered well. After that, I place the chicken on the prepared baking sheet. A light drizzle of olive oil goes on top to help it crisp up in the oven. I bake the chicken for 25-30 minutes until it’s golden and cooked through. The best part? I check the internal temperature to ensure it hits 165°F (75°C). This way, I know it’s safe and ready to enjoy!
Tips & Tricks
Achieving the Perfect Crust
To make your chicken extra crispy, use panko breadcrumbs. They add a great crunch. When coating, make sure to dip the chicken in the egg mixture. Let any extra egg drip off. This helps the crust stick better.
Making Meal Prep Easy
You can prepare the chicken ahead of time. This makes weeknight dinners quick and easy. Coat the chicken and store it in the fridge before baking. This way, you can just pop it in the oven when you’re ready.
Cooking Tips
Use a meat thermometer to check if the chicken is done. It should reach an internal temperature of 165°F (75°C). After baking, let the chicken rest for a few minutes. This helps keep it juicy when you slice it.
Variations
Flavor Enhancements
You can make this dish even better by adding herbs. Try using fresh basil or thyme. These herbs bring out a new flavor. You can also add spices for heat. Paprika or cayenne pepper can give it a nice kick. You control the heat level, so make it just right for you.
Alternative Coatings
If you need a gluten-free option, use gluten-free breadcrumbs. They work just as well and give a nice crunch. You can also swap the cheese. Cheddar or pecorino cheese can add a different taste. Each cheese gives a unique twist to the dish.
Serving Suggestions
This chicken pairs well with roasted vegetables. The veggies add color and flavor to the plate. A fresh salad also complements this dish nicely. You can serve it with dipping sauces too. Marinara or garlic aioli can add extra flavor. Each bite will be a delight!
Storage Info
For Leftovers
Store your Baked Parmesan Crusted Chicken in an airtight container in the refrigerator. This keeps it fresh and tasty. Make sure to eat it within 3-4 days for the best flavor. After that, the taste might change, and the chicken could dry out.
Freezing Options
You can freeze this chicken for later meals. Freeze it uncooked or after baking. Just make sure you seal it tightly and label it. This helps prevent freezer burn. When you want to enjoy it again, you can pull it out and cook or reheat it as needed.
Reheating Instructions
For the best texture, reheat your chicken in the oven. Preheat the oven to 350°F (175°C) and heat until warm. This way, the crust stays crispy. If you need a quick option, you can use the microwave. But remember, the crust might lose some of its crunch.
FAQs
How long do I bake Baked Parmesan Crusted Chicken?
Bake for 25-30 minutes for optimal results. The chicken should be golden brown and crispy. Always check that the internal temperature reaches 165°F (75°C). This ensures the chicken is safe and juicy.
Can I use frozen chicken breasts?
Yes, but thaw thoroughly before coating and baking. Frozen chicken can result in uneven cooking. You can thaw it overnight in the fridge or use the microwave for quick thawing. Just be careful not to partially cook it in the microwave.
What can I substitute for Parmesan cheese?
Alternatives include Pecorino Romano or nutritional yeast for a dairy-free option. Pecorino Romano has a similar texture but offers a sharper taste. Nutritional yeast gives a cheesy flavor without dairy.
This blog post shared a simple recipe for Baked Parmesan Crusted Chicken. We covered key ingredients like chicken, cheese, and breadcrumbs. I explained the steps for coating and baking the chicken to ensure a crispy crust. You learned handy tips, like using panko for crunch and how to store leftovers. Finally, I offered variations to enhance flavors and serve dishes. With these tips, you can easily make a flavorful meal. Enjoy your cooking journey!

. - Preheat the oven to 375°F (190°C). - Cut the tops off the bell peppers and remove the seeds. Place them upright in a baking dish. - In a medium saucepan, combine 1 cup of rinsed quinoa with 2 cups of vegetable broth. - Bring the mixture to a boil. Then, reduce heat to simmer, cover, and cook for about 15 minutes. You want the quinoa fluffy and all the liquid absorbed. - In a large bowl, combine the cooked quinoa, 1 can of black beans, 1 cup of corn, and 1 cup of diced tomatoes. - Add 1 teaspoon each of cumin and chili powder, and ½ teaspoon of smoked paprika. Season with salt and pepper to taste. Mix it all together well. - Spoon the quinoa mixture into each bell pepper. Fill them tightly and mound slightly at the top. - Add 1 cup of shredded cheese on top of the stuffed peppers. - Cover the baking dish with foil and bake for 25 minutes. - Remove the foil and bake for another 10-15 minutes until the peppers are tender and the cheese is bubbly. For the full recipe, check the instructions above! - Choosing the right bell peppers: Select large, firm peppers. Red, yellow, and green all work well. Their sweetness adds flavor. Look for peppers without blemishes. Fresh peppers hold up better during cooking. - Ensuring quinoa is properly cooked: Rinse the quinoa to remove bitterness. Use twice as much broth as quinoa. Simmer until it is fluffy. This usually takes about 15 minutes. Let it sit covered for a few minutes after cooking. - Adding other vegetables: Feel free to throw in diced zucchini, mushrooms, or spinach. These add color and nutrients. You can also mix in cooked carrots or chopped kale. This makes the dish even heartier. - Spice level adjustments: If you like heat, add diced jalapeños. For milder flavors, skip the chili powder. You can also use a pinch of cayenne pepper for warmth. Taste as you go to find your perfect heat. - Garnishing techniques: Top your stuffed peppers with fresh cilantro. This brightens the dish and adds a fresh taste. You can also sprinkle extra cheese on top. A squeeze of lime adds a zesty finish. - Serving suggestions: Serve the peppers on a colorful plate. Adding a side salad makes it a complete meal. You can also offer sour cream or avocado on the side for extra creaminess. For the full recipe, check out the Full Recipe section above! {{image_2}} You can easily boost the protein in your Mexican quinoa stuffed peppers. Try adding ground turkey or chicken. Cook the meat before mixing it with the quinoa and beans. This adds a savory flavor and makes the dish heartier. For a vegetarian version, consider incorporating tofu. Crumble firm tofu and sauté it with spices. This option keeps the meal filling and tasty while staying meat-free. Mixing up the spices can create exciting flavor variations. For a southwest-style dish, add smoked chipotle or cayenne pepper for heat. You can also try a Mediterranean twist. Use feta cheese and olives in the filling. This gives a fresh, tangy taste that pairs well with the peppers. If you prefer a vegan option, there are simple swaps. Choose dairy-free cheese alternatives to keep it cheesy without animal products. Nutritional yeast is a great choice for a cheesy flavor. You can also add more plant-based ingredients. Think of black olives, zucchini, or spinach to enhance nutrients and flavor. These adjustments make the dish suitable for everyone. For the full recipe, check out the details above. To keep your Mexican quinoa stuffed peppers fresh, refrigerate them right away. Place them in an airtight container. This helps keep the moisture in and prevents them from drying out. You can stack them if needed, but make sure they’re covered well. Use leftovers within three to four days for the best taste. When you want to enjoy your leftovers, you can use the microwave or the oven. The microwave is quick but may make the peppers a bit soggy. Heat them at medium power for about 2-3 minutes. The oven gives better results. Preheat it to 350°F (175°C) and bake for 10-15 minutes. This keeps the peppers firm and the cheese nice and melted. Cover them with foil to keep moisture in. Freezing stuffed peppers is a smart way to save a meal for later. First, let them cool completely. Wrap each pepper tightly in plastic wrap. Then, place them in a freezer-safe bag. They can last up to three months in the freezer. When you’re ready to eat, thaw them in the fridge overnight. Reheat as you would with fresh peppers. Enjoy the flavor without the fuss! For the full recipe, check the earlier section. Making Mexican Quinoa Stuffed Peppers takes about 1 hour. You need 20 minutes to prep and 40 minutes to cook. This includes baking time. Yes, you can make this recipe ahead. Prepare the stuffed peppers, then cover and store them in the fridge. They stay fresh for up to 2 days. When ready, bake them until hot. Yes, these stuffed peppers are gluten-free. All the ingredients, like quinoa and black beans, do not contain gluten. Always check labels for any hidden gluten. You can use rice or farro instead of quinoa. Both give a nice texture. For a lighter option, try cauliflower rice. Just cook it until tender before mixing with the other ingredients. This blog post covered how to make delicious Mexican Quinoa Stuffed Peppers. You learned about key ingredients like bell peppers, quinoa, and spices. We explored step-by-step instructions for prepping, cooking, and baking. Plus, we shared tips for customizing and presenting your dish. You now have storage info to keep your peppers fresh and a FAQ section for any lingering questions. These stuffed peppers are tasty, healthy, and easy to make. Enjoy creating your own unique twist on this crowd-pleasing recipe!](https://dailydishly.com/wp-content/uploads/2025/07/158fa0a1-d758-421b-8667-18571c0cd20a-768x768.webp)