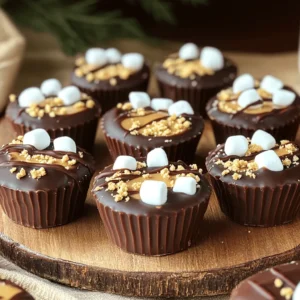
S’mores Peanut Butter Cups Irresistible Sweet Treat
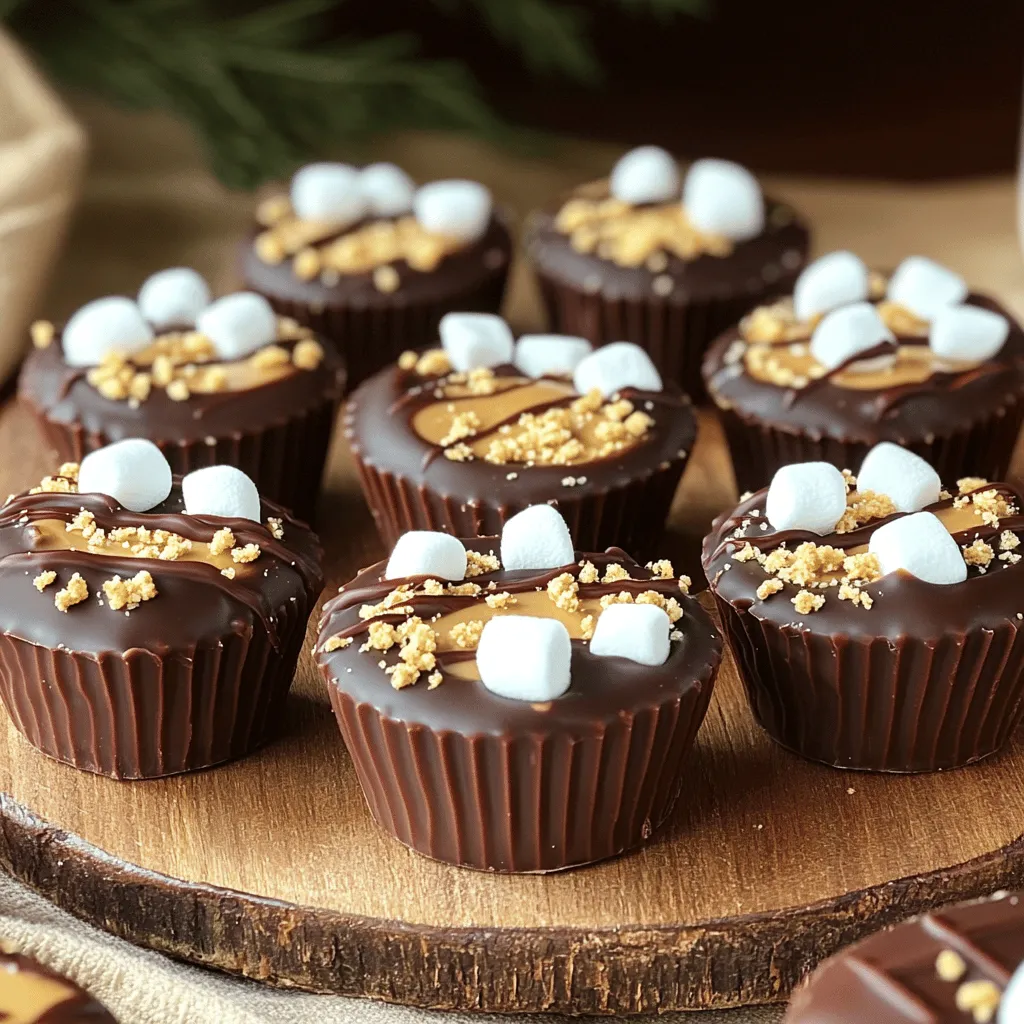
Are you ready to indulge in a sweet treat that combines childhood nostalgia with mouthwatering flavors? I’m excited to share my recipe for S’mores Peanut Butter Cups! These delightful cups blend creamy peanut butter, chocolate, and gooey marshmallows into a perfect bite-sized snack. Whether you’re cozying up at home or hosting friends, these treats will steal the show. Let’s dive into the simple steps and ingredients that make this dessert irresistible!
Ingredients
Complete List of Ingredients
To make S’mores Peanut Butter Cups, gather these ingredients:
– 1 cup graham cracker crumbs
– 1/2 cup unsweetened cocoa powder
– 1/2 cup creamy peanut butter
– 1/4 cup powdered sugar
– 1/4 cup honey or maple syrup
– 1 cup semi-sweet chocolate chips
– 1/2 cup mini marshmallows
– Pinch of salt
These ingredients give your cups that classic s’mores flavor with a rich twist. The graham cracker crumbs and cocoa powder form a tasty base. The peanut butter and sugar create a smooth filling. The chocolate adds a sweet touch, while the marshmallows provide that gooey texture.
Ingredient Substitutions
If you don’t have certain ingredients, you can swap them out. Here are some easy changes:
– Use digestive biscuits instead of graham crackers for a different crunch.
– Swap unsweetened cocoa powder with dark cocoa for a richer taste.
– Use almond butter or cashew butter instead of peanut butter if you want variety.
– Maple syrup can replace honey for a vegan option.
– You can use dark chocolate chips if you prefer a less sweet flavor.
These substitutions keep the spirit of the recipe while letting you explore new tastes.
Healthier Alternatives
You can make S’mores Peanut Butter Cups a bit healthier too. Consider these options:
– Use whole grain graham crackers for more fiber.
– Replace powdered sugar with coconut sugar for a lower glycemic index.
– Choose natural peanut butter with no added sugar or oils.
– Use sugar-free chocolate chips to cut down on sugar.
– Try using mini fruit pieces instead of marshmallows for a fruity twist.
These alternatives help you enjoy the treat while keeping it a bit lighter.
Step-by-Step Instructions
Preparation Steps
To start, gather your ingredients. You will need graham cracker crumbs, cocoa powder, peanut butter, powdered sugar, honey, chocolate chips, marshmallows, and a pinch of salt.
1. In a mixing bowl, combine the graham cracker crumbs, cocoa powder, and salt. This mix makes a great base.
2. In another bowl, mix peanut butter, powdered sugar, and honey until smooth. This will be your filling.
Melting Chocolate Techniques
Melting chocolate is key to your cups. You can use a microwave or a double boiler.
– Microwave: Place half the chocolate chips in a bowl. Heat in short bursts of 20 seconds. Stop and stir between each burst until smooth.
– Double Boiler: Fill a pot with water and heat it on low. Place a heat-safe bowl on top, then add the chocolate chips. Stir until melted.
Let the melted chocolate cool slightly before using.
Assembling the S’mores Peanut Butter Cups
Now it’s time to build your cups!
1. Line a muffin tin with cupcake liners.
2. Spoon a teaspoon of melted chocolate into each liner. Spread it to cover the bottom.
3. Chill the tin for about 10 minutes until the chocolate hardens.
4. Add a spoonful of the peanut butter mix on top of the chocolate. Spread it evenly.
5. Sprinkle mini marshmallows over the peanut butter layer.
6. Melt the remaining chocolate chips. Pour this over the marshmallows, covering them fully.
7. Use a spatula to smooth the chocolate. Tap the tin on the counter to remove air bubbles.
8. Chill for at least 30 minutes or until firm.
9. When ready, peel the cups away from the liners and enjoy!
These steps will help you create delicious S’mores Peanut Butter Cups. Happy cooking!
Tips & Tricks
How to Achieve Perfect Layering
To create great layers for your S’mores Peanut Butter Cups, you need careful steps. Start with a well-mixed chocolate base. Melted chocolate must be cool but still pourable. Spoon it into each cupcake liner, covering the bottom well. Chill the tin to let it set. When adding the peanut butter layer, don’t rush. Spread it slowly and evenly. This keeps each layer distinct and tasty. Follow these steps for a beautiful treat.
Best Storage Practices
Store your S’mores Peanut Butter Cups in an airtight container. This keeps them fresh and tasty. Place parchment paper between layers if stacking them. It prevents sticking and helps keep their shape. For best taste, keep them in the fridge. They stay firm and delicious that way. If you have leftovers, enjoy them within a week.
Troubleshooting Common Issues
Sometimes, you may face issues while making these cups. If the chocolate doesn’t set, it could be too warm. Let it cool longer before pouring. If the layers mix, try chilling each layer longer. This helps keep them separate. If they are hard to remove from the liners, gently run a knife around the edges. This should help lift them out easily.

Variations
Adding Different Flavors
You can easily change the flavors of your S’mores Peanut Butter Cups. Try using dark chocolate chips instead of semi-sweet ones for a richer taste. You can also swap in white chocolate for a fun twist. If you love mint, add a few drops of mint extract to the peanut butter mixture. Another idea is to mix in some crushed cookies or candy bars to the filling. Each new flavor can make these treats even more special.
Dietary-Friendly Adjustments
For those who need dietary changes, there are great options. Use almond or cashew butter instead of peanut butter for nut-free cups. If you’re avoiding sugar, try sugar-free chocolate chips and a sugar substitute in the filling. You can also use gluten-free graham crackers for a gluten-free version. These small changes can make a big impact while keeping the fun flavors.
S’mores Cup Recipe Comparisons
You can compare this recipe to other S’mores-inspired treats. Some recipes use cookie dough as a base, while others layer in cheesecake. Each version gives a new taste and texture. My S’mores Peanut Butter Cups stand out for their creamy filling and rich chocolate layers. Try different recipes to find your favorite. You might even mix and match ideas from each recipe to create your dream dessert!
Storage Info
How to Store Leftover Cups
To keep your S’mores Peanut Butter Cups fresh, store them in an airtight container. Place a layer of parchment paper between layers to avoid sticking. Keep the container in the fridge. This method keeps the cups firm and tasty.
Freezing Instructions
You can freeze these cups for a longer shelf life. Wrap each cup in plastic wrap or foil. Then, place them in a freezer-safe bag or container. This way, they stay fresh for up to three months. To enjoy, just thaw them in the fridge overnight.
Shelf Life
When stored properly, S’mores Peanut Butter Cups last about one week in the fridge. If frozen, they stay good for up to three months. Just remember to check for any signs of freezer burn. Enjoying these treats fresh is best, but they still taste great later!
FAQs
Can I use crunchy peanut butter instead?
Yes, you can use crunchy peanut butter. It adds a fun texture. The cups will have little bits of peanut, giving each bite more crunch. Just make sure it mixes well with the powdered sugar and syrup.
How can I make these vegan?
To make these vegan, swap the honey for maple syrup. Use dairy-free chocolate chips too. You can also choose a vegan creamy peanut butter. This way, you enjoy a tasty treat without any animal products.
What can I use if I don’t have mini marshmallows?
If you don’t have mini marshmallows, you can use large marshmallows. Just cut them into small pieces. For a different twist, try using vegan marshmallow fluff. Another option is to use a drizzle of caramel for that sweet touch.
This article covered all you need to make S’mores Peanut Butter Cups. We shared a full list of ingredients, substitution ideas, and healthier options. You learned simple steps for preparing the cups, melting chocolate, and assembling them. I provided tips for perfect layering, storage, and troubleshooting.
Incorporating variations helps you get creative. Use different flavors to fit any diet. Storing tips ensure your treats last longer. I hope these insights make your cooking fun and easy. Enjoy making your treats!
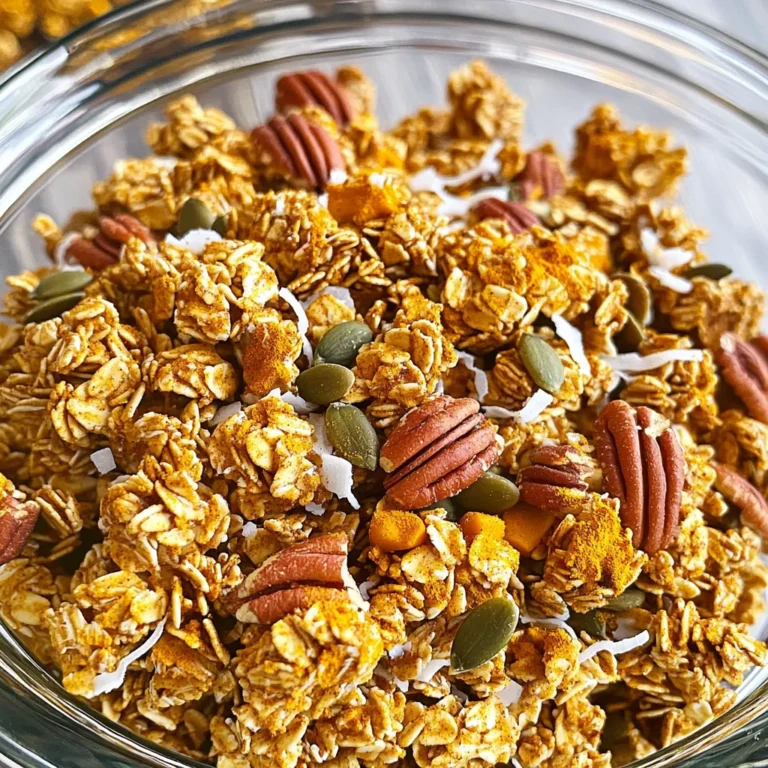
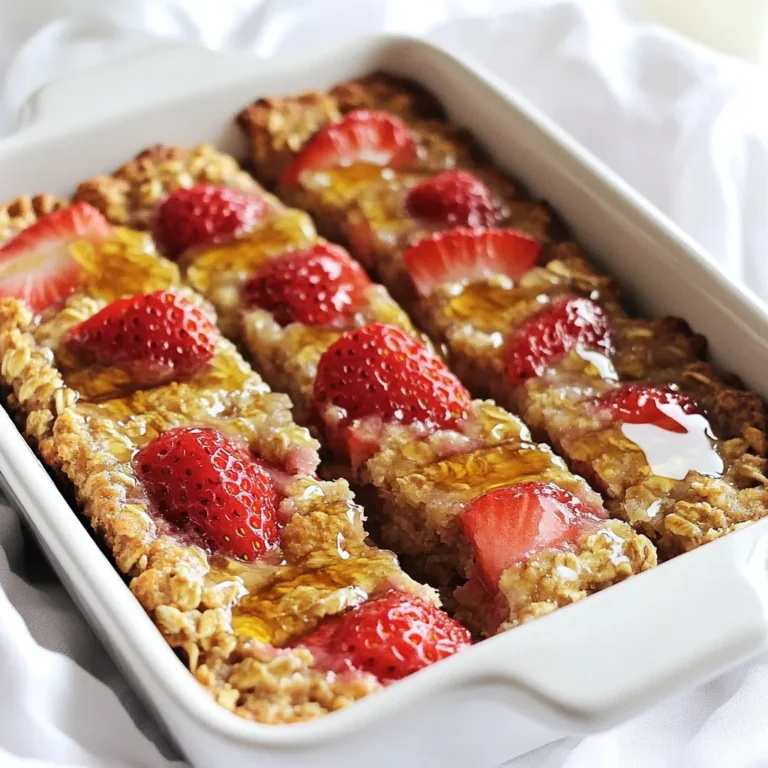
 for more details. To start, gather your ingredients. You'll need rolled oats, almond milk, apples, maple syrup, and spices. Preheat your oven to 350°F (175°C). Grease a 9x9-inch baking dish with cooking spray. In a large bowl, mix the oats, almond milk, maple syrup, vanilla, baking powder, cinnamon, nutmeg, and salt together. Stir until everything is blended. Now, fold in the diced apples and any nuts or dried fruit you want. Pour this mix into the baking dish. Spread it out evenly. Baking time is key. Bake for 30 to 35 minutes. Look for a golden top. A toothpick should come out clean from the center. If you want a softer texture, add more almond milk. For a firmer bake, use less. This recipe works well with different nuts or fruits, too. Feel free to experiment and find your own perfect texture. Once your bake is out of the oven, let it cool for about 10 minutes. This helps it set up nicely. Cut it into squares. I love to serve it warm with a drizzle of maple syrup and a sprinkle of cinnamon. You can also add yogurt or ice cream for a sweet touch. Try this recipe for a comforting breakfast or snack. For the full details, check the full recipe. To get a creamy texture in your cinnamon apple oatmeal bake, use rolled oats. They soak up the liquid well. Almond milk adds a nice creaminess too. If you want it richer, use full-fat milk. Mixing the wet ingredients first helps everything blend nicely. Stir until everything is combined, but don’t overmix. For even cooking, spread the oatmeal mixture evenly in your baking dish. Make sure your oven is preheated to the right temperature. This helps your bake cook through evenly. Check it a few minutes before the timer goes off. If the top looks golden brown, it’s likely done. A toothpick should come out clean when inserted. You can store any leftovers in an airtight container. Keep them in the fridge for up to five days. To reheat, place a square in the microwave for about 30 seconds. You can add a splash of milk to keep it moist. For a warm treat, you might also bake it for 10 minutes at 350°F. Enjoy your cinnamon apple oatmeal bake any time! For the full recipe, check above. {{image_2}} You can switch up the apples for other fruits. Pears work well and add a sweet touch. You can also use berries, like blueberries or raspberries. These fruits add a nice color and flavor. Feel free to experiment with bananas too. Just slice them and mix them in. Each fruit brings its unique taste, making this dish fun and fresh. If you want a nut-free version, skip the walnuts. You can replace almond milk with oat or soy milk. This keeps the recipe vegan and delicious. You might also add seeds, like sunflower or pumpkin seeds. They add crunch without nuts. Enjoy your creamy bake while keeping it allergy-friendly. Besides cinnamon, you can use other spices. Cardamom adds a floral note that is lovely. Ginger gives a spicy kick that pairs well with apples. You can even add a bit of cocoa powder for a chocolatey twist. Mixing in these flavors can change the whole dish. It allows you to find your perfect blend that excites your taste buds. For the full recipe, check out the details above. Cinnamon Apple Oatmeal Bake is both tasty and healthy. Each serving has about 200 calories. This dish offers a good mix of macronutrients. You get around 6 grams of protein, 4 grams of fat, and 38 grams of carbs. The oats are the main source of carbs, giving you energy for your day. The nuts add healthy fats and protein. Using almond milk helps keep the calories low. The ingredients in this bake are full of health benefits. - Oats: They are great for heart health and digestion. Oats can help lower cholesterol levels. - Apples: They add fiber and vitamins. Eating apples can help keep your heart healthy. - Walnuts: They are high in omega-3 fatty acids. This helps reduce inflammation in the body. - Cinnamon: It may help regulate blood sugar levels. Plus, it gives a warm flavor that brightens the dish. These ingredients make this oatmeal bake a smart choice for breakfast or a snack. This recipe serves about 6 to 8 people. It is easy to adjust the serving sizes. If you want a smaller portion, cut the bake into squares. Each square can be a healthy snack or breakfast. If you have leftovers, store them in an airtight container. Reheat in the microwave for a quick meal. With its balanced nutrients, you can enjoy this dish any time of the day. For the full recipe, check out the details above. Yes, you can make Cinnamon Apple Oatmeal Bake ahead of time. Prepare your mixture and place it in the baking dish. Cover it with plastic wrap and store it in the fridge. You can bake it the next day. This makes for an easy breakfast on busy mornings. To store leftovers, let the bake cool completely. Cut it into squares and place them in an airtight container. You can keep it in the fridge for up to five days. To reheat, simply place a square in the microwave for about 30 to 45 seconds. You can also warm it in the oven at 350°F for around 10 minutes. You can serve this oatmeal bake with a drizzle of maple syrup. A sprinkle of cinnamon adds great flavor, too. For extra creaminess, add a dollop of yogurt on top. A scoop of ice cream makes it a treat! You can also pair it with fresh fruit for a colorful plate. For the complete recipe, check out the Full Recipe. Cinnamon Apple Oatmeal Bake is easy to make and full of flavor. We covered key ingredients, preparation steps, and cooling methods to get it just right. I shared tips for a creamy texture and cooking evenly. Plus, you learned fun variations and storage advice. Embrace your creativity in the kitchen. This dish is versatile and healthy, making it a great choice for any meal. Enjoy exploring different flavors and combinations. Happy baking!](https://dailydishly.com/wp-content/uploads/2025/06/ad0fc4db-106a-47e6-9ea2-42d3ddbbc125-768x768.webp)
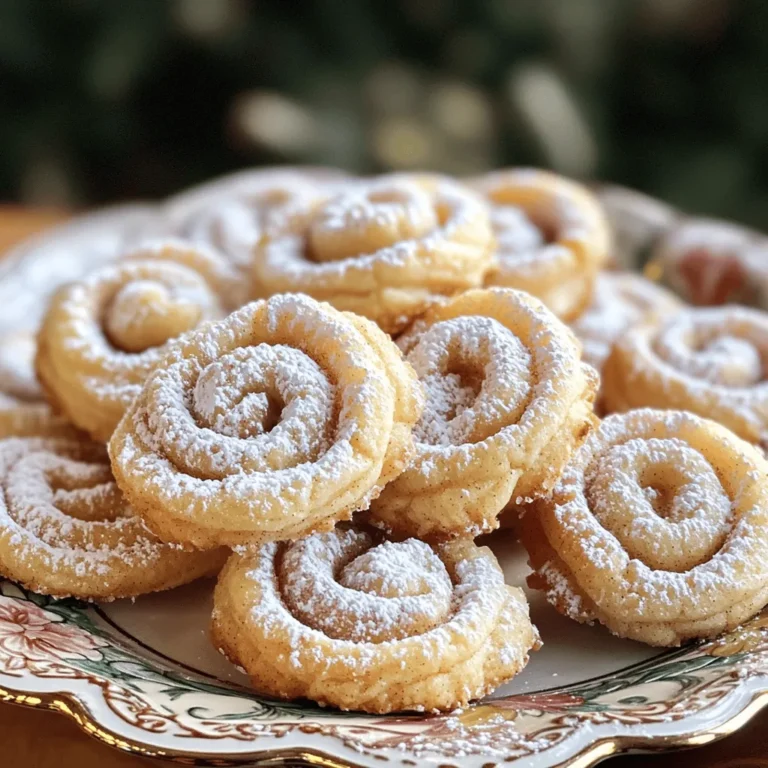
![To make these chocolate-covered banana bites, you will need simple, fresh ingredients. Here is the list: - 2 large bananas - 1 cup dark chocolate chips (or semi-sweet) - 1 tablespoon coconut oil - 1/4 cup chopped nuts (walnuts, almonds, or pistachios) - Sea salt for sprinkling - Optional toppings: 1/4 cup shredded coconut or mini marshmallows These ingredients work together for a tasty treat. The bananas add natural sweetness, while the dark chocolate provides rich flavor. Coconut oil helps the chocolate melt smoothly and adds a hint of tropical taste. The nuts give a nice crunch, and sea salt balances the sweetness. You can also mix in optional toppings like shredded coconut or mini marshmallows for fun twists. When choosing bananas, look for ones that are ripe but not too soft. This way, they will hold their shape when coated. For chocolate, dark chocolate chips melt well and taste great, but you can pick semi-sweet if you prefer. Once you gather your ingredients, you’re ready to make a delightful snack. For the complete process, check the Full Recipe. - Peel and slice bananas into bite-sized rounds. - Arrange banana slices on a parchment-lined baking sheet. Start with ripe bananas. They should be firm but not too soft. Slice them about one inch thick. This size helps them hold their shape when coated in chocolate. Lining the baking sheet with parchment paper keeps the bites from sticking. - Combine chocolate chips and coconut oil in a microwave-safe bowl. - Microwave in intervals, stirring, until smooth. Use dark chocolate chips for a rich taste. The coconut oil makes the chocolate smooth and shiny. Heat in short bursts of thirty seconds. Stir after each burst to prevent burning. When melted, the chocolate should be silky and easy to dip. - Use a fork or toothpick to coat banana slices in chocolate. - Allow excess chocolate to drip off. Hold the banana slice with a fork or toothpick. Dip it fully into the melted chocolate. Let any extra chocolate fall back into the bowl. This step ensures a nice, even coat. - Sprinkle nuts onto chocolate-coated banana bites. - Optionally, add shredded coconut or mini marshmallows. While the chocolate is still wet, add your favorite toppings. Nuts give a nice crunch. Coconut and marshmallows add a fun twist. Get creative with your choices! - Place the baking sheet in the freezer. - Chill for 15-20 minutes until the chocolate sets. Freezing helps the chocolate harden quickly. This step gives you a perfect bite. Keep an eye on them to make sure they don’t freeze too long. - Arrange on a serving platter. - Sprinkle with sea salt for extra flavor. Once chilled, place the banana bites on a nice platter. A light sprinkle of sea salt can enhance the flavor. These treats are perfect for sharing with friends or family. For the complete recipe, check out the [Full Recipe]. For melting, I recommend dark chocolate or semi-sweet chocolate. Both types melt well and give a rich flavor. Avoid chocolate with added ingredients, as they may not melt smoothly. To stop chocolate from seizing, add a bit of coconut oil. This helps keep the chocolate smooth and shiny while you dip your bananas. You can get creative with toppings! Try adding chopped nuts like walnuts or almonds for crunch. For a fun twist, sprinkle on shredded coconut or mini marshmallows. Bananas pair well with peanut butter too. Drizzle some on top after dipping for a tasty combo. If you're feeling adventurous, add a pinch of cinnamon for warmth. Present your chocolate-covered banana bites on a colorful platter. For a fun touch, use mini cupcake liners. They look cute and make for easy serving. Pair these bites with a glass of cold milk or a warm cup of tea. They also go well with vanilla ice cream for a sweet dessert combo. Enjoy your tasty creation! {{image_2}} You can easily make these bites vegan or dairy-free. Use plant-based chocolate chips instead of dark chocolate. Look for brands that are labeled dairy-free. You can also skip the nuts if you need a nut-free version. Simply leave them out or choose seeds like pumpkin or sunflower for crunch. You can switch up the chocolate for fun. Try white chocolate for a sweet twist. Milk chocolate is another tasty choice. If you want to get creative, add spices like cinnamon or nutmeg. Extracts like vanilla or almond also bring unique flavors. These small changes make a big impact on taste. Bananas are great, but other fruits work well too. Strawberries and apples both taste amazing with chocolate. You can even mix bananas with berries. Slice them small to make bite-sized treats. This way, you get a variety of flavors in one bite. Enjoy experimenting with different fruits! To keep your chocolate-covered banana bites fresh, store them in the fridge. Use an airtight container to prevent odors. Place parchment paper between layers if stacking them. This keeps the chocolate from sticking. If you want to store them longer, freezing works well too. Just place them on a baking sheet first. Once frozen, transfer them to a freezer-safe bag. This prevents them from clumping together. To thaw, just leave them in the fridge for a few hours before enjoying. When stored well in the fridge, these treats last about a week. If you freeze them, they can last up to two months. Check for signs of spoilage like brown spots on the bananas or a change in texture. If they look or smell off, it’s best to toss them. If you have leftover melted chocolate, don’t waste it! You can reuse it for other treats. Drizzle it on popcorn, or dip pretzels for a sweet and salty snack. You can also make chocolate-covered strawberries or marshmallows. Just be sure to reheat it gently to keep it smooth. For the best results, use the Full Recipe to make your banana bites. Enjoy the fun of creating delicious snacks while managing your storage effectively! Yes, you can use milk chocolate. It adds a sweeter taste. Dark chocolate has a richer flavor. Dark chocolate also has more health benefits, like antioxidants. It has less sugar than milk chocolate, making it a better choice for some. If you prefer sweet, go for milk chocolate. If you want a deeper flavor, stick with dark. To keep the chocolate firm, store the bites in a cool place. A fridge works great, but avoid the freezer after setting. You can also use a chocolate with a higher cocoa content. This type melts less easily. If you serve them warm, try using coconut oil. It helps the chocolate stay solid longer. Yes, you can make these bites ahead of time. They store well in the fridge for about a week. Just place them in an airtight container. If you want to keep them longer, you can freeze them. Make sure to separate layers with parchment paper to avoid sticking. Thaw them in the fridge before serving for the best taste. Chocolate-covered banana bites can be healthy in moderation. Bananas provide potassium and fiber. Dark chocolate has antioxidants, which are good for you. However, watch your portions. Eating too many can add extra sugar and calories. Pair these bites with a balanced diet for better health. Enjoy them as a treat rather than a daily snack. For the full recipe, check out the details above. You learned how to make tasty chocolate-covered banana bites. We covered the simple steps, from slicing bananas to melting chocolate. You can mix and match ingredients for fun variations. Remember, storing them well keeps them fresh and tasty for longer. Whether serving these bites at a party or enjoying them yourself, they are a delightful treat. Experiment with toppings and flavors to make them yours. Enjoy creating your own chocolate-covered banana bites!](https://dailydishly.com/wp-content/uploads/2025/06/88d9cc62-4f1a-4e00-b9c6-f86f49f25fdc-768x768.webp)