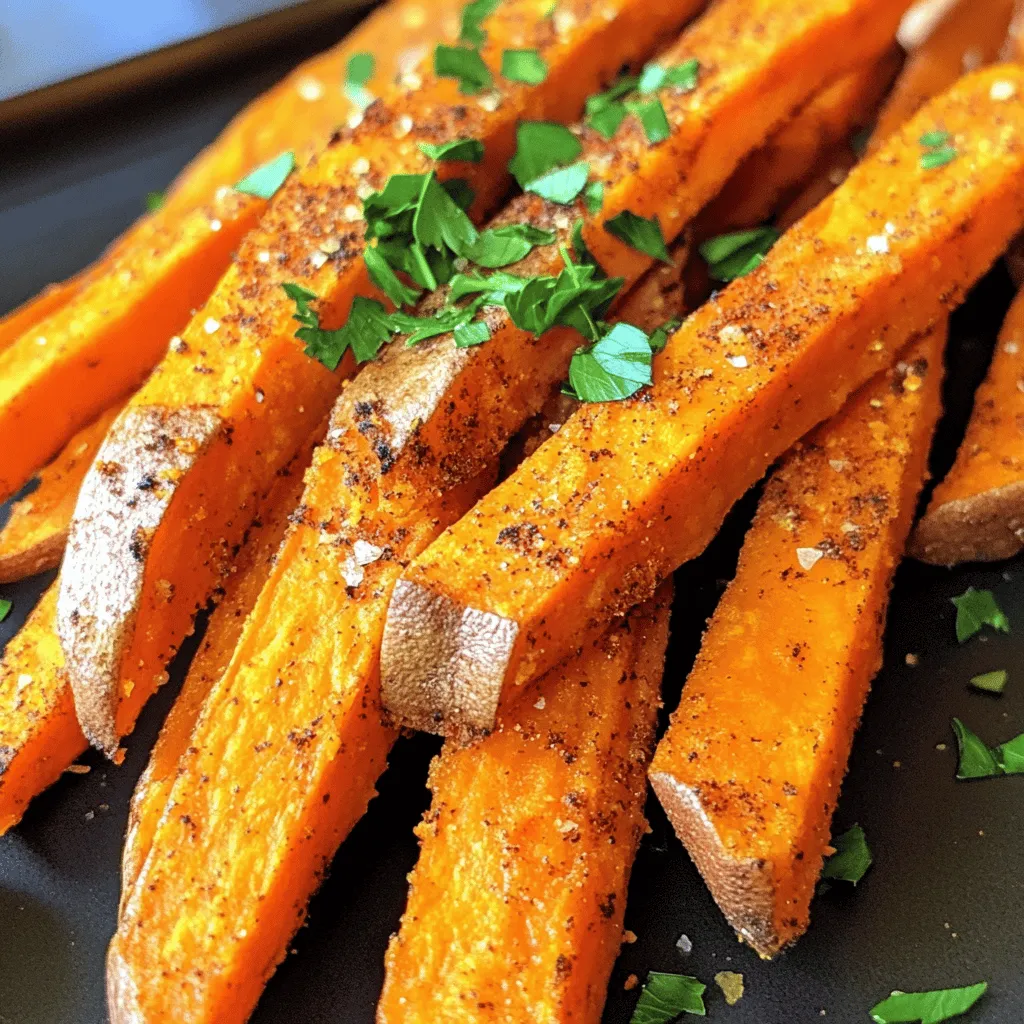
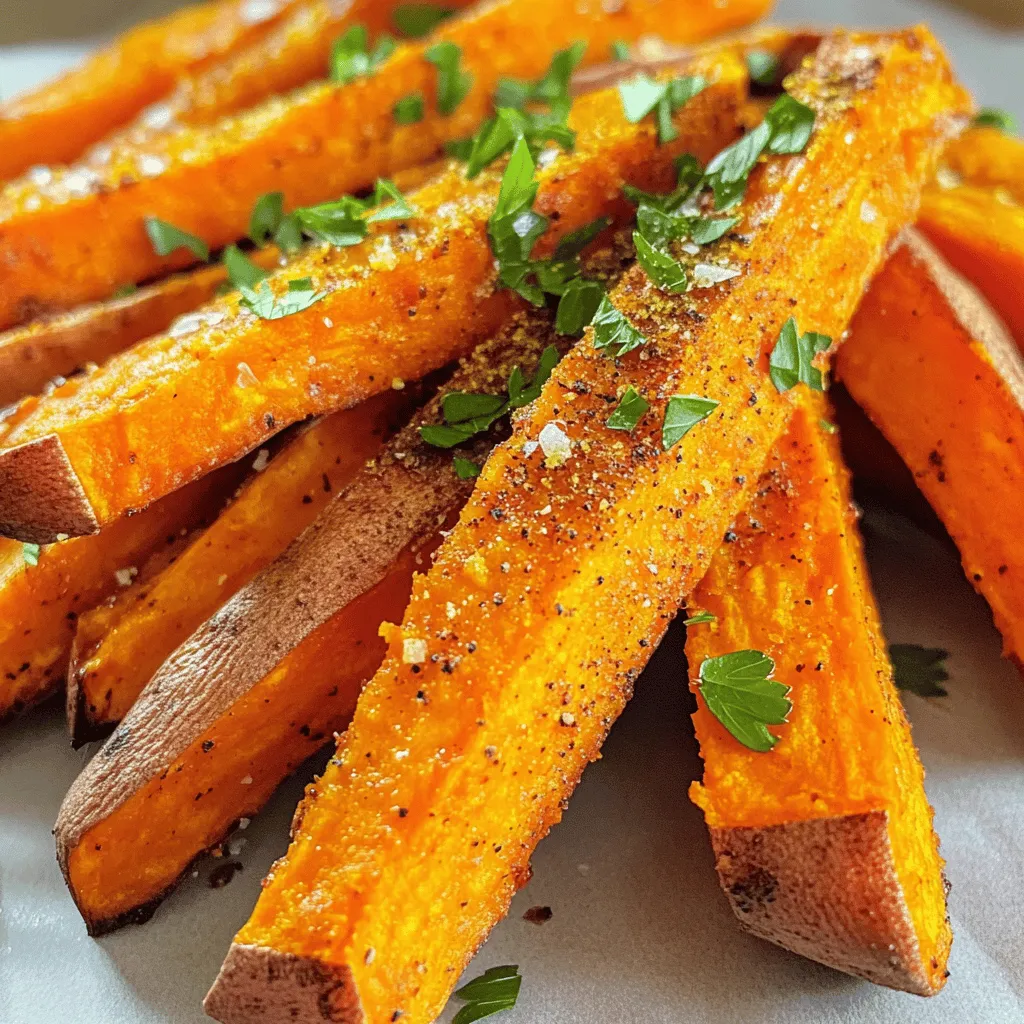
Looking for a tasty snack that’s both crispy and healthy? You’ve got to try Air Fryer Sweet Potato Fries! With just a few simple ingredients and easy steps, you can whip up a flavorful treat that your whole family will love. Say goodbye to soggy fries and hello to a crunchy delight! Join me as I share my top tips for making these delicious fries right in your air fryer.
Ingredients
To make the best air fryer sweet potato fries, you need simple, fresh ingredients. Here’s what you will need:
– 2 large sweet potatoes, peeled and cut into fries
– 2 tablespoons olive oil
– 1 teaspoon smoked paprika
– 1 teaspoon garlic powder
– 1/2 teaspoon cayenne pepper
– 1 teaspoon salt
– 1/2 teaspoon black pepper
– Optional: Fresh parsley, chopped (for garnish)
These ingredients work together to create a crispy and flavorful snack. Sweet potatoes offer a natural sweetness, while spices add a kick. Olive oil helps the fries crisp up nicely in the air fryer. Feel free to adjust the spice levels based on your taste.” This recipe is easy to follow and perfect for a quick snack or side dish.
Step-by-Step Instructions
Preparation Steps
First, preheat your air fryer to 400°F (200°C). This step takes about 5 minutes. Preheating the air fryer helps cook the fries evenly. Next, take your sweet potatoes. Peel them and cut them into fry shapes. In a large bowl, toss the sweet potato fries with 2 tablespoons of olive oil. Make sure each fry gets a nice coat of oil. This will help them crisp up while cooking.
Seasoning the Fries
In a small bowl, mix together your spices. You will need 1 teaspoon of smoked paprika, 1 teaspoon of garlic powder, 1/2 teaspoon of cayenne pepper, 1 teaspoon of salt, and 1/2 teaspoon of black pepper. Feel free to adjust the cayenne pepper to fit your taste. Once mixed, sprinkle this seasoning over the fries. Toss them again until every fry is well coated. This adds tons of flavor to your fries.
Cooking the Fries
Now it’s time to cook! Arrange the seasoned fries in a single layer in the air fryer basket. Avoid overcrowding; this helps them cook better. If you have a lot of fries, you may need to cook them in batches. Set your timer for 15-20 minutes. Halfway through cooking, shake the basket gently. This helps the fries cook evenly. When they turn crispy and golden brown, they are ready to enjoy. You can garnish them with fresh parsley if you’d like.
Tips & Tricks
Achieving Crispy Texture
To get that perfect crunch, don’t overcrowd the basket. If you pack the fries too tight, they will steam instead of fry. This will make them soft. Cook in small batches for the best results.
Shaking the basket during cooking is key too. Halfway through, give it a good shake. This helps the fries cook evenly. You’ll see that nice golden color all over.
Flavor Enhancements
Adding extra flavor is easy. Try using spices like cumin or cinnamon for a twist. Fresh herbs like rosemary or thyme can also bring great taste.
Always use fresh ingredients when you can. Fresh sweet potatoes taste better and have more nutrients. Fresh spices pack a punch and add depth to your fries.
Serving Suggestions
Dipping sauces are a must! I love pairing these fries with a tangy yogurt sauce or spicy ketchup. You can also try ranch or guacamole for a creamy option.
For serving, think about your occasion. These fries are great for game day or a cozy movie night. You can even serve them as a fancy appetizer at dinner parties.
Variations
Different Seasoning Combinations
You can mix it up with sweet and savory flavors for your sweet potato fries. For sweetness, try cinnamon and a touch of brown sugar. If you want savory, go for garlic and onion powder. You can also explore fun blends inspired by different cuisines. Cajun spice adds a nice kick. For a fresh twist, use lemon-herb seasoning. Just sprinkle your choice on the fries before cooking, and you’ll have a new flavor each time!
Alternative Cooking Methods
If you don’t have an air fryer, you can still enjoy these fries. To bake them in the oven, preheat it to 425°F (220°C). Spread the seasoned fries on a baking sheet lined with parchment paper. Bake for about 25-30 minutes, flipping them halfway through. For those who love deep-fried fries, heat oil in a pot to 350°F (175°C). Fry the sweet potato strips in small batches until golden and crispy. Both methods yield delicious results!
Unique Sweet Potato Fry Shapes
The shape of your fries can change the game. You can cut them into classic sticks or try crinkle cuts for more texture. Wedges are another fun option. Different types of sweet potatoes can add variety too. Orange-fleshed sweet potatoes are sweet and creamy. Purple sweet potatoes bring a unique color and flavor. Experiment with shapes and types to find your favorite way to enjoy your sweet potato fries.
Storage Info
Storing Leftovers
To store your sweet potato fries, place them in an airtight container. This keeps them fresh and prevents them from getting soggy. You can store them in the fridge for up to three days. If you want them to last longer, consider freezing them. Just make sure they cool down first. Freeze them flat in a single layer on a baking sheet, then transfer them to a freezer bag. They can last up to three months in the freezer.
Reheating Tips
When reheating your fries, the goal is to keep them crispy. The best method is to use your air fryer again. Preheat it to 350°F (175°C), then place the fries in for about 5-7 minutes. This will refresh their crispness. If you only have a microwave, use it with caution. Microwaving can make them soft. If you must use it, heat them for a short time, no more than 1 minute. Then, finish them in a hot pan for a few minutes to restore some crunch.
FAQs
How do I make sweet potato fries crispy?
To make sweet potato fries crispy, start with the right temperature. Preheat your air fryer to 400°F (200°C). This heat helps the fries cook quickly and get that nice crunch. Next, coat the fries well. Use about 2 tablespoons of olive oil for 2 large sweet potatoes. Toss them until they have an even layer of oil.
Consider using a mix of spices for extra flavor. I like to use smoked paprika, garlic powder, cayenne pepper, salt, and black pepper. Sprinkle this mix over the fries and toss again. This adds flavor while helping them crisp up.
Finally, don’t overcrowd the basket. Lay the fries in a single layer. This allows hot air to flow around each fry. Shake the basket halfway through cooking, about 15-20 minutes. This ensures even cooking and crispiness.
Can I use other types of potatoes?
Yes, you can use other types of potatoes. Regular potatoes, like russets or Yukon golds, work well too. However, sweet potatoes have a natural sweetness. This sweetness enhances the taste of the fries. They also have more nutrients than regular potatoes.
Regular potatoes tend to be starchier. This makes them crispier when cooked properly. If you choose to use regular potatoes, follow the same steps as for sweet potatoes. The cooking time may vary slightly, so keep an eye on them.
What dipping sauces pair well with air fryer sweet potato fries?
Sweet potato fries pair well with many sauces. Here are some popular options:
– Ketchup
– Ranch dressing
– Honey mustard
– Chipotle mayo
– Garlic aioli
You can make a simple garlic aioli by mixing mayonnaise with minced garlic and lemon juice. For chipotle mayo, blend mayonnaise with chipotle in adobo sauce. Each of these dips brings out the unique flavors of the fries, making your snack even better.
In this post, we explored how to make crispy air fryer sweet potato fries. We covered the right ingredients, preparation steps, and cooking method. I also shared tips for flavor and storage. Sweet potatoes can be fun to cook in many ways. Use different spices or shapes to keep things interesting. Enjoy these fries with your favorite dips for a delightful treat.


