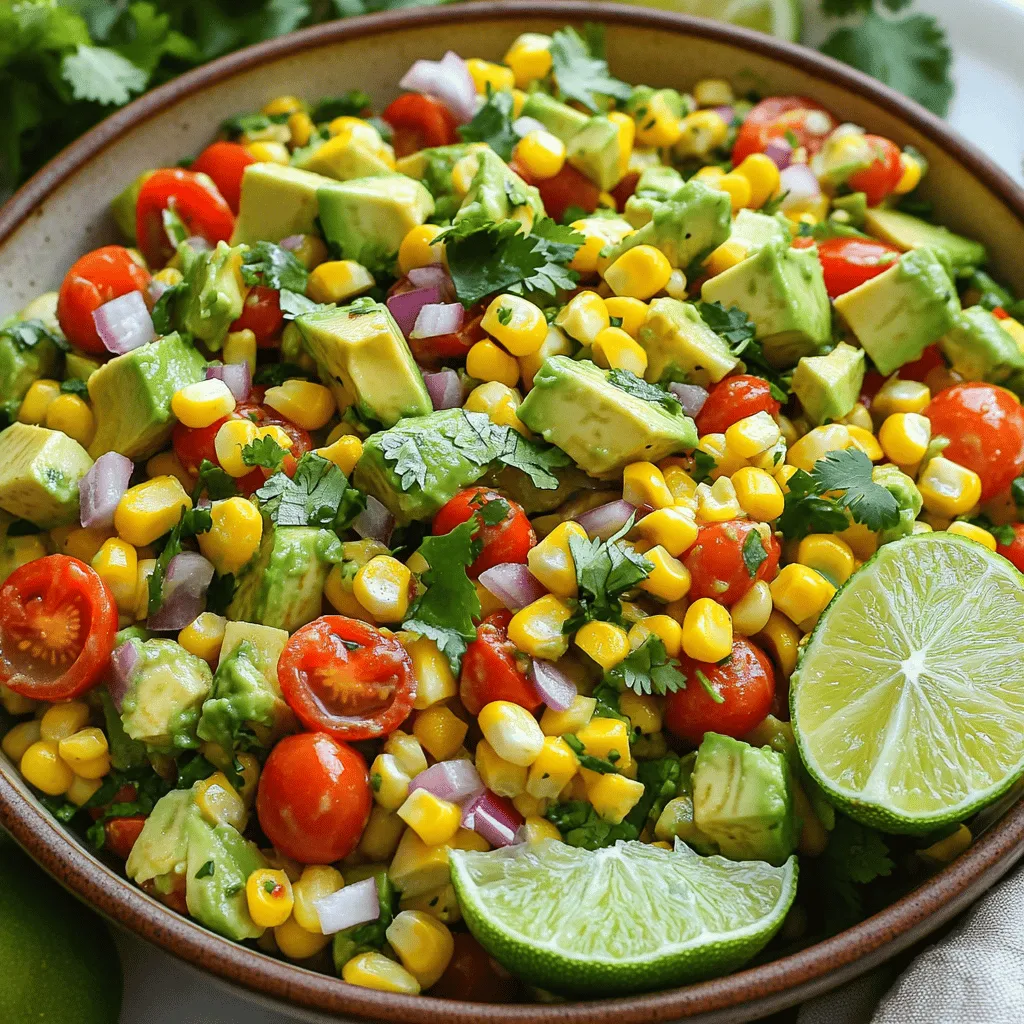
Looking for a fresh and tasty salad that’s packed with flavor? This Avocado Corn Salad is the perfect choice! With ripe avocados and sweet corn, it bursts with texture and zest. You can whip it up in minutes, making it an ideal side dish for any meal. Plus, I’ll share tips for adding your favorite ingredients and making it ahead of time. Let’s dive in and get started on this delightful recipe!
Ingredients
Main Ingredients
– 2 ripe avocados, diced
– 1 cup sweet corn (canned or grilled)
– 1 cup cherry tomatoes, halved
– 1 red bell pepper, diced
– 1/4 cup red onion, finely chopped
– 1/4 cup fresh cilantro, chopped
– Juice of 2 limes
– 2 tablespoons olive oil
– 1 teaspoon cumin powder
– Salt and pepper to taste
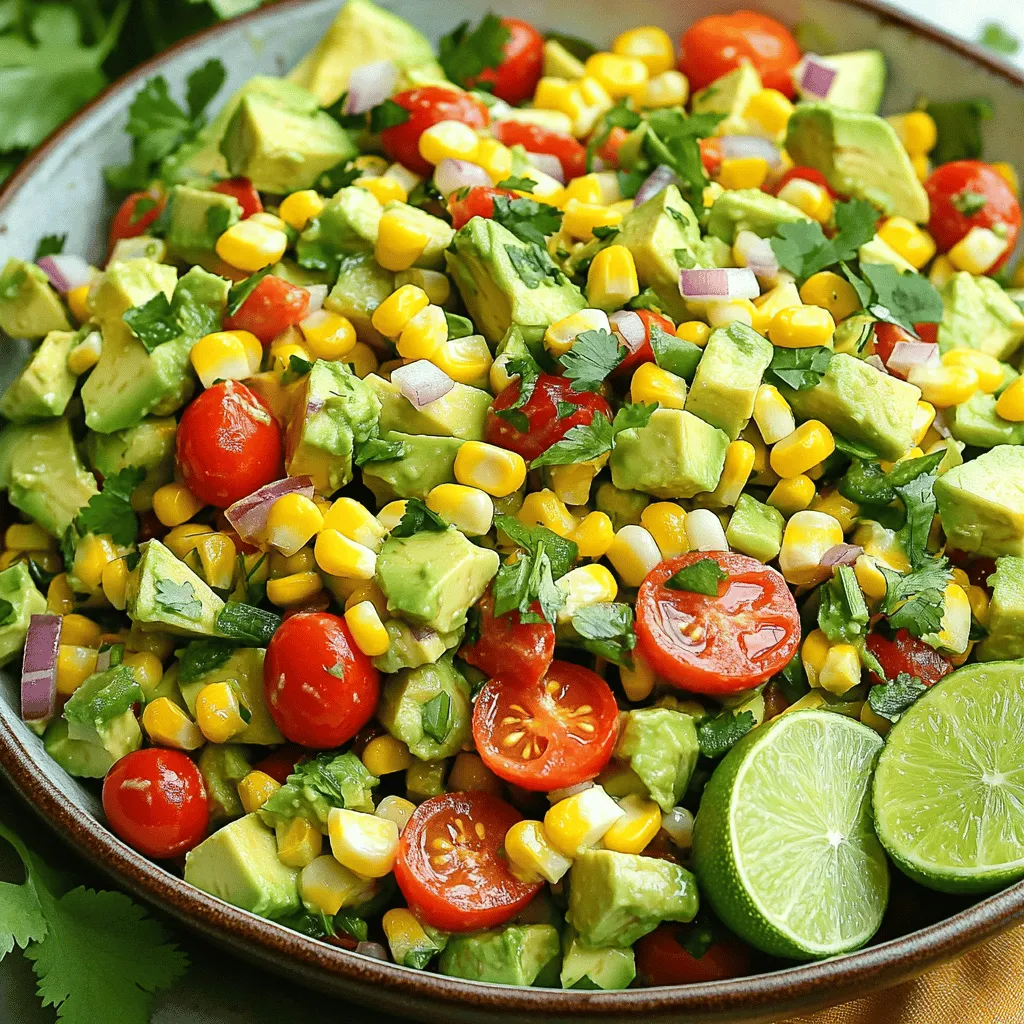
I love using ripe avocados in this salad. They add creaminess. Sweet corn brings a nice crunch and sweetness. Cherry tomatoes add freshness and a pop of color. Red bell pepper gives it a crisp bite. Red onion adds a sharp taste that balances the other flavors. Fresh cilantro brightens everything up with its unique flavor. Lime juice adds a tangy kick. Olive oil gives richness. Cumin powder adds warmth. Salt and pepper round out the taste perfectly.
Optional Ingredients
– Additional vegetables
– Cheese options
– Protein additions (e.g., black beans, chicken)
Feel free to add more vegetables like cucumbers or radishes for extra crunch. You can sprinkle cheese like feta or cotija for a salty bite. For a heartier dish, add protein like black beans or grilled chicken. These options make the salad more filling and can change the flavor profile. I love how versatile this salad is!
Step-by-Step Instructions
Preparation Steps
1. Combining base ingredients
Start by grabbing a large mixing bowl. Add the diced avocados and sweet corn. Next, toss in the halved cherry tomatoes, diced red bell pepper, and finely chopped red onion. These fresh ingredients create a colorful base.
2. Whisking the dressing
In a small bowl, combine lime juice, olive oil, cumin powder, salt, and pepper. Use a whisk to mix the dressing well. This will add flavor and bring the salad together.
3. Tossing and seasoning the salad
Pour the dressing over the salad mixture. Gently toss everything together until all ingredients are coated. Taste the salad and adjust the seasoning if needed. Let it sit for about 10 minutes before serving to let the flavors blend.
Tips for Perfecting Your Salad
– Choosing ripe avocados
Look for avocados that are slightly soft when you squeeze them. They should yield to gentle pressure. This ensures a creamy texture in your salad.
– Tips for cutting vegetables
Use a sharp knife to cut the veggies. For the avocados, cut them in half, remove the pit, and scoop out the flesh with a spoon. Dice them into bite-sized pieces.
– Balancing flavors in the dressing
Adjust the lime juice and salt to your taste. If you like it tangy, add more lime. A pinch of sugar can balance the acidity if needed.
Tips & Tricks
Presentation Tips
To make your avocado corn salad pop, serve it in a large, shallow bowl. This type of dish lets the colors shine. I love to garnish with fresh cilantro leaves on top. Adding lime wedges on the side makes it look fresh and inviting.
For dishware, choose bright colors. White or light-colored bowls make the salad’s colors stand out. You want your guests to be drawn in by the vibrant greens, reds, and yellows.
Making Ahead
You can prepare this salad a bit early. Chop the vegetables and store them in separate containers. This keeps them fresh and crunchy. You can mix the dressing in advance too. Just keep it in a jar in the fridge.
When ready to serve, combine everything in a big bowl. Pour the dressing over the salad and toss gently. This way, your salad stays fresh and tasty.
To keep the salad fresh, store it in an airtight container. This locks in flavors and keeps the ingredients crisp. If you notice browning avocados, squeeze a bit more lime juice on top. It helps slow down the browning.Enjoy your fresh and flavorful avocado corn salad!
Variations
Flavorful Additions
You can easily change this salad. Spice it up by adding diced jalapeños. This will give it a kick. You can also try different dressings. A zesty vinaigrette adds a bright note. If you want creaminess, go for a yogurt-based dressing. Both options fit well with the fresh flavors.
Seasonal Variations
This salad shines in every season. In summer, add diced mango or peach. Their sweetness pairs perfectly with the corn and avocado. For winter, think roasted vegetables. Roasted sweet potatoes or bell peppers add warmth. These variations keep the dish fresh and exciting all year.
Storage Info
Best Practices for Storing
To keep your avocado corn salad fresh, store it in the fridge. Use an airtight container. This will help keep moisture in and air out.
To prevent browning of avocados, squeeze a little lime juice over them. The lime slows down oxidation. You can also cover the salad tightly with plastic wrap. Press the wrap directly onto the salad to limit air exposure.
Shelf Life
Your salad lasts for about 1 to 2 days in the fridge. After that, it may lose its taste and texture.
Signs that your salad has spoiled include a strong, sour smell or a mushy texture. If you see dark spots on the avocados, it’s time to toss it. Always trust your senses to decide if it’s safe to eat.
FAQs
How can I make this salad vegan?
To make this salad vegan, swap the honey for maple syrup if you like sweetness. Use a vegan olive oil dressing instead of any store-bought dressings. All the main ingredients are vegan-friendly. This gives you a fresh, tasty salad that fits your diet.
Can I use frozen corn?
Yes, you can use frozen corn! Just thaw it first. If you want a crisp taste, try grilling it briefly. This adds a nice smoky flavor. Both options work well in this salad.
What can I pair this salad with?
This salad pairs well with many dishes. You can add grilled chicken or shrimp for protein. It also works great with black beans for a vegetarian option. Serve it alongside tacos or grilled fish for a full meal. For a light meal, enjoy it on its own.
In this blog post, I covered how to make a delicious avocado salad. You learned about the main ingredients, like ripe avocados, sweet corn, and cherry tomatoes. I shared tips for preparation and gave you ideas on how to present and store your salad.
Remember, feel free to mix in different flavors or proteins. Get creative and make this dish your own. With fresh ingredients and simple steps, you can create a tasty and healthy meal that everyone will enjoy.


