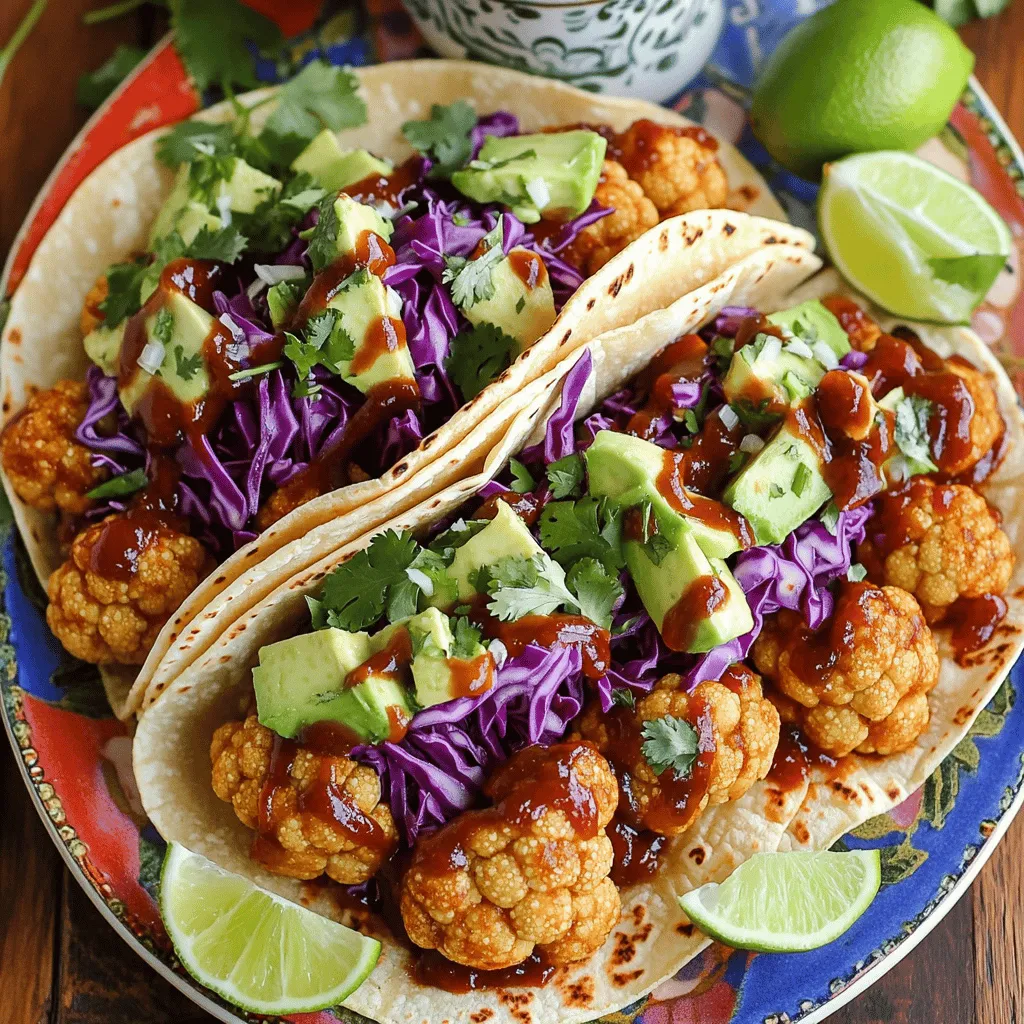
If you want a tasty twist on Taco Night, try BBQ Cauliflower Tacos. This easy recipe uses simple ingredients like a whole head of cauliflower and BBQ sauce. It’s perfect for any meal or snack. I’ll guide you through each step to make these delicious tacos. Get ready to impress your friends and family with this fun dish that everyone can enjoy, no matter their diet. Let’s get cooking!
Ingredients
Main Ingredients
– 1 medium head of cauliflower
– 1 cup BBQ sauce
– 8 small corn tortillas
Additional Ingredients
– 1 tablespoon olive oil
– 1 teaspoon smoked paprika
– 1 teaspoon garlic powder
– Salt and pepper to taste
Toppings
– 1 cup shredded red cabbage
– ½ cup diced avocado
– ¼ cup fresh cilantro, chopped
– Lime wedges for serving
When I make BBQ cauliflower tacos, I start with fresh, vibrant ingredients. The main star is the cauliflower. I choose a medium head and cut it into small florets. This helps the cauliflower cook evenly.
Next, I grab my favorite BBQ sauce. You can use store-bought or homemade. Either way, it adds a sweet and smoky flavor that shines through. Corn tortillas are essential for wrapping your delightful filling. I prefer small ones for easy handling.
For seasoning, I mix olive oil with smoked paprika and garlic powder. These spices give the cauliflower a warm, rich taste. I always add salt and pepper to enhance the flavors.
The toppings are just as important. I love using shredded red cabbage for crunch. Diced avocado brings creaminess, while fresh cilantro adds a burst of freshness. Don’t forget the lime wedges! They add a zesty kick when squeezed over the tacos.
With all these ingredients ready, you create a meal that is not only tasty but also colorful and fun to eat!
Step-by-Step Instructions
Preparation Steps
– Preheat the oven and prepare the baking sheet: Start by preheating your oven to 425°F (220°C). Line a baking sheet with parchment paper. This makes cleanup a breeze.
– Prepare the cauliflower florets: Take a medium head of cauliflower and cut it into florets. In a large bowl, mix the florets with one tablespoon of olive oil, one teaspoon of smoked paprika, one teaspoon of garlic powder, and a pinch of salt and pepper. Make sure every floret gets a nice coating.
Cooking Steps
– Bake the cauliflower and toss with BBQ sauce: Spread the coated cauliflower on your baking sheet. Bake for about 20 minutes, flipping them halfway through. They should be tender and slightly crispy. When they finish baking, drizzle one cup of BBQ sauce over the cauliflower. Toss gently to coat. Return them to the oven for another 10 minutes to caramelize the sauce.
– Warm the tortillas on a skillet: While the cauliflower is baking, heat eight small corn tortillas in a dry skillet. Warm them over medium heat for about 30 seconds on each side. They should be warm and pliable.
– Assemble the tacos with toppings: To put your tacos together, place a generous amount of BBQ cauliflower on each tortilla. Top with one cup of shredded red cabbage and half a cup of diced avocado.
Final Touches
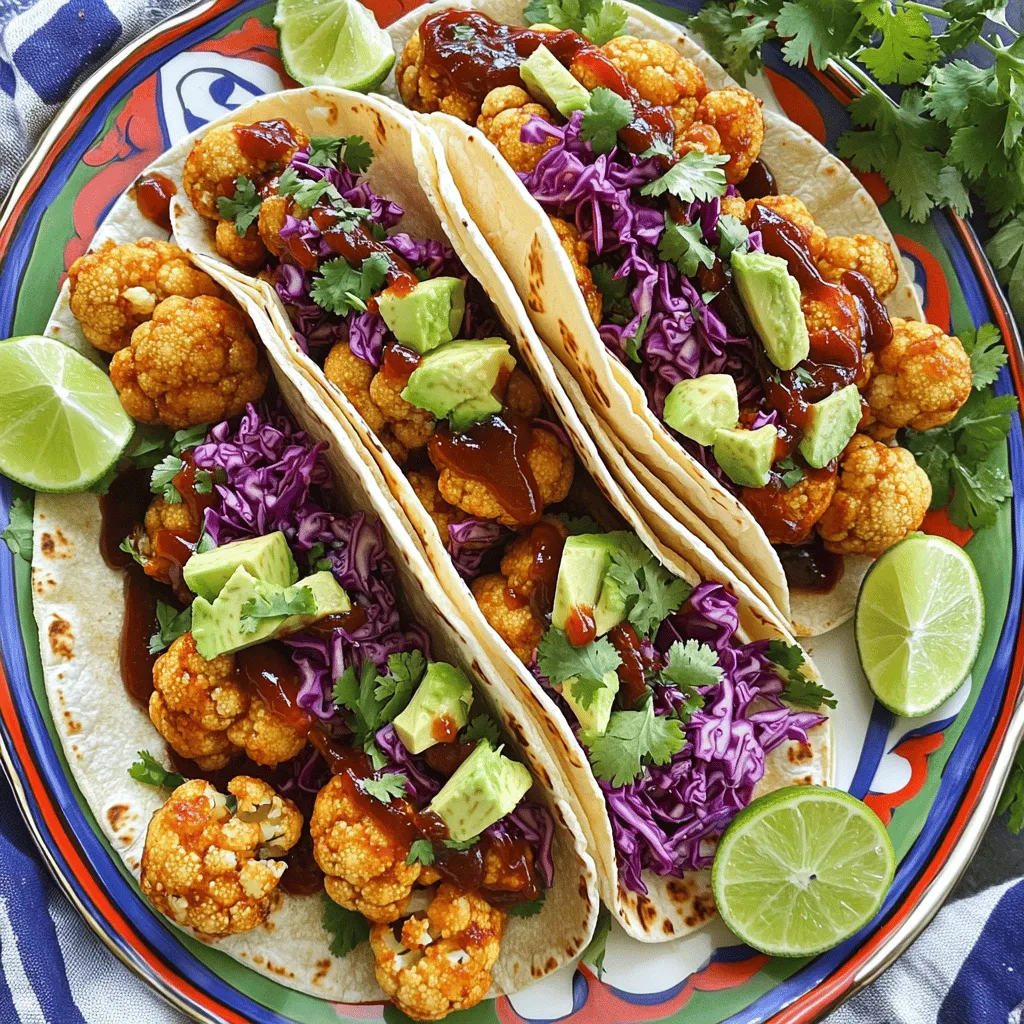
– Garnish with cilantro and prepare to serve: Finish by adding a sprinkle of fresh cilantro on top. Serve the tacos with lime wedges on the side for extra zing. Enjoy your flavorful BBQ cauliflower tacos!
Tips & Tricks
Cooking Tips
– To coat the cauliflower well, mix it in a large bowl. The oil and spices should cover all the florets evenly. This makes each bite flavorful.
– For crispy cauliflower, bake it at a high temperature. Flip it halfway through cooking. This helps it brown nicely and adds crunch.
Serving Suggestions
– Enhance the flavors of your tacos with fresh garnishes. Lime juice adds brightness, while cilantro gives a fragrant touch.
– For a pretty plate, use a colorful platter. Arrange lime wedges around the tacos. Sprinkle extra cilantro on top for a fresh look.
Nutritional Considerations
– Cauliflower is low in calories and high in fiber. It is great for digestion and helps keep you full.
– These tacos are vegetarian. If you want to make them vegan, skip any dairy toppings. You can also add beans for extra protein.
Variations
Alternative Ingredients
You can change the flavor by using different BBQ sauces. Sweet, spicy, or tangy sauces can give your tacos a new taste. Try a chipotle BBQ for a smoky kick or a honey BBQ for sweetness. You can also add toppings like sliced jalapeños for heat or crumbled cheese for creaminess. Each topping adds a unique twist to your dish.
Dietary Modifications
If you need gluten-free options, look for corn tortillas. They work great with BBQ cauliflower. For those who want extra flavor, use vegan cheese. It melts well and adds a creamy texture without dairy. You can also swap the avocado for guacamole for more zest.
Serving Options
Feel free to serve your BBQ cauliflower as tacos or in bowls. Tacos are fun to eat, while bowls let you load up on toppings. Pair them with side dishes like rice or a fresh salad. This makes your meal more filling and balanced. Enjoy experimenting with these variations for your BBQ cauliflower tacos!
Storage Info
Refrigeration Guidelines
To store leftovers, let the BBQ cauliflower cool first. Place it in an airtight container. You can keep the tacos separate. This helps keep the tortillas from getting soggy. Store them all in the fridge for up to 3 days. Use glass or plastic containers with tight lids for best results.
Reheating Tips
To reheat the tacos, use a skillet over medium heat. Heat for about 2-3 minutes on each side. This keeps the tortillas warm and soft. For the cauliflower, you can use the oven. Preheat it to 350°F (175°C) and bake for about 10 minutes. This helps keep the texture and flavor intact.
Freezing Instructions
If you want to freeze the BBQ cauliflower, let it cool down first. Place it in a freezer-safe bag or container. Remove as much air as possible. You can freeze it for up to 2 months. When ready to eat, thaw it overnight in the fridge. Reheat it in the oven for the best texture.
FAQs
How long does BBQ cauliflower last in the fridge?
BBQ cauliflower can last about 3 to 5 days in the fridge. To store it, place the cauliflower in an airtight container. This helps keep it fresh and tasty. If you want to keep it longer, consider freezing it.
Can I use a different vegetable instead of cauliflower?
Yes, you can! Broccoli and Brussels sprouts work well as substitutes. For broccoli, cut it into small florets and follow the same cooking steps. If using Brussels sprouts, halve them and adjust the baking time to about 25 minutes.
What can I serve with BBQ cauliflower tacos?
Pair these tacos with a fresh salad, like a simple green salad. You can also serve them with rice or beans. For drinks, try a light beer or a refreshing lemonade. These sides will add balance and enhance your meal.
This blog post covered everything you need for BBQ cauliflower tacos. You learned about the main and additional ingredients and how to prepare them. I shared cooking tips, serving ideas, and nutritional benefits. You also explored variations and storage info for leftovers.
In the end, these tacos offer flavor and health in each bite. Enjoy making them your own with different toppings and sides. Happy cooking!


