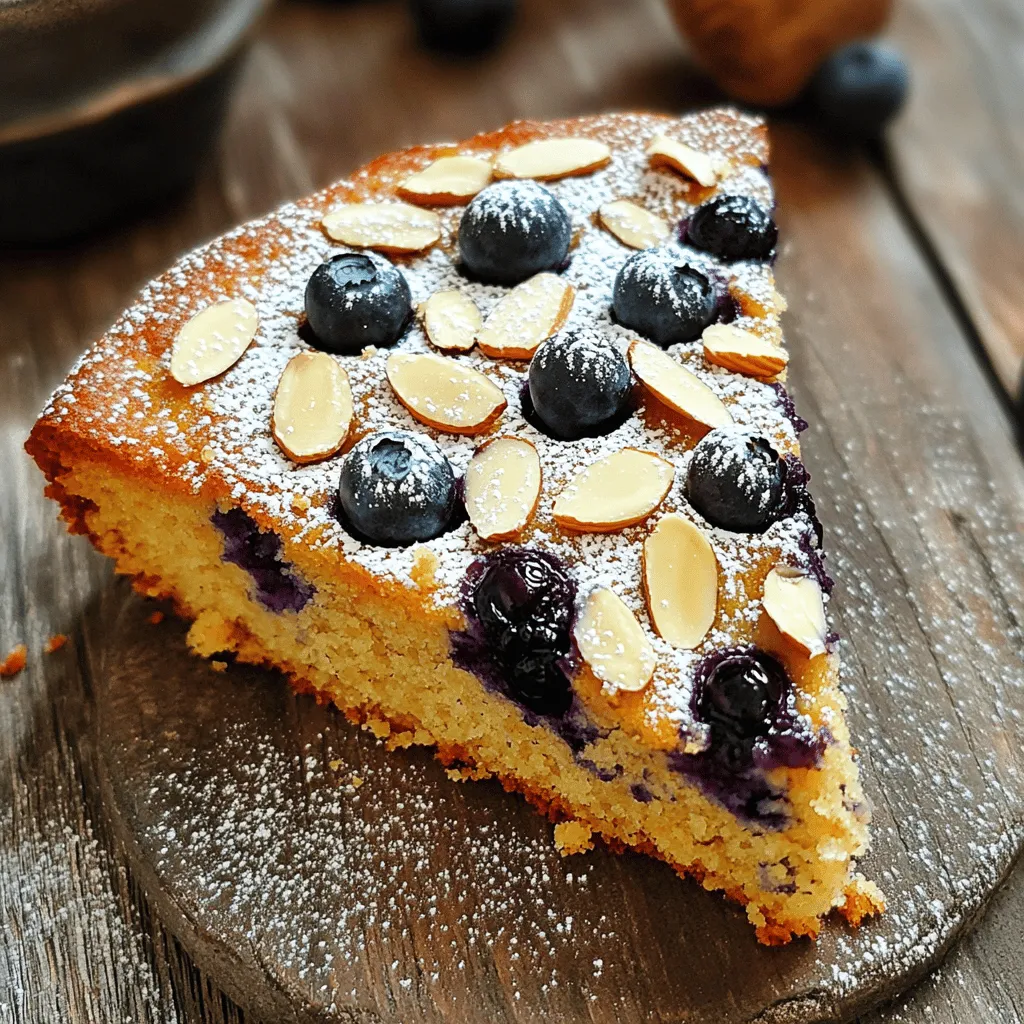
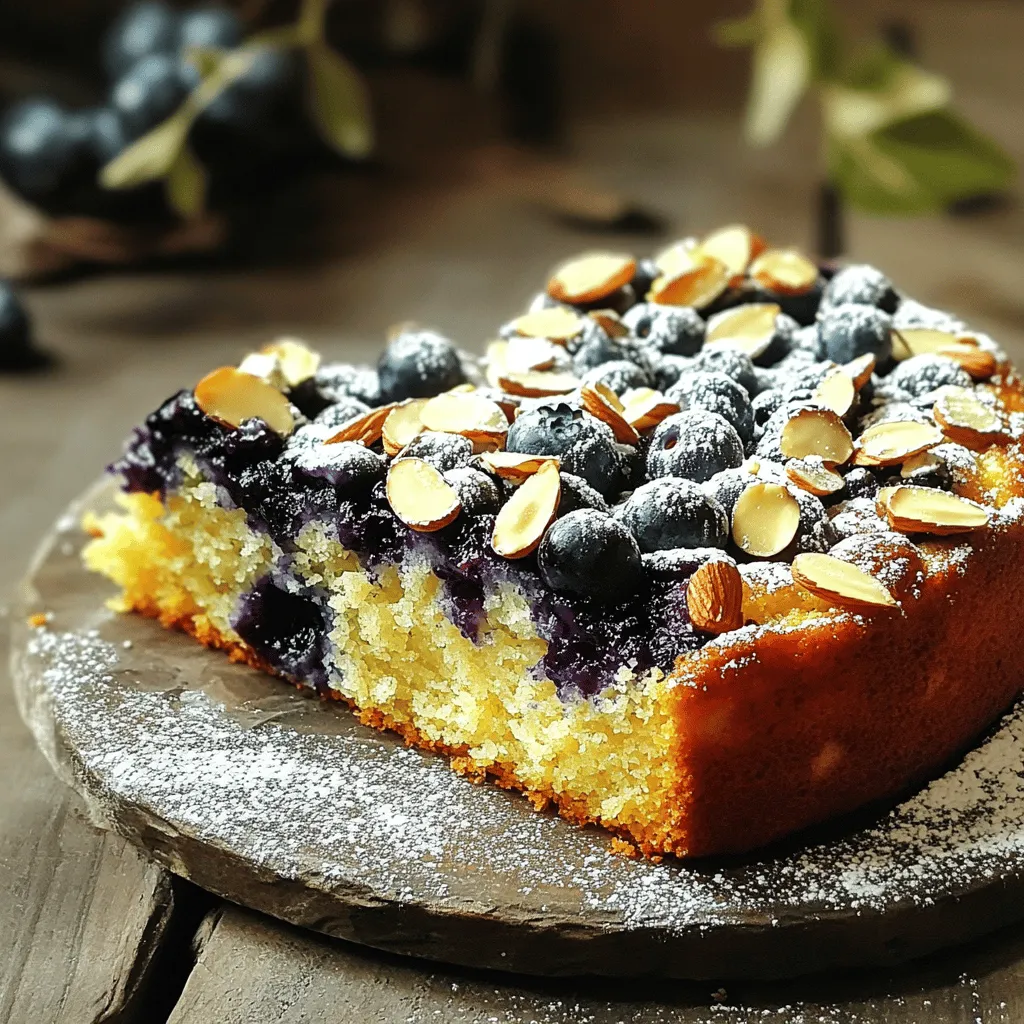
Start your morning right with my Blueberry Almond Breakfast Cake! This quick and tasty treat is perfect for busy days and special brunches alike. Packed with fresh blueberries and crunchy almonds, it’s both light and satisfying. Whether you’re a baking pro or a novice, I’ll guide you through easy steps to create this delightful cake. Ready to impress your taste buds? Let’s get baking!
Ingredients
Detailed List of Ingredients
– 1 cup almond flour
– 1 cup all-purpose flour
– 1 teaspoon baking powder
– ½ teaspoon baking soda
– ½ teaspoon salt
– ¾ cup granulated sugar
– ½ cup unsalted butter, softened
– 2 large eggs
– 1 teaspoon vanilla extract
– ¾ cup buttermilk (or regular milk with 1 tablespoon lemon juice added)
– 1 cup fresh blueberries
– ¼ cup sliced almonds
– Zest of 1 lemon
– Optional: Powdered sugar for dusting
Gathering the right ingredients is key. Almond flour gives the cake a nutty flavor and a moist texture. The all-purpose flour helps the cake rise well. Baking powder and baking soda are both leavening agents that ensure the cake is light.
Salt enhances all the flavors in your cake. Granulated sugar sweetens the cake. Softened butter adds richness and moisture. The eggs help bind everything together and give the cake structure.
Vanilla extract adds a lovely aroma. Buttermilk (or the lemon juice mix) keeps the cake tender. Fresh blueberries burst with juice, adding a fruity kick. Sliced almonds on top provide a nice crunch. Lastly, lemon zest brightens the overall taste. For a sweet finish, you can dust the cake with powdered sugar.
These ingredients work together to create a delicious breakfast treat.
Step-by-Step Instructions
Preparation Steps
1. Preheat your oven to 350°F (175°C). This ensures the cake bakes evenly.
2. Prepare a 9-inch round cake pan. Grease it well or line it with parchment paper.
3. In a medium bowl, combine the almond flour, all-purpose flour, baking powder, baking soda, and salt. Set this mixture aside for later.
Mixing the Batter
1. In a large mixing bowl, cream together the softened butter and granulated sugar. Mix until it becomes light and fluffy, which takes about 3-4 minutes.
2. Beat in the eggs one at a time. Make sure to mix well after adding each egg. Then, stir in the vanilla extract and lemon zest for added flavor.
3. Gradually add the flour mixture to the butter mixture. Alternate it with the buttermilk, starting and ending with the flour. Mix until just combined.
Final Steps
1. Gently fold in the fresh blueberries. Be careful not to crush them as you mix.
2. Transfer the batter into the prepared cake pan. Use a spatula to smooth the top.
3. Sprinkle sliced almonds evenly over the batter for a nice crunch.
4. Bake in the preheated oven for 35-40 minutes. A toothpick inserted in the center should come out clean when done. The cake should be golden brown and spring back when touched.
5. Let the cake cool in the pan for 10 minutes after baking. Then, transfer it to a wire rack to cool completely.
Tips & Tricks
Ingredient Substitutions
You can swap flours to change the taste and texture. For a nutty flavor, use all almond flour. For gluten-free, try a blend of oat and coconut flour. Each option gives a unique twist to the cake.
If you’re dairy-free, replace buttermilk with almond milk and add a splash of lemon juice. Coconut oil can also replace butter for a dairy-free option. These swaps let anyone enjoy this delicious treat.
Best Baking Practices
To ensure even baking, use room temperature ingredients. This helps the batter mix well and rise evenly. Rotate the cake halfway through baking for consistent heat.
For a moist cake, do not overmix the batter. Mix just until combined. Also, add sour cream or yogurt for extra moisture. These tips give you a cake that is soft and fluffy.
Serving Suggestions
This cake pairs well with toppings like whipped cream or yogurt. Fresh fruit, like more blueberries or sliced strawberries, adds color and flavor.
Serve it at brunch, a cozy morning, or when you need a sweet treat. It’s great for birthday breakfasts or any special occasion. It’s perfect for sharing with friends and family!
Variations
Flavor Customizations
You can easily change the taste of your Blueberry Almond Breakfast Cake. Adding spices like cinnamon or nutmeg brings warmth and depth. Just a teaspoon of cinnamon enhances the cake’s flavor nicely. Nutmeg can add a sweet and spicy touch too.
You can also switch out the blueberries for other fruits. Raspberries, diced peaches, or even strawberries work great. Each fruit adds its own charm. Mix and match to find your favorite combo.
Dietary Adjustments
If you need a gluten-free option, use almond flour only. You can replace all-purpose flour with gluten-free flour blends. This keeps the cake tasty and safe for those with gluten sensitivities.
For vegan adaptations, replace eggs with flax eggs or applesauce. Use coconut oil instead of butter. Almond milk or oat milk can stand in for buttermilk. These swaps keep the cake moist and delicious.
Presentation Ideas
How you present your cake can make it special. Try creative plating by cutting the cake into fun shapes. You can serve it on a colorful plate to brighten up the table.
Decorate the top with fresh fruits and nuts. A sprinkle of sliced almonds or a handful of blueberries adds a nice touch. Dusting with powdered sugar makes it look fancy.
Storage Info
Proper Storage Techniques
To keep your Blueberry Almond Breakfast Cake fresh, store it in an airtight container. This prevents moisture loss and keeps it soft. If you have leftovers, place the cake in the container at room temperature for up to two days. For longer storage, consider refrigeration. Use a glass or plastic container with a tight lid for the best results.
Freezing Instructions
Freezing this cake is easy and a great way to save it for later. First, let the cake cool completely. Then, wrap it tightly in plastic wrap. After that, place the wrapped cake in a freezer-safe bag or container. This keeps out air and prevents freezer burn. When you’re ready to enjoy it, take the cake out. Thaw it in the fridge overnight or at room temperature for a few hours. Serve it as is or warm it slightly in the oven.
Shelf Life
This cake will stay fresh for about 2-3 days at room temperature. In the fridge, it can last up to a week. If frozen, it can remain good for 2-3 months. Always check for signs of spoilage. Look for mold, an off smell, or changes in texture. If you notice any of these, it’s best to throw the cake away.
FAQs
Common Questions
Can I substitute almond flour with regular flour?
Yes, you can. If you use all-purpose flour, the cake will be lighter. Almond flour adds a nutty taste and moisture. If you swap it, use the same amount of regular flour.
How can I make this cake less sweet?
To cut the sweetness, reduce the sugar by ¼ cup. You can also add more blueberries. They bring natural sweetness and flavor.
Baking Specifics
What should I do if my cake is too dense?
If your cake is dense, it may need more mixing. Ensure you mix until just combined. Over-mixing can create a heavy cake. Make sure to measure ingredients correctly too.
How do I know when the cake is fully baked?
Check the cake at 35 minutes. Insert a toothpick in the center. If it comes out clean, the cake is done. It should also spring back when touched lightly.
Serving and Enjoyment
How long does the cake last at room temperature?
The cake stays fresh for about 2 days at room temperature. Keep it covered to prevent drying out.
Can I serve this cake warm?
Yes, serving it warm is a great idea. It enhances the flavors and smells amazing. Just let it cool for about 10 minutes before serving.
You now have all the details to bake a delicious blueberry cake. We covered the ingredients, step-by-step instructions, and helpful tips. Remember to adjust flavors and storage based on your needs. Baking should be fun, so don’t be afraid to get creative with this recipe. Enjoy your tasty treat at your next gathering or as a cozy dessert at home. Happy baking!


