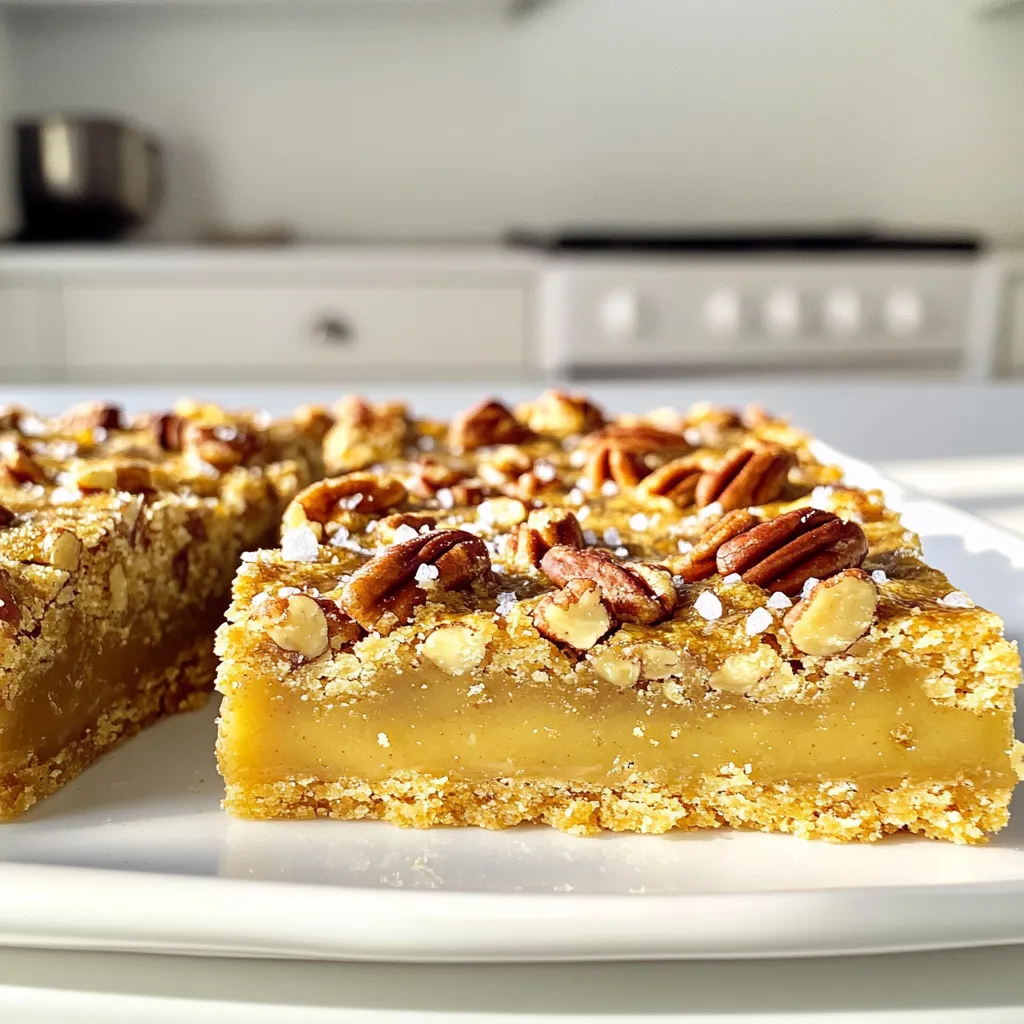
If you love sweet treats that burst with flavor, you’ll adore Brown Butter Maple Pecan Shortbread Bars! These delightful bars combine nutty brown butter, rich maple, and crunchy pecans for a dessert that’s hard to resist. In this post, I’ll share how to make this a favorite in your home. Get ready to impress your friends and family with every buttery bite!
Ingredients
List of Ingredients with Measurements
To make Brown Butter Maple Pecan Shortbread Bars, gather these ingredients:
– 1 cup unsalted butter (2 sticks), browned
– 1/2 cup maple syrup
– 3/4 cup granulated sugar
– 1/2 teaspoon salt
– 2 cups all-purpose flour
– 1/2 cup finely chopped toasted pecans
– 1 teaspoon vanilla extract
– Optional: Sea salt for sprinkling
Substitutions for Key Ingredients
You can make a few swaps if needed. Here are some ideas:
– Unsalted butter: Use salted butter. Just reduce or skip the added salt.
– Maple syrup: Honey or agave syrup works well too. These will change the flavor slightly.
– All-purpose flour: Almond flour or oat flour are good gluten-free options.
– Chopped pecans: Try walnuts or hazelnuts for a different nutty twist.
Importance of Quality Ingredients
Using high-quality ingredients makes a big difference. Fresh, unsalted butter gives a rich taste. Pure maple syrup adds depth and sweetness.
When you choose good flour, it helps with texture. Fresh pecans boost flavor and crunch. Quality matters for the best results. Your bars will taste much better with these choices. They will impress your family and friends.
Step-by-Step Instructions
Prepping the Baking Pan
First, heat your oven to 350°F (175°C). Grab an 8×8 inch baking pan. Line it with parchment paper. Leave some paper hanging over the sides. This helps you lift the bars out later.
Browning the Butter
Next, take a medium saucepan. Add the unsalted butter to it. Melt the butter over medium heat. Stir it often as it cooks. Watch closely as it turns golden brown. This should take about 5 minutes. You’ll smell a nutty aroma when it’s ready. Remove it from heat and let it cool a bit.
Mixing the Batter
In a large bowl, pour in the browned butter. Add the maple syrup, granulated sugar, and salt. Whisk these together until smooth. Then, mix in the vanilla extract. After that, slowly add the flour. Mix gently until just combined. Be careful not to over-mix! Finally, fold in the finely chopped toasted pecans.
Baking the Shortbread Bars
Pour the batter into your prepared pan. Spread it evenly across the bottom. Bake in the preheated oven for 20-25 minutes. Look for lightly golden edges. A toothpick should come out clean when inserted in the center.
Cooling and Serving
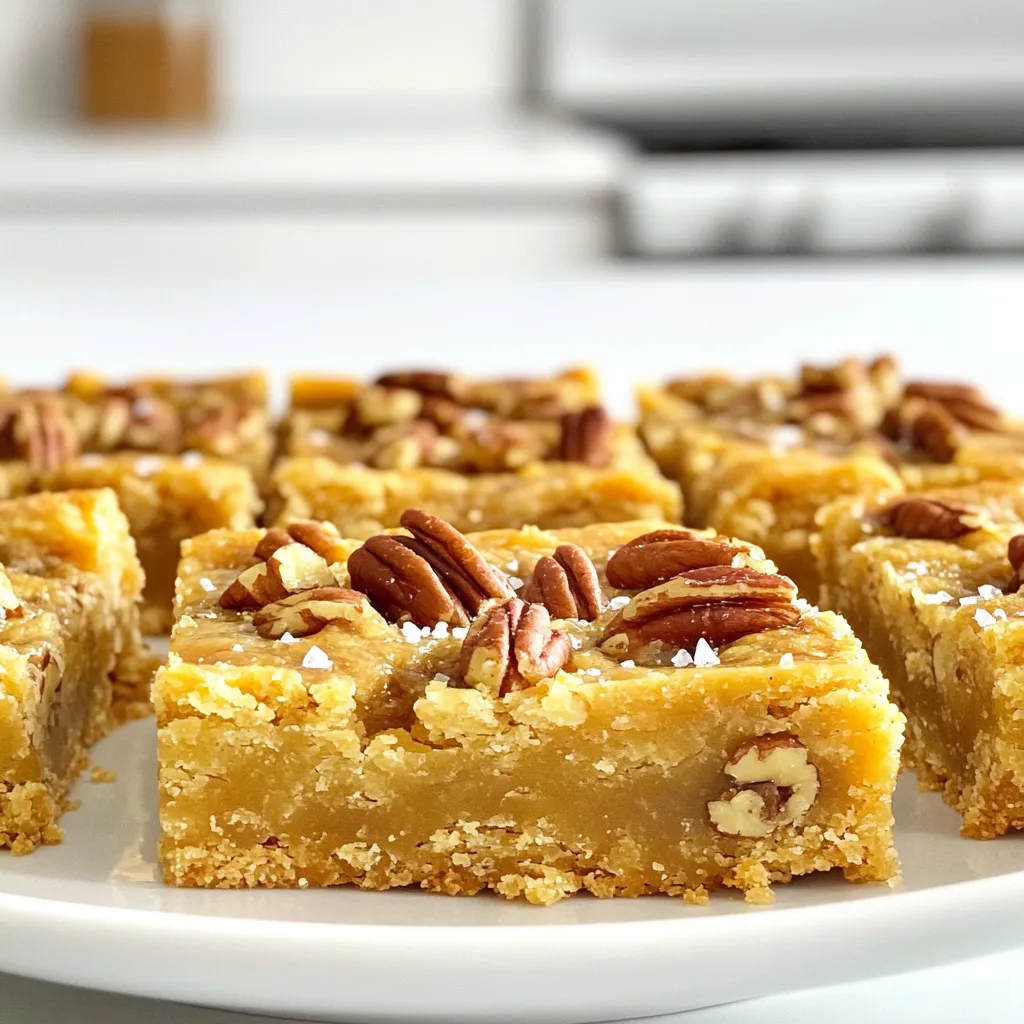
Once baked, take the pan out of the oven. Let it cool for 10 minutes. Use the parchment paper to lift the bars from the pan. Place them on a wire rack to cool completely. If you like, sprinkle a bit of sea salt on top before slicing. Cut into squares and enjoy!
Tips & Tricks
Perfecting the Brown Butter Technique
To make great brown butter, heat unsalted butter in a pan. Stir it often as it melts. Keep an eye on it. You want it to turn golden brown. This usually takes about five minutes. The nutty smell shows it’s ready. Remove it from heat quickly to avoid burning. Let it cool slightly before mixing with other ingredients. This step adds rich flavor to your shortbread bars.
Avoiding Over-Mixing
When you mix your batter, do it gently. Combine the wet and dry ingredients just until they blend. Over-mixing can lead to tough bars. Use a spatula to fold in the flour, and then the pecans. This keeps your bars soft and crumbly. Remember, less is more here!
Achieving the Best Texture and Flavor
To get the best texture, use the right flour. All-purpose flour works best for these bars. The pecans should be finely chopped and toasted for rich flavor. If you want a touch of saltiness, sprinkle sea salt on top before baking. This brings out the sweetness of the maple syrup. Enjoy the warm bars with a cup of tea or coffee!
Variations
Adding Different Nuts or Spices
You can switch up the nuts in these bars. Walnuts or almonds work great too. They add a new crunch and flavor. If you want some spice, try adding cinnamon or nutmeg. Just a pinch can make a big difference. Experiment with different nuts to find your favorite mix.
Maple Syrup Alternatives
If you don’t have maple syrup, you can use honey or agave syrup. These will change the taste but still keep it sweet. You can also use brown sugar for a deeper flavor and richness. Just remember that each sweetener has a unique taste profile.
Serving Suggestions (Pairing with Ice Cream, etc.)
These bars taste amazing on their own, but they shine with ice cream. Vanilla or caramel ice cream pairs really well. You can also serve them with whipped cream for extra fluff. Drizzle some extra maple syrup on top for a sweet touch. These options make your dessert even more delightful and fancy!
Storage Info
Best Practices for Storing Shortbread Bars
Store your Brown Butter Maple Pecan Shortbread Bars in an airtight container. This keeps them fresh. Place parchment paper between layers to prevent sticking. Keep the container at room temperature. Avoid direct sunlight or heat.
Freezing Instructions
You can freeze these bars for later. First, let them cool completely. Cut them into squares. Wrap each square in plastic wrap. Place the wrapped bars in a freezer bag. They will stay good for up to three months. When you want to eat them, thaw overnight in the fridge.
Shelf Life and Freshness Tips
These bars stay fresh for about a week at room temperature. You can also store them in the fridge for up to two weeks. If you notice any change in color or smell, toss them out. For the best taste, enjoy them within the first few days.
FAQs
What is the best way to cut shortbread bars?
To cut shortbread bars, first let them cool completely. Once cool, lift them out of the pan using the parchment paper. Use a sharp knife for clean cuts. I like to cut them into squares or rectangles. Wipe the knife with a damp cloth between cuts. This helps keep the edges neat.
Can I use salted butter instead of unsalted?
You can use salted butter, but it will change the taste. The bars may end up saltier. If you choose salted, skip the added salt in the recipe. Unsalted butter gives you more control over the flavor. I recommend sticking with unsalted for the best results.
How can I tell when the bars are done baking?
To check if the bars are done, look for golden edges. A toothpick inserted in the center should come out clean. The top should look set and slightly firm. If it still looks wet, give it a few more minutes. Keep a close eye, as overbaking can dry them out.
What makes brown butter different from regular butter?
Brown butter has a rich, nutty flavor. You make it by cooking butter until it turns golden brown. This process creates a deeper taste that enhances your bars. Regular butter does not have this complexity. The browning also adds a lovely aroma that fills your kitchen.
This blog post guided you through making perfect shortbread bars. We covered key ingredients, from measurements to quality. You learned step-by-step instructions, including the brown butter method. Tips helped you avoid common mistakes, and variations opened doors for creativity. Plus, storage tips ensured your treats stay fresh.
Remember, quality ingredients and precise techniques are key. Enjoy your baking journey!


