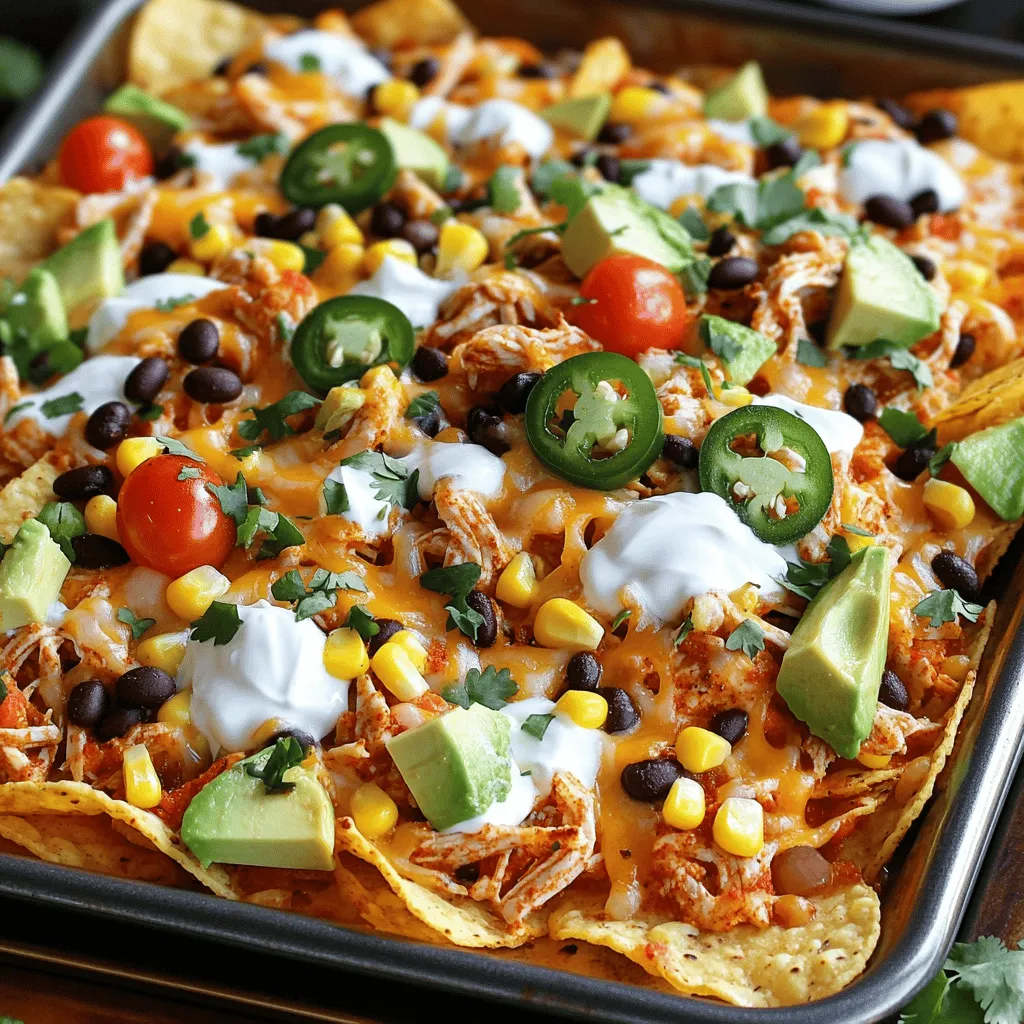
Get ready for a bold twist on your nacho game with these Cajun Chicken Sheet Pan Nachos! This recipe combines spicy Cajun flavors with gooey cheese and crispy chips for a quick, crowd-pleasing meal. You’ll find all the tips, tricks, and customizable options you need to make these nachos unforgettable. Whether you’re hosting a game night or craving a tasty snack, let’s dive into this flavorful feast!
Ingredients
Required Ingredients for Cajun Chicken Sheet Pan Nachos
To make Cajun Chicken Sheet Pan Nachos, you need these key ingredients:
– 2 boneless, skinless chicken breasts
– 1 tablespoon Cajun seasoning
– 1 tablespoon olive oil
– 1 bag (10 oz) tortilla chips
– 1 cup shredded mozzarella cheese
– 1 cup shredded cheddar cheese
– 1 cup black beans, drained and rinsed
– 1 cup corn (canned or frozen, thawed)
– 1 jalapeño, sliced
– 1/2 cup cherry tomatoes, halved
– 1 avocado, diced
– Sour cream, for serving
– Fresh cilantro, chopped, for garnish
These ingredients blend well together and create a vibrant dish. The chicken brings a juicy element, while the cheese adds creaminess. The veggies give a fresh crunch that balances the flavors.
Optional Ingredients for Customization
You can add your own twist to these nachos. Here are some optional ingredients:
– Pickled jalapeños for extra heat
– Black olives for saltiness
– Green onions for a fresh bite
– Different cheese types, like pepper jack or gouda
– Diced bell peppers for sweetness
– Salsa for added zest
Feel free to get creative. Each added ingredient can make your nachos special and tailored to your taste.
Kitchen Tools Needed
To whip up these nachos, gather these kitchen tools:
– Baking sheet
– Mixing bowls
– Forks for shredding chicken
– Knife for slicing and dicing
– Measuring spoons for accurate amounts
Having these tools handy will ensure a smooth cooking process. You’ll be ready to enjoy your delicious Cajun Chicken Sheet Pan Nachos in no time!
Step-by-Step Instructions
Preparing the Chicken
Start by preheating your oven to 400°F (200°C). This gets the heat ready for cooking. Next, take your chicken breasts and place them in a bowl. Drizzle olive oil over the chicken. Then, sprinkle the Cajun seasoning evenly on top. Use your hands to coat the chicken well. This step makes the chicken tasty and full of flavor.
Now, lay the seasoned chicken on a baking sheet. Bake it for 20-25 minutes. Make sure the chicken is cooked through and no longer pink in the middle. After baking, remove it from the oven. Let the chicken rest for a few minutes. Use two forks to shred the chicken into bite-sized pieces. Set it aside for the next step.
Assembling the Nachos
Grab a large baking sheet for the nachos. Spread the tortilla chips in an even layer. This helps every chip get topped. Next, sprinkle the shredded chicken over the chips. Add the black beans and corn next. They give the nachos a nice crunch.
Now, layer on the jalapeño slices and cherry tomatoes. These add a fresh taste. Finally, finish with the shredded mozzarella and cheddar cheese. The cheese will melt and hold everything together.
Baking Instructions and Tips
With all the toppings ready, place the nachos in the oven. Bake them for another 10-15 minutes. Watch closely until the cheese is melted and bubbly. This is the best part!
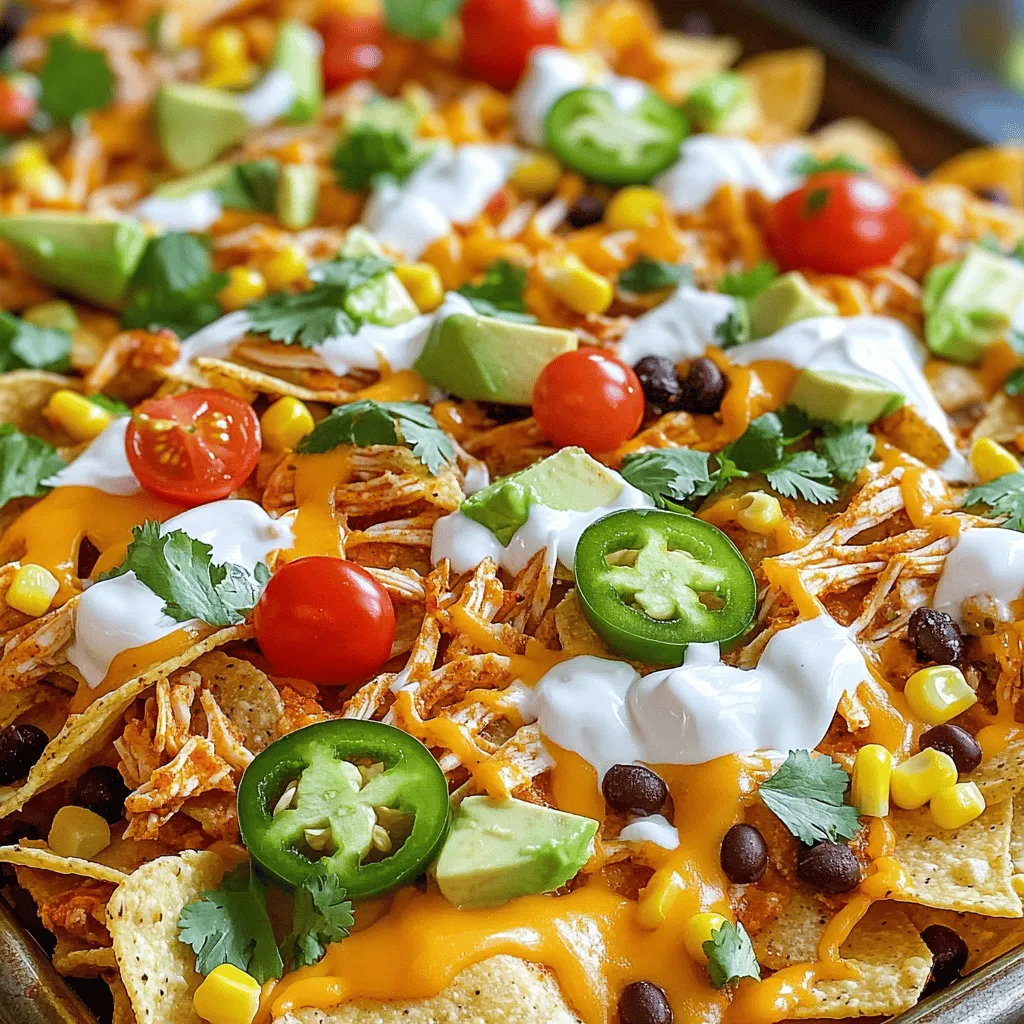
When they are done, take them out of the oven. Drizzle sour cream over the top for creaminess. Then, add diced avocado and chopped cilantro for a pop of color and flavor. Enjoy your Cajun Chicken Sheet Pan Nachos hot and fresh!
Tips & Tricks
How to Perfectly Cook the Chicken
To cook chicken well, start with good-quality meat. Use boneless, skinless chicken breasts for best results. Coat the chicken with olive oil first. This helps the seasoning stick. Sprinkle Cajun seasoning evenly over the chicken. It gives great flavor. Bake at 400°F for 20-25 minutes. Check that the chicken is no longer pink inside. Let it rest for a few minutes. Then, shred it with two forks. This makes it easy to layer on your nachos.
Ensuring the Cheese Melts Evenly
Cheese is key to great nachos. Use a mix of mozzarella and cheddar for best taste. Spread the cheese evenly over the toppings. This ensures every bite has cheesy goodness. Bake the nachos until the cheese is bubbly. This usually takes 10-15 minutes at 400°F. Keep an eye on it so the cheese does not burn. The melted cheese will hold everything together.
Serving Suggestions for Maximum Flavor
For a fun twist, add fresh ingredients when serving. Diced avocado adds creaminess. Sliced jalapeños bring heat. Halved cherry tomatoes add a juicy burst. Top with a drizzle of sour cream for tanginess. Fresh cilantro adds a bright finish. These toppings enhance flavor and make the dish look great. Enjoy your Cajun Chicken Sheet Pan Nachos with friends!
Variations
Vegetarian Alternatives
You can easily make these nachos vegetarian. Swap the chicken for extra black beans or lentils. You can also use grilled veggies like bell peppers, zucchini, or mushrooms. These add great flavor and texture. For cheese, keep the mozzarella and cheddar, or try a vegan cheese option.
Different Protein Options
If you want to change the protein, many options work great. You can use seasoned shrimp or ground turkey for a different taste. Even pulled pork or beef works well in this dish. Each protein brings its own flavor, making your nachos unique.
Customizing Toppings for Unique Flavors
Get creative with your toppings! Add pickled onions for a tangy bite. Fresh corn salsa gives a sweet crunch. You can try different cheeses, like pepper jack for spice. Don’t forget avocado and sour cream for creaminess. Each topping adds layers of flavor and fun.
Storage Info
Storing Leftovers
After you enjoy your Cajun chicken sheet pan nachos, you might have some left. Store any leftovers in an airtight container. Keep them in the fridge for up to three days. If you have more, consider freezing some for later.
Reheating Recommendations
Reheating nachos can be tricky. I suggest using an oven for the best taste. Preheat your oven to 350°F (175°C). Place the nachos on a baking sheet. Heat them for about 10 minutes until warm and the cheese melts again. This keeps the chips crunchy.
Freezing Options for Future Meals
If you want to freeze your nachos, do it before baking. Assemble them on a baking sheet, but do not bake. Wrap the sheet in plastic wrap and foil. Freeze for up to three months. When you’re ready, bake them straight from the freezer. Just add a few extra minutes to the cooking time. Enjoy your tasty meal later!
FAQs
How long do Cajun Chicken Sheet Pan Nachos last in the fridge?
Cajun Chicken Sheet Pan Nachos last about three to four days in the fridge. To store them, place the nachos in an airtight container. If you leave the toppings on, the chips may get soggy. To keep them crunchy, store the chips and toppings separately.
Can I make these nachos ahead of time?
Yes, you can make these nachos ahead of time. Cook the chicken and store it in the fridge. You can also prepare the toppings and set them aside. When you are ready to eat, just layer the nachos and bake them. This makes it fast and easy for game day or a party.
What other seasonings can I use instead of Cajun?
You can use other seasonings like taco seasoning or chili powder. These add great flavor too. If you like heat, try using spicy taco seasoning. For a milder taste, stick to classic Italian herbs. Experiment with what you love for a fun twist on these nachos.
This blog post covered how to make Cajun Chicken Sheet Pan Nachos. We listed the required and optional ingredients to help you customize your dish. I shared step-by-step instructions and kitchen tools to simplify your cooking. I also provided tips for cooking chicken and melting cheese perfectly. You can explore variations for vegetarian or different protein options. Lastly, we discussed how to store leftovers and answered common questions.
Now you’re ready to create delicious nachos. Enjoy experimenting with flavors and make it your own!


