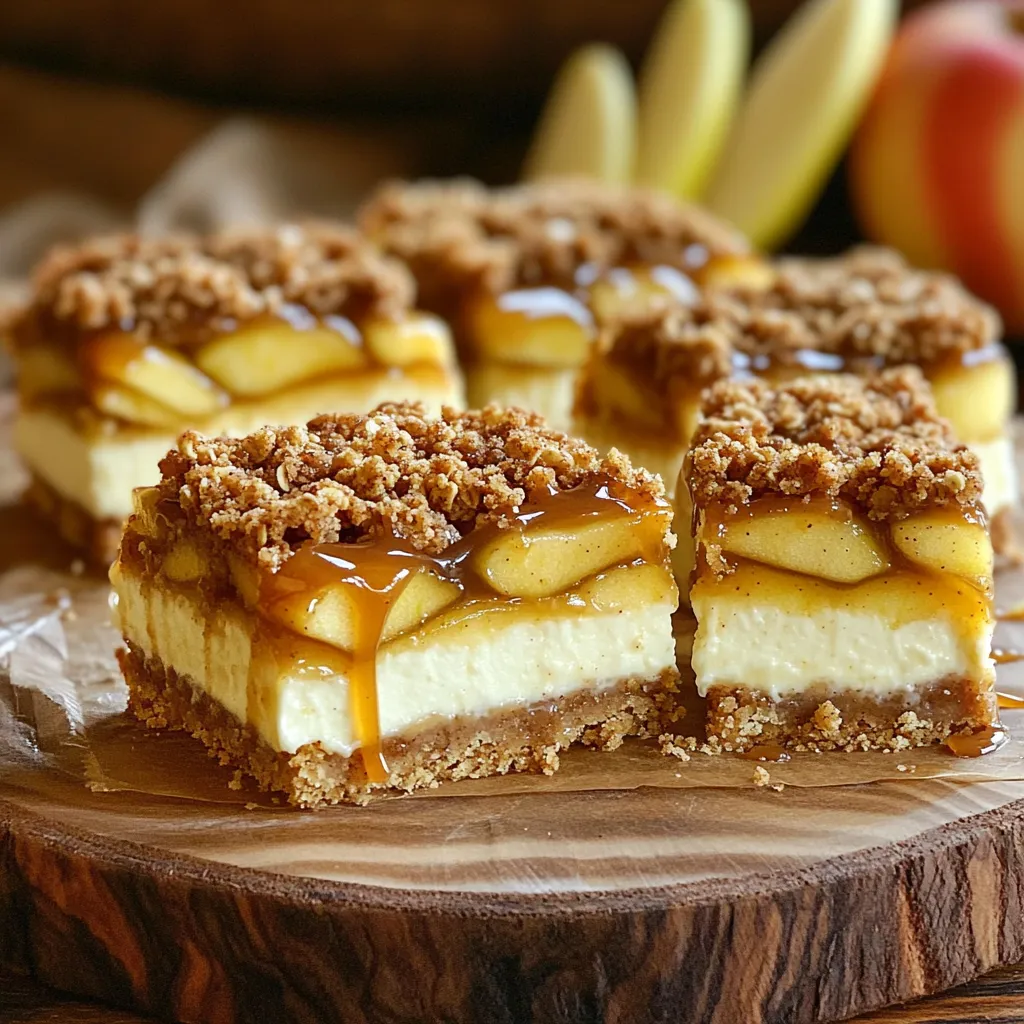
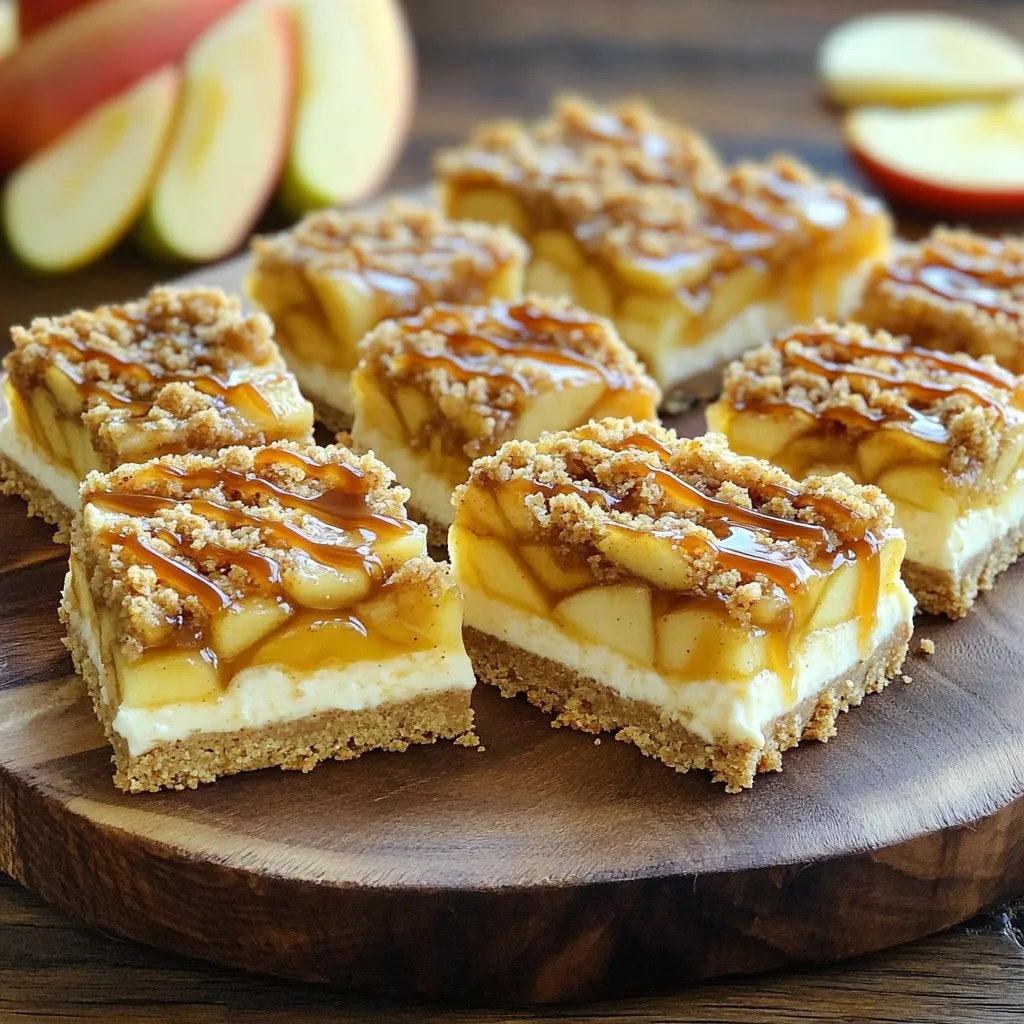
Are you ready to impress your friends and family with a new dessert? In this post, I’ll guide you through making Caramel Apple Cheesecake Streusel Bars that are both easy and delicious. With layers of creamy cheesecake, sweet apples, and a crunchy streusel topping, this treat has it all. Let’s dive into the simple steps and mouthwatering flavors that will have everyone asking for seconds!
Ingredients
Crust Ingredients
– 1 ½ cups graham cracker crumbs
– ½ cup unsalted butter, melted
– ¼ cup granulated sugar
I use graham cracker crumbs for a crunchy base. The melted butter helps bind the crumbs. Granulated sugar adds a bit of sweetness.
Apple Filling Ingredients
– 3 medium apples, peeled and diced (preferably Granny Smith)
– ¼ cup brown sugar
– 1 teaspoon cinnamon
– 1 tablespoon lemon juice
For the apple filling, I like Granny Smith apples. They are tart and hold their shape well. Brown sugar adds depth, while cinnamon brings warmth. Lemon juice keeps the apples bright and fresh.
Cheesecake Layer Ingredients
– 8 oz cream cheese, softened
– ½ cup granulated sugar
– 1 teaspoon vanilla extract
– 1 large egg
The cream cheese gives this layer its rich and creamy texture. Sugar sweetens it, and vanilla enhances the flavor. The egg helps set the cheesecake when baked.
Streusel Topping Ingredients
– 1 cup all-purpose flour
– ½ cup brown sugar
– ½ teaspoon cinnamon
– ½ cup unsalted butter, cold and cubed
– ½ cup rolled oats
I love a crumbly streusel topping. Flour and brown sugar create the base, while cinnamon adds flavor. Cold butter makes it crumbly. Oats give it a nice texture.
Caramel Drizzle Ingredients
– ½ cup caramel sauce (store-bought or homemade)
A drizzle of caramel sauce adds the final touch. It enhances the sweet flavors and adds a rich contrast. You can use store-bought, but homemade is easy and fun!
Step-by-Step Instructions
Preheating and Preparing the Baking Dish
Start by preheating your oven to 350°F (175°C). This step is key for a good bake. Next, line an 8×8-inch baking dish with parchment paper. Leave some paper hanging over the sides. This helps you lift out the bars later.
Making the Crust
In a medium bowl, mix together 1 ½ cups of graham cracker crumbs, ½ cup of melted unsalted butter, and ¼ cup of granulated sugar. Stir until it looks crumbly. Press this mixture evenly into the bottom of your baking dish. Bake for 10 minutes and let it cool.
Preparing the Apple Filling
Take 3 medium apples, peel, and dice them. I prefer Granny Smith apples for their tartness. In a large bowl, toss the diced apples with ¼ cup of brown sugar, 1 teaspoon of cinnamon, and 1 tablespoon of lemon juice. Make sure all pieces are well coated. Set this aside.
Making the Cheesecake Layer
In a separate bowl, beat 8 oz of softened cream cheese with ½ cup of granulated sugar until smooth. Add 1 teaspoon of vanilla extract and 1 large egg. Mix until combined but don’t overmix. This will keep your cheesecake light and fluffy.
Assembling the Bars
Pour the cheesecake layer over the cooled crust. Spread it out evenly. Next, layer the apple filling on top of the cheesecake. Make sure to distribute the apples evenly so each bite has flavor.
Creating the Streusel Topping
In another bowl, mix together 1 cup of all-purpose flour, ½ cup of brown sugar, and ½ teaspoon of cinnamon. Add ½ cup of cold cubed butter and ½ cup of rolled oats. Use your fingers or a pastry cutter to blend until it looks like coarse crumbs. Sprinkle this streusel topping over the apples.
Baking the Dessert
Put the dish back in the oven. Bake for about 35-40 minutes. You want the streusel to turn golden brown and the cheesecake layer to set. Keep an eye on it!
Cooling and Drizzling with Caramel
Once baked, take the dish out and let the bars cool completely at room temperature. After that, refrigerate for at least 2 hours. When ready, lift the bars out using the parchment paper. Drizzle with ½ cup of caramel sauce before slicing into squares. Enjoy the sweet reward!
Tips & Tricks
Choosing the Right Apples
For a great flavor, I love using Granny Smith apples. They are tart and firm. Their taste contrasts well with the sweet cheesecake and caramel. You can also try Honeycrisp for a sweeter twist. Always peel and dice the apples for even cooking and easy bites.
Making the Best Cheesecake Layer
To create a smooth cheesecake layer, start with softened cream cheese. This makes mixing easy and helps avoid lumps. Mix the cream cheese and sugar until creamy, then add the egg gently. Overmixing adds air and can make the cheesecake puff up.
Perfecting the Streusel Topping
For a perfect streusel topping, keep the butter cold. This helps it form crumbs. Use your fingers to mix the butter with flour, sugar, and oats. Don’t worry about being too neat; a few larger clumps make for a nice texture.
Serving Suggestions
Serve the bars chilled for the best taste. A drizzle of caramel sauce on top adds extra sweetness. You can also add fresh apple slices for a pop of color. Present them on a beautiful platter to impress your guests.
Variations
Alternative Fruit Fillings
You can swap apples for other fruits. Pears work great, too. They bring a soft bite and sweet taste. You may also try berries, like blueberries or raspberries. Just remember to adjust the sugar. Berries are sweeter, so you might need less sugar.
Gluten-Free Options
To make these bars gluten-free, choose gluten-free graham cracker crumbs. You can find these in most stores. For the flour in the streusel, use almond flour or a gluten-free blend. The taste stays rich, and the texture remains smooth.
Vegan Adaptations
For a vegan version, use plant-based cream cheese. You can also replace the egg with a flax egg. Mix one tablespoon of ground flaxseed with three tablespoons of water. Let it sit until it thickens. Use maple syrup or agave instead of sugar to keep it plant-based. These changes keep your bars tasty and plant-friendly.
Storage Info
How to Store Leftovers
Store any leftover bars in an airtight container. Keep them in the fridge for up to five days. This keeps the flavors fresh and the texture nice. Make sure to separate layers with parchment paper to avoid sticking.
Freezing Instructions
If you want to save these bars for later, freezing works well. Wrap each bar tightly in plastic wrap. Then, place them in a freezer bag or container. They can stay in the freezer for up to three months. When you’re ready to enjoy them, simply thaw overnight in the fridge.
Reheating Tips
To enjoy these bars warm, reheat them gently. Place a bar on a microwave-safe plate. Heat for 10-15 seconds. Check to see if it’s warm enough. If you like, drizzle more caramel sauce on top before serving. This adds extra flavor and a nice touch!
FAQs
Can I use different types of apples?
Yes, you can use different apples. Granny Smith apples work best for their tartness. However, you can try Honeycrisp or Fuji apples for a sweeter taste. Mixing different apples can add fun flavors and textures.
How do I know when the bars are done baking?
Look for a golden-brown streusel topping and a slight jiggle in the center. The cheesecake layer should be set but still soft. If you insert a toothpick, it should come out mostly clean. This shows the bars are ready to cool.
Can I substitute cream cheese in the cheesecake layer?
You can substitute cream cheese with mascarpone or a vegan cream cheese. These options will change the flavor slightly. If you want a lighter option, try ricotta cheese, but it may alter the texture.
What is the best way to cut the bars neatly?
To cut the bars neatly, use a sharp knife. Warm the knife under hot water, then dry it before cutting. This helps make clean lines. Cut the bars while they are chilled for easier slicing.
How long can I store these bars in the fridge?
You can store these bars in the fridge for up to five days. Keep them in an airtight container for the best results. They can also be frozen for up to three months if you want to save some for later.
We explored the main components of this delicious dessert, from the crust to the caramel drizzle. You learned how to prepare each layer step by step and some helpful tips to make it perfect. Remember, you can switch up fruits and even go gluten-free. Storing leftovers is easy, making this a treat you can savor. Enjoy experimenting with variations and sharing it with friends! This dessert is sure to impress. Happy baking!


