Skip to content
About
Contact
Cookie Policy
Copyright Policy
Disclaimer
Search
Home
Dinner
Appetizer
Desserts
Drinks
About
Contact
Privacy Policy
Toggle Menu
Home
/
Appetizer
- Page 7
Appetizer
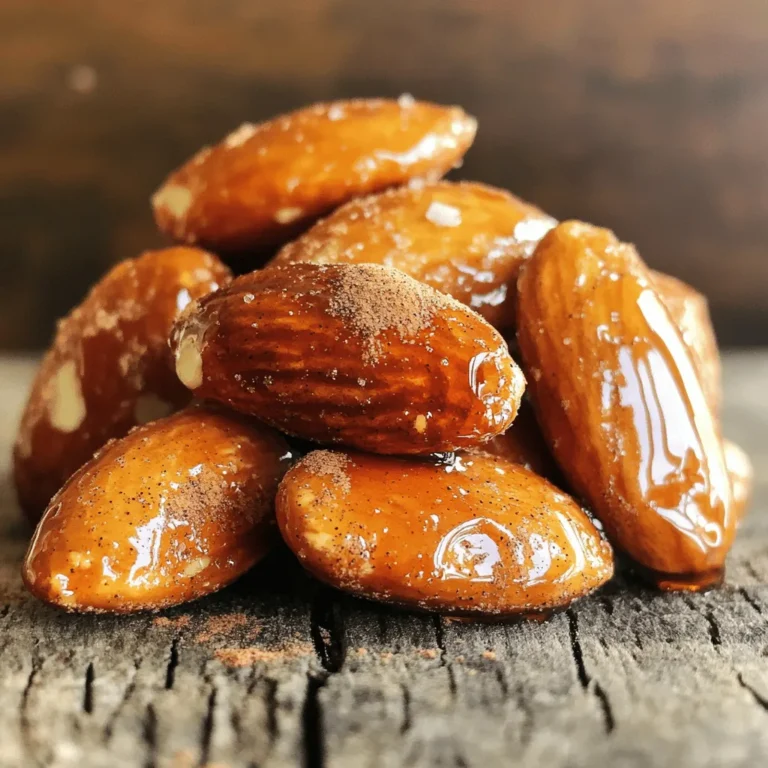
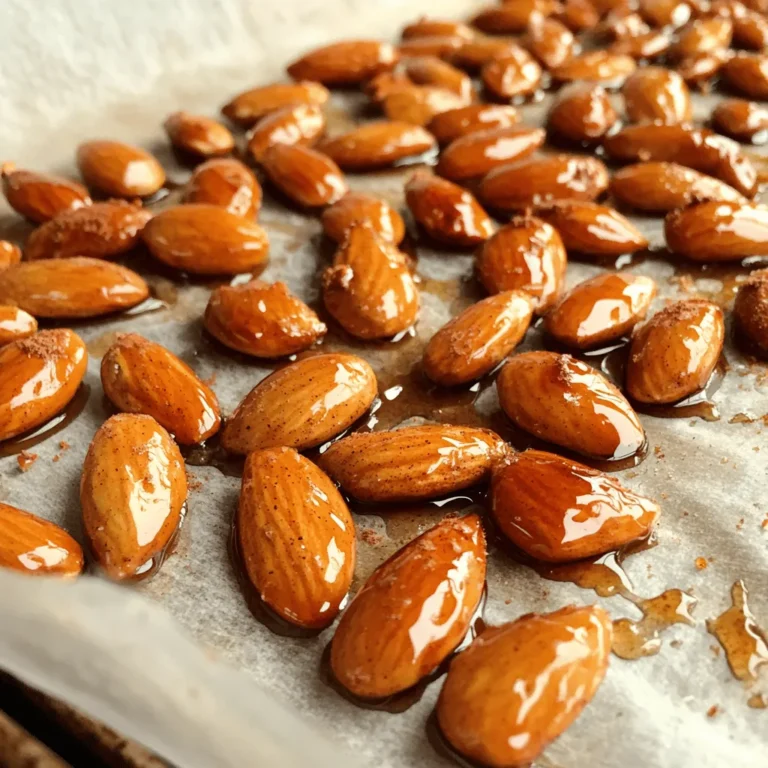
Maple Cinnamon Roasted Almonds Flavorful Snack Recipe
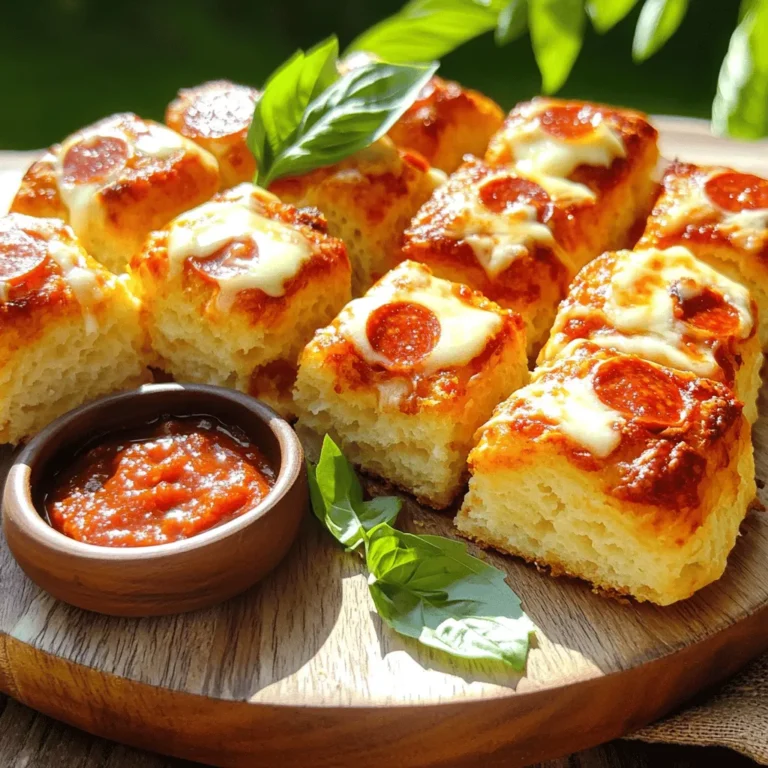
Pepperoni Pizza Monkey Bread Savory Flavor Explosion
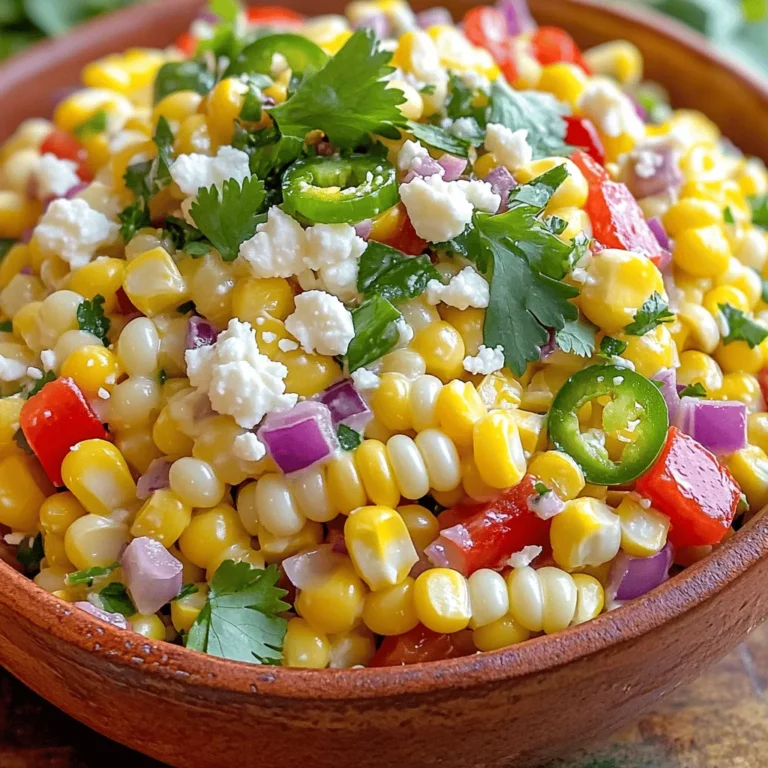
Mexican Street Corn Salad Tasty and Fresh Recipe
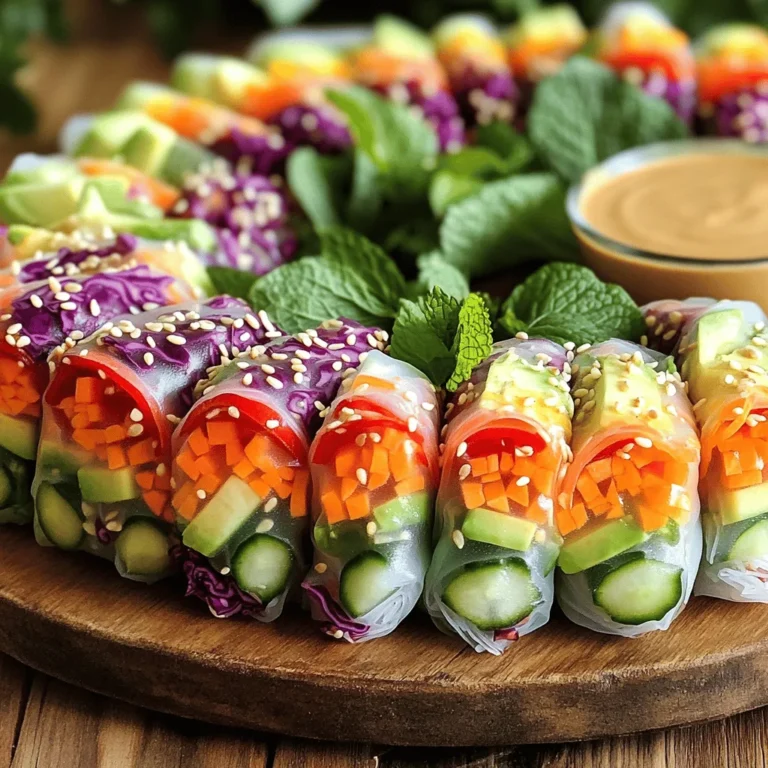
Rainbow Veggie Spring Rolls Colorful and Crunchy Treat
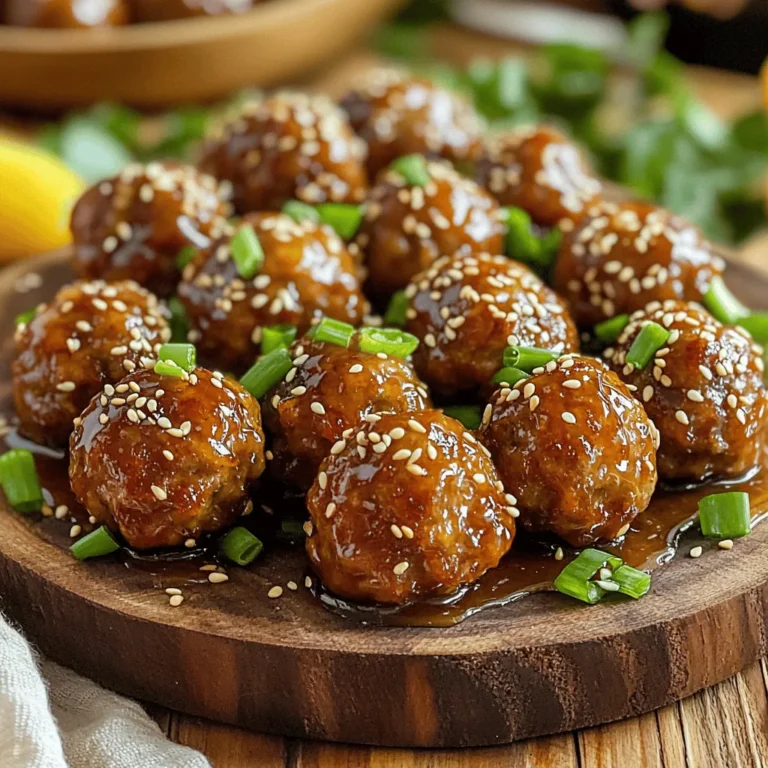
Sticky Honey Garlic Meatballs Flavorful and Easy Recipe
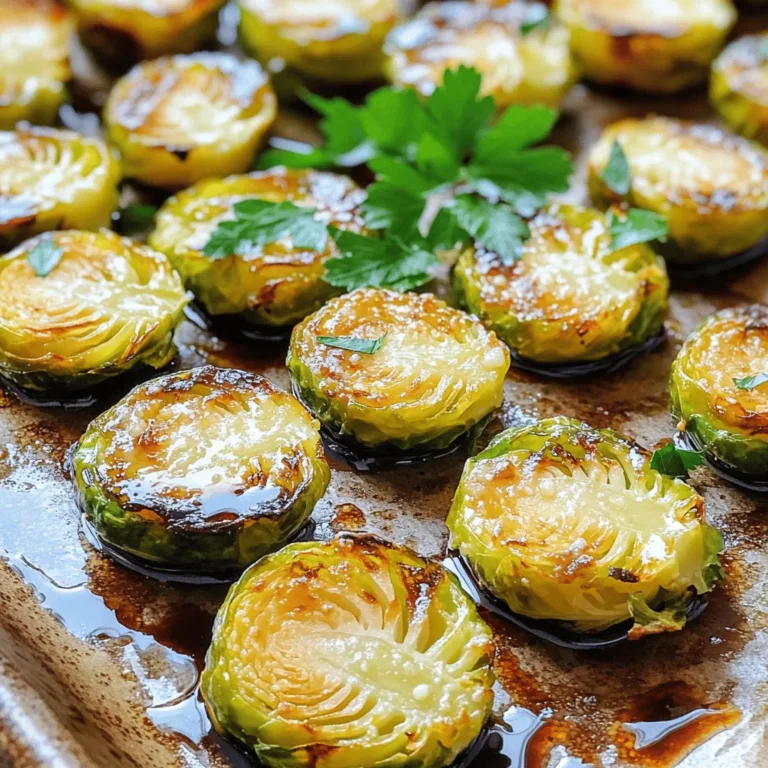
Roasted Garlic Parmesan Brussel Sprouts Delight
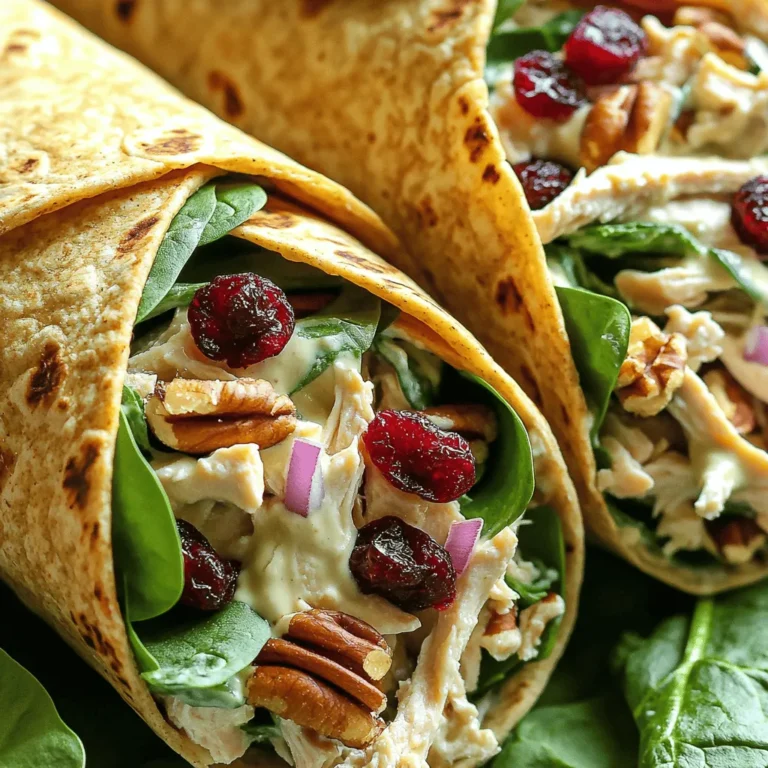
Cranberry Pecan Chicken Salad Wraps Quick and Tasty
Cinnamon Maple Roasted Almonds Irresistible Snack Treat
Loaded Southwest Sweet Potato Skins Flavorful Dish
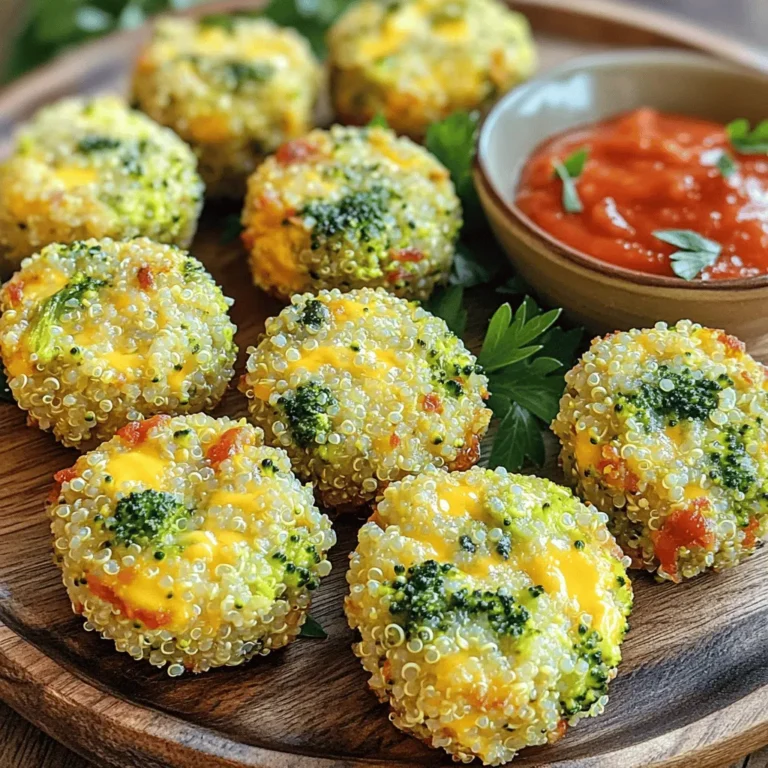
Broccoli Cheddar Quinoa Bites Tasty and Simple Snack
Page navigation
Previous Page
Previous
1
…
5
6
7
8
9
…
25
Next Page
Next
Home
Dinner
Appetizer
Desserts
Drinks
About
Contact
Privacy Policy
Toggle Menu Close
Search for:
Search