Cranberry Pecan Chicken Salad Wraps Quick and Tasty

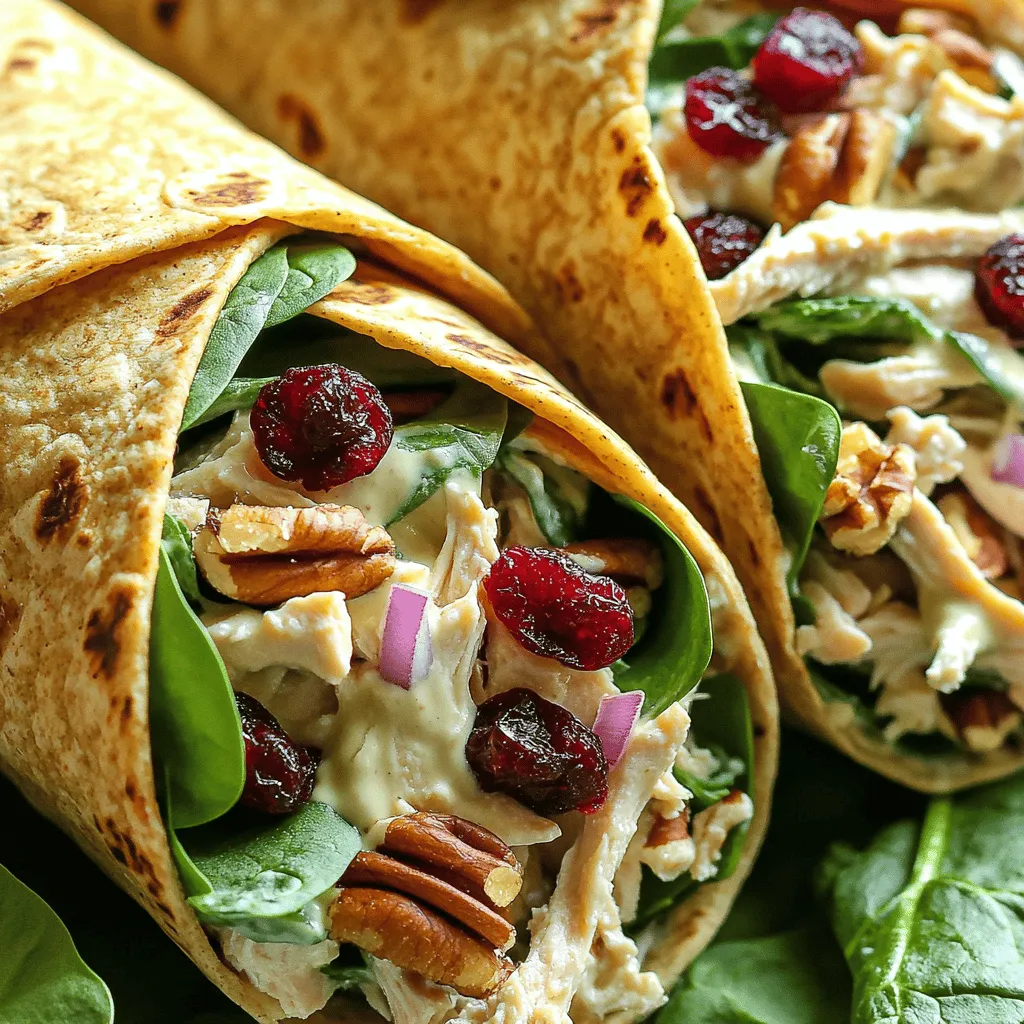
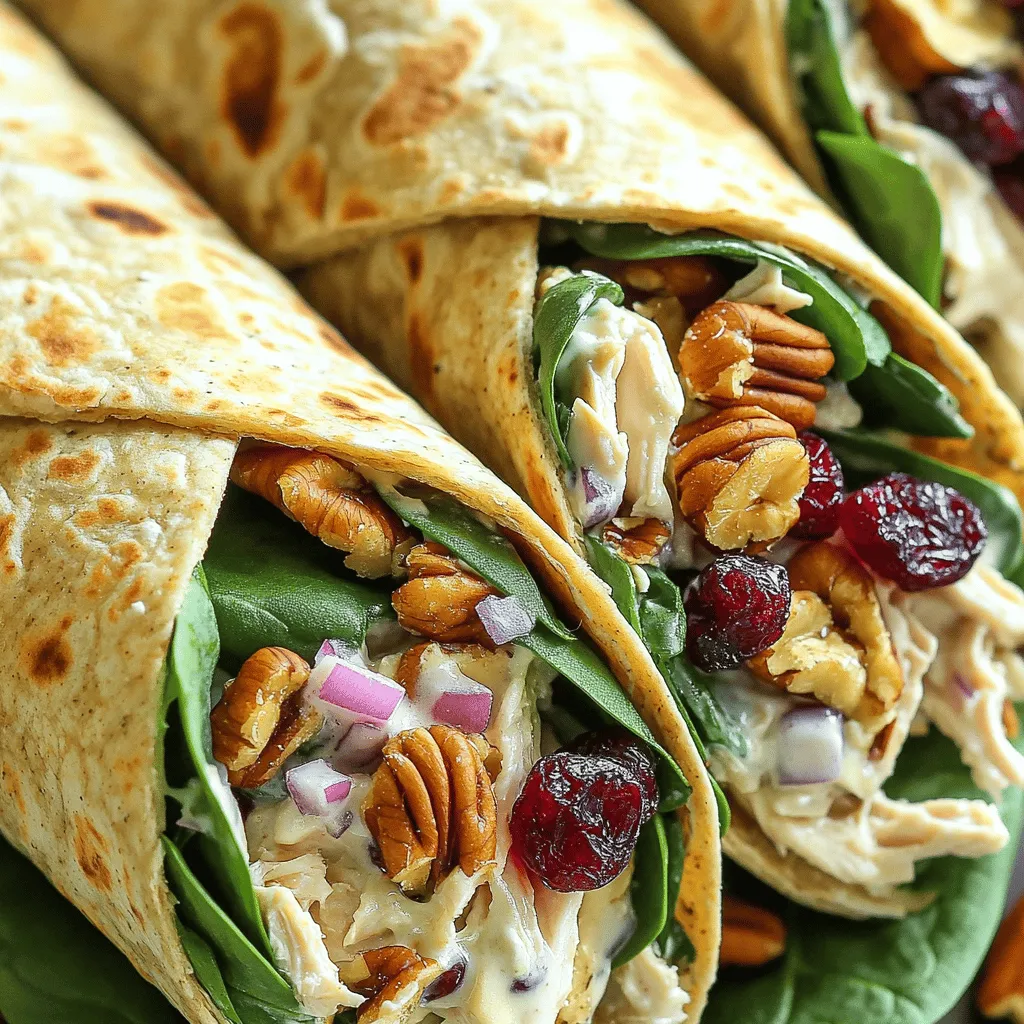
Looking for a quick and tasty meal that packs a punch? Try my Cranberry Pecan Chicken Salad Wraps! These wraps balance savory chicken, sweet cranberries, and crunchy pecans in every bite. They’re perfect for lunch, dinner, or a picnic. Plus, they’re simple to make! In this guide, I’ll walk you through the easy steps and share some fun tips to customize your wraps. Let’s dive in and get cooking!
Ingredients
Main Ingredients
– 2 cups cooked chicken, shredded or diced
– 1/2 cup dried cranberries
– 1/2 cup pecans, chopped
– 1/4 cup plain Greek yogurt
– 1/4 cup mayonnaise
– 1 tablespoon Dijon mustard
Additional Ingredients
– 1 celery stalk, finely chopped
– 1/4 red onion, finely chopped
– Salt and pepper to taste
– 4 large whole wheat tortillas
– Fresh spinach leaves
In this recipe, the main ingredients come together for a tasty chicken salad. You start with cooked chicken, which should be shredded or diced. This gives the salad a nice base. Then, add in dried cranberries for sweetness. They balance well with the crunch of chopped pecans. The yogurt and mayonnaise create a creamy dressing. Dijon mustard adds a tangy kick that’s hard to resist.
For the additional ingredients, finely chopped celery and red onion add freshness. You can season with salt and pepper to make it pop. Finally, use large whole wheat tortillas to wrap the salad. Fresh spinach leaves add a healthy touch and a nice crunch. Together, these ingredients make a delicious wrap that’s quick to prepare and perfect for lunch or a snack.
Step-by-Step Instructions
Preparation Steps
– First, combine 2 cups of cooked chicken, 1/2 cup dried cranberries, and 1/2 cup chopped pecans in a mixing bowl.
– In a separate bowl, prepare the dressing. Whisk together 1/4 cup plain Greek yogurt, 1/4 cup mayonnaise, 1 tablespoon Dijon mustard, 1 finely chopped celery stalk, and 1/4 finely chopped red onion. Season it with salt and pepper to taste.
This is where the magic starts! Mixing the chicken with cranberries and pecans brings a lovely crunch and sweetness. The dressing adds creaminess and ties everything together.
Assembly Steps
– Lay out 4 large whole wheat tortillas on a flat surface.
– Add a handful of fresh spinach leaves in the center of each tortilla.
– Spoon a generous portion of the chicken salad mixture onto the spinach in each tortilla.
– Fold in the sides of the tortilla and roll it from the bottom up to create a wrap.
Rolling these wraps is fun! The spinach keeps it fresh and bright. Make sure to pack the chicken salad well inside for a tasty bite.
Serving Suggestions
– Slice each wrap in half diagonally and serve immediately.
These wraps taste best right away. The fresh flavors and textures will shine through. Enjoy them for lunch or a light dinner!
Tips & Tricks
Ingredient Substitutions
– Use Greek yogurt or sour cream for a healthier option.
– Swap cranberries for raisins or cherries for variety.
These swaps help you adjust the taste and texture of your wraps. Greek yogurt adds creaminess while keeping fat low. Sour cream works the same. If you want something sweet, try raisins or cherries instead of cranberries. They give a new twist to the dish.
Perfecting Texture
– Ensure chicken is well-shredded for easier eating.
– Chop veggies finely to blend flavors effectively.
Shredding the chicken well makes the wraps easier to bite into. It also helps the flavors mix better. For the veggies, fine chopping makes a big difference. You won’t get big chunks that might overpower each bite. This way, every bite is a tasty blend of chicken, crunch, and sweetness.

Variations
Additional Ingredients
You can easily switch up the flavors in your Cranberry Pecan Chicken Salad Wraps. Adding diced apples or grapes brings a nice sweetness. These fruits create a contrast with the tangy cranberries. You can also mix in herbs like dill or parsley. These herbs add a fresh taste that brightens the dish.
Wrap Options
The type of wrap you use can change your meal. Try different tortillas, like spinach or gluten-free ones. These options can fit various diets and tastes. If you want a low-carb meal, serve the salad in lettuce wraps. This makes a fun and crunchy alternative while keeping it light.
Storage Info
Refrigeration Guidelines
You can store your cranberry pecan chicken salad wraps in an airtight container. They stay fresh for up to three days. To keep them tasty, place parchment paper between each wrap. This helps avoid sogginess. Always check for any signs of spoilage before eating.
Freezing Tips
If you want to save some wraps for later, wrap each one in plastic wrap. This helps keep them fresh in the freezer. You can freeze them for up to two months. When you’re ready to eat, let them thaw in the fridge overnight. Enjoy the wraps cold or warm them up in a pan.
FAQs
Can I make these wraps ahead of time?
Yes, you can prepare the chicken salad mix in advance. Just store it in the fridge. However, I recommend adding the fresh spinach just before serving. This keeps the spinach crisp and green, enhancing the wrap’s taste and texture.
What sides pair well with Chicken Salad Wraps?
These wraps go great with fresh fruit, crunchy chips, or a light salad. I love serving them with a side of apple slices or carrot sticks. The sweetness of the fruit balances the savory chicken salad, making a perfect meal.
How do I make these wraps more filling?
To add more substance, mix in quinoa or your favorite grain into the chicken salad. This boosts fiber content and adds a nice texture. You can also try adding beans or lentils for extra protein.
This blog covered how to make delicious chicken salad wraps with simple ingredients. We discussed both main and additional components, easy prep and assembly steps, plus tips for perfecting taste and texture. You have plenty of ways to customize, whether by adding fruits, herbs, or using different wraps.
Storing these wraps is just as easy. Remember, fresh spinach is best added just before serving. Now, you can enjoy a tasty meal that is healthy and easy to make!


![To make the Easy Caprese Pasta Salad, you need fresh and vibrant ingredients. Here’s what you’ll need: - 8 oz. rotini or any pasta of your choice - 1 cup cherry tomatoes, halved - 1 cup fresh mozzarella balls, halved - 1 avocado, diced - ¼ cup fresh basil leaves, chopped - 3 tablespoons olive oil - 2 tablespoons balsamic vinegar - Salt and pepper to taste - Optional: 1 teaspoon garlic powder Each ingredient plays an important role. The rotini pasta gives a nice twist and holds the dressing well. Cherry tomatoes add sweetness and color. Fresh mozzarella brings creaminess and a touch of richness. Avocado gives a creamy texture and healthy fats. Basil adds a lovely herb flavor that brightens the dish. The olive oil and balsamic vinegar create a simple, tangy dressing. Salt and pepper enhance all the flavors. If you want a little kick, add garlic powder. You can find the full recipe for this delightful dish, which includes helpful cooking steps and tips. Enjoy selecting your ingredients, and remember, fresh is always best! To cook the pasta perfectly, boil water in a large pot. Use about four quarts of water for every eight ounces of pasta. Add a generous amount of salt to the boiling water. This helps flavor the pasta. Cook the pasta according to the package instructions until it's al dente. This means it should still be firm when you bite into it. After cooking, drain the pasta in a colander. Rinse it under cold water. This stops the cooking process and cools the pasta down quickly. In a large mixing bowl, combine the cooled pasta, cherry tomatoes, mozzarella balls, diced avocado, and chopped basil. This mix brings together fresh, vibrant flavors. Each ingredient adds a unique taste and texture. Next, prepare the dressing in a separate small bowl. Whisk together the olive oil, balsamic vinegar, salt, pepper, and garlic powder if you chose to use it. Make sure everything is well blended. This dressing elevates the salad with a delicious zing. Drizzle the dressing over the pasta salad. Gently toss the mixture to ensure every piece is coated. This makes each bite flavorful and fresh. Now, adjust the seasoning to your taste. Add more salt, pepper, or balsamic vinegar if needed. Taste it and make sure it suits your preference. For the best flavor, refrigerate the salad for at least 30 minutes before serving. This allows the flavors to meld beautifully. Enjoy the delightful and fresh taste of your Easy Caprese Pasta Salad! For the complete process, check out the Full Recipe. To make your Caprese pasta salad shine, start with fresh ingredients. Fresh tomatoes and mozzarella add vibrant taste. Salt and pepper elevate the dish. You can also add garlic powder for a nice kick. If you want a zestier flavor, increase the balsamic vinegar. You can tweak the dressing until it suits your taste buds. Remember, tasting is key! For a stunning presentation, use a large salad bowl. Garnish with whole basil leaves and cherry tomatoes. This adds a pop of color and freshness. Serve with crusty bread or grilled chicken for a complete meal. This salad pairs well with white wine or sparkling water. Enjoy it as a light lunch or a side for dinner. For the full recipe, check out the detailed steps provided. {{image_2}} You can switch up the pasta type for fun. Try penne, fusilli, or even whole wheat pasta. Each type brings a unique twist to your dish. If you want to add more crunch, toss in bell peppers or cucumbers. Fresh herbs like parsley or oregano can also add great flavor. To make this salad vegan, swap mozzarella for vegan cheese. You can also use extra avocado or nuts for creaminess. For a gluten-free option, choose gluten-free pasta. If you want more protein, add grilled chicken or canned chickpeas. These adjustments make the salad hearty and satisfying. Want the full recipe? Check out the [Full Recipe]. To keep your Easy Caprese Pasta Salad fresh, store leftovers in an airtight container. This helps to keep moisture in while keeping air out. I recommend using glass containers. They do not absorb odors and are safe for the fridge. If you're using plastic, choose BPA-free options. Your salad will stay fresh in the fridge for up to three days. After that, the taste and texture may change. Look for signs that the salad has gone bad. If you see any mold or notice a sour smell, it is best to toss it out. Always trust your senses when it comes to food safety. Yes, you can make this salad ahead of time. It tastes even better after the flavors mix. I recommend making it a few hours before serving. Just keep it in the fridge. It stays fresh for about 24 hours. To stop the avocado from browning, sprinkle it with lemon juice. The acid helps keep its bright green color. You can also mix the diced avocado in right before serving. This way, it stays fresh and pretty. The best pasta for Caprese salad is rotini or any short pasta. Rotini holds the dressing well and adds fun texture. You can also try penne or farfalle. They all work great and taste delicious in the salad. For the full recipe, check out the [Full Recipe]. This salad combines fresh ingredients for a light meal. You learned how to cook pasta perfectly and mix it with other tasty elements. We explored tips to enhance flavors and make the dish your own. I shared variations for dietary needs and advice on storing leftovers. Ultimately, this salad is simple and fun to enjoy. Make it to impress your friends or family. It's a fresh addition to any table. Happy cooking!](https://dailydishly.com/wp-content/uploads/2025/07/641e8ed2-8f86-4667-9fab-c2a983da8105-768x768.webp)
. If you need a substitute for quinoa, try these options: - Brown rice - Bulgur wheat - Couscous - Farro - Barley These grains provide a similar texture and can carry flavors well. Each option has its own taste and cooking time, so pick what you like best! Yes, Lemon Garlic Quinoa Salad is very healthy! Quinoa is a complete protein, meaning it has all nine essential amino acids. It is also gluten-free and high in fiber. The fresh vegetables add vitamins and minerals. Olive oil gives healthy fats, while lemon juice adds vitamin C. This salad is low in calories and full of nutrients. It’s a great choice for a light meal or side dish. Yes, you can make this salad in advance! It tastes even better after sitting for a while. Prepare it a few hours before serving. Just keep it in the fridge. The salad can marinate, letting the flavors mix well. If you plan to make it one day ahead, wait to add the feta cheese until serving. This keeps it fresh and tasty. This blog post covered how to make a delicious quinoa salad. We explored main ingredients like quinoa, fresh vegetables, and tasty dressings. I shared tips for cooking quinoa and ways to prep veggies. You learned how to make the dressing and assemble the salad for the best results. Plus, I provided ideas for variations and storage methods. Making this salad can be easy and fun. Trying different flavors can keep it exciting. Enjoy every bite and make it your own!](https://dailydishly.com/wp-content/uploads/2025/07/e42a7f06-4d66-46b9-9caa-936cc7f21d46-768x768.webp)


