Skip to content
About
Contact
Cookie Policy
Copyright Policy
Disclaimer
Search
Home
Dinner
Appetizer
Desserts
Drinks
About
Contact
Privacy Policy
Toggle Menu
Home
/
Desserts
- Page 6
Desserts
No-Bake Pumpkin Spice Latte Truffles Sweet Delight
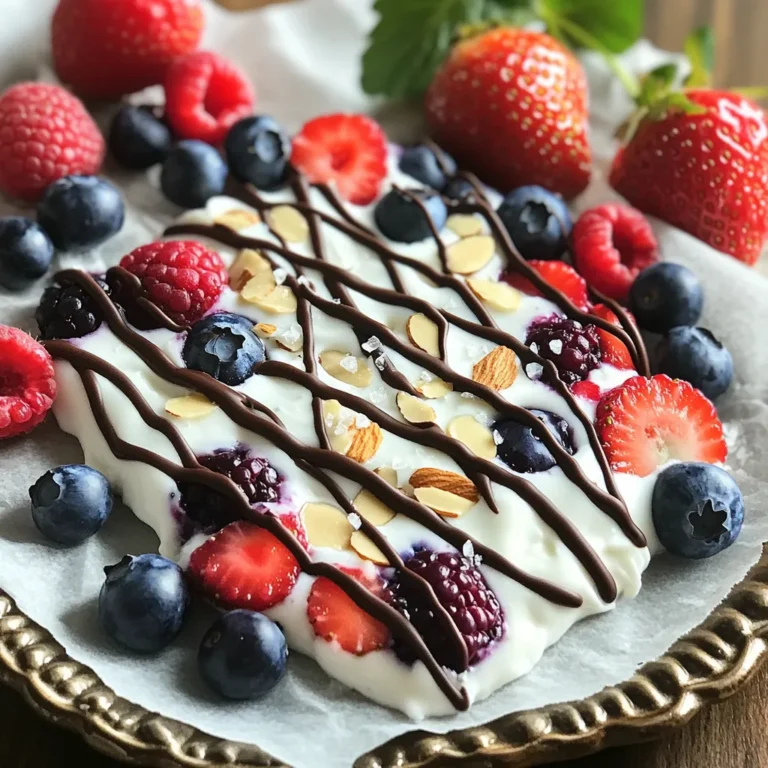
Frozen Yogurt Berry Bark Simple and Tasty Treat
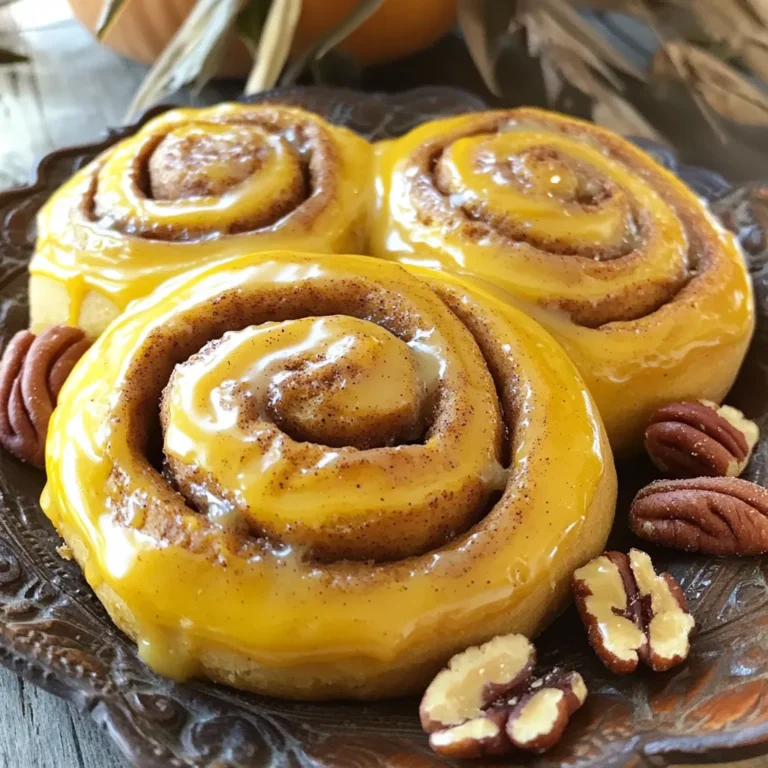
Pumpkin Cinnamon Rolls with Brown Butter Delight
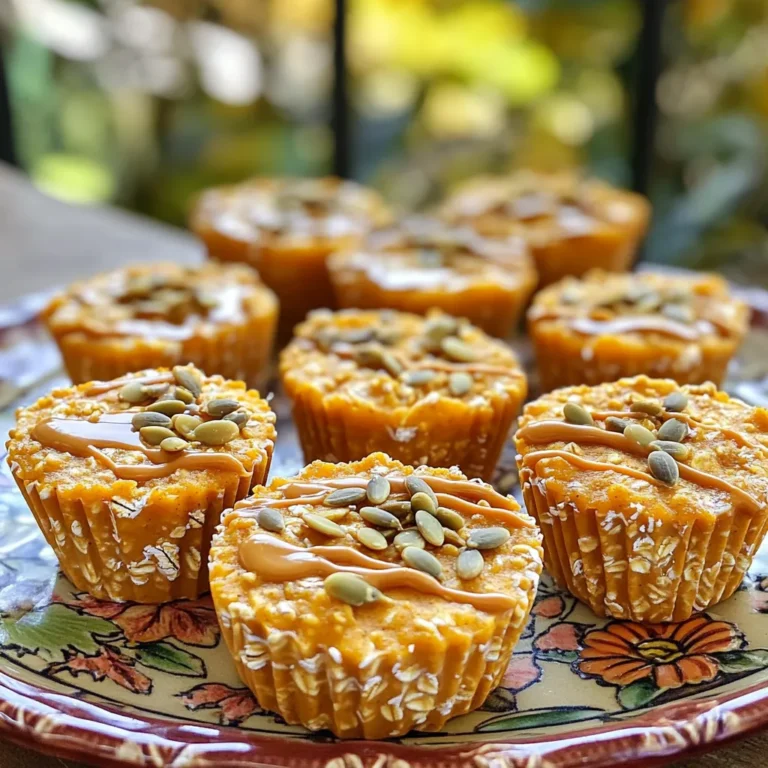
Pumpkin Peanut Butter Oat Cups No-Bake Easy Snack
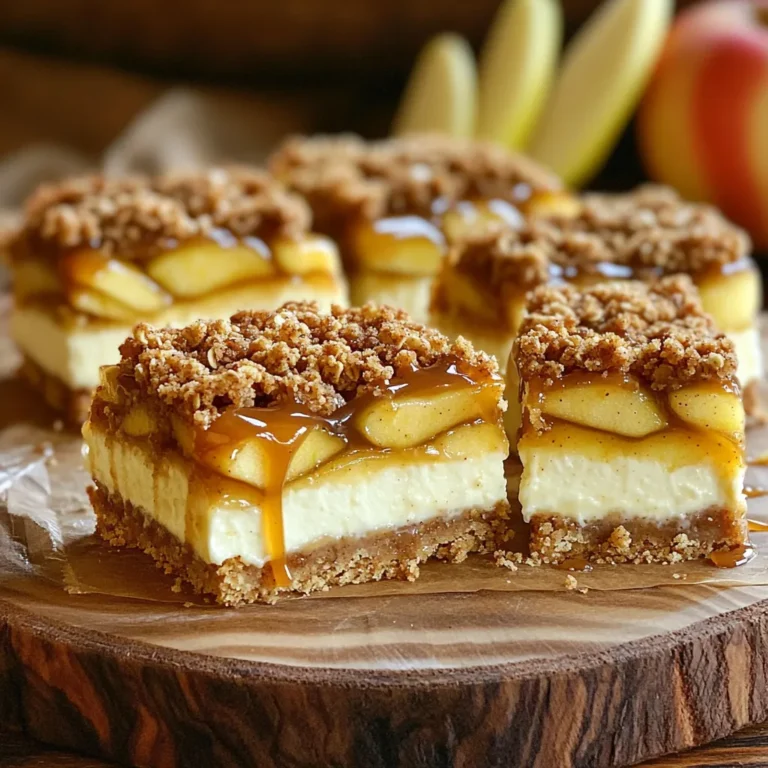
Caramel Apple Cheesecake Streusel Bars Delightfully Simple
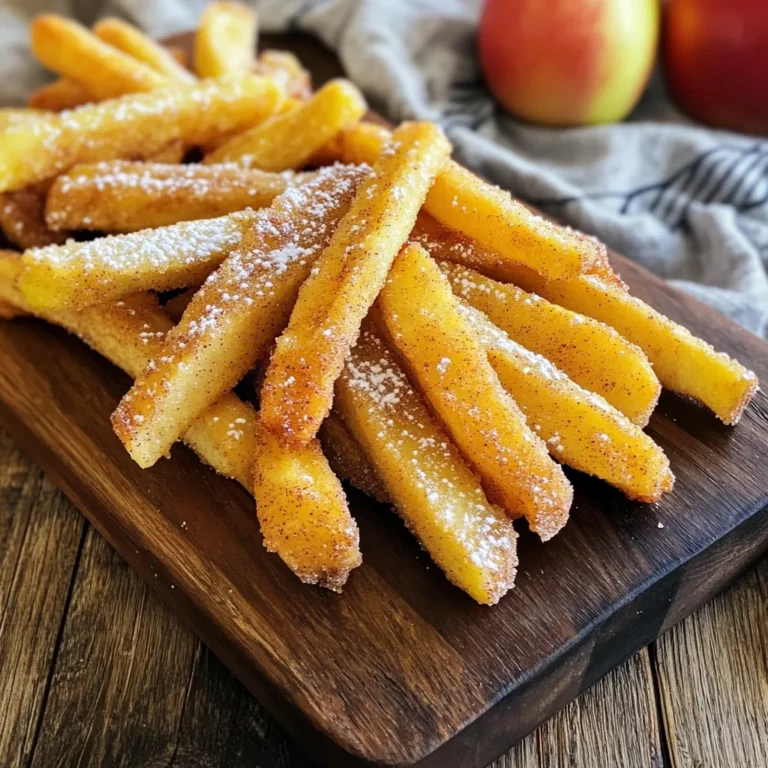
Crispy Cinnamon Apple Fries Air Fryer Delight
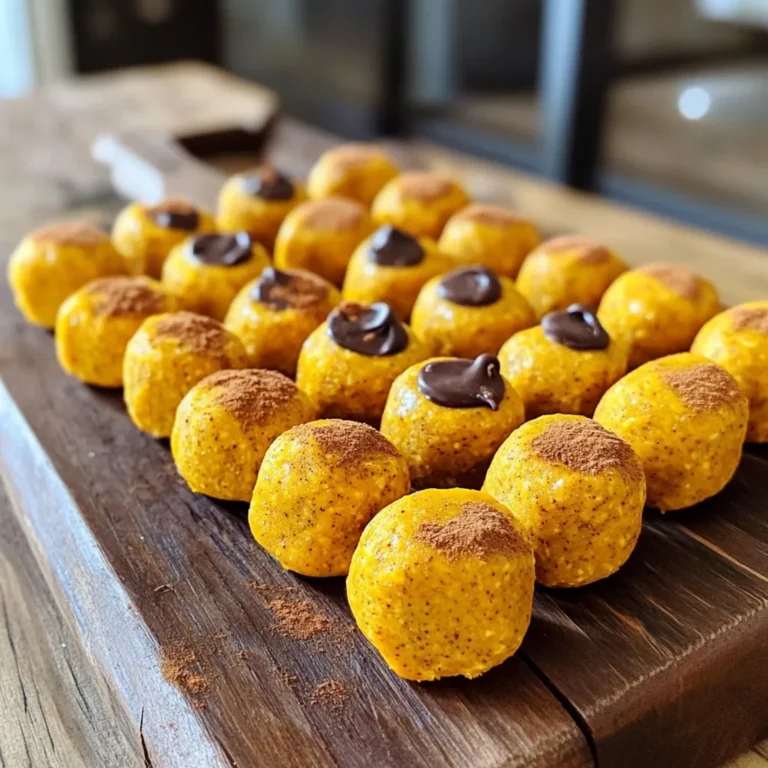
Pumpkin Protein Bites with Oats for Healthy Snacking
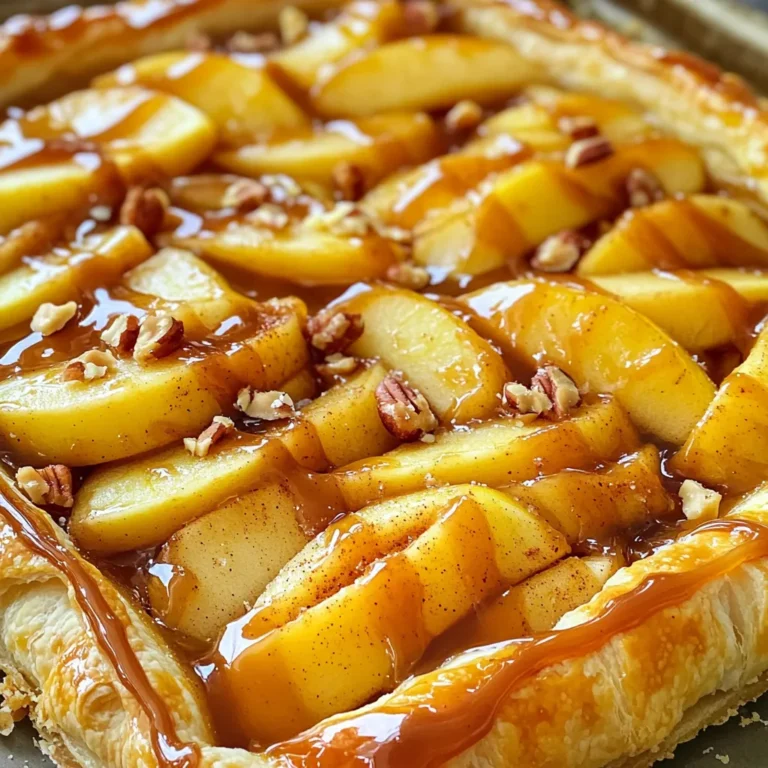
Caramel Apple Puff Pastry Tart Heavenly Dessert Delight
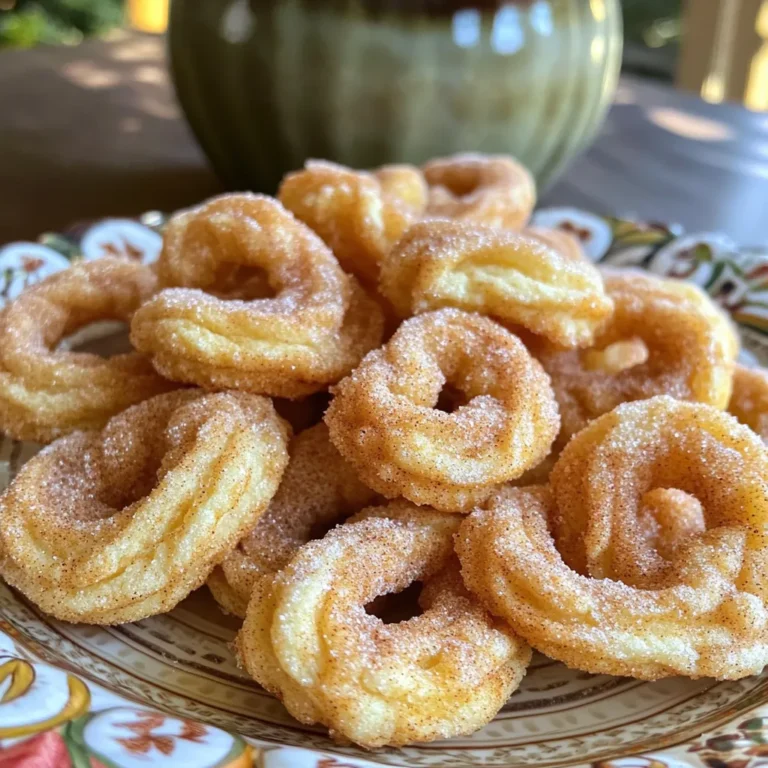
Oven-Baked Cinnamon Sugar Churro Cookies Delight
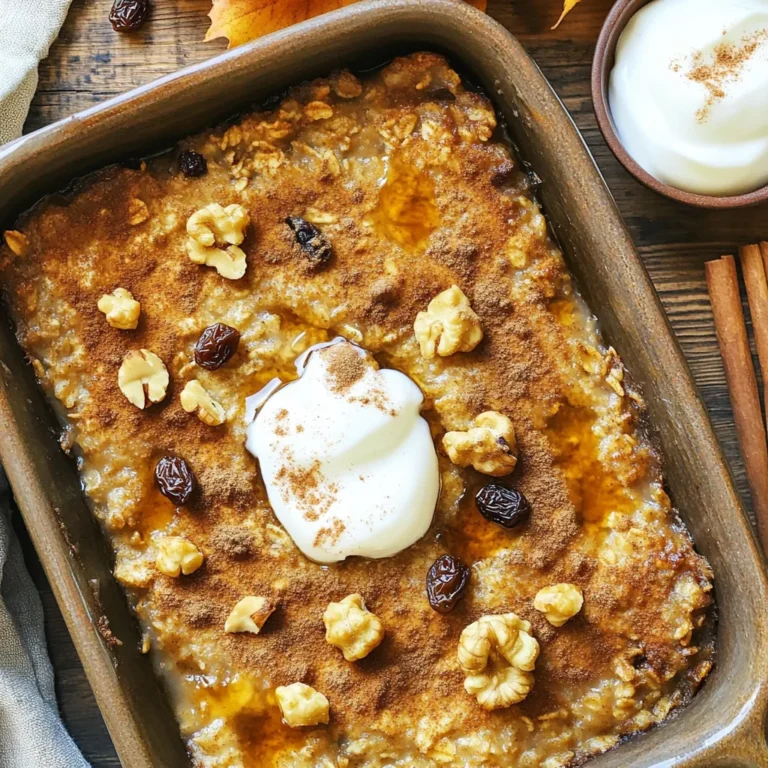
Cozy Gingerbread Oatmeal Bake Easy and Tasty Delight
Page navigation
Previous Page
Previous
1
…
4
5
6
7
8
…
29
Next Page
Next
Home
Dinner
Appetizer
Desserts
Drinks
About
Contact
Privacy Policy
Toggle Menu Close
Search for:
Search