Skip to content
About
Contact
Cookie Policy
Copyright Policy
Disclaimer
Search
Home
Dinner
Appetizer
Desserts
Drinks
About
Contact
Privacy Policy
Toggle Menu
Home
/
Dinner
- Page 13
Dinner
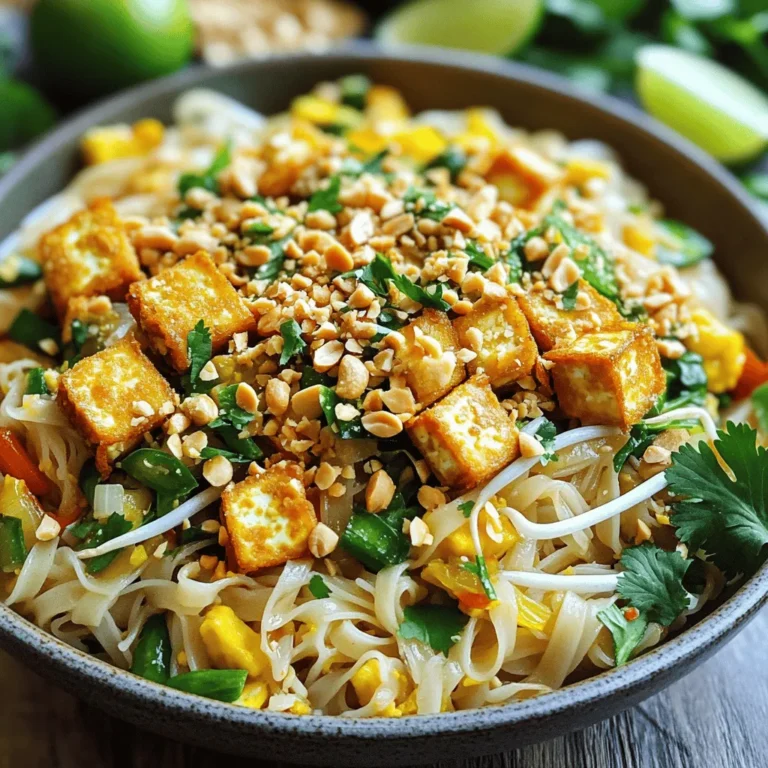
Crispy Tofu Pad Thai Better Than Takeout Delight
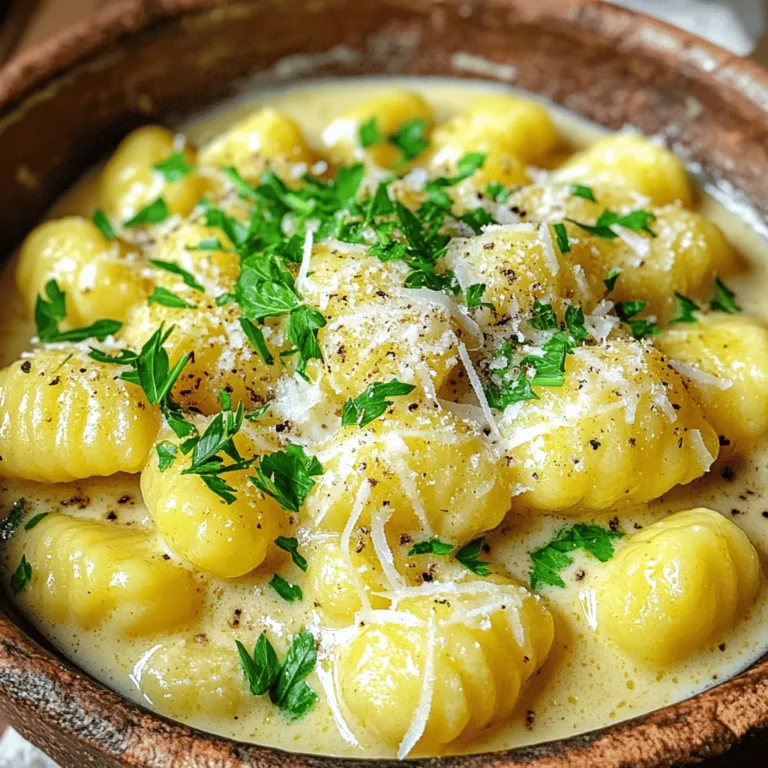
Creamy Garlic Parmesan Gnocchi 15 Minutes Delight
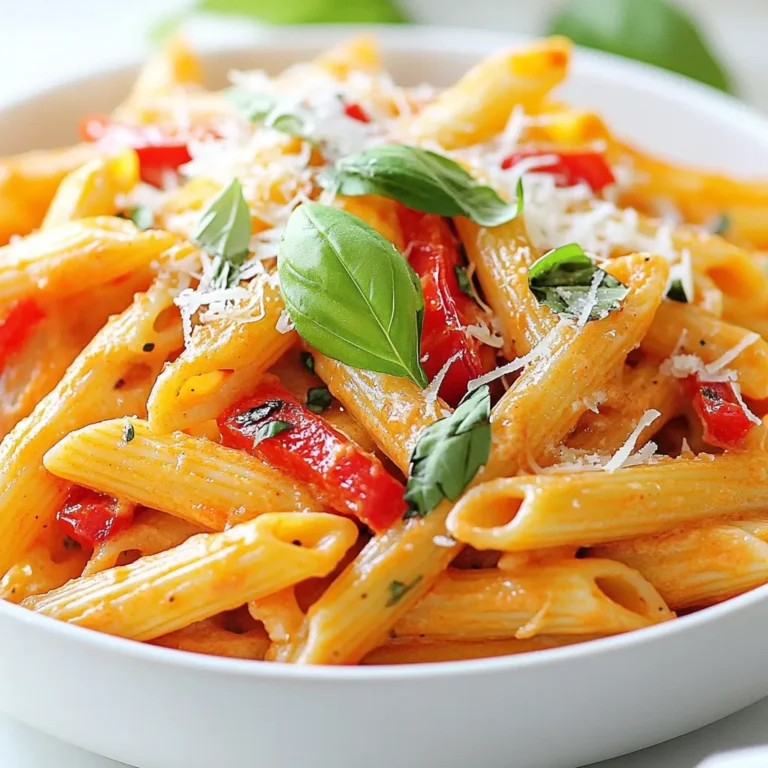
Roasted Red Pepper Penne Rich and Creamy Delight
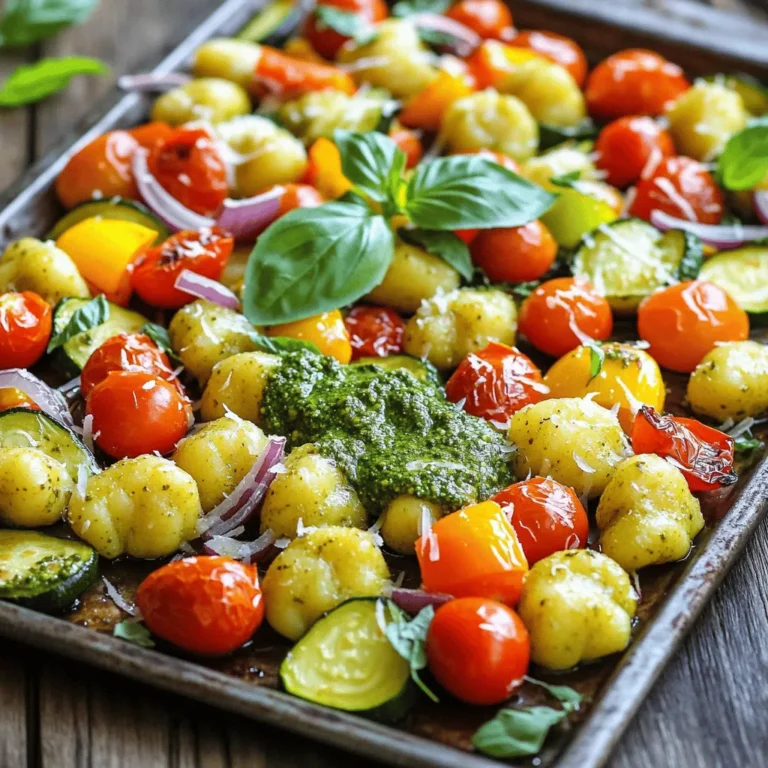
Sheet-Pan Pesto Gnocchi With Roasted Veggies Delight
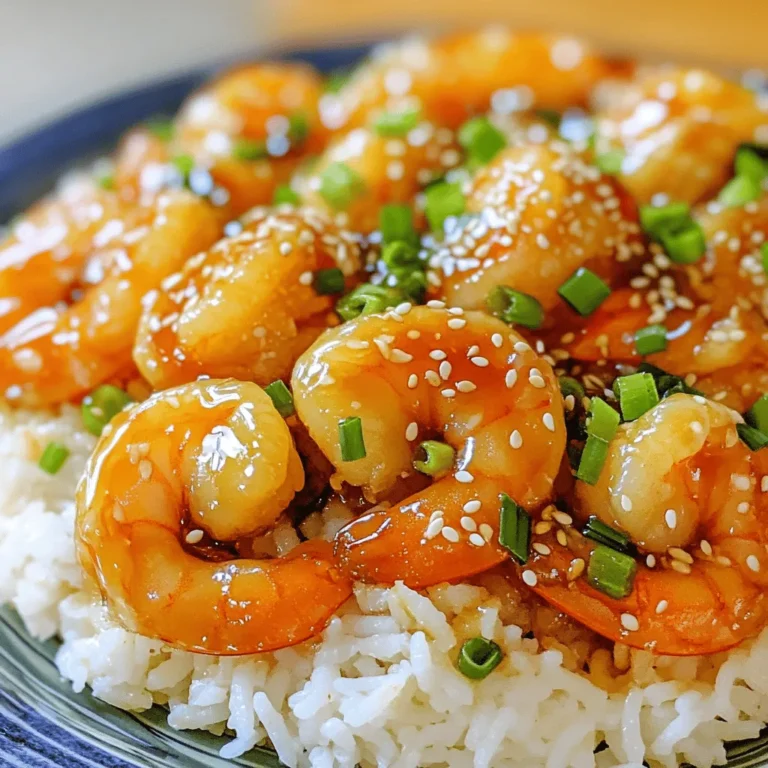
Better-Than-Takeout Honey Sesame Shrimp Delight
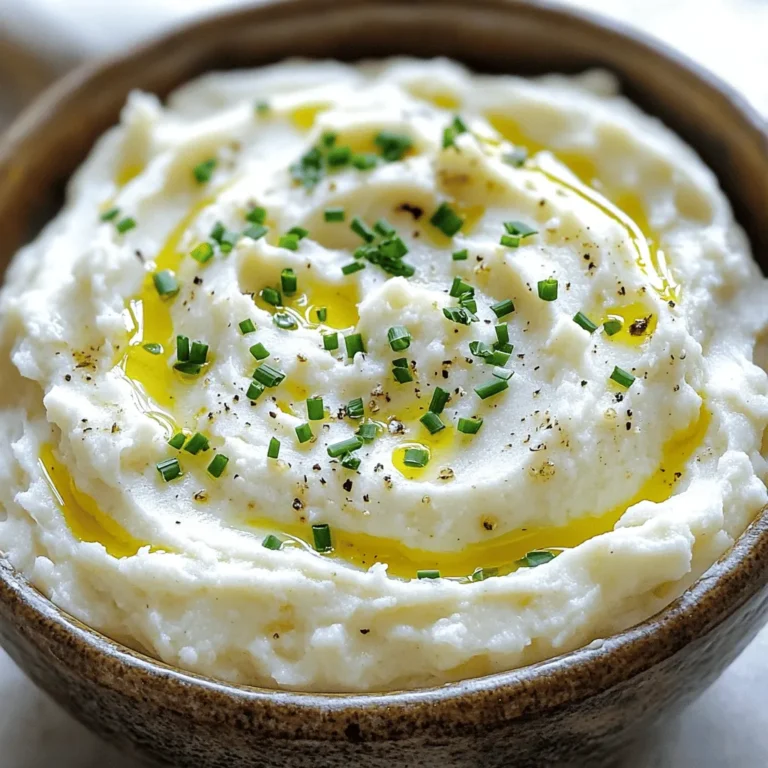
Creamy Garlic Parmesan Cauliflower Mash Delightful Recipe
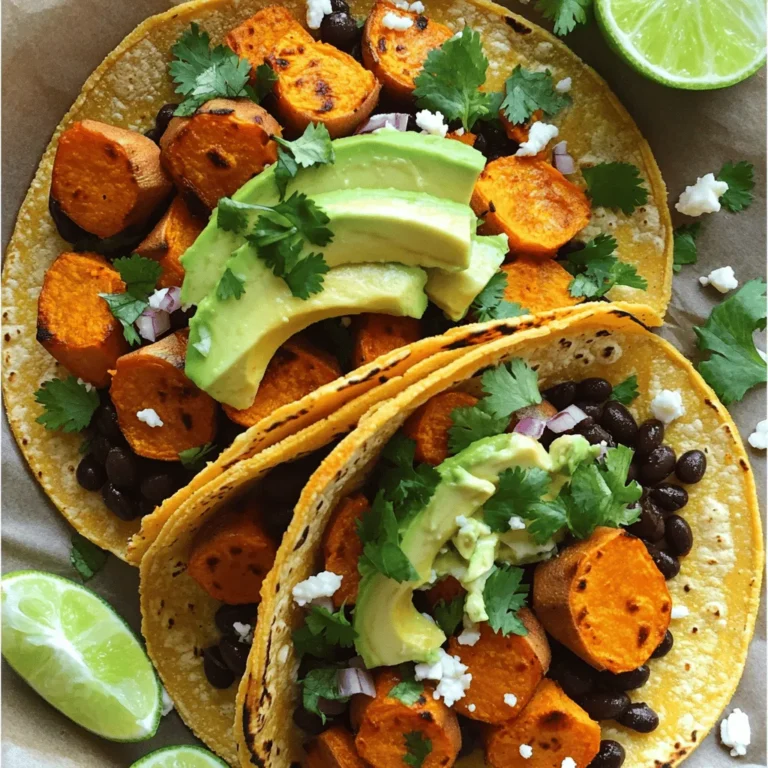
Crispy Sweet Potato Black Bean Tacos Flavorful Treat
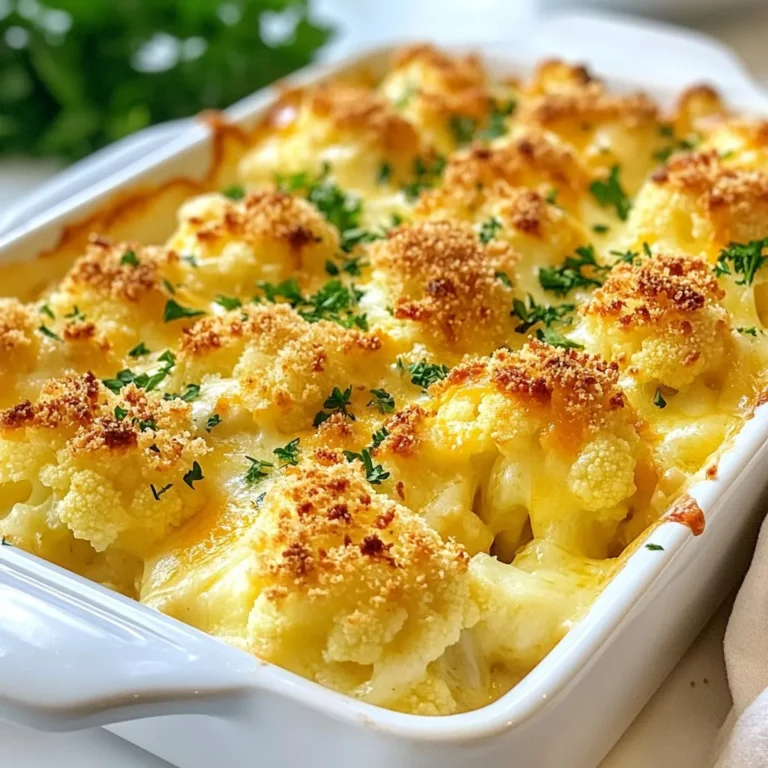
Cheesy Cauliflower Au Gratin Simple and Tasty Dish
Slow Cooker Thai Coconut Chicken Soup Delightful Meal
Sheet-Pan Garlic Butter Shrimp Scampi Quick Meal Idea
Page navigation
Previous Page
Previous
1
…
11
12
13
14
15
…
45
Next Page
Next
Home
Dinner
Appetizer
Desserts
Drinks
About
Contact
Privacy Policy
Toggle Menu Close
Search for:
Search