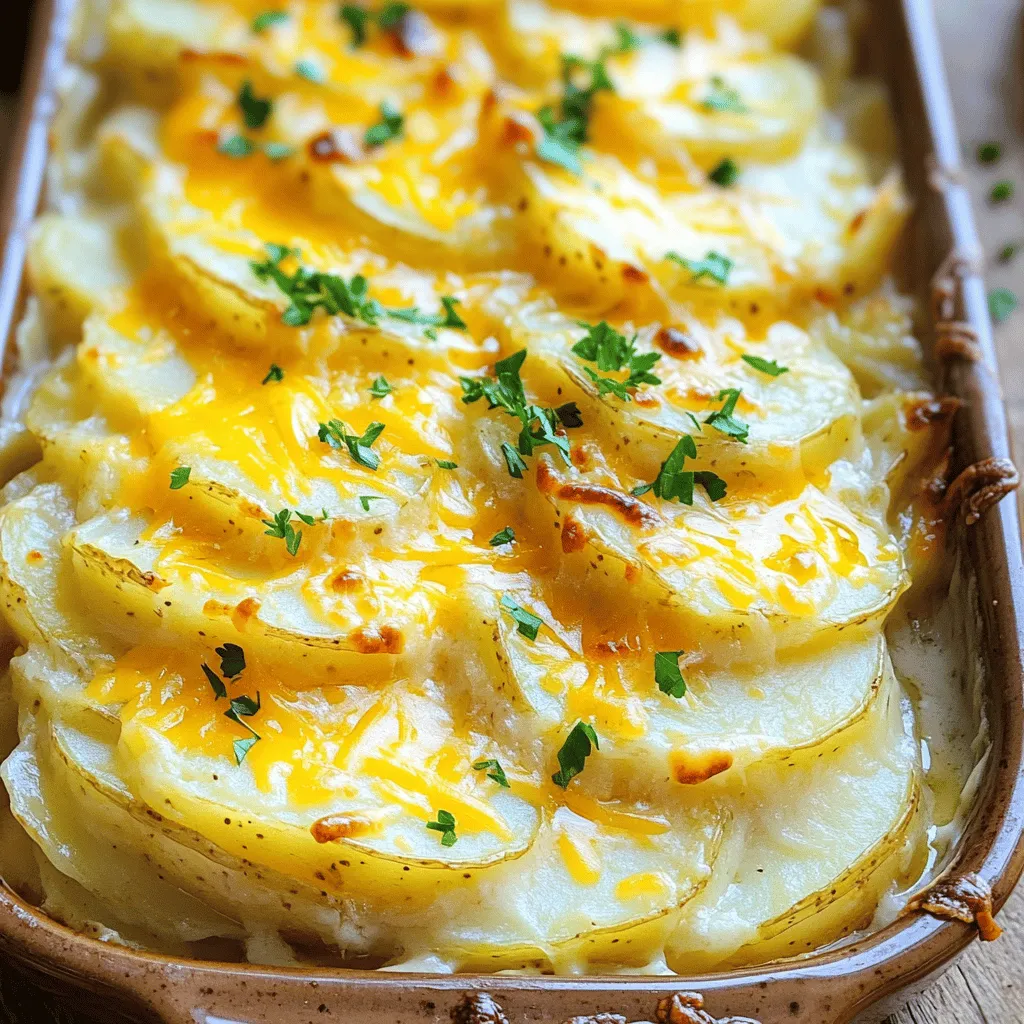
There’s nothing quite like sinking your fork into a warm, cheesy dish of scalloped potatoes. This comfort food classic is creamy, cheesy, and so easy to make! In this post, I’ll guide you through the simple steps to achieve that perfect blend of flavors and textures. Whether you want to stick with tradition or explore fun twists, I’ve got you covered. Let’s get ready to make your next meal a delicious delight!
Ingredients
List of Ingredients
To make cheesy scalloped potatoes, you need just a few simple ingredients. Here’s what you’ll need:
– 4 large russet potatoes, peeled and thinly sliced
– 1 cup sharp cheddar cheese, grated
– 1 cup Gruyère cheese, grated
– 1 medium onion, finely chopped
– 2 cloves garlic, minced
– 2 cups heavy cream
– 1 tablespoon butter
– 1 teaspoon salt
– 1/2 teaspoon black pepper
– 1/4 teaspoon nutmeg
– Fresh parsley, chopped (for garnish)
Each ingredient plays a key role in creating that creamy, cheesy goodness. The potatoes provide the base, while the cheeses add flavor and richness.
Cheese Selection
Choosing the right cheese is important. I love using sharp cheddar for its bold flavor. Gruyère brings a nice creaminess and a nutty taste. You can mix these cheeses or use others you like. Just remember, a good melt is what you want.
Optional Seasonings
While the basic recipe is tasty, you can add a few seasonings. Consider these:
– Fresh thyme for a herbal note
– Smoked paprika for a hint of smokiness
– Red pepper flakes for some heat
These add-ons can elevate your dish. You can adjust them based on your taste.
Step-by-Step Instructions
Preparation Steps
First, gather all your ingredients. You need four large russet potatoes, sharp cheddar cheese, Gruyère cheese, an onion, garlic, heavy cream, butter, salt, black pepper, nutmeg, and fresh parsley. Peel and thinly slice the potatoes. I often use a mandoline for even slices. Finely chop the onion and mince the garlic.
Next, melt one tablespoon of butter in a medium saucepan over medium heat. Add the chopped onion and minced garlic. Sauté until they turn soft and clear, about four to five minutes. This step adds great flavor. Pour in the two cups of heavy cream and mix in the salt, pepper, and nutmeg. Heat until it simmers, but do not boil. Remove from heat.
Layering the Dish
Now, grease a 9×13 inch baking dish. Start by layering half of the sliced potatoes on the bottom. Spread them out evenly. Next, pour half of the cream mixture over the potatoes. Then, sprinkle half of the grated cheddar and Gruyère cheese on top. Do this carefully to cover all the potatoes.
Repeat the process with the remaining ingredients. Layer the rest of the potatoes, followed by the cream mixture, and finish with the remaining cheese. This layering gives the dish its rich flavor and texture.
Baking Process
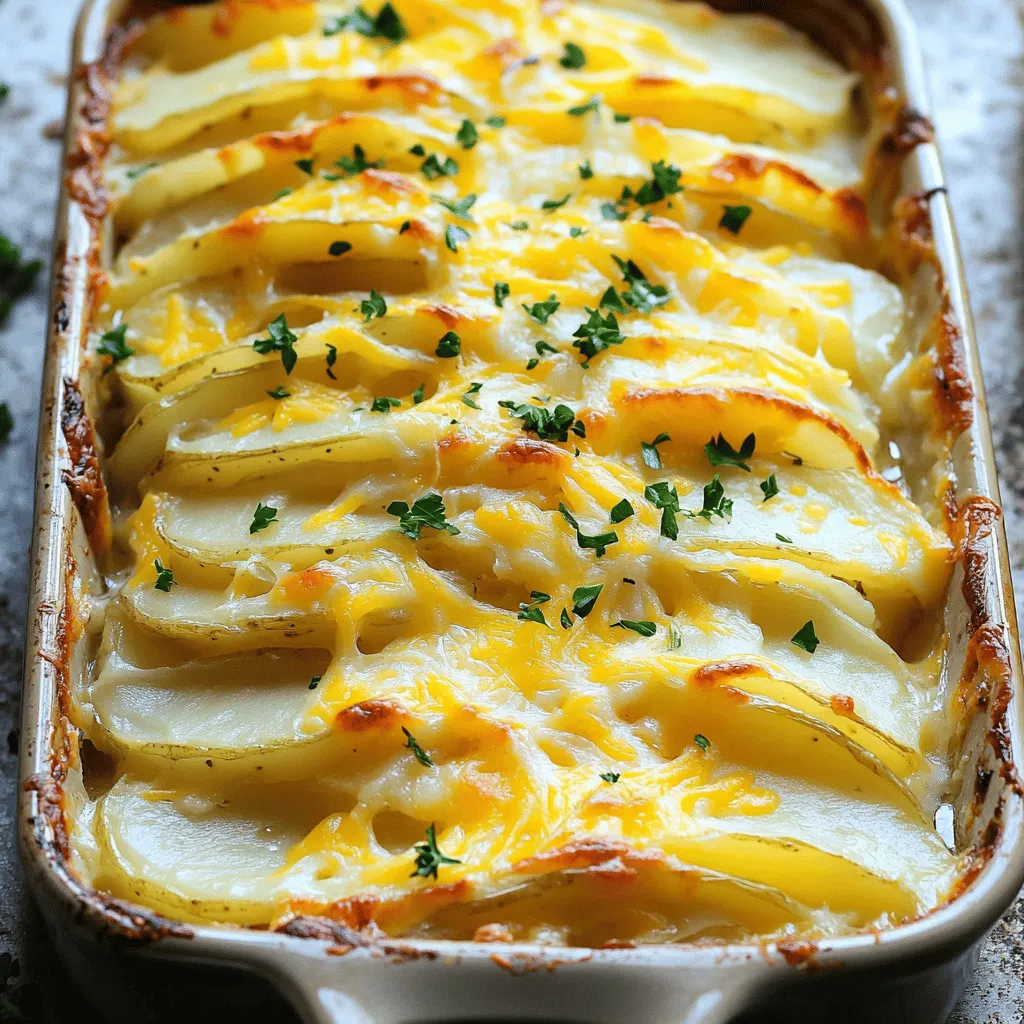
Cover the baking dish with aluminum foil. Bake in the preheated oven at 375°F (190°C) for 45 minutes. This helps the potatoes cook through. After 45 minutes, carefully remove the foil. Bake uncovered for an additional 25 to 30 minutes. The top should turn golden brown, and the dish will bubble up.
Let the scalloped potatoes cool for about ten minutes before serving. This cooling time helps the layers set. Garnish with fresh parsley for a pop of color. Enjoy this cheesy delight!
Tips & Tricks
Achieving the Perfect Creamy Texture
To get the best creamy texture, use heavy cream. It gives a rich taste. Heat the cream slowly with salt and spices. This helps the flavors mix well. Avoid boiling the cream; just let it simmer. Layer the potatoes and cream mixture evenly in the dish. This allows every bite to be creamy and delicious.
Browning the Cheese Top
To achieve a golden, bubbly cheese top, remove the foil halfway through baking. This lets the heat reach the cheese directly. If you want an extra crispy top, add a bit more cheese before the last baking phase. Broil the dish for a few minutes at the end if you want even more browning. Just watch it closely to avoid burning.
Common Mistakes to Avoid
One common mistake is cutting the potatoes too thick. Thin slices cook evenly and absorb the cream better. Another mistake is skipping the onion and garlic. These add depth and flavor. Also, don’t rush the baking time. Ensure potatoes are tender before serving.
Variations
Vegetarian Options
You can make cheesy scalloped potatoes vegetarian. Simply skip any meat or meat-based broths. Focus on using rich, creamy ingredients like heavy cream and cheese. Add layers of fresh vegetables, too. Spinach, mushrooms, or zucchini give great flavor and texture. They blend well with the potatoes and cheese, making each bite delightful.
Different Cheese Combinations
Cheese is key in this dish. You can play with different cheese blends. Try mozzarella for a gooey texture. Feta adds a nice tang, while gouda gives a smoky flavor. Mix and match your favorites to create a unique taste. Aim for a mix of sharp and creamy cheeses to balance the flavors.
Adding Proteins or Vegetables
Want to make this dish heartier? Add proteins like cooked bacon or ham. Both add savory notes that complement the cheese. You can also sneak in some vegetables. Broccoli or asparagus works well. Simply chop them small and layer them with the potatoes. This not only enhances flavor but also boosts nutrition.
Storage Info
Best Practices for Refrigeration
After you make your cheesy scalloped potatoes, let them cool first. This helps keep them fresh. Store the leftovers in an airtight container. They can stay good in the fridge for about three to four days. If you want to keep them longer, freezing is a great option.
Freezing Scalloped Potatoes
You can freeze cheesy scalloped potatoes for up to three months. To do this, make sure they cool completely. Cut them into portions. Wrap each piece tightly with plastic wrap. Then, place them in a freezer-safe bag. Label the bag with the date. This way, you’ll know when to use them.
Reheating Instructions
To reheat, take the potatoes out of the fridge or freezer. If frozen, let them thaw overnight in the fridge. Preheat your oven to 350°F (175°C). Place the leftovers in a baking dish. Cover with foil to keep them moist. Bake for about 20 to 30 minutes, or until hot. You can also microwave them, but the oven gives a better texture. Enjoy your cheesy scalloped potatoes just like the first time!
FAQs
How to Make Cheesy Scalloped Potatoes Ahead of Time?
You can make cheesy scalloped potatoes a day before. Prepare the dish fully, then cover it with plastic wrap. Store it in the fridge overnight. When you are ready to bake, remove the wrap and let it sit at room temperature for 30 minutes.This method helps the flavors blend and saves time.
Can I Use Different Types of Potatoes?
Yes, you can use different potatoes. While I prefer russet potatoes for their creaminess, Yukon gold potatoes work well too. They add a nice buttery flavor. Just remember to slice them thinly for even cooking. Avoid waxy potatoes, as they may not soften well in the oven.
What Dishes Pair Well with Cheesy Scalloped Potatoes?
Cheesy scalloped potatoes pair nicely with many dishes. They complement roast chicken, beef, or pork perfectly. You can also serve them with a fresh salad for a balanced meal. For a special touch, add some steamed green beans or sautéed spinach on the side. These options create a colorful plate and elevate your dining experience.
You now know how to make cheesy scalloped potatoes from scratch. We covered essential ingredients, baking steps, and tips to avoid mistakes. Experiment with different cheeses and veggies for your own twist. Remember to store leftovers properly to enjoy later. Use these insights to impress your friends and family at your next meal. Happy cooking; I can’t wait for you to try this dish!


