
Craving a rich, chocolatey dessert that’s also healthy? You’re in luck! This Chocolate Avocado Mousse is easy to make and tastes amazing. With just a few simple ingredients, you can whip up a treat that impresses your friends and family. Plus, it’s packed with nutrients from avocados. Let’s dive into this delicious recipe and create something special that satisfies your sweet tooth!
Ingredients
List of Ingredients
– 2 ripe avocados, peeled and pitted
– 1/2 cup unsweetened cocoa powder
– 1/4 cup maple syrup (or honey)
– 1/4 cup almond milk (or any milk of your choice)
– 1 teaspoon vanilla extract
– A pinch of sea salt
– Dark chocolate shavings or berries for garnish (optional)
Ingredient Substitutions
You can swap maple syrup for agave syrup or date syrup. These options give similar sweetness. If you want a sugar-free version, try using a sugar substitute. For non-dairy milk, coconut milk or soy milk work well. Each milk adds a unique flavor and texture.
The health benefits of each ingredient are notable. Avocados provide healthy fats and fiber. Cocoa powder is rich in antioxidants. Maple syrup and honey add natural sweetness and vitamins. Almond milk is low in calories and dairy-free. This dessert is not just tasty; it’s also good for you!
For those who want to add a twist, consider adding a dash of espresso powder. This can enhance the chocolate flavor. Try using different toppings like crushed nuts for added crunch. Each ingredient brings a special touch to the mousse.
Step-by-Step Instructions
Preparation Process
To make your chocolate avocado mousse, start by gathering your ingredients. You will need ripe avocados, cocoa powder, maple syrup, almond milk, vanilla extract, and a pinch of sea salt.
1. In a food processor, add the avocados and cocoa powder.
2. Pour in the maple syrup and almond milk.
3. Add the vanilla extract and sea salt.
4. Blend the mixture on high until it is creamy and smooth.
5. If you notice lumps, scrape down the sides of the bowl. This ensures even blending.
Achieving a creamy texture is crucial for this mousse. The smoother it is, the better it will taste. If it feels too thick, add a little more almond milk. Blend again until smooth.
Chilling and Serving
After blending, transfer the mousse into serving cups or bowls. For the best flavor, chill it in the refrigerator for at least 30 minutes. This helps the mousse firm up and allows the flavors to meld beautifully.
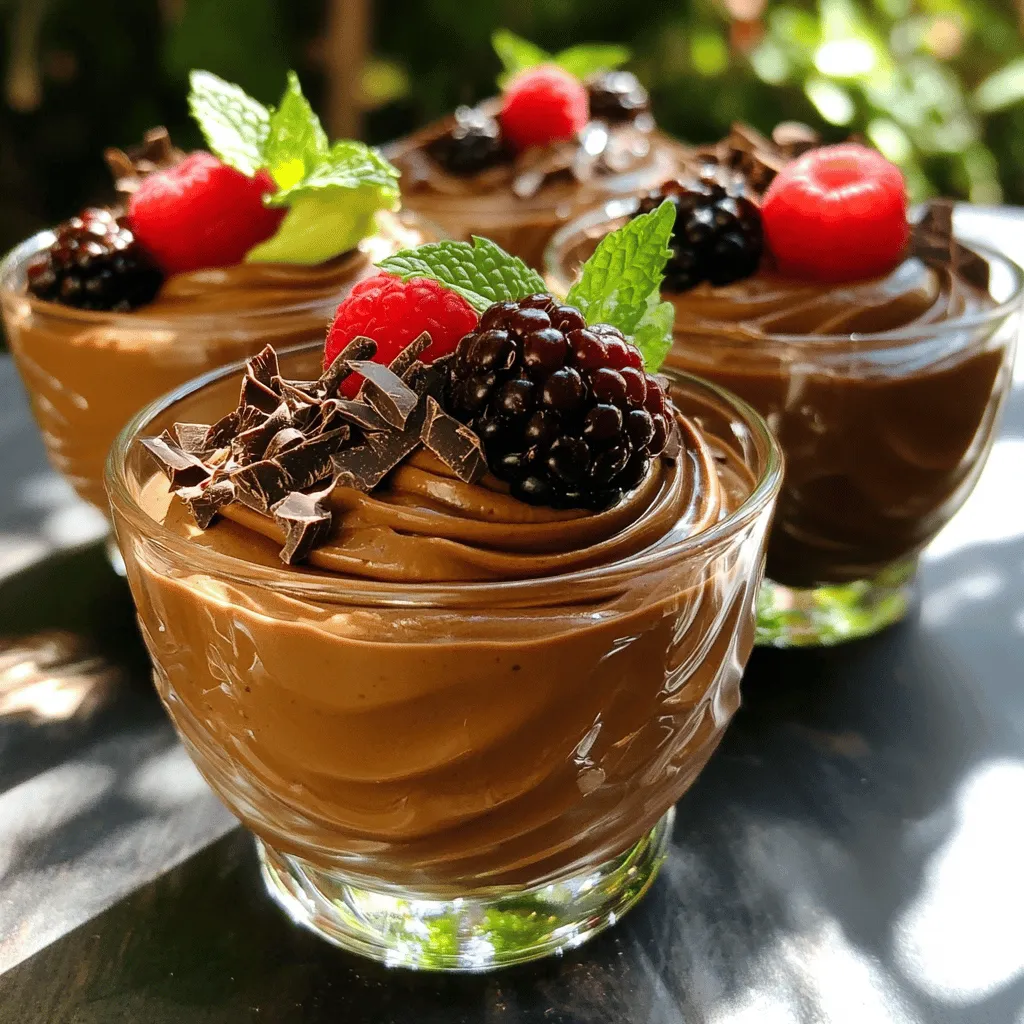
When serving, choose elegant glass cups to showcase the rich, dark color of the mousse. You can garnish with dark chocolate shavings or fresh berries. A sprig of mint adds a nice touch too. This will make your dessert look fancy and appetizing.Enjoy your simple and satisfying treat!
Tips & Tricks
Achieving the Perfect Consistency
How to know if your mousse is ready
You want your mousse to be smooth and creamy. It should not feel grainy or chunky. Blend until it feels silky. If you see any lumps, keep blending. The mousse should easily fall off a spoon.
Adjusting sweetness post-blending
After blending, taste your mousse. If you want it sweeter, add more maple syrup or honey. Blend again for a few seconds. Always taste before adding more. This way, you keep control over the sweetness.
Common mistakes to avoid
1. Don’t rush the blending. Take your time for a smooth texture.
2. Avoid using unripe avocados. They will not blend well and taste bitter.
3. Don’t skip chilling. It helps the mousse firm up and flavors blend.
Tools and Equipment
Recommended kitchen tools for easy preparation
You’ll need a good food processor or blender. A spatula helps scrape down the sides. Use measuring cups for accurate amounts. Bowls for serving are also nice.
Food processor vs. blender: which to use?
Both work well, but I prefer a food processor. It blends better for this creamy dessert. A blender may work too, but watch for lumps. If you have both, try the food processor first.
Variations
Dietary Variations
If you want to tweak this chocolate avocado mousse, you have great options.
– Vegan Chocolate Avocado Mousse: To make it vegan, swap maple syrup for agave syrup. Use plant-based milk, like coconut or soy. This keeps the mousse creamy and rich without any animal products.
– Keto-friendly adaptation: For a keto version, use erythritol instead of maple syrup. This keeps sugar low while still giving a sweet taste. Also, try using unsweetened coconut milk for a richer flavor.
– Flavored variations: You can add fun flavors. Mix in a shot of espresso for coffee lovers. A few drops of peppermint extract can give a refreshing twist. Try orange zest for a zingy surprise.
Serving Suggestions
Serving this mousse can be just as fun as making it.
– Pairing options: Fresh fruits like strawberries or raspberries pair well. Nuts like chopped almonds or walnuts add a nice crunch. You can also top it with coconut flakes for extra flavor.
– Creative dessert ideas: Use the mousse as a filling in pastries or cakes. It can be a layer in a parfait with yogurt and granola. You can even spread it on toast for a decadent breakfast treat.
Storage Info
Best Practices for Storage
To store leftovers, put the mousse in an airtight container. This keeps it fresh and prevents it from absorbing other smells. The mousse can last in the fridge for about 2 to 3 days. If you see any browning, just give it a quick stir before eating.
Reheating Tips
You do not need to heat the mousse. This dessert is best served cold. If you want to use the mousse in other treats, try it in parfaits or as a cake filling. You can also spread it on toast or mix it into smoothies for a sweet boost. Enjoy being creative with this delicious treat!
FAQs
Common Questions about Chocolate Avocado Mousse
Can I use frozen avocados?
Yes, you can use frozen avocados. Just thaw them before blending. Frozen avocados still give a creamy texture.
What makes this dessert healthy?
This dessert is healthy because it uses avocados. Avocados provide good fats, fiber, and vitamins. They replace heavy cream found in traditional mousse.
How do I make this mousse sugar-free?
To make this mousse sugar-free, use a sugar substitute. Try stevia or erythritol instead of maple syrup. Start with a small amount and adjust to taste.
Troubleshooting Queries
Why does my mousse taste too strong?
If your mousse tastes too strong, it may have too much cocoa. Reduce the cocoa powder next time. You can also add more maple syrup to balance the flavor.
What if my mousse didn’t set properly?
If your mousse didn’t set, you might need more chill time. Refrigerate it longer to firm up. If it’s still too soft, add more cocoa powder next time.
Can I make this dessert ahead of time?
Yes, you can make this dessert ahead of time! Just store it in the fridge for up to three days. It tastes even better after resting.
Nutritional Information
Caloric content per serving
Each serving of this mousse has about 200 calories. This includes healthy fats and nutrients from the avocados.
Health benefits of avocado in desserts
Avocados add creaminess and nutrients. They are rich in heart-healthy fats. This makes your dessert filling and nutritious.
How does this compare to traditional mousse?
This avocado mousse has fewer calories than traditional mousse. Traditional mousse often uses cream and sugar. This recipe uses avocados for a healthier twist.
This blog post shared how to make a rich and creamy chocolate avocado mousse. We explored the key ingredients, alternatives, and health benefits. You learned the steps to blend and chill for the right texture. I covered tips for consistency and variations to fit your diet. Lastly, we discussed storage and common questions.
Enjoy creating this dessert that’s both tasty and good for you!


