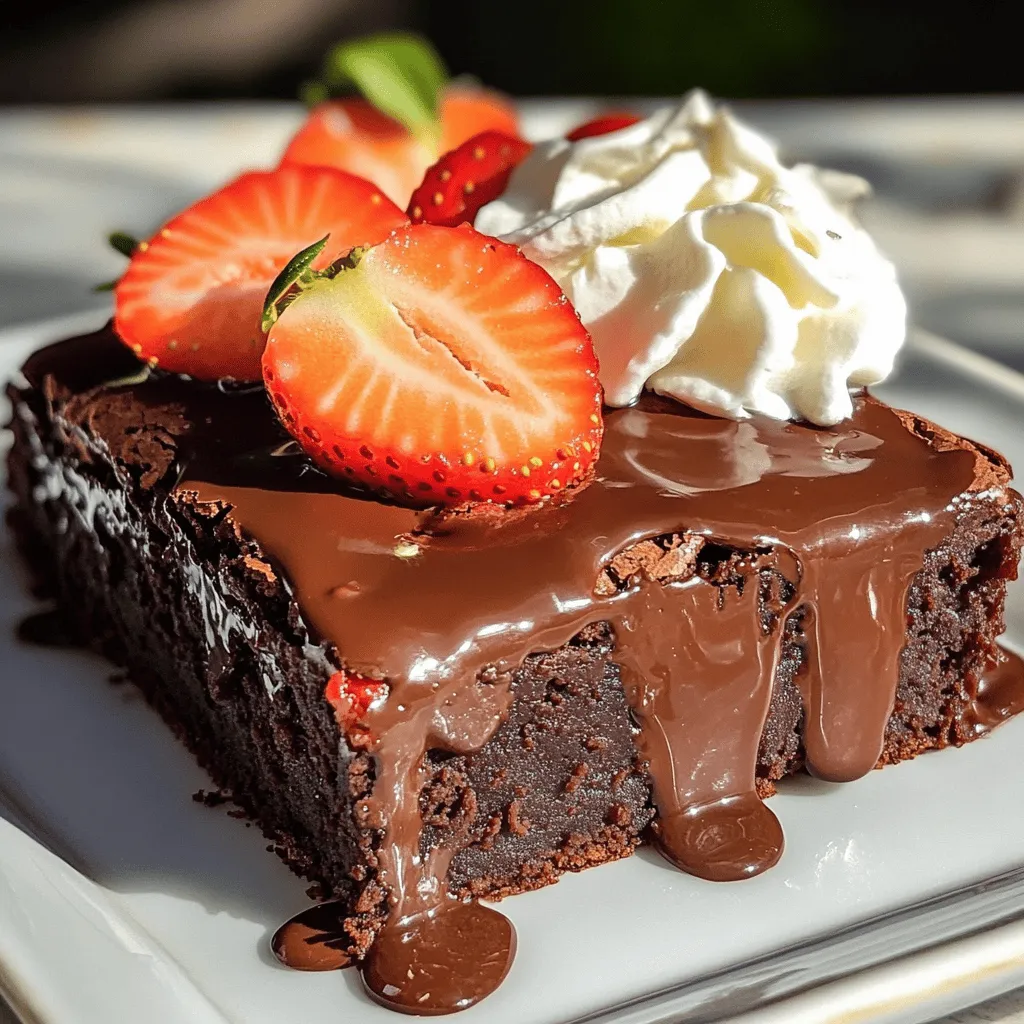
Get ready for a sweet treat that combines rich brownies with fresh strawberries! In this guide, I’ll show you how to make Chocolate Covered Strawberry Brownies that will impress your friends and family. You’ll find easy steps for baking, tips for perfecting texture, and fun variations to suit every taste. So, grab your aprons and let’s create a delightful dessert that’s sure to satisfy!
Ingredients
List of main ingredients
To make these chocolate covered strawberry brownies, gather the following items:
– 1 cup unsalted butter, melted
– 2 cups granulated sugar
– 4 large eggs
– 1 teaspoon vanilla extract
– 1 cup all-purpose flour
– 1 cup cocoa powder
– ½ teaspoon salt
– 1 cup fresh strawberries, hulled and sliced
– 1 cup semi-sweet chocolate chips
– 1 tablespoon coconut oil (for melting chocolate)
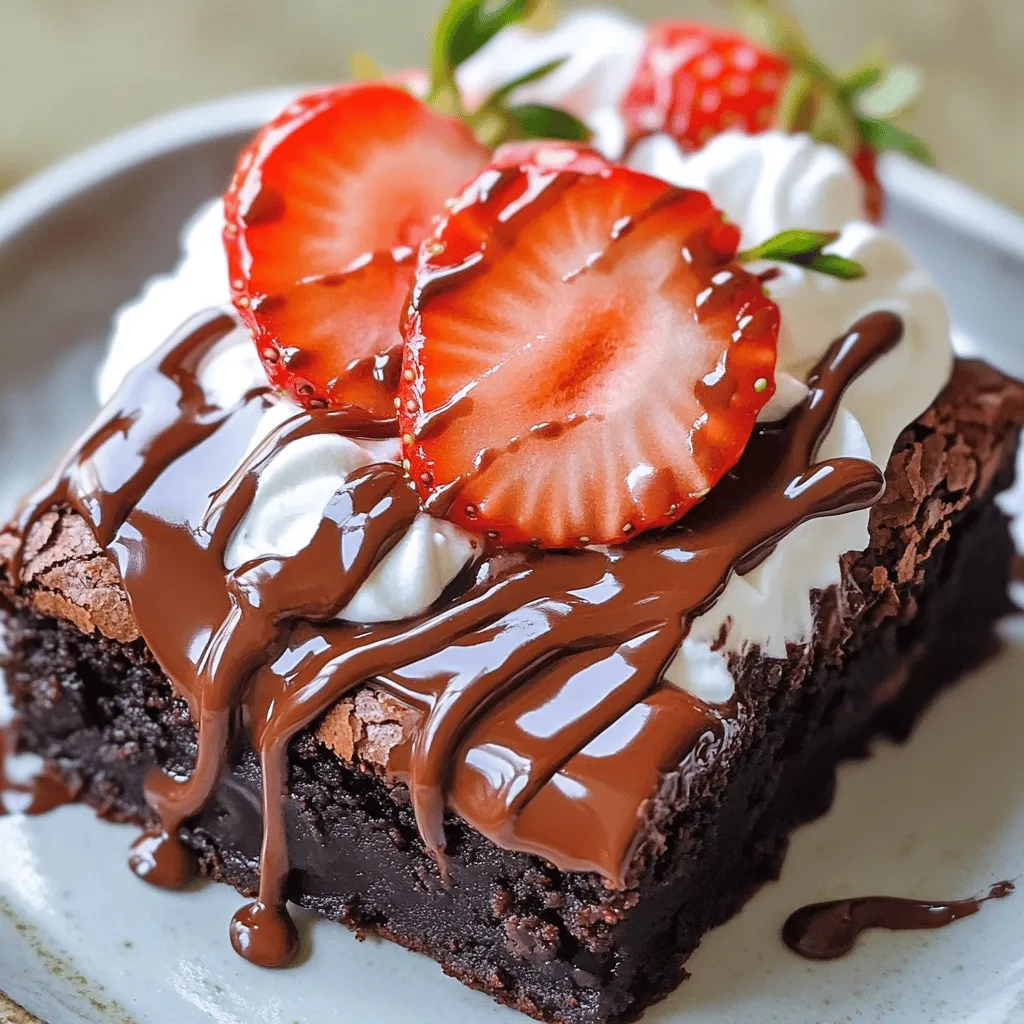
These ingredients blend to create a rich brownie base, topped with chocolate and strawberries.
Optional toppings and serving suggestions
You can add fun toppings to enhance your brownies:
– Extra sliced strawberries for a fresh touch
– Whipped cream for a creamy contrast
– A sprinkle of sea salt for a flavor boost
– Chopped nuts for crunch
These options make your treats even more delightful. Feel free to mix and match!
Ingredient substitutions
If you need to swap some ingredients, here are some ideas:
– Use coconut oil instead of butter for a dairy-free option.
– Replace granulated sugar with brown sugar for a richer flavor.
– Try almond flour in place of all-purpose flour for a gluten-free version.
– Use dark chocolate chips if you prefer a stronger chocolate taste.
These substitutions can help you tailor the recipe to your needs while keeping the deliciousness intact!
Step-by-Step Instructions
Prepping the oven and baking pan
First, you need to set your oven to 350°F (175°C). This step is key for even baking. While the oven warms up, get your 9×13 inch baking pan ready. You can grease it with butter or spray. For easier removal, you can line it with parchment paper.
Mixing the wet ingredients
Next, grab a large mixing bowl. Pour in 1 cup of melted unsalted butter. Add 2 cups of granulated sugar. Use a whisk to mix them well until smooth. Now, crack in 4 large eggs, adding them one at a time. Beat well after each egg. Finally, stir in 1 teaspoon of vanilla extract. This gives the brownies a lovely flavor.
Combining the dry ingredients and baking
In a separate bowl, sift together 1 cup of all-purpose flour, 1 cup of cocoa powder, and ½ teaspoon of salt. This helps remove any lumps. Slowly add this dry mix to your wet ingredients, stirring gently. You want everything combined but don’t overmix. Now, fold in 1 cup of hulled and sliced fresh strawberries. Be gentle to keep the strawberries intact. Pour the batter into your prepared pan and spread it evenly with a spatula. Bake in the oven for 25 to 30 minutes. To check if they are done, insert a toothpick in the center. If it comes out with a few moist crumbs, they are ready!
Tips & Tricks
How to achieve the perfect brownie texture
To get the best brownie texture, use room temperature eggs. This helps them mix well. Mix the wet and dry ingredients just until combined. Overmixing can make them tough. Bake them until a toothpick shows a few moist crumbs. This keeps them fudgy and soft.
Best practices for melting chocolate
When melting chocolate, use a microwave-safe bowl. Add chocolate chips and a tablespoon of coconut oil. Heat in 30-second bursts. Stir after each burst to avoid burning. The chocolate should be smooth and shiny. This method gives a great finish to your brownies.
Storing and reheating brownies
Store leftover brownies in an airtight container. They stay fresh for up to five days. To reheat, pop them in the microwave for about 10 seconds. This warms them up without drying them out. Enjoy them warm with whipped cream for a special touch!
Variations
Gluten-free chocolate covered strawberry brownies
You can make these brownies gluten-free. Just swap the all-purpose flour for a gluten-free blend. Look for a blend that has a good mix of starches and flours. This keeps the brownies soft and moist. The rest of the recipe stays the same. You can enjoy the same rich flavor with no gluten.
Vegan options for the recipe
To make vegan chocolate covered strawberry brownies, replace the eggs with flax eggs. Mix one tablespoon of ground flaxseed with two and a half tablespoons of water for each egg. Let it sit until it thickens. For the butter, use vegan butter or coconut oil. Choose dairy-free chocolate chips for the topping. Your brownies will still taste amazing!
Additional flavor combinations
You can add flavors to your brownies. Try mixing in nuts like walnuts or pecans for crunch. A dash of espresso powder can boost the chocolate flavor. For a fruity twist, add orange or lemon zest to the batter. Each of these options gives you a new way to enjoy these brownies!
Storage Info
How to store leftover brownies
You want to keep your brownies fresh. First, let them cool completely. Then, cut them into squares. Place them in an airtight container. If you have room, add a piece of parchment paper between layers. This keeps them from sticking together. Store the container at room temperature for up to three days. If you want them to last longer, put them in the fridge.
Freezing chocolate covered strawberry brownies
Freezing is a great option if you have extra brownies. Start with the same steps: let them cool and cut them into squares. Wrap each square in plastic wrap tightly. Then, place them in a freezer-safe bag. Label the bag with the date. You can freeze brownies for up to three months. When you’re ready to eat them, take them out. Let them thaw in the fridge or at room temperature.
Shelf life and freshness tips
To enjoy your brownies at their best, know their shelf life. At room temperature, they last about three days. In the fridge, they stay fresh for up to a week. Always check for signs of spoilage, like an off smell or mold. If you see either, it’s best to toss them. To keep them moist, avoid direct sunlight and heat sources. Enjoy your chocolate covered strawberry brownies while they are still tasty!
FAQs
Can I use frozen strawberries for this recipe?
Yes, you can use frozen strawberries. Just thaw them first. Drain excess liquid to avoid a soggy brownie. Fresh strawberries add great flavor, but frozen ones work well too. They also save time!
How do I know when the brownies are done baking?
Check the brownies after 25 minutes. Insert a toothpick into the center. If it comes out with a few moist crumbs, they are ready. Brownies should not look wet. They will finish cooking as they cool.
Are chocolate covered strawberry brownies suitable for birthdays or special occasions?
Absolutely! These brownies are perfect for celebrations. Their rich flavor and fun look impress guests. The chocolate and strawberries create a delightful mix. Serve them with whipped cream for an extra treat.
This blog post shared how to make chocolate-covered strawberry brownies from start to finish. We covered key ingredients, how to bake, and tips for perfect texture. You learned about fun variations and how to store your brownies for later.
In the end, making brownies is fun and easy. With a few simple steps, you can impress your friends and family. Enjoy the sweet taste and joy of sharing your treats!


