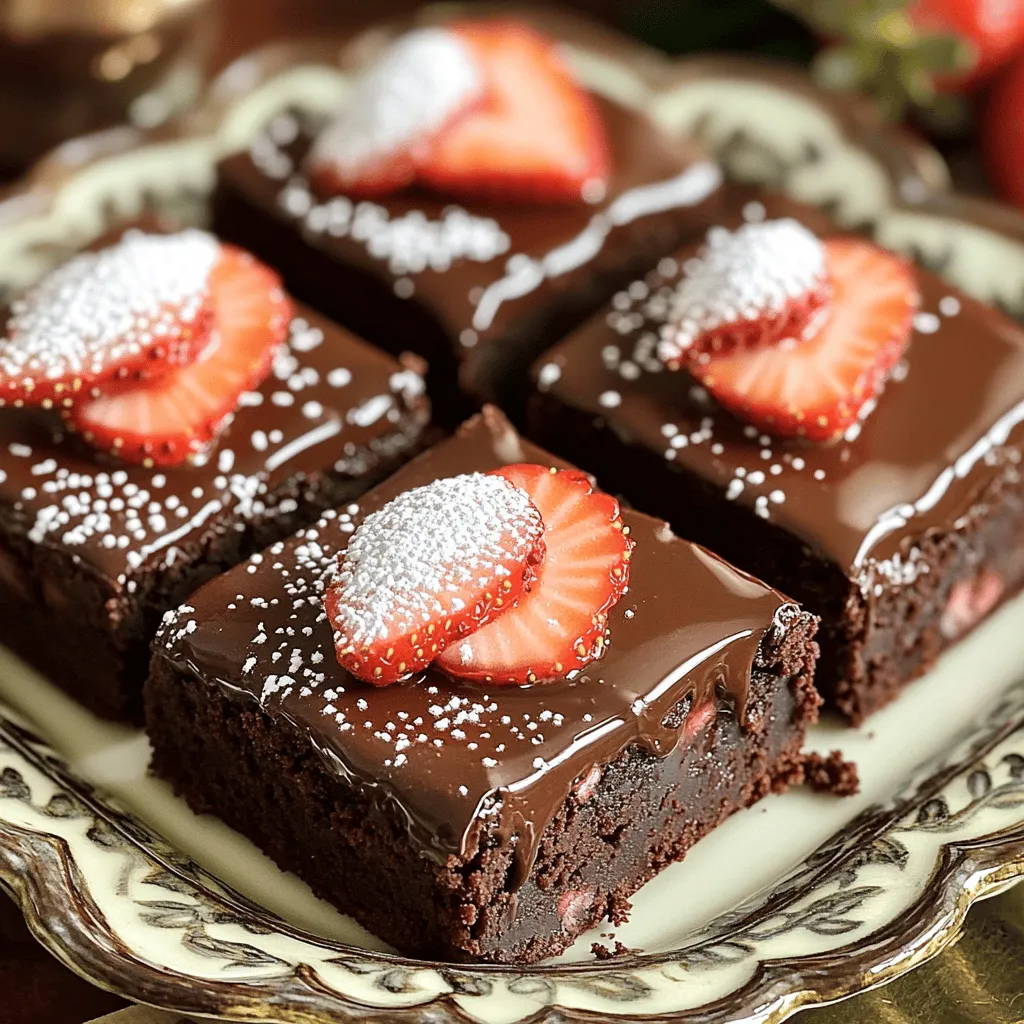
Do you crave a sweet treat that’s easy and delicious? Chocolate covered strawberry brownies are a perfect choice! I’ll show you how to mix rich brownie flavors with fresh strawberries, creating a dessert that’s sure to impress. Whether it’s for a gathering or a personal indulgence, this simple recipe is fun to make and even better to eat. Let’s dive into the ingredients you’ll need to get started!
Ingredients
List of Ingredients
– 1 cup all-purpose flour: This gives structure to the brownies.
– 1/2 cup unsweetened cocoa powder: This adds rich chocolate flavor.
– 1/2 teaspoon baking powder: This helps the brownies rise.
– 1/4 teaspoon salt: This enhances the sweetness.
– 1/2 cup unsalted butter, melted: This adds moisture and richness.
– 1 cup granulated sugar: This sweetens the batter.
– 2 large eggs: These bind the ingredients together.
– 1 teaspoon vanilla extract: This adds depth to the flavor.
– 1 cup fresh strawberries, hulled and sliced: These provide fresh fruit flavor.
– 1/2 cup semi-sweet chocolate chips: This adds extra chocolate goodness.
– 1/2 cup heavy cream: This is used for the chocolate ganache.
– 1/4 cup powdered sugar: This is for dusting the brownies.
Important Notes on Ingredients
You can swap all-purpose flour with gluten-free flour for a gluten-free option. Use dark chocolate chips if you want a richer taste. If you can’t find fresh strawberries, frozen ones work, but drain them well.
Seasonal Variations
In summer, try using raspberries or peaches for a fruity twist. In fall, you could add pumpkin puree to the batter for a seasonal flavor. Fresh mint leaves can also add a refreshing touch during spring.
Step-by-Step Instructions
Preparation Steps
First, preheat your oven to 350°F (175°C). This step is key for even baking. Next, take an 8×8 inch baking pan. Grease it well to prevent sticking. Line the pan with parchment paper. Leave some paper hanging over the edges. This makes it easy to lift out the brownies later.
Mixing Ingredients
Now, let’s mix our ingredients. In a medium bowl, whisk together the following dry items:
– 1 cup all-purpose flour
– 1/2 cup unsweetened cocoa powder
– 1/2 teaspoon baking powder
– 1/4 teaspoon salt
Whisk them until they’re well combined. Set this bowl aside. In a larger bowl, mix these wet ingredients:
– 1/2 cup unsalted butter, melted
– 1 cup granulated sugar
Stir them until the mixture is smooth. Then, add in the eggs one by one. Mix well after each egg. Finally, stir in 1 teaspoon vanilla extract. Gradually add the dry mix to the wet ingredients. Fold it gently until it’s just combined. Be careful not to overmix. Now, gently stir in 1 cup of sliced strawberries.
Baking Process
Pour the brownie batter into your prepared pan. Spread it out evenly. Bake for 20 to 25 minutes. To check if they are done, insert a toothpick in the center. It should come out with a few moist crumbs. Once baked, let the brownies cool in the pan for about 10 minutes. After that, lift them out using the parchment paper. Place them on a wire rack to cool completely.
Tips & Tricks
How to Achieve the Best Texture
To get the best brownies, avoid overmixing your batter. Overmixing can lead to tough brownies. Mix just until the dry ingredients blend in with the wet ones. When you add the strawberries, fold them in gently. This keeps the brownies moist and tender. Bake them until a toothpick comes out with a few moist crumbs. This ensures they stay soft inside.
Serving Suggestions
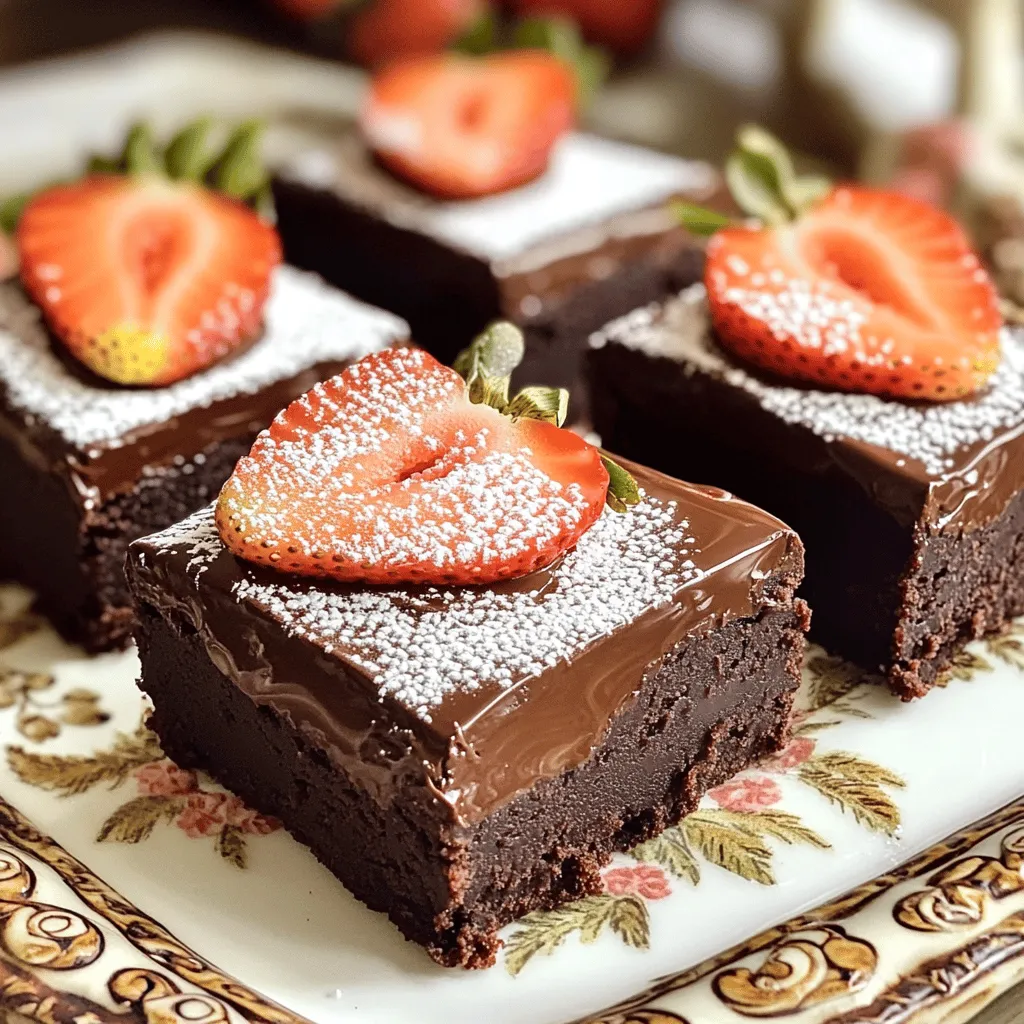
You can serve chocolate covered strawberry brownies in fun ways. Cut them into neat squares and place them on a nice platter. Add extra strawberry slices on top for color. You might also drizzle more chocolate on each piece for a fancy touch. For a fun dessert, pair them with vanilla ice cream. It adds a nice creaminess that contrasts well with the brownies.
Common Mistakes to Avoid
Be careful not to skip greasing your pan. This can lead to brownies that stick. Also, don’t skip cooling the brownies before cutting. If you cut them too soon, they may fall apart. Finally, make sure to check your oven temperature. An oven that is too hot can burn the brownies. Following these tips helps you enjoy perfect chocolate covered strawberry brownies every time.
Variations
Flavor Enhancements
You can add extra flavors to your brownies. Try mixing in mint extract or orange zest. These flavors blend well with chocolate. A few drops of mint will give a fresh kick. Adding orange zest brightens the brownies. You can also use different extracts like almond or coconut. This lets you create your own unique treat.
Dietary Adjustments
If you need gluten-free brownies, swap the all-purpose flour with almond flour. It works well and keeps the brownies moist. For a vegan option, replace the eggs with flax eggs. Mix one tablespoon of ground flaxseed with three tablespoons of water. Let it sit for a few minutes to thicken. You can also use coconut oil instead of butter. These changes keep the brownies delicious and friendly for everyone.
Garnishing Options
Garnishing your brownies can take them to the next level. You can top them with crushed nuts or sprinkles. Drizzle extra chocolate over the top for a special touch. Fresh mint leaves add color and flavor. You can also sprinkle sea salt for a sweet and salty combo. These simple changes make your brownies look fancy and taste great!
Storage Info
How to Store Brownies
To keep your brownies fresh, store them correctly. You can place them in an airtight container. If you store them at room temperature, they stay soft for a few days. If you prefer the fridge, wrap them tightly in plastic wrap. This helps keep them moist and tasty. Always remember to let them cool completely before storing.
Freezing Instructions
Freezing brownies is easy and keeps them fresh longer. First, let the brownies cool down after baking. Then, cut them into squares. Wrap each square in plastic wrap. Place the wrapped brownies in a freezer-safe bag or container. Label the bag with the date. To enjoy, remove a brownie and let it thaw at room temperature. This usually takes about an hour.
Shelf Life
Brownies stay fresh for about three to four days at room temperature. In the fridge, they can last up to a week. If you freeze them, they taste great for up to three months. Just remember, the fresher the brownies, the better they taste!
FAQs
Can I use frozen strawberries?
Yes, you can use frozen strawberries! They work well in this recipe. However, keep a few tips in mind:
– Thaw the strawberries first to get rid of excess water.
– Pat them dry with a paper towel to avoid soggy brownies.
– Use them in the same way as fresh ones. Frozen strawberries can add a nice flavor, but they may be softer.
How do I know when the brownies are done?
To check if your brownies are done, use a toothpick. Insert it into the center of the brownies.
– If it comes out with a few moist crumbs, they are ready.
– If it comes out wet with batter, bake for a few more minutes.
– Remember, the brownies will continue to cook a bit after you take them out.
Can I make this recipe ahead of time?
Yes, you can make these brownies ahead of time. Here’s how:
– Bake the brownies and let them cool completely.
– Store them in an airtight container at room temperature for up to three days.
– You can also freeze them for up to three months. Just wrap them well.
– When you’re ready to serve, let them thaw at room temperature and add the ganache.
This post covered the key ingredients for chocolate covered strawberry brownies. You learned how to choose the best ingredients, mix them, and achieve the perfect texture. We shared tips, variations, and storage methods to keep your brownies fresh. Remember to experiment with flavors and toppings. If you follow the steps and advice given, you can enjoy delicious brownies every time you bake. The joy of baking lies in trying new things and sharing with others. Enjoy your brownie journey!


