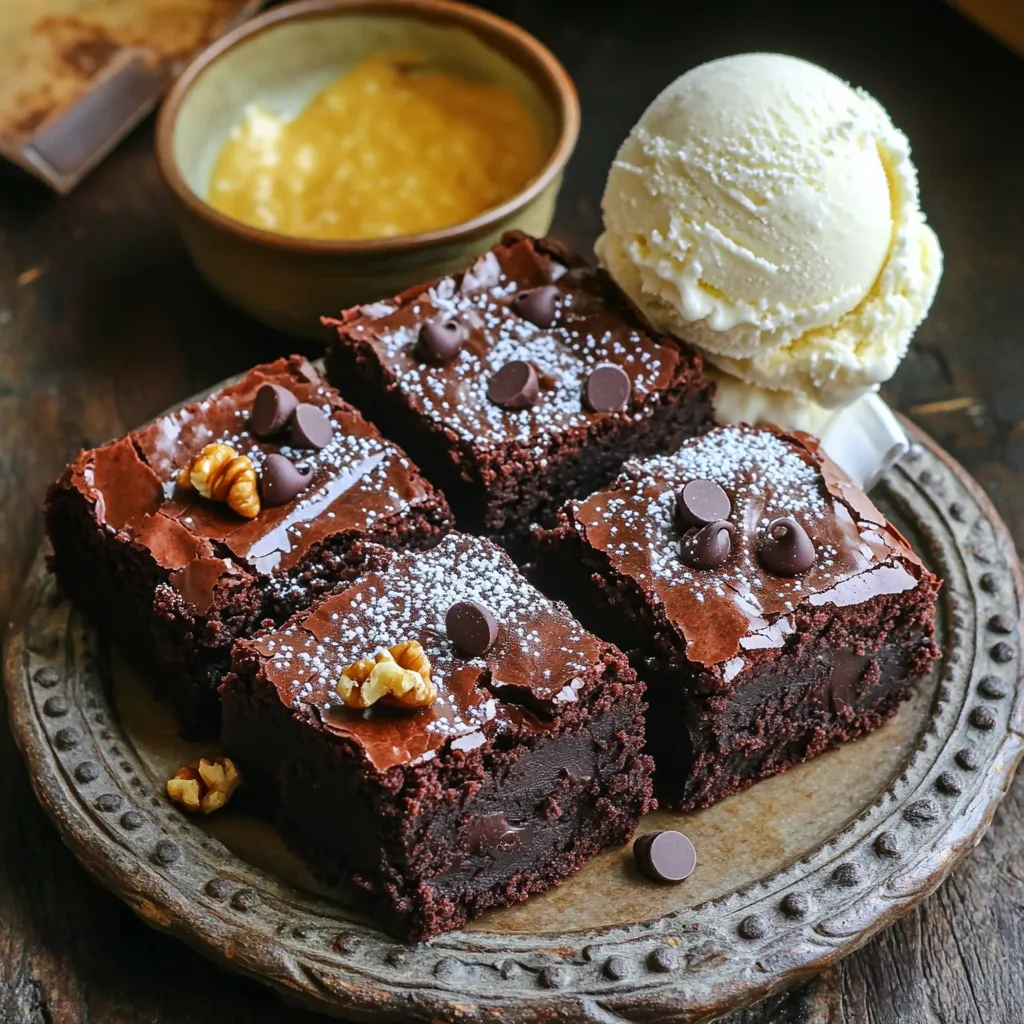
If you’re craving a dessert that’s both rich and satisfying, you’re in the right place! Today, I’ll show you how to make chocolate fudge brownies that will delight your taste buds. With a gooey center and a crackly top, these brownies offer the perfect mix of texture and chocolate flavor. Follow my simple steps and tips to create your new favorite treat, whether for yourself or to share with friends. Let’s dive in!
Ingredients
Essential Ingredients for Chocolate Fudge Brownies
To make the best chocolate fudge brownies, you need these key ingredients:
– 1 cup unsalted butter
– 2 cups granulated sugar
– 4 large eggs
– 1 teaspoon vanilla extract
– 1 cup all-purpose flour
– 1 cup cocoa powder
– 1/2 teaspoon baking powder
– 1/2 teaspoon salt
– 1 cup semi-sweet chocolate chips
These ingredients work together to create a rich, fudgy texture that is pure bliss.
Optional Ingredients for Extra Flavor
You can add some optional ingredients to make your brownies even better:
– 1/2 cup chopped walnuts
– Different types of chocolate (like dark or white chocolate)
– Sea salt for a touch of flavor
Nuts give a nice crunch, while extra chocolate can boost the taste.
Ingredient Substitutions
If you don’t have certain ingredients, don’t worry! Here are some easy swaps:
– Use margarine instead of butter.
– Replace granulated sugar with brown sugar for a deeper flavor.
– Swap all-purpose flour with almond flour for a gluten-free option.
These substitutions can help you adapt the recipe to what you have on hand.
Step-by-Step Instructions
Preparing the Baking Pan
Start by preheating your oven to 350°F (175°C). Grab a 9×13 inch baking pan. Grease it well with unsalted butter. Next, line the bottom with parchment paper. Leave some paper hanging over the sides. This helps you lift the brownies out later.
Mixing Wet Ingredients
In a medium saucepan, melt 1 cup of unsalted butter over low heat. Once it is melted, take it off the heat. Stir in 2 cups of granulated sugar until it is smooth. Let this mixture cool for a few minutes. Then, add 4 large eggs, one at a time. Mix well after each egg. Finally, stir in 1 teaspoon of vanilla extract for flavor.
Combining Dry Ingredients
In a separate bowl, sift together 1 cup of all-purpose flour, 1 cup of cocoa powder, 1/2 teaspoon of baking powder, and 1/2 teaspoon of salt. This helps to mix the dry items well and removes any lumps. Gradually add this dry mix into your wet mixture. Fold it in gently until just combined. Be careful not to overmix; this keeps your brownies chewy.
Folding in Chocolate and Nuts
Now, it’s time to add some extras. Gently fold in 1 cup of semi-sweet chocolate chips. If you like nuts, add in 1/2 cup of chopped walnuts. Make sure they are evenly distributed in the batter. This adds a nice crunch and extra flavor.
Baking and Cooling Process
Pour the brownie batter into the prepared pan. Spread it evenly with a spatula. Bake it in your preheated oven for 20-25 minutes. When done, a toothpick should come out with a few moist crumbs. Once baked, take the pan out of the oven. Let it cool for about 10 minutes. Use the parchment paper to lift the brownies out onto a wire rack. Allow them to cool completely before cutting into squares.
Tips & Tricks
Achieving the Perfect Brownie Texture
To get that rich, fudgy texture, follow a few key steps. First, use good quality unsweetened cocoa powder. It adds deep flavor. Next, do not overmix the batter. Mix just until combined to keep your brownies dense. Baking time is crucial too. Start checking for doneness at 20 minutes. A toothpick should come out with moist crumbs, not wet batter. This means your brownies will stay soft and chewy.
Common Mistakes to Avoid
Many people make simple mistakes when baking brownies. One common error is using cold eggs. Room-temperature eggs mix better and create a smoother batter. Another mistake is not greasing the pan properly. This can lead to brownies sticking and tearing. Finally, avoid opening the oven door too soon. Letting warm air out changes the baking time and texture.
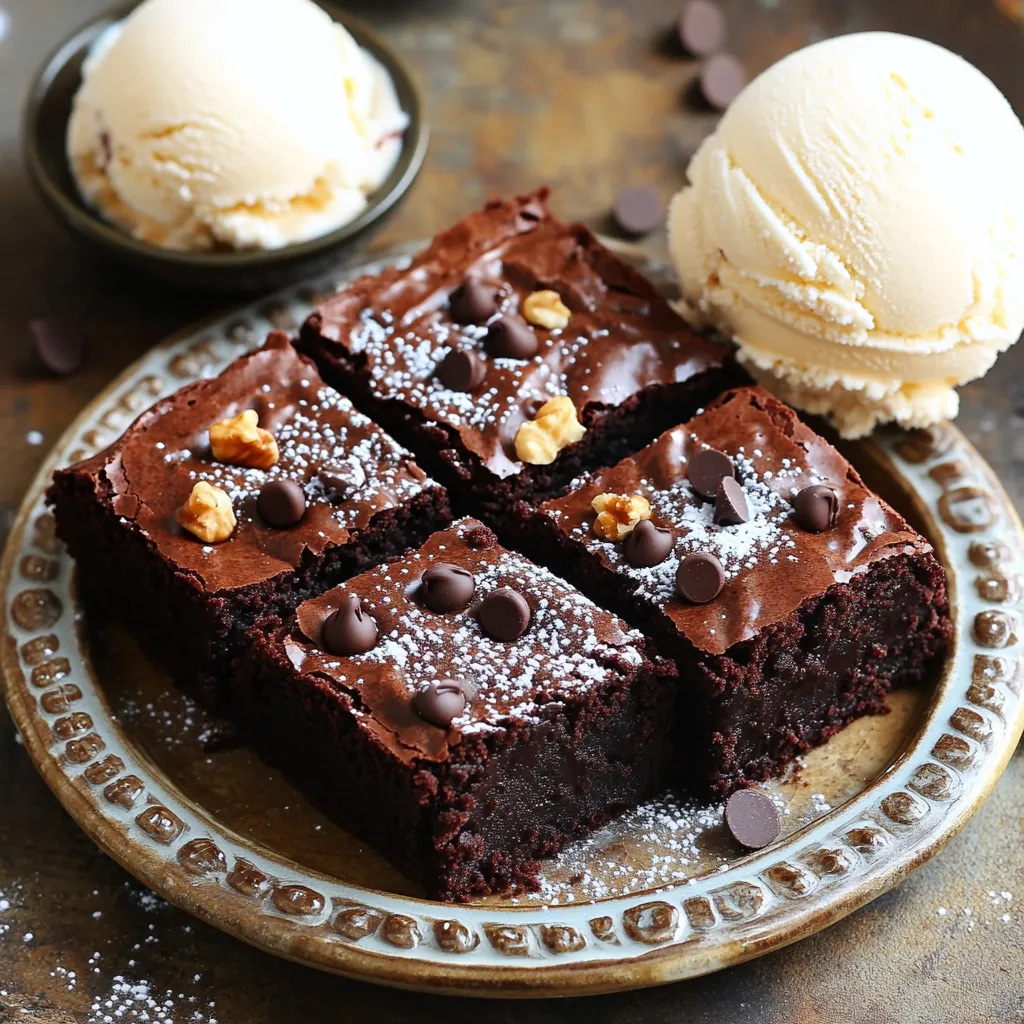
Serving Suggestions for Best Enjoyment
To serve your brownies, cut them into neat squares. A dusting of powdered sugar adds a nice touch. For extra indulgence, pair them with a scoop of vanilla ice cream. You can also drizzle warm chocolate sauce over the top. This adds richness and makes your dessert even more decadent.
Variations
Adding Different Types of Chocolate
You can make your brownies even richer by using various types of chocolate. Dark chocolate adds depth, while milk chocolate offers a sweeter taste. You can also mix in white chocolate chips for a fun twist. Just replace some of the semi-sweet chocolate chips with your favorite type. This way, you can create your own unique flavor profile.
Incorporating Nuts, Fruits, or Swirls
Adding nuts like walnuts or pecans gives a great crunch. You can also try mixed nuts for extra flavor. If you prefer a sweeter touch, fold in dried fruits like cherries or cranberries. For a fun twist, add swirls of peanut butter or caramel on top of the batter before baking. This makes each bite a surprise!
Gluten-Free Version of Chocolate Fudge Brownies
If you need a gluten-free option, use almond flour or coconut flour instead of all-purpose flour. These flours can change the texture a bit, making them more cake-like. You may need to adjust the baking time slightly. Just keep an eye on the brownies as they bake; they should still be fudgy and delicious!
Storage Info
Best Methods for Storing Brownies
To keep your chocolate fudge brownies fresh, store them in an airtight container. This will help prevent them from drying out. You can layer the brownies with parchment paper to keep them from sticking together. If you have leftover brownies, place them in the fridge for added freshness. They will stay good for about a week this way.
Freezing Chocolate Fudge Brownies
You can freeze brownies for later enjoyment. First, cut the brownies into squares. Wrap each piece tightly in plastic wrap. Then place the wrapped brownies in a freezer-safe bag. They can last for up to three months in the freezer. To enjoy them later, just thaw them in the fridge overnight.
Duration for Freshness
Brownies taste best when fresh. They can stay at room temperature for four to five days. In the fridge, they last about a week. If frozen, they will maintain their taste and texture for three months. Just remember to check for any signs of freezer burn before enjoying them!
FAQs
How to tell when brownies are done?
To tell if brownies are done, use a toothpick. Stick it into the center of the brownies. If it comes out with a few moist crumbs, they are ready. If it has wet batter, they need more time. Bake them for 20-25 minutes. Every oven is a bit different, so keep an eye on them.
Can I use cocoa powder instead of melted chocolate?
Yes, you can use cocoa powder instead of melted chocolate. When using cocoa powder, it helps to add a bit more fat. You can add a bit more butter to keep them rich. The flavor will still be deep and tasty. Just remember, cocoa powder makes a slightly different texture.
What if my brownies are too cakey?
If your brownies turn out too cakey, check your mixing method. Overmixing can add too much air. This makes brownies light and cake-like. Next time, mix until just combined. If they are too dry, try adding a bit more butter or eggs. This will make them fudgier.
How to reheat brownies for the best taste?
To reheat brownies, use your oven for the best results. Preheat it to 350°F (175°C). Place the brownies on a baking sheet. Heat them for about 5-10 minutes. This will make them warm and gooey again. You can also use the microwave. Heat them for 10-15 seconds at a time. Enjoy them warm, maybe with ice cream!
This blog covered how to make delicious chocolate fudge brownies. We looked at key ingredients, mixing methods, and tips for perfect texture. You can try many tasty variations, like adding fruits or making them gluten-free. We also shared storage tips to keep your brownies fresh.
With these steps and ideas, you can bake brownies to impress anyone. Enjoy creating your sweet treats!


