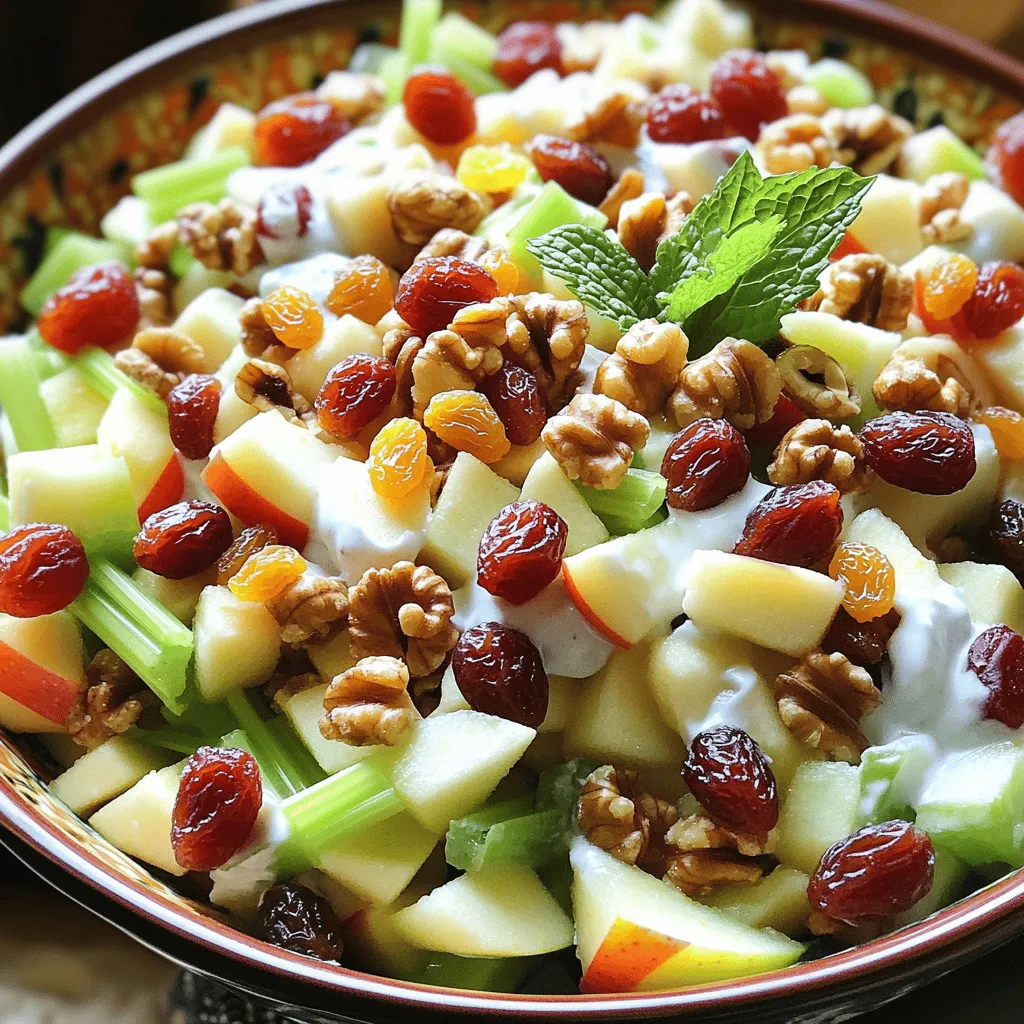
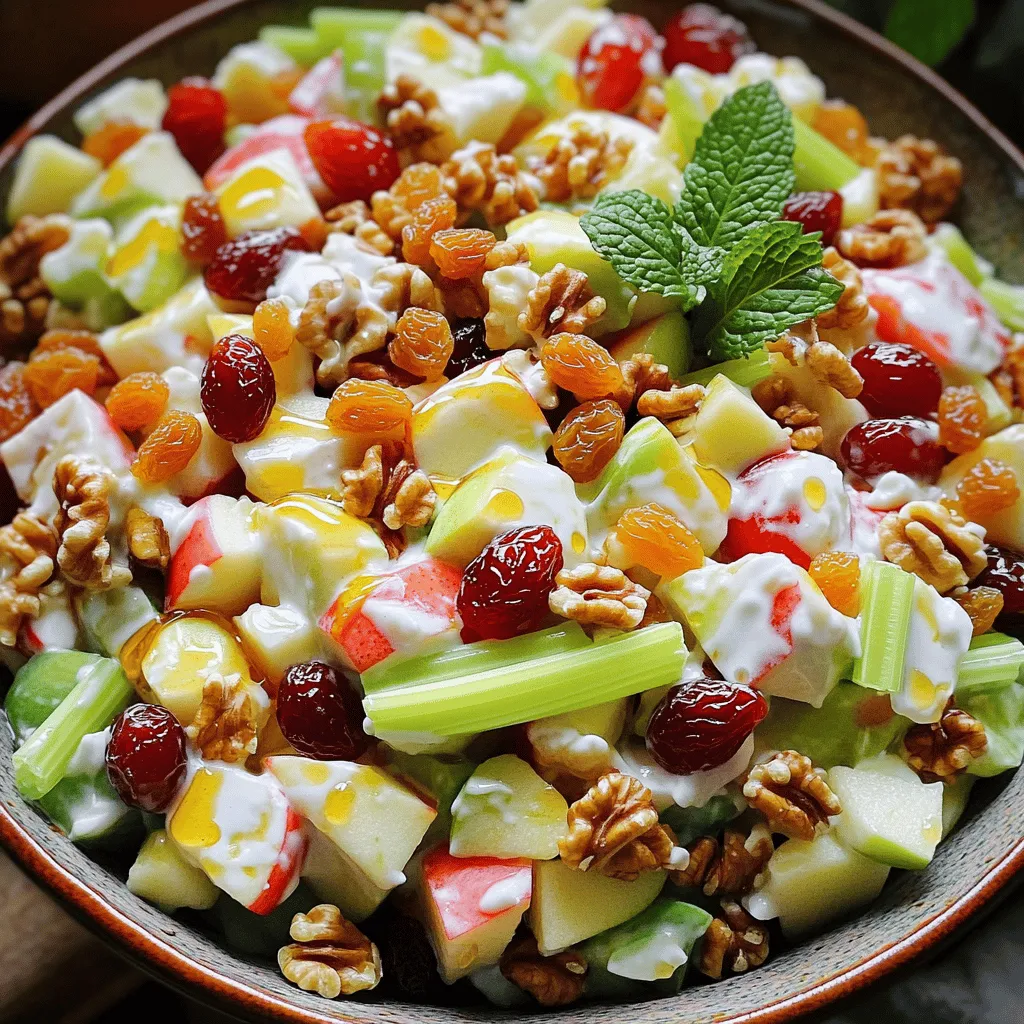
Welcome to the world of Classic Waldorf Salad—a fresh and flavorful dish that celebrates simple, juicy ingredients! Whether you are hosting a summer picnic or craving a light meal, this salad has got you covered. With crunchy apples, sweet grapes, and creamy yogurt dressing, each bite bursts with taste. Join me as we explore the essential ingredients, easy steps, and tips to create the perfect Waldorf Salad that everyone will love!
Ingredients
List of Essential Ingredients
To make a classic Waldorf salad, gather these fresh and simple ingredients:
– Diced apples (Granny Smith or Honeycrisp)
– Celery, thinly sliced
– Red grapes, halved
– Chopped walnuts (toasted for extra flavor)
– Raisins or dried cranberries
– Lemon juice
– Plain Greek yogurt
– Honey
– Salt and pepper
– Lettuce leaves for serving (optional)
Ingredient Substitutions
If you want to get creative with this salad, here are some great substitutions:
– Alternative fruits: Try using pears or mandarin oranges instead of apples for a twist.
– Different nuts: Pecans or almonds can replace walnuts if you prefer.
– Dairy-free dressing: Use a plant-based yogurt or a vinaigrette instead of Greek yogurt for a lighter option.
Each swap can add a unique flavor while keeping the dish fresh and flavorful.
Step-by-Step Instructions
Preparation Steps
1. Start by mixing the diced apples with lemon juice. This step keeps the apples fresh and bright. It adds a nice tang to the salad.
2. In a large bowl, combine the apples, celery, halved grapes, chopped walnuts, and raisins or dried cranberries. Toss them gently to mix everything well. This blend gives each bite a burst of flavor and texture.
3. In another bowl, whisk together the Greek yogurt and honey until smooth. This dressing is creamy and sweet, perfect for balancing the crunch of the salad. Pour this mixture over the fruits and nuts. Gently fold everything together until every piece is coated.
Serving the Salad
Chill the salad in the refrigerator for at least 30 minutes. This chilling time is key as it allows the flavors to meld together. You can serve the salad on a bed of lettuce for a nice touch. Another fun idea is to use individual bowls for a personal serving. You can also garnish with extra walnuts and fresh mint to make it look even nicer.
Cooking Time Overview
The prep time for this salad is just 15 minutes. However, with chilling, the total time is 45 minutes. This makes it a quick and easy dish to prepare for any meal. It’s perfect for a light lunch or as a side for dinner.
Tips & Tricks
Best Practices for Preparation
To keep your apples fresh, coat them with lemon juice right away. This simple step stops browning and keeps them crisp. You can use Granny Smith or Honeycrisp apples for the best taste. Aim to chill your salad for at least 30 minutes. This time allows the flavors to meld together, creating a more delicious dish.
Presentation Tips
Garnishing your Waldorf salad makes it look even better. Add extra chopped walnuts on top for a nice crunch. A sprig of fresh mint also adds a pop of color. For serving, I recommend using a large, shallow bowl. This allows guests to see all the vibrant colors of the salad.
Storage Suggestions
To store leftovers, place the salad in an airtight container. Keep it in the fridge for up to three days. After that, the apples may start to get mushy. Always check for any signs of spoilage, like an off smell or change in color. Enjoy your Classic Waldorf Salad, fresh and flavorful!
Variations
Customizing the Recipe
You can easily change the Waldorf salad to fit your taste. Start by adding different fruits like pears, berries, or even oranges. Each fruit brings its own flavor and texture. You can also swap out nuts. Try pecans or almonds for a nice twist.
When it comes to dressings, there are options. Some people love creamy mayonnaise. Others prefer Greek yogurt, which adds a tangy flavor. You can mix in spices or herbs for extra zest.
Seasonal Variations
Seasonal fruits can enhance your Waldorf salad. In spring, use fresh strawberries or cherries. In the fall, pears or pomegranates work well. Adjust your salad for holidays, too. For Thanksgiving, add some dried cranberries for a festive touch.
Healthier Alternatives
Want a lighter version? Use low-fat yogurt instead of regular. You can also cut back on honey or skip it altogether. For a vegan option, replace yogurt with a plant-based alternative like cashew cream. This way, everyone can enjoy the salad while staying healthy.
Storage Info
How to Store Classic Waldorf Salad
To keep your Classic Waldorf Salad fresh, use an airtight container. This helps prevent moisture and air from spoiling the salad. Place the salad in the fridge right after making it. The cool temperature keeps the ingredients crisp and tasty.
Freezing Considerations
Can you freeze Waldorf Salad? It’s not the best idea to freeze this salad. The apples and grapes can get mushy when thawed. If you want to freeze it, add the nuts and grapes later. Store the salad without these ingredients in a freezer-safe container.
Shelf Life
How long does the salad last in the fridge? Properly stored, it lasts about 3 days. After that, it may lose its crunch and flavor. Watch for signs of spoilage, like a sour smell or mushy fruit. If you see these signs, it’s best to toss the salad. Enjoy your fresh and flavorful dish right away or within a few days for the best taste!
FAQs
Common Questions About Classic Waldorf Salad
What is the origin of Waldorf Salad?
Waldorf Salad started at the Waldorf Astoria Hotel in New York. It dates back to the late 1800s. A chef named Oscar Tschirky created it for a charity ball. This salad became famous for its mix of apples, nuts, and dressing.
Is Waldorf Salad gluten-free?
Yes, Waldorf Salad is gluten-free. It uses fresh fruits, nuts, and yogurt. This salad does not include any gluten-containing ingredients. Always check labels if you use packaged items, just to be safe.
Can I make this salad in advance?
You can prepare Waldorf Salad ahead of time. However, I recommend adding the apples last. This keeps them fresh and crisp. You can mix the other ingredients a day in advance and store them in the fridge.
Related Cooking Queries
How to make homemade mayonnaise for the salad?
To make homemade mayonnaise, use egg yolks, mustard, and lemon juice. Whisk them together until smooth. Gradually add oil while whisking until it thickens. This adds a rich flavor to your salad.
Alternatives to walnuts for nut allergies
If you have nut allergies, try using seeds instead. Sunflower seeds or pumpkin seeds work great. They add a nice crunch without the allergens. You can also skip nuts altogether if needed.
Can I use a different dressing for a Waldorf-inspired salad?
Yes, you can use different dressings. A vinaigrette or even a creamy dressing can work well. Experiment with flavors that you enjoy. Just make sure it complements the fruits.
Serving Size Questions
What is a typical serving size for salad?
A typical serving size for salad is about one cup. This measurement works well for most salads, including Waldorf Salad. If serving at a party, you can adjust this based on the number of guests.
Adjusting the recipe for larger gatherings
To serve more people, simply double or triple the recipe. Make sure to have enough apples and nuts on hand. You can prepare the salad in larger bowls. This way, everyone can enjoy a generous helping.
This article covers the classic Waldorf salad, focusing on essential ingredients and preparation steps. We also explored ingredient substitutions and various tips for serving and storing. Remember, you can customize this dish with seasonal fruits or different dressings to match your taste. Whether you serve it at a gathering or enjoy it at home, Waldorf salad is a fresh and tasty choice. With these simple steps, you’ll create a delightful meal that everyone will enjoy. Now, go ahead and make your own delicious version!


