Coconut Lime Rice Deliciously Simple Side Dish

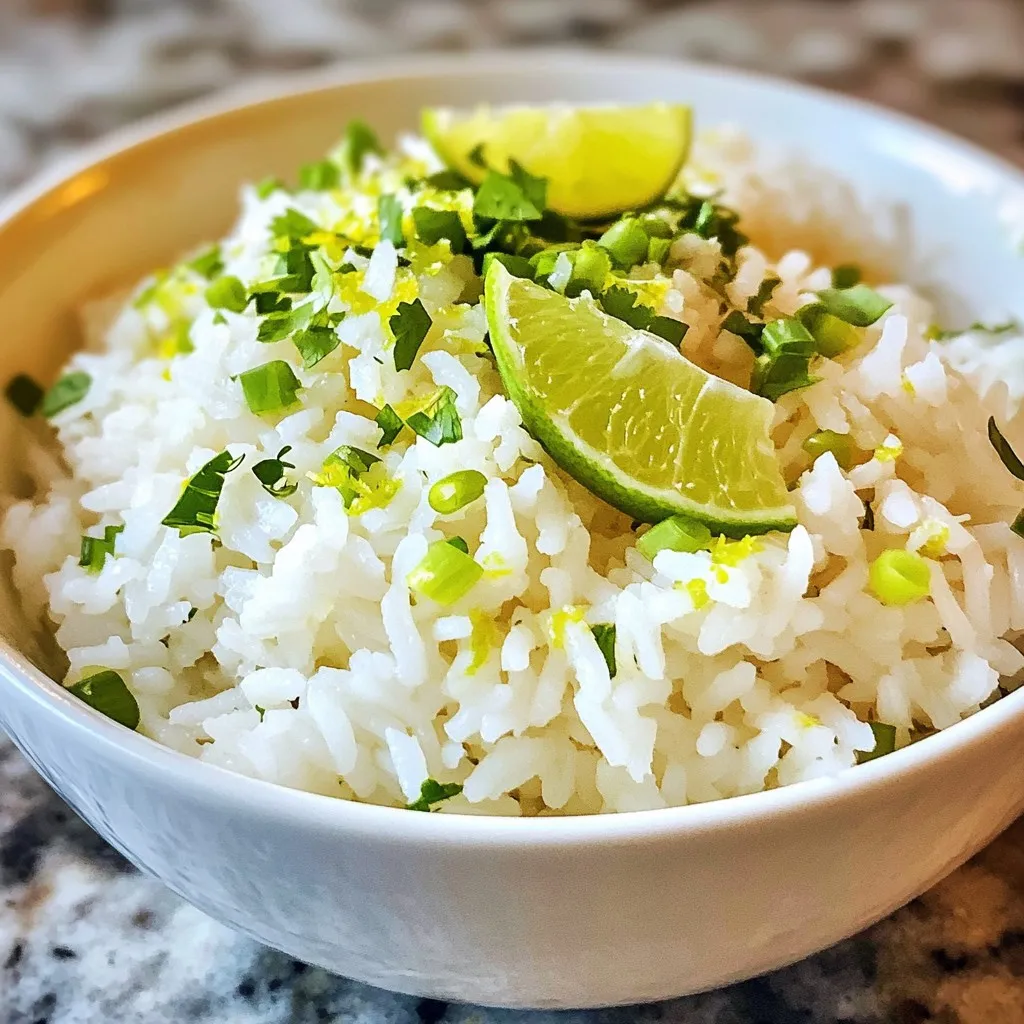
If you’re looking for a side dish that’s both easy and packed with flavor, look no further! Coconut Lime Rice brings a delightful twist to your meals. With just a few simple ingredients, you can create a creamy, zesty dish that complements everything from grilled chicken to fresh seafood. Let’s dive into how to whip up this delicious treat that will impress your family and friends!
Why I Love This Recipe
- Delicious Flavor Combination: The blend of coconut milk and lime creates a tropical flavor that is both refreshing and satisfying.
- Easy to Make: This recipe requires minimal ingredients and straightforward steps, making it perfect for any cook.
- Versatile Side Dish: Coconut lime rice pairs well with a variety of main dishes, from grilled meat to spicy curries.
- Beautiful Presentation: Garnished with fresh cilantro or green onions, this dish adds a pop of color to your table.
Ingredients
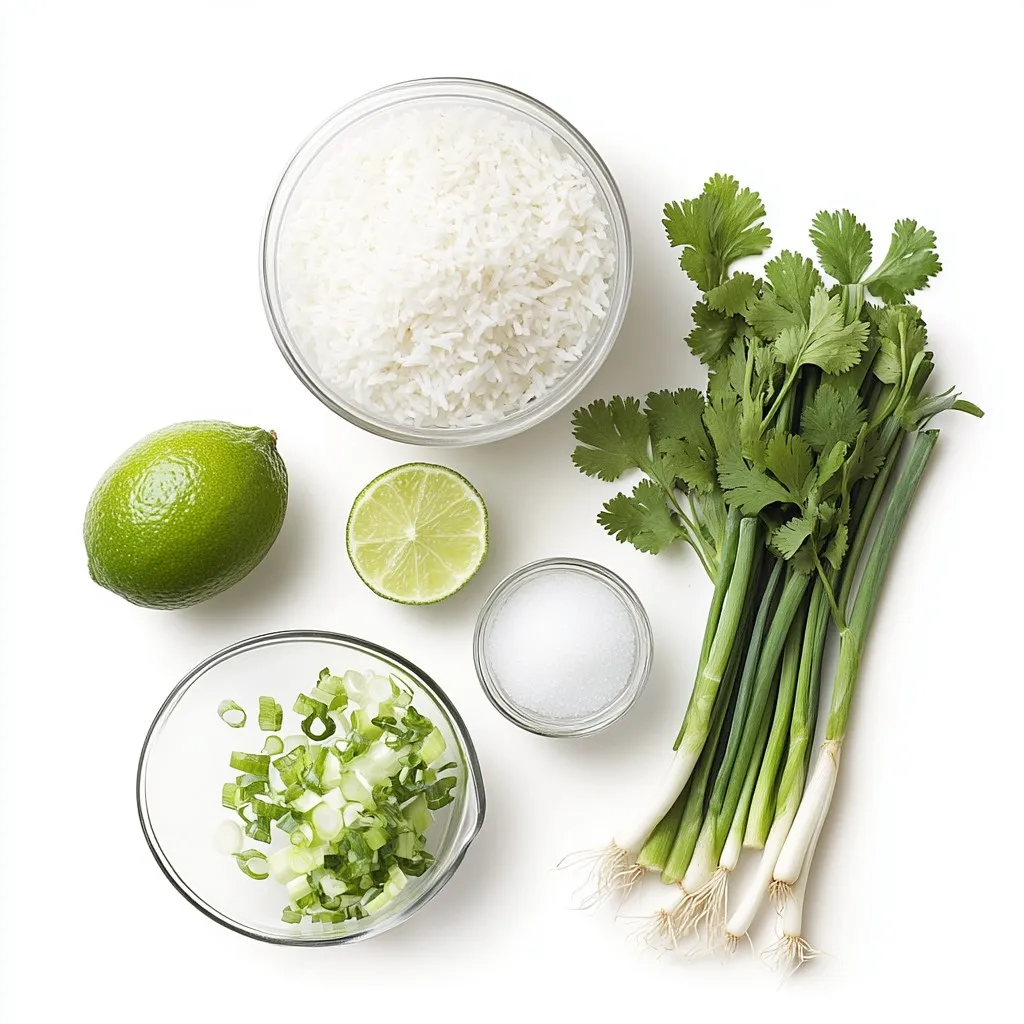
To make coconut lime rice, you’ll need some simple, fresh ingredients. Here’s what you need:
– 1 cup jasmine rice
– 1 cup coconut milk
– 1/2 cup water
– Zest of 1 lime
– Juice of 1 lime
– 1 tablespoon sugar (optional)
– 1/2 teaspoon salt
– Fresh cilantro or green onions for garnish
Each of these ingredients plays a big role. The jasmine rice gives a lovely texture and aroma. Coconut milk adds rich creaminess, while lime brings a bright, zesty flavor. You can choose to add sugar for sweetness, but it’s up to your taste. The salt helps balance all the flavors. Fresh cilantro or green onions make a great finishing touch for color and freshness.
Gather these items, and you’re ready to create a delightful side dish!

Step-by-Step Instructions
Preparation of Jasmine Rice
– First, rinse the jasmine rice under cold water until the water runs clear. This step removes the extra starch.
– Next, combine the rinsed rice in a medium saucepan with coconut milk, water, lime zest, lime juice, sugar (if you want it), and salt.
Cooking Process
– Now, bring the mixture to a gentle boil over medium heat.
– Once it starts boiling, reduce the heat to low. Cover it and let it simmer for about 15-20 minutes. You want the rice to absorb all the liquid and become tender.
Final Steps
– After cooking, remove the saucepan from the heat. Let it sit, still covered, for an additional 5 minutes. This helps the rice steam and fluff up.
– Finally, fluff the rice gently with a fork. Taste it and adjust the sweetness or salt if needed.
Tips & Tricks
Choosing the Right Rice
For coconut lime rice, I always use jasmine rice. This rice has a sweet flavor and a soft texture. It cooks well and absorbs the coconut milk nicely. If you want to try something new, you can use basmati or brown rice. Basmati adds a nutty taste, while brown rice gives more fiber.
Enhancing Flavor
You can adjust the sweetness and salt levels to your taste. If you like it sweeter, add more sugar. If you prefer it saltier, add a pinch more salt. You can also add spices or herbs. A bit of garlic or ginger can add warmth. Fresh herbs like cilantro or mint bring brightness to your rice.
Serving Suggestions
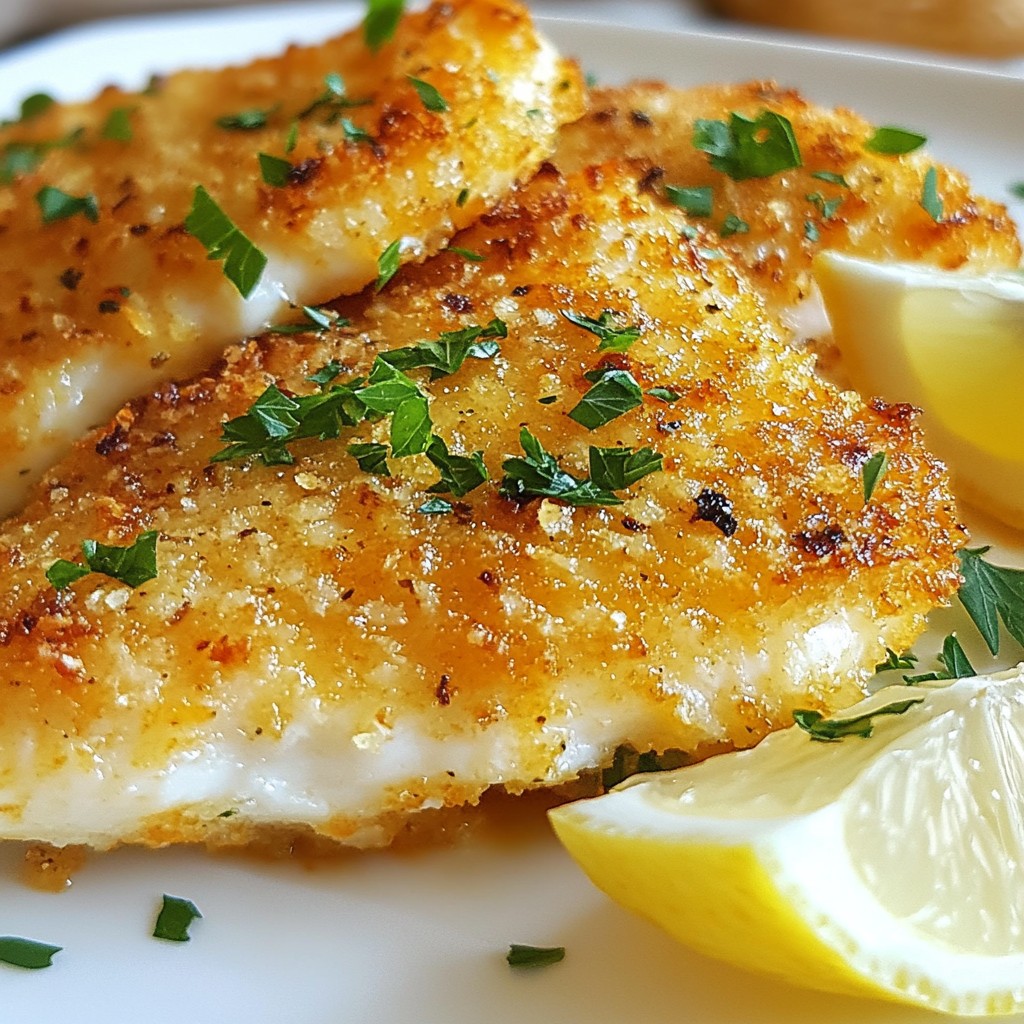
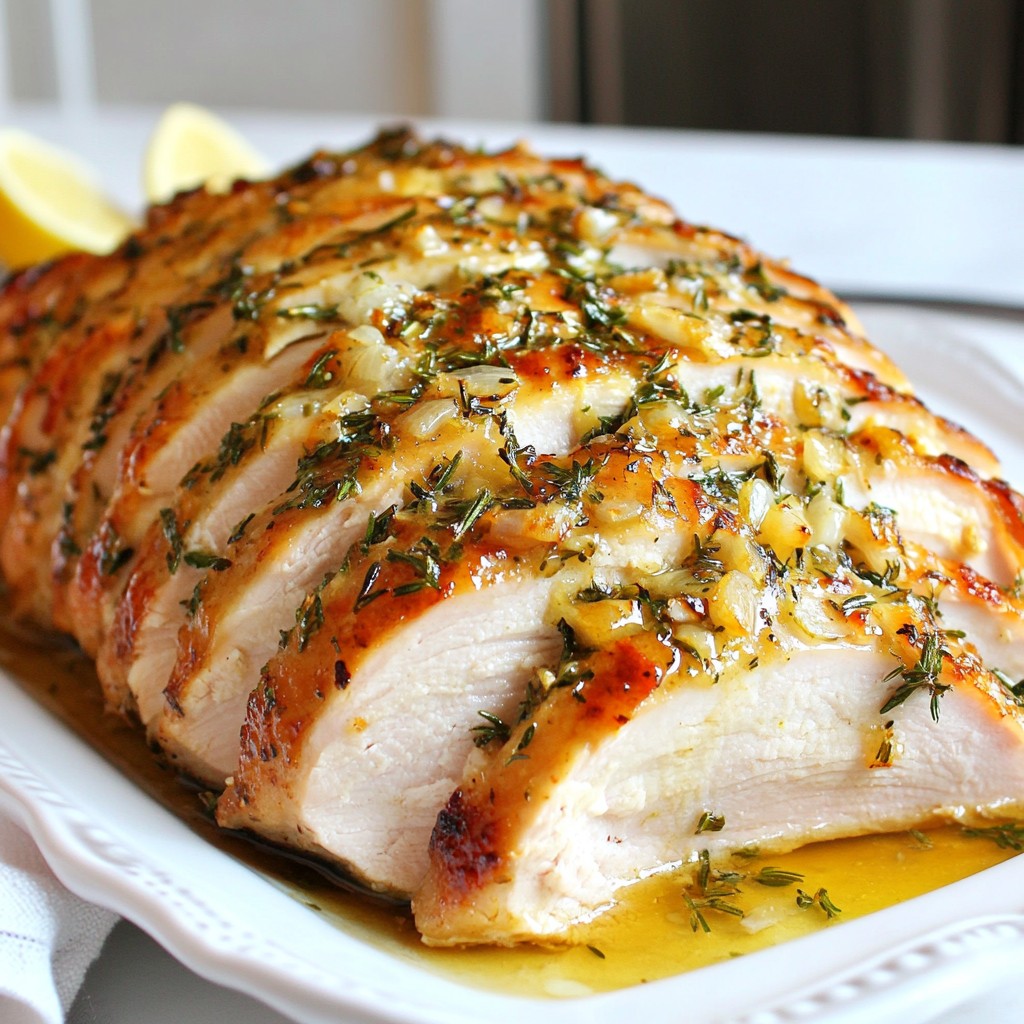
Coconut lime rice pairs well with many main dishes. It goes great with grilled chicken, fish, or shrimp. You can also serve it with veggie curries or stir-fries. For garnishes, I like to use fresh cilantro or green onions. Toasted coconut flakes add a nice crunch, too.
Pro Tips
- Rinse the Rice: Always rinse jasmine rice under cold water until the water runs clear to remove excess starch, which helps prevent the rice from becoming gummy.
- Adjusting Sweetness: The sugar in the recipe is optional; taste the rice after cooking and adjust sweetness according to your preference.
- Steaming for Fluffiness: Letting the rice sit covered after cooking allows it to steam, making it fluffier and enhancing the texture.
- Garnish for Freshness: Garnishing with fresh cilantro or green onions not only adds color but also enhances the flavor profile of the dish.

Variations
Tropical Coconut Lime Rice
You can make tropical coconut lime rice by adding fresh fruit. Pineapple or mango adds sweetness and zest. Chop them into small pieces and stir them in before serving. You can also use different citrus fruits. Try orange or lemon for a new twist.
Spicy Coconut Lime Rice
For a kick, add chili or jalapeños to your rice. This gives it a nice heat. Start with a small amount and taste as you go. Balance the heat with sweetness by adding a bit more sugar. This contrast makes the dish exciting and fun.
Vegetarian & Vegan Alternatives
To keep it vegetarian or vegan, skip any animal products. Use coconut milk and water, which are both plant-based. Coconut lime rice pairs well with plant-based dishes. Try it with grilled vegetables or tofu for a complete meal.
Storage Info
Storing Leftovers
To keep your coconut lime rice fresh, use airtight containers. Glass or plastic containers work well. Let the rice cool to room temperature before sealing. Store it in the fridge for up to four days. Label your container with the date to track freshness.
Reheating Instructions
The best way to reheat coconut lime rice is on the stove. Add a splash of water or coconut milk in a non-stick pan. Heat over low to medium heat, stirring often. This helps keep the rice moist and tasty. You can also microwave it. Use a covered dish and add a little water. Heat in short bursts, checking often.
Freezing Tips
To freeze coconut lime rice, let it cool completely first. Place it in a freezer-safe bag or container. Flatten the bag to save space. You can freeze it for up to three months. When you’re ready to eat, thaw it overnight in the fridge. Reheat it on the stove or microwave as mentioned before for the best results.
FAQs
What can I serve with Coconut Lime Rice?
You can pair Coconut Lime Rice with many dishes. Here are some tasty options:
– Grilled chicken or shrimp for a light meal.
– Spicy curries to balance the flavors.
– Stir-fried vegetables for a healthy side.
– Fish tacos for a fun twist.
– Black beans for extra protein and taste.
These options complement the sweet and zesty notes of the rice.
Can I use other types of rice?
Yes, you can use other rice types. Jasmine rice is special for its aroma and texture. Other options like basmati or long-grain rice can work, but they may change the flavor slightly. Jasmine rice cooks fluffy and absorbs flavors well. If you use brown rice, remember it takes longer to cook. Adjust the liquid and cooking time as needed for the best results.
How do I make Coconut Lime Rice creamier?
To make Coconut Lime Rice creamier, try these tips:
– Use more coconut milk and less water.
– Stir in a spoonful of butter or cream after cooking.
– Add a splash of coconut cream for richness.
– Mix in some shredded coconut for texture.
These tips will give you a deliciously creamy texture. Enjoy your cooking!
Coconut lime rice is simple to make and so tasty. You need just a few main ingredients. Follow the steps to cook jasmine rice perfectly. I shared tips on enhancing flavors and serving ideas. You can even try fun variations for a twist. This dish works well for any meal. Enjoy experimenting with your own touches to make it your ow

Coconut Lime Rice
Ingredients
- 1 cup jasmine rice
- 1 cup coconut milk
- 0.5 cup water
- 1 unit lime zest
- 1 unit lime juice
- 1 tablespoon sugar (optional)
- 0.5 teaspoon salt
- 1 unit fresh cilantro or green onions for garnish
Instructions
- Rinse the jasmine rice under cold water until the water runs clear to remove excess starch.
- In a medium saucepan, combine the rinsed rice, coconut milk, water, lime zest, lime juice, sugar (if using), and salt.
- Bring the mixture to a gentle boil over medium heat.
- Once boiling, reduce the heat to low, cover, and let simmer for about 15-20 minutes, or until the rice has absorbed the liquid and is tender.
- Remove the saucepan from heat and let it sit, covered, for an additional 5 minutes to allow the rice to steam and further fluff up.
- Fluff the rice with a fork and taste; adjust sweetness or salt if necessary.
- Serve the coconut lime rice warm, garnished with chopped cilantro or sliced green onions for a fresh touch.


. You can store your Maple Roasted Brussels Sprouts in an airtight container. They stay fresh for up to 4 days. This helps keep the flavors intact and prevents spoilage. If you have leftovers, this is a simple way to enjoy them later. To enjoy your Brussels sprouts again, warm them in the oven or microwave. For best results, the oven method is ideal. Preheat your oven to 350°F (175°C) and place the sprouts on a baking sheet. Heat for about 10 minutes. This way, they regain their crispiness. You can freeze Maple Roasted Brussels Sprouts, but some texture may change. When you thaw them, they might be softer. To freeze, let them cool first, then place them in a freezer bag. This allows you to keep them for up to 3 months. When ready to eat, thaw in the fridge overnight, then reheat as mentioned above. To prep Brussels sprouts, first, wash them well. Trim off the tough ends and remove any yellow leaves. Then, cut each sprout in half. This helps them cook evenly and allows for better flavor absorption. Yes, you can prepare these Brussels sprouts in advance. Just roast them and let them cool. Store them in the fridge. When you are ready to eat, reheat them in the oven or microwave. This makes meal prep easy and saves time. These sprouts are great with many dishes. They pair well with meats like chicken, pork, or turkey. You can also serve them as part of a vegetarian meal, adding grains or other greens for a full plate. For the full recipe, check out the Maple Roasted Brussels Sprouts 🥬. In this article, I shared how to make Maple Roasted Brussels Sprouts. You learned about key ingredients like Brussels sprouts, olive oil, and maple syrup. The step-by-step guide makes cooking easy, from prepping to roasting. Remember, you can add nuts and cranberries for extra crunch. In the end, these sprouts are tasty and healthy. They fit well with many meals. Give this recipe a try and explore the variations to make it your own. Enjoy your cooking!](https://dailydishly.com/wp-content/uploads/2025/07/44b5f92b-02cd-478b-85d5-cb90a80bf444-768x768.webp)
![To make delicious Garlic Herb Roasted Fingerling Potatoes, you need just a few key items. Here’s what you will need: - 1.5 pounds fingerling potatoes, halved lengthwise - 4 cloves garlic, minced - 3 tablespoons olive oil - 1 tablespoon fresh rosemary, chopped - 1 tablespoon fresh thyme, chopped - 1 teaspoon sea salt - ½ teaspoon black pepper - Zest of 1 lemon These ingredients are simple, but they create a wonderful taste. The fingerling potatoes give a nice texture, while garlic adds a rich flavor. Apart from the main ingredients, a few seasonings can elevate the dish. I recommend using: - Sea salt for balanced flavor - Black pepper for warmth - Fresh rosemary for a woodsy aroma - Fresh thyme for a hint of earthiness These herbs and spices work well together. They bring out the best in the potatoes and make them taste gourmet. You can customize your dish with some optional add-ins. Here are a few ideas: - Crushed red pepper for spice - Parmesan cheese for a savory twist - Other herbs like parsley or dill for freshness These add-ins can change the flavor profile. Feel free to experiment based on your taste preferences. For the full recipe, check out the instructions above. First, wash the fingerling potatoes well under cold water. Scrub them gently to remove any dirt. Then, slice them in half lengthwise. This helps them cook evenly. Place the cut potatoes into a large bowl. Now, add the minced garlic to the bowl with the potatoes. Next, pour in the olive oil. Sprinkle in the fresh rosemary and thyme. Then, add the sea salt, black pepper, and lemon zest. Toss everything together. Make sure all the potatoes get coated well. This mix brings out great flavors in the dish. Preheat your oven to 425°F (220°C). Spread the coated potatoes on a baking sheet lined with parchment paper. Arrange them cut side down for the best crisp. Roast them in the oven for 25-30 minutes. Flip the potatoes halfway through. This step helps them cook evenly. Look for a golden color and a tender inside. When done, take them out and let them cool for a few minutes. Adjust seasoning if needed. Serve hot for a delightful treat! For the complete recipe, check out the [Full Recipe]. To get that perfect crispiness, choose small fingerling potatoes. They have thin skins that roast well. Cut them in half lengthwise. This allows the cut side to get nice and brown. Toss them in olive oil and seasonings, then lay them cut side down on the baking sheet. This placement helps them crisp up beautifully. Roasting at 425°F (220°C) makes a big difference. The high heat brings out their natural sugars and creates a great texture. Timing is key for the best Garlic Herb Roasted Fingerling Potatoes. Roast them for about 25-30 minutes. Check them halfway through and flip for even cooking. If you want extra crunch, leave them in for a few more minutes. If your oven runs hot, lower the temperature a bit to avoid burning. Use a fork to test if they are tender. They should be soft inside and crispy outside. You can add a twist to your Garlic Herb Roasted Fingerling Potatoes. Try adding some grated Parmesan cheese during the last five minutes of roasting. It melts and gives a savory kick. Want some heat? Add a pinch of red pepper flakes to the mix. Fresh herbs like parsley or chives can also brighten the dish. For a tangy finish, drizzle a bit of balsamic glaze before serving. Each of these tweaks makes the dish even more delightful. For the complete recipe, check out the Full Recipe. {{image_2}} Want a kick? Add some heat to your Garlic Herb Roasted Fingerling Potatoes. You can mix in red pepper flakes or cayenne pepper. Start with half a teaspoon and adjust to your taste. The spice will blend well with the garlic. You’ll love the extra flavor it brings to the dish. For a heartier meal, consider adding vegetables. Bell peppers and zucchini work great. Chop them into bite-sized pieces. Toss these veggies in with the potatoes. They will roast nicely and soak up the garlic and herb flavors. This makes your dish colorful and healthy. You do not have to use the oven! You can try cooking these potatoes in an air fryer. Set it to 400°F (200°C) for about 15-20 minutes. Shake the basket halfway through for even cooking. If you want a smoky flavor, grill the potatoes. Wrap them in foil with the seasoning and grill for 20-25 minutes. Both methods give you crispy, tasty potatoes. You can find the Full Recipe to try these variations. To keep your Garlic Herb Roasted Fingerling Potatoes fresh, store them in an airtight container. Let them cool to room temperature first. This helps to prevent moisture buildup. Place the container in the fridge. They will stay good for about 3 to 5 days. If you want to keep them longer, freezing is a great option. When you’re ready to enjoy your leftovers, reheating is key. Preheat your oven to 350°F (175°C). Spread the potatoes on a baking sheet in a single layer. This helps them heat evenly. Bake for about 10 to 15 minutes until they are warm. You can also reheat them in a skillet over medium heat. This gives them a nice crisp again. If you want to freeze your potatoes, here’s what to do. First, let them cool completely. Place them in a freezer-safe bag or container. Squeeze out as much air as you can before sealing. They can last up to 3 months in the freezer. When you’re ready to use them, thaw them in the fridge overnight before reheating. This helps keep their texture and flavor intact. For more details on making these delightful potatoes, check out the Full Recipe. The best potatoes for roasting are fingerling potatoes. They have a creamy texture and a great taste. Their shape allows for even cooking and crispy skin. Other good choices are Yukon Gold and red potatoes. They add flavor and hold up well during cooking. Yes, you can prepare these potatoes ahead of time. You can cut and season them a few hours before cooking. Just store them in a bowl covered with water to prevent browning. When ready, drain them and roast as per the full recipe. This saves time and effort when you're ready to eat. To serve more people, simply double or triple the recipe. Use more fingerling potatoes and adjust the seasonings accordingly. Keep the same ratios for garlic, herbs, and oil. Ensure you use a larger baking sheet for even roasting. Roast in batches if needed, to keep them crispy. In this post, we explored how to make garlic herb roasted fingerling potatoes. We covered essential ingredients, step-by-step cooking methods, and useful tips for crispiness. You learned about delicious variations, smart storage techniques, and answered common questions. Now you can create tasty roasted potatoes that shine on any table. Enjoy experimenting with flavors, and remember, simple adjustments can make a big difference. Happy cooking!](https://dailydishly.com/wp-content/uploads/2025/06/1341fca4-d817-4f84-a737-3e9321494587-768x768.webp)


