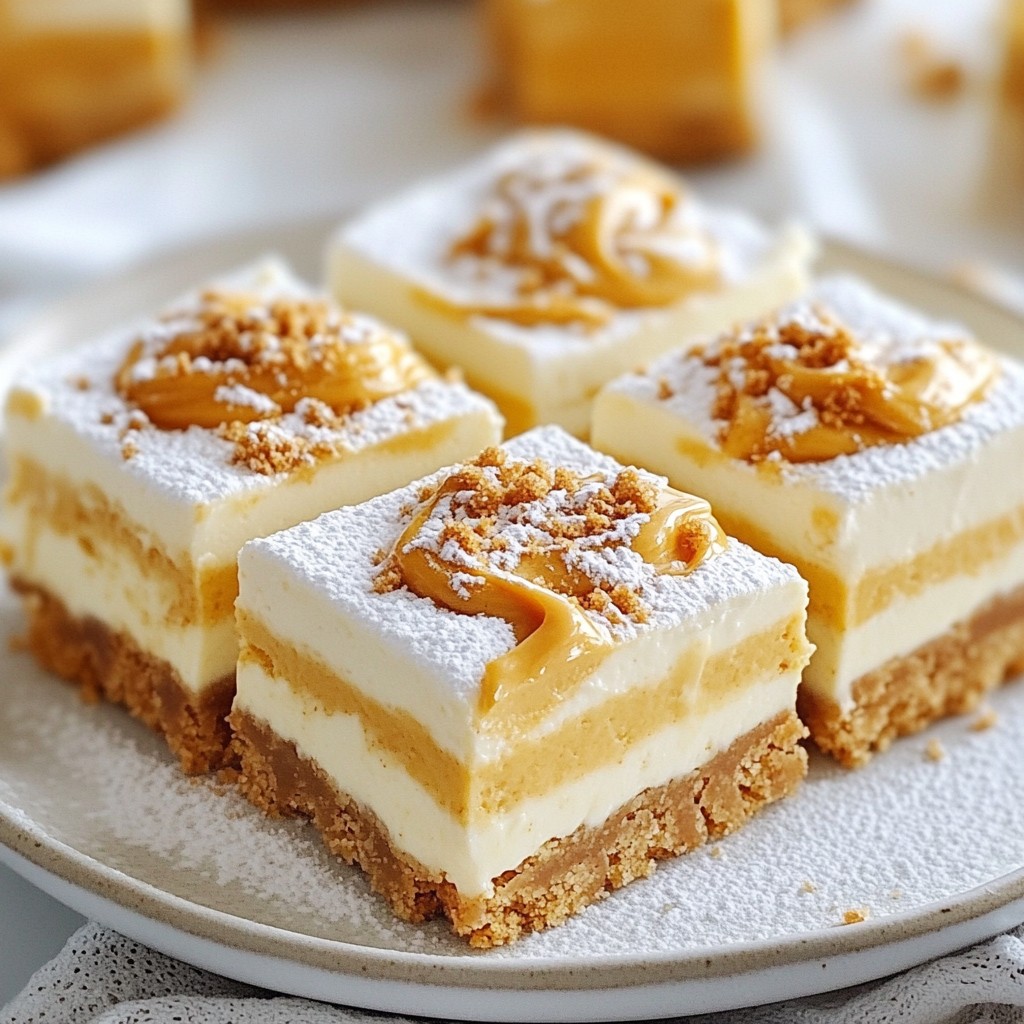
Are you ready to indulge in a sweet, creamy treat? These Cookie Butter Cheesecake Bars are a game-changer. With a buttery crust and a velvety filling, each bite melts in your mouth. I’ll share simple steps to create this delightful dessert. Plus, you'll find tips for perfecting the texture and hints for delicious variations. Let’s get baking and satisfy your sweet tooth with this scrumptious recipe!
Why I Love This Recipe
- Delicious Flavor Combination: The rich taste of cookie butter combined with creamy cheesecake creates an indulgent treat that is hard to resist.
- Easy to Make: With simple ingredients and straightforward steps, these cheesecake bars are perfect for bakers of all skill levels.
- Perfect for Sharing: Cut into squares, these bars are great for parties, potlucks, or as a sweet treat to share with friends and family.
- Customizable Toppings: You can easily add your favorite toppings like crushed cookies or a drizzle of cookie butter for an extra special touch.
Ingredients
Main Ingredients List
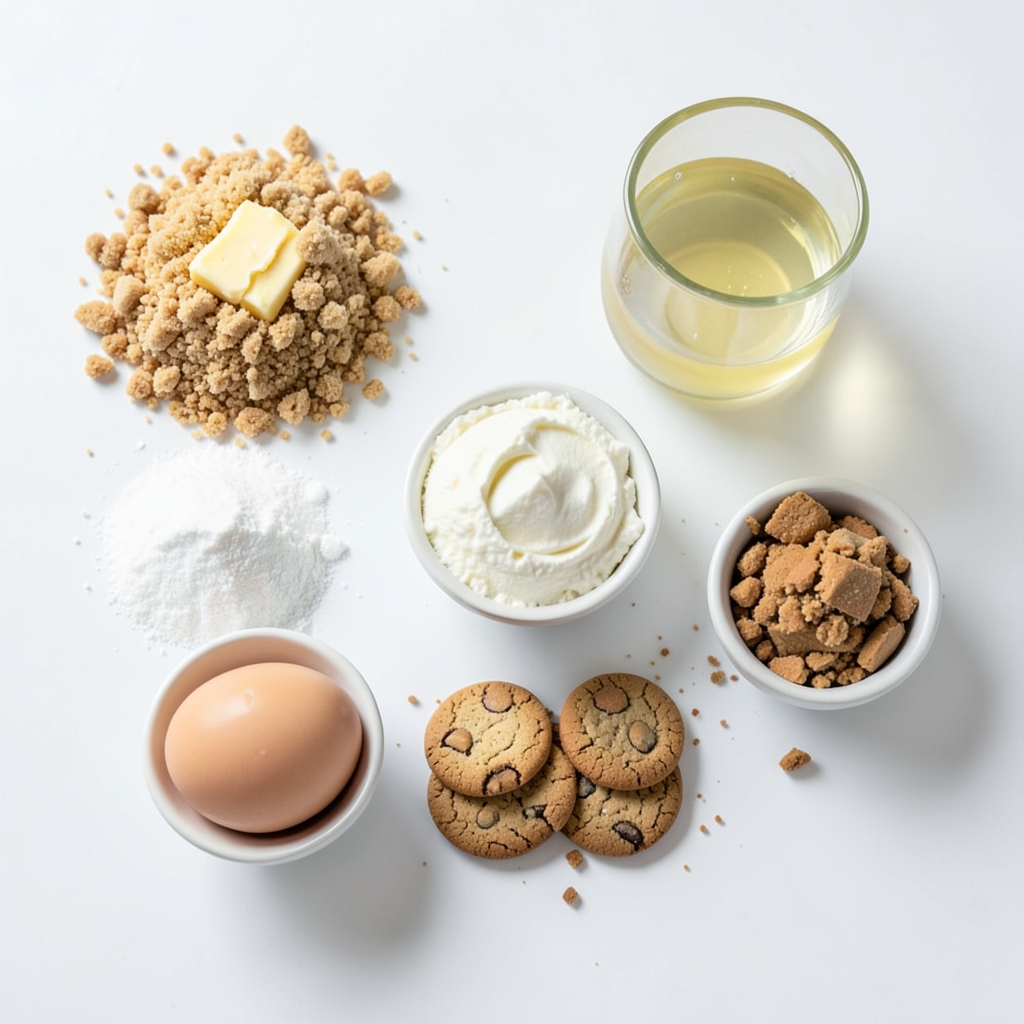
- 1 ½ cups graham cracker crumbs
- ½ cup unsalted butter, melted
- 2 tablespoons granulated sugar
- 16 oz cream cheese, softened
- 1 cup cookie butter
- ½ cup powdered sugar
- 3 large eggs
- 1 teaspoon vanilla extract
- Pinch of salt
For this delightful treat, you need some simple ingredients. Start with graham cracker crumbs. They create a base that is both crunchy and sweet. Next, use unsalted butter and granulated sugar to bind the crumbs together. This mixture forms the crust.
The creamy filling is where the magic happens. You'll need softened cream cheese, which is the star of the show. Add in cookie butter for that rich flavor. Don't forget the powdered sugar to sweeten things up.
Three large eggs help to set the filling. A teaspoon of vanilla extract adds warmth, while a pinch of salt balances the sweetness. These ingredients come together to create a rich, creamy dessert that everyone will love.
Optional Toppings
- Crushed cookies
- Additional cookie butter
For an extra touch, consider toppings. Crushed cookies not only add texture but also make it look fancy. A drizzle of additional cookie butter on top enhances the flavor and makes it shine. These simple additions elevate your cheesecake bars, making them even more tempting.
Step-by-Step Instructions
Preparation
1. Preheat your oven to 350°F (175°C). Line a 9x9-inch baking pan with parchment paper. Leave some paper hanging over the edges for easy removal later.
2. In a medium bowl, mix together:
- 1 ½ cups graham cracker crumbs
- ½ cup unsalted butter, melted
- 2 tablespoons granulated sugar
The mixture should look like wet sand.
3. Firmly press this mixture into the bottom of your prepared baking pan to form an even crust. Bake for 10 minutes. Let it cool slightly after baking.
Making the Cheesecake Filling
1. In a large bowl, beat 16 oz softened cream cheese with an electric mixer until it is smooth and creamy.
2. Add 1 cup cookie butter and ½ cup powdered sugar to the cream cheese. Beat until everything is well combined.
3. Add 3 large eggs, one at a time. Mix well after each egg. Finally, add 1 teaspoon vanilla extract and a pinch of salt. Mix until smooth.
Baking the Bars
1. Pour the cheesecake filling over your cooled crust. Spread it evenly with a spatula.
2. Bake in the preheated oven for 25-30 minutes. The edges should be set, but the center can still jiggle a little.
3. Turn off the oven and crack the door. Let the cheesecake bars cool in the oven for about an hour. This helps prevent cracks.
4. Once cooled, move the bars to the refrigerator. Chill for at least 4 hours or overnight for the best texture.
5. When ready, use the parchment paper to lift the bars from the pan. Cut them into squares and serve.
Tips & Tricks
Achieving the Perfect Texture
To avoid cracks in your cheesecake bars, use gentle cooling methods. After baking, turn off the oven and crack the door. Let the bars cool slowly inside. This helps them set without shocks from cold air.
Chilling time is key. Always chill your bars for at least four hours. If you can, chill them overnight. This allows the flavors to meld and the texture to firm up nicely.
Presentation Ideas
For serving, think about the toppings. A light dusting of powdered sugar adds a sweet touch. You can also drizzle more cookie butter on top. This makes the bars look fancy and fun.
If you want some crunch, sprinkle crushed cookies over the cheesecake. It adds texture and looks great. Try different toppings to make your presentation unique!
Pro Tips
- Cool Gradually: Allow the cheesecake bars to cool in the oven with the door cracked to prevent cracking on the surface.
- Chill Overnight: For the best flavor and texture, chill the cheesecake bars overnight before serving.
- Use Room Temperature Ingredients: Ensure all dairy ingredients are at room temperature for a smoother batter.
- Experiment with Toppings: Enhance your bars with crushed cookies or a drizzle of extra cookie butter for added flavor and presentation.
Variations
Flavor Variations
Want to make your cookie butter cheesecake bars even better? Here are some fun ideas.
- Adding chocolate chips: You can mix in half a cup of mini chocolate chips. They add a nice texture and rich flavor. Just fold them in after mixing the cheesecake filling.
- Introducing spices like cinnamon: Adding a teaspoon of cinnamon can warm up the flavor. It gives a cozy twist that works well with cookie butter. Mix it into the cream cheese before adding the eggs.
Healthier Alternatives
If you want a lighter version, try these swaps.
- Low-fat cream cheese option: Using low-fat cream cheese cuts the calories. It still tastes great and keeps the creamy texture.
- Gluten-free graham crackers: For a gluten-free option, use gluten-free graham crackers. They work just as well in the crust. Look for brands made with almond or coconut flour for added flavor.
These variations let you customize your bars to fit your tastes and needs. Enjoy making them your own!
Storage Info
Best Practices for Storage
To keep cookie butter cheesecake bars fresh, store them in the refrigerator. Place them in an airtight container. This helps maintain their creamy texture and rich flavor. Make sure to cover them well, so they do not absorb other odors.
If you want to store them for a longer time, freezing is a great option. Wrap the bars tightly in plastic wrap. Then, place them in a freezer-safe bag or container. Be sure to label the container with the date. This way, you will know when to use them.
Shelf Life
In the fridge, cookie butter cheesecake bars last about 5 to 7 days. They will stay tasty and safe to eat during this time. Always check for signs of spoilage, such as an off smell or changes in texture.
If you notice any mold or an unusual taste, it is best to discard them. Always trust your senses when it comes to food safety. Keeping these tips in mind will help you enjoy your cheesecake bars at their best!
FAQs
Can I make this recipe ahead of time?
Yes, you can make these cheesecake bars a day ahead. Just follow these steps:
- Prepare the crust and filling as directed.
- After baking, cool the bars in the oven.
- Chill them in the fridge for at least four hours or overnight.
This method helps the flavors blend well. It also makes serving easier.
Where to buy cookie butter?
You can find cookie butter in many stores. Here are some good options:
- Grocery stores like Trader Joe's have their own brand.
- You can also check big chains like Walmart or Target.
- Online shops like Amazon offer various brands too.
Look for brands like Biscoff or Speculoos for great taste.
Can I use a different crust?
Yes, you can swap the graham cracker crust. Here are some tasty alternatives:
- Use crushed Oreos for a chocolate twist.
- Almond flour works well for a gluten-free option.
- You can also try a shortbread cookie base for a rich flavor.
Each crust gives a unique taste to the bars. Choose one that fits your mood!
In this post, I covered how to make delicious cookie butter cheesecake bars. We discussed the key ingredients you need, including graham cracker crumbs, cream cheese, and cookie butter. I shared detailed steps for preparation, baking, and cooling. I also provided tips for the best texture and creative presentation ideas. You can even try healthier variations or different crusts. Remember, the right storage keeps them fresh longer. Enjoy making these tasty treats, and share your success!