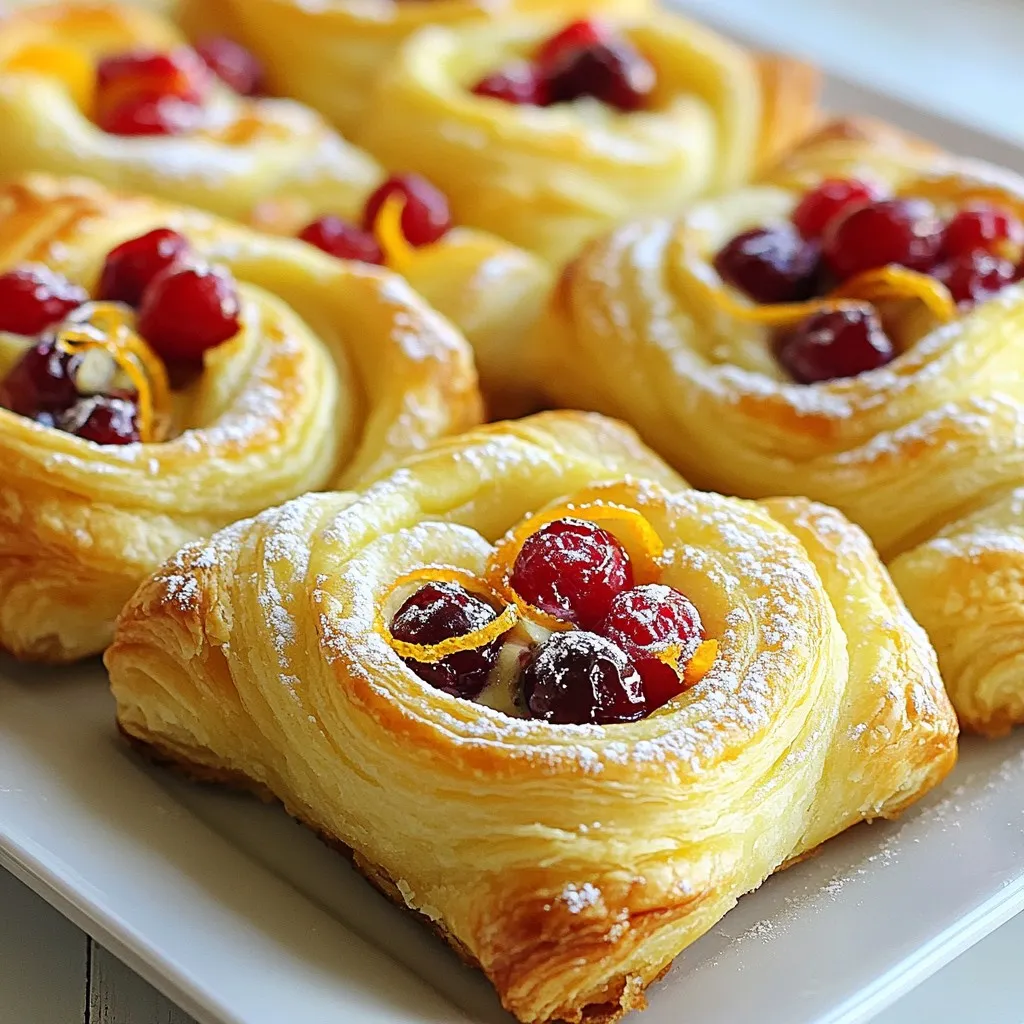
Looking to create a bright and tasty treat? My Cranberry Orange Danish is the perfect choice! This delightful pastry pairs fresh cranberries with sweet orange notes, wrapped in flaky puff pastry. In this post, I will guide you through a simple recipe filled with tips and tricks, ensuring your Danish comes out just right. Let’s dive into the ingredients and start baking a delicious masterpiece!
Why I Love This Recipe
- Fresh Flavors: The combination of tart cranberries and zesty orange creates a refreshing taste that’s perfect for any occasion.
- Easy to Make: With store-bought puff pastry, this recipe simplifies the Danish-making process without sacrificing flavor.
- Perfect for Sharing: These delightful pastries are great for gatherings, making them an ideal treat to share with friends and family.
- Customizable: You can easily adjust the fillings or toppings to suit your taste, whether you prefer more cream cheese or additional spices.
Ingredients
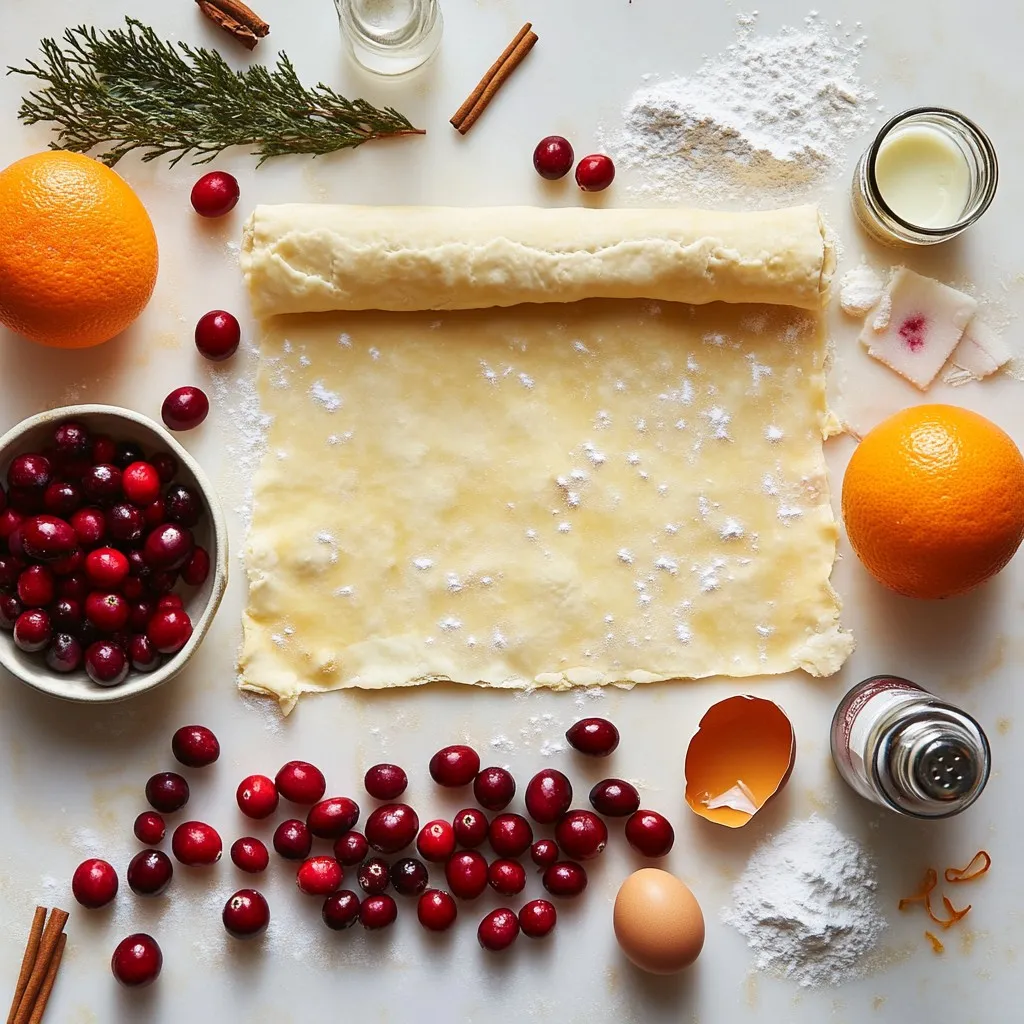
To make the perfect Cranberry Orange Danish, gather these simple ingredients:
– 1 sheet of puff pastry, thawed
– 1 cup fresh cranberries
– 1/2 cup sugar (divided)
– 1 large orange, zested and juiced
– 1 tablespoon cornstarch
– 1 egg (for egg wash)
– 1/4 cup cream cheese, softened
– 1 teaspoon vanilla extract
– 1/2 teaspoon cinnamon
– Powdered sugar for dusting
Each ingredient plays a key role in creating this tasty treat. The puff pastry gives a flaky base. Fresh cranberries bring a tart flavor that balances the sweetness. Sugar adds just the right amount of sweetness, while orange zest and juice brighten the dish. Cornstarch helps thicken the filling. The egg wash gives the pastry a golden color. Cream cheese adds a creamy texture, and vanilla plus cinnamon brings warmth and depth. Finally, powdered sugar makes for a beautiful finish.
Gather these items before you start. You’ll want everything on hand for a smooth cooking process. Each step will be easy and fun with the right ingredients!
Step-by-Step Instructions
Preparing the Cranberry Filling
To make the filling, you need fresh cranberries. Start by putting them in a saucepan. Add 1/4 cup of sugar, orange zest, orange juice, and cornstarch. Cook this mixture over medium heat. Stir it often until it bubbles and thickens. This will take about 5-7 minutes. Once it thickens, remove it from the heat. Let it cool down while you work on the pastry.
Rolling Out the Puff Pastry
Next, take your thawed puff pastry. Place it on a lightly floured surface. Roll it out gently to smooth out any creases. This helps the pastry bake evenly. After rolling, cut the pastry into four equal squares. This will give you the base for each Danish.
Creating the Cream Cheese Mixture
Now, grab a bowl for the cream cheese mixture. Blend 1/4 cup of softened cream cheese with the remaining 1/4 cup of sugar. Add a teaspoon of vanilla extract and 1/2 teaspoon of cinnamon. Mix it until it’s smooth. This creamy layer adds a nice taste to your danish.
Assembling the Danish
It’s time to put everything together! Preheat your oven to 400°F (200°C). Take each pastry square and place a tablespoon of the cream cheese mixture in the center. Make sure to leave space around the edges. Then, top it with a spoonful of the cranberry mixture. This will create a lovely contrast of flavors.
Folding and Sealing the Pastry
Now, fold the corners of each pastry square toward the center. This creates a pinwheel shape. Press the edges gently to seal them. Make sure they are secure so the filling doesn’t escape. Place these on a lined baking sheet, leaving some space between each Danish.
Baking and Finishing Touches
To get that golden finish, beat an egg and brush it over the top of each Danish. This will give them a beautiful color when baked. Place the baking sheet in the oven and bake for 20-25 minutes. Keep an eye on them until they are golden brown and puffed. Once done, take them out and let them cool slightly. Finally, dust them with powdered sugar before serving. Enjoy your delicious Cranberry Orange Danish!
Tips & Tricks
Perfecting the Puff Pastry
To make the best puff pastry, keep it cold. Warm pastry becomes hard to work with. Thaw it in the fridge, not on the counter. Roll it out gently on a floured surface. This keeps layers light and airy. If you see cracks, don’t worry! Just patch them with a bit of extra pastry.
Adjusting the Sweetness
You can change the sweetness based on your taste. If you like it sweeter, add more sugar to the cranberry filling. Start with an extra tablespoon and taste it. For less sweetness, cut back on the sugar in the cream cheese mix. Balance is key for a perfect bite.
Best Practices for Baking
Preheat your oven to 400°F (200°C) before baking. This helps the pastry puff up nicely. Use parchment paper on your baking sheet for easy cleanup. Bake until golden brown, which takes about 20-25 minutes. This gives the best texture and flavor.
Avoiding Common Mistakes
Watch out for overfilling the pastries. Too much filling can leak out during baking. Make sure to seal the edges well. If they do not seal, they might fall apart. Lastly, let them cool slightly before eating. This prevents burns and helps the flavors settle.
Pro Tips
- Use Fresh Cranberries: For the best flavor and texture, always use fresh cranberries instead of canned. They provide a tartness that complements the sweetness of the pastry perfectly.
- Chill the Pastry: Keep the puff pastry chilled until you are ready to use it. This will help it puff up beautifully in the oven, creating that light and flaky texture.
- Experiment with Flavors: Feel free to add other spices or citrus zest to the cream cheese mixture, such as nutmeg or lemon zest, for a unique twist on the classic recipe.
- Serve Warm: These Danishes are best served warm from the oven. If you have leftovers, reheat them in the oven for a few minutes to restore their flaky texture.
Variations
Alternative Fruit Fillings
You can switch up the fruit in your Danish. Instead of cranberries, try fresh blueberries, cherries, or apples. Each fruit brings a new taste to the pastry. For blueberries, use the same method as cranberries. Cook them with sugar until they burst. For apples, chop them small and cook with cinnamon and sugar. This way, you get a sweet filling with a lovely texture.
Different Cheese Options
While cream cheese is a classic choice, you can explore other cheeses. Mascarpone adds a rich, creamy layer. Ricotta offers a lighter texture and taste. For a tangy kick, use goat cheese. Just blend your chosen cheese with sugar and flavorings like vanilla. Adjust the sweetness based on the cheese’s flavor.
Flavor Enhancements
Add spices or extracts to boost your Danish’s flavor. A pinch of nutmeg pairs well with cranberries and oranges. Almond extract gives a sweet, nutty touch. If you love warmth, try adding ginger or cardamom. Mix these into the cream cheese or fruit filling. This gives your pastry a unique twist and makes it even more special.
Storage Info
How to Store Leftovers
After you enjoy your Cranberry Orange Danish, store leftovers in an airtight container. Keep them in the fridge for up to three days. This helps maintain their taste and texture. Make sure the Danishes are completely cool before sealing them. This keeps moisture out.
Reheating Instructions
To reheat your Danishes, use the oven for best results. Preheat your oven to 350°F (175°C). Place the Danishes on a baking sheet. Heat them for about 10 minutes. This warms them through and keeps them nice and flaky. You can also use a microwave, but they may get soggy. Heat them for about 30 seconds to 1 minute.
Freezing Unbaked Danishes
You can freeze unbaked Danishes for later. After you assemble them, place them on a baking sheet. Make sure they don’t touch each other. Freeze until solid, then transfer them to a freezer bag. They can stay in the freezer for up to three months. When ready to bake, you can bake them straight from the freezer. Just add a few extra minutes to the baking time.
FAQs
Can I use frozen cranberries?
Yes, you can use frozen cranberries. They work well in this recipe. Just be sure to thaw them first. If they are too watery after thawing, drain the excess liquid. This keeps the filling from being runny.
What can I substitute for cream cheese?
If you need a substitute for cream cheese, consider using ricotta cheese or mascarpone. Both have a mild flavor. You can also use Greek yogurt for a lighter option. Adjust the sugar to match your taste.
How do I know when the Danish is done?
You can tell the Danish is done when it turns golden brown. The puff pastry should look puffy and flaky. If you poke it gently, it should feel firm and not doughy.
Is puff pastry the same as phyllo dough?
Puff pastry and phyllo dough are not the same. Puff pastry is thick and buttery. It puffs up when baked, creating layers. Phyllo dough is thin and crispy. It requires layering and brushing with butter to create a flaky texture.
This guide helps you make a tasty cranberry Danish. We covered key ingredients, like puff pastry and fresh cranberries. The step-by-step instructions showed how to create the perfect filling and assemble the pastry. I shared tips to avoid common baking mistakes and suggested fun variations to try. Finally, we explored storage methods to keep your Danishes fresh. Remember, baking should be fun and easy! Enjoy sharing your delicious creation with family and friend