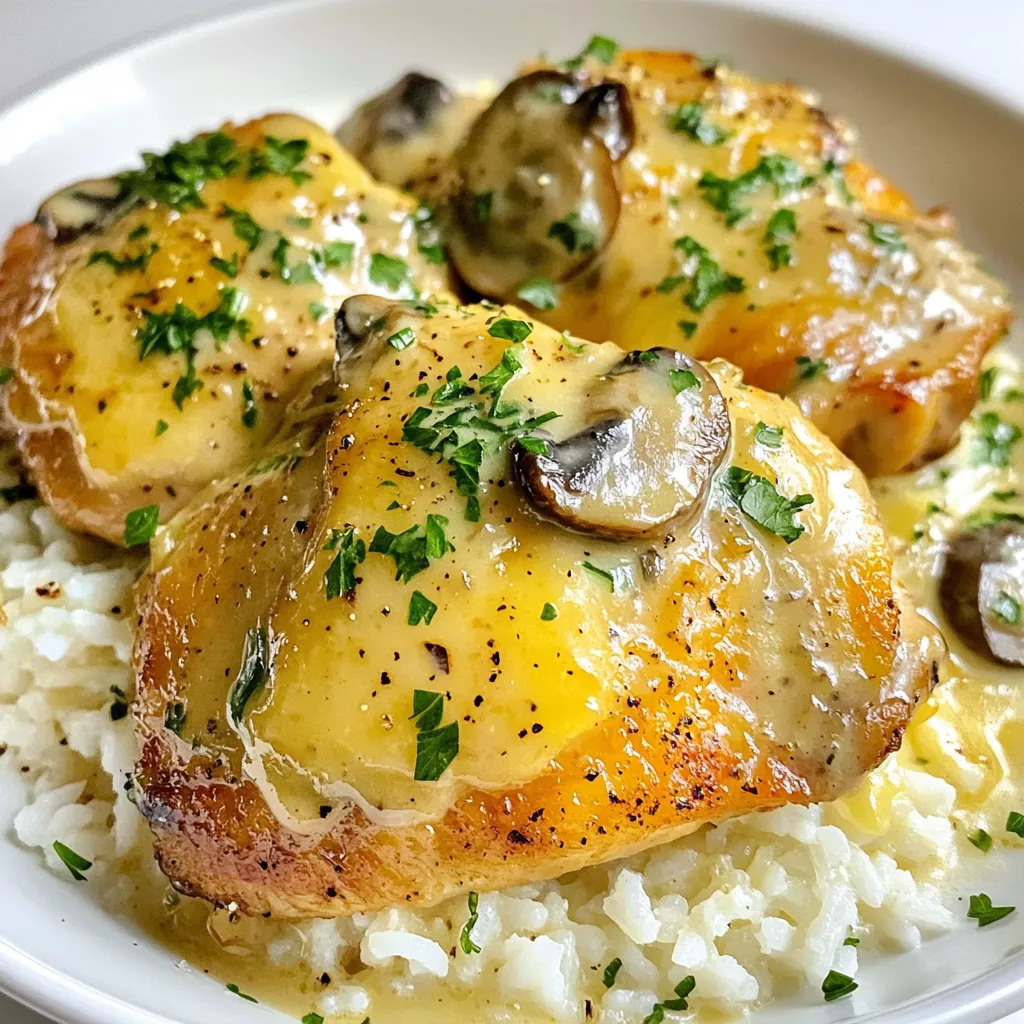
Looking for a quick and tasty dinner? Try my Creamy Mushroom Chicken Thighs! This easy dish features juicy chicken thighs in a rich, creamy sauce with savory mushrooms. You’ll love how simple it is to prepare, making it perfect for busy nights. Plus, with easy tips and fun variations, you can customize it to suit your cravings. Dive in, and let’s make your next meal a hit!
Why I Love This Recipe
- Comforting Flavor: The creamy sauce combined with savory mushrooms creates a rich and comforting flavor that warms the soul.
- Quick to Prepare: With a total cooking time of just 30 minutes, this recipe is perfect for busy weeknights without sacrificing taste.
- Versatile Pairings: This dish pairs beautifully with rice, mashed potatoes, or pasta, making it easy to customize according to your preference.
- Impressive Presentation: Serve it garnished with fresh parsley for a restaurant-quality look that’s sure to impress family and guests alike.
Ingredients
Main Ingredients
– 4 chicken thighs, boneless and skinless
– 2 cups mushrooms, sliced (button or cremini)
– 1 medium onion, finely chopped
– 3 cloves garlic, minced
Sauce Components
– 1 cup heavy cream
– 1 cup chicken broth
– 2 tablespoons olive oil
– 1 teaspoon dried thyme
– 1 teaspoon paprika
– Salt and pepper to taste
Garnish
– Fresh parsley, chopped
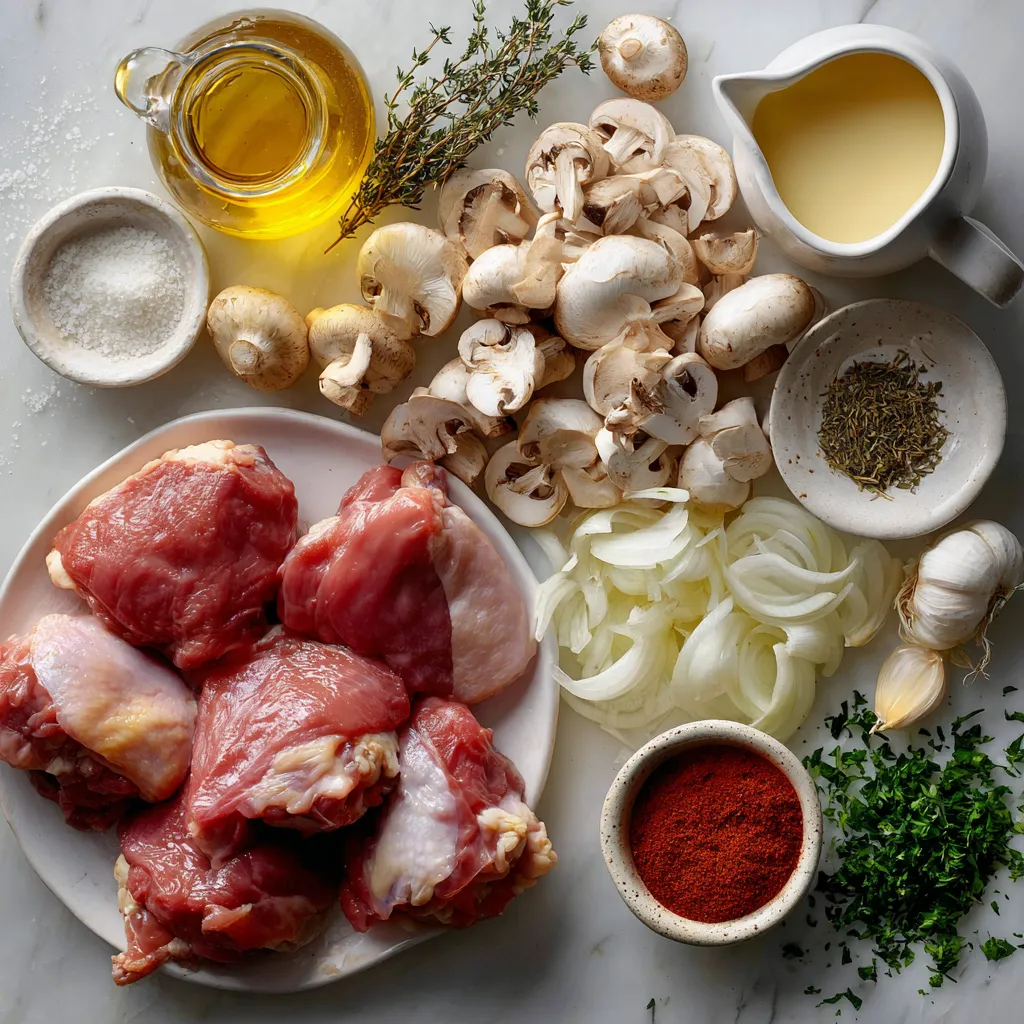
Gathering these ingredients is the first step to making creamy mushroom chicken thighs. You want boneless, skinless chicken thighs for a tender bite. Mushrooms, either button or cremini, give a rich flavor. Chop your onion finely to blend well in the sauce. Mince the garlic; this will add a lovely aroma.
For the sauce, heavy cream makes it rich and smooth. Chicken broth adds depth. Olive oil helps to sear the chicken and cook the onions. Dried thyme and paprika bring warmth and spice. Finally, salt and pepper enhance all the flavors.
Don’t forget the fresh parsley! It adds a bright touch as a garnish. This dish is not just a meal; it’s a delight for your taste buds.
Step-by-Step Instructions
Preparing the Chicken
– Start by heating 2 tablespoons of olive oil in a large skillet over medium heat.
– Season 4 boneless, skinless chicken thighs with salt, pepper, and 1 teaspoon of paprika.
– Once the oil is hot, place the chicken thighs in the skillet. Sear them for 6-7 minutes on each side until they are golden brown.
– After searing, remove the chicken from the skillet and set it aside on a plate.
Cooking the Vegetables
– In the same skillet, add 1 medium finely chopped onion. Cook for 2-3 minutes until it becomes translucent.
– Next, add 3 cloves of minced garlic. Sauté for about 1 minute until it smells great.
– Stir in 2 cups of sliced mushrooms. Cook them for about 5-6 minutes until they soften and release their moisture.
Creating the Sauce
– Now, pour in 1 cup of chicken broth. Scrape any browned bits from the bottom of the skillet while doing this.
– Allow the broth to simmer for 2-3 minutes. This adds flavor to the sauce.
– Reduce the heat to low and stir in 1 cup of heavy cream and 1 teaspoon of dried thyme. Mix well and let it simmer for 3-4 minutes until the sauce thickens slightly.
– Finally, return the seared chicken thighs to the skillet. Cover and cook on low heat for an additional 5-7 minutes. This will ensure the chicken cooks through and the sauce becomes creamy.
Tips & Tricks
Cooking Techniques
To achieve the perfect sear on chicken, first, heat your skillet over medium heat. This step is key. Next, season the chicken thighs with salt, pepper, and paprika. When the oil is hot, add the thighs. Let them cook without moving them for 6-7 minutes. This helps form a nice crust. Flip and cook the other side for the same time. Remove them from the skillet and let them rest.
For sautéing mushrooms, use the same skillet. Add sliced mushrooms after cooking the onion and garlic. Make sure to spread them out in a single layer. This helps them brown nicely. Stir them occasionally and cook for about 5-6 minutes. They should become soft and golden.
Flavor Enhancements
Adjusting seasoning is simple. After cooking, taste your dish. Add more salt or pepper if needed. You can also sprinkle in more thyme for extra flavor. This allows you to customize your meal.
For added depth, consider using herbs like rosemary or sage. A pinch of garlic powder can also boost the flavor. If you like heat, try adding a dash of red pepper flakes. These options make your dish unique.
Presentation Tips
Serve your creamy mushroom chicken thighs over fluffy rice or creamy mashed potatoes. This makes for a hearty base and absorbs the sauce well. A colorful plate is appealing.
For garnishing, sprinkle freshly chopped parsley on top. This adds a nice pop of color. You can also add lemon zest for brightness. Consider serving with green veggies for balance. This helps create a beautiful and tasty meal.
Pro Tips
- Use fresh herbs: Fresh thyme or parsley can elevate the flavor of the dish significantly compared to dried herbs.
- Don’t rush the mushrooms: Allow the mushrooms to cook until they are well browned to enhance their natural umami flavor.
- Check chicken doneness: Ensure chicken thighs reach an internal temperature of 165°F (75°C) for safe consumption.
- Adjust creaminess: For a lighter sauce, substitute half of the heavy cream with low-fat milk or chicken broth.
Variations
Ingredient Swaps
You can switch up your mushrooms for more flavor. Try using shiitake or portobello mushrooms. These add a rich taste and texture. You can also use turkey or pork instead of chicken thighs. Both options work well in this creamy dish.
Sauce Modifications
If you want a lighter sauce, consider low-fat cream. It still gives a nice texture without the extra calories. For a boost in flavor, add a splash of white wine. Let it simmer for a few minutes to enhance the taste.
Vegetarian Version
Looking for a meat-free meal? Substitute the chicken with tofu or tempeh. Both options soak up the sauce well. Cut them into cubes and cook them in the skillet. They will still deliver a creamy and satisfying dish.
Storage Info
Refrigeration Guidelines
To store leftovers, let the dish cool to room temperature. Place creamy mushroom chicken thighs in an airtight container. Make sure to cover it well to keep moisture in and odors out. You can use glass or plastic containers, but glass is best for keeping flavors strong.
Freezing Instructions
To freeze creamy mushroom chicken, first cool the dish completely. Then, transfer it to a freezer-safe container or a heavy-duty freezer bag. Make sure to remove as much air as possible. This helps avoid freezer burn. For reheating, thaw overnight in the fridge. Warm it gently on the stove or in the microwave. Stir often to keep it creamy and tasty.
Lifespan of Dish
You can keep creamy mushroom chicken thighs in the fridge for up to four days. If frozen, it can last for about three months. Always check for any off smells or changes in texture before eating. Storing it properly helps keep your meal fresh and delicious!
FAQs
How long does it take to cook chicken thighs?
Cooking chicken thighs takes about 20 minutes. You should sear them for 6-7 minutes on each side. After that, let them simmer in the sauce for 5-7 minutes. This ensures the chicken cooks through and stays juicy.
Can I use frozen chicken thighs for this recipe?
Yes, you can use frozen chicken thighs. Just remember to thaw them first. Thawing will help cook them evenly. You can leave them in the fridge overnight or use the microwave for quick thawing.
What can I serve with creamy mushroom chicken thighs?
You can serve creamy mushroom chicken thighs with many sides. Try fluffy rice or creamy mashed potatoes. Steamed green veggies like broccoli or green beans add color and nutrients. A fresh salad also pairs well for a light option.
Can I make the sauce in advance?
Yes, you can make the sauce ahead of time. Just store it in the fridge for up to three days. When ready to use, reheat it gently. Add the chicken just before serving for the best flavor and texture.
Is this recipe gluten-free?
Yes, this recipe is gluten-free. The ingredients used, like chicken, mushrooms, and heavy cream, do not contain gluten. Always check labels if you’re unsure about specific products.
This recipe for creamy mushroom chicken combines simple ingredients with easy steps. You learned how to season chicken, sauté veggies, and make a rich sauce. My tips help you adjust flavors, present meals beautifully, and ensure delicious results every time. With fun variations and storage advice, this dish can become a go-to. Enjoy this meal with family or friends, and get creative with your own twists! Cooking should be easy and enjoyable, so let these ideas inspire you. Happy cookin


