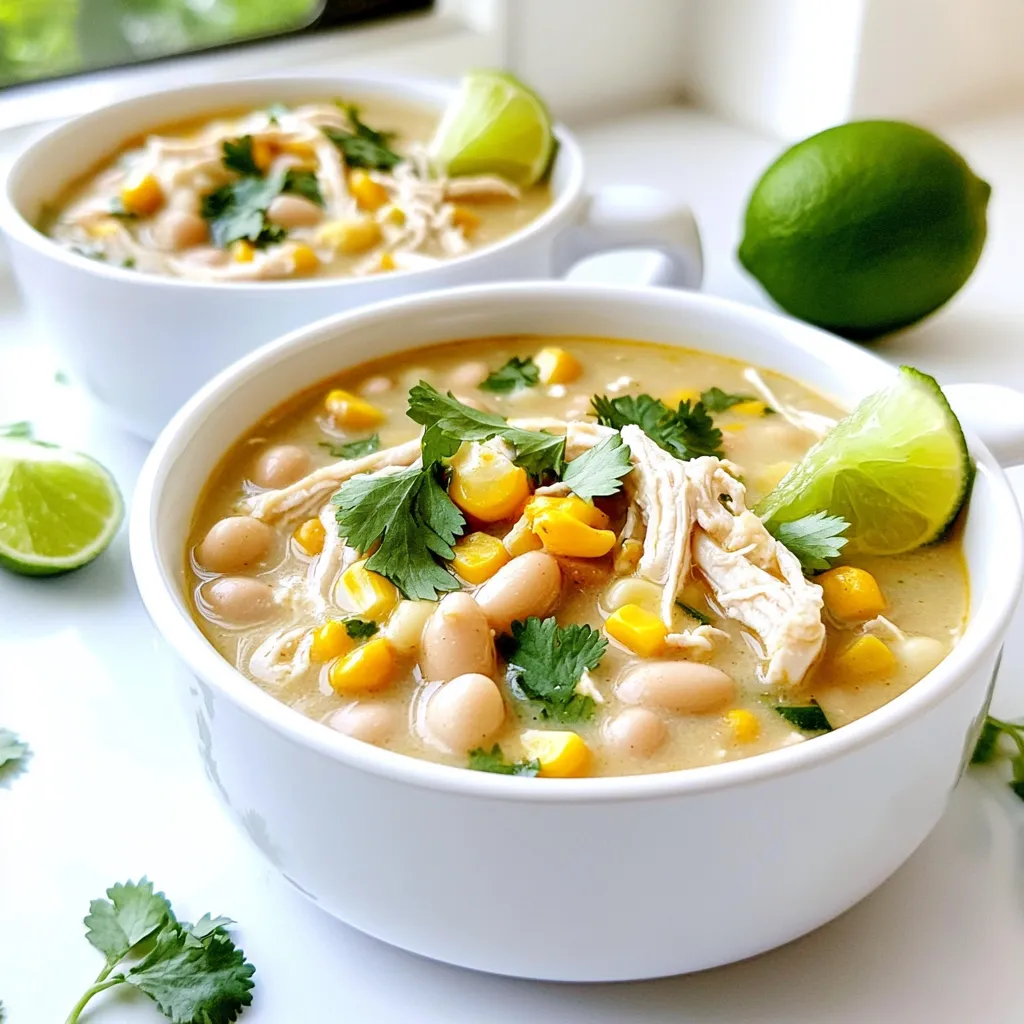
Are you ready for a warm and comforting dish that’s bursting with flavor? My Creamy White Chicken Chili Slow Cooker Delight is the perfect meal for busy days. With tender chicken, creamy white beans, and zesty spices, this chili is simple to prepare and easy to customize. Let’s dive into the ingredients and steps to create this deliciously cozy dish that will have everyone asking for seconds!
Ingredients
List of Essential Ingredients
– 1 lb boneless skinless chicken breasts
– 1 can (15 oz) white beans (Great Northern or Cannellini), drained and rinsed
– 1 can (4 oz) diced green chilies
– 1 medium onion, chopped
Optional Ingredients for Enhancements
– 1 cup corn (fresh, frozen, or canned)
– 1 cup heavy cream or coconut cream
– Fresh cilantro, chopped (for garnish)
– Lime wedges (for serving)
Spices and Seasonings
– 1 tsp cumin
– 1 tsp chili powder
– ½ tsp paprika
– Salt and pepper to taste
Each ingredient adds a layer of flavor. The chicken forms the base, while the white beans add creaminess. Diced green chilies give a mild heat, and onion brings sweetness.
Adding corn makes the chili heartier. Heavy cream or coconut cream enriches the dish. I love using fresh cilantro and lime for a burst of freshness at the end.
Seasonings like cumin and chili powder are key. They give depth and warmth to the chili. Paprika adds a touch of color and a hint of smoky flavor. Adjust salt and pepper for your taste as you go.
With these ingredients, you set the stage for a comforting bowl of creamy white chicken chili.
Step-by-Step Instructions
Preparation Steps
– Preparing the chicken: Start by placing 1 pound of boneless, skinless chicken breasts at the bottom of your slow cooker. This layer will form the base of your chili.
– Adding vegetables and beans: Next, add 1 chopped onion, 2 minced garlic cloves, 1 can of drained white beans, 1 can of diced green chilies, and 1 cup of corn. Make sure to spread everything evenly over the chicken.
Cooking Steps
– Seasoning the mixture: Now it’s time to add flavor. Sprinkle 1 teaspoon of cumin, 1 teaspoon of chili powder, ½ teaspoon of paprika, and some salt and pepper over the top. This mix will give your chili a warm and inviting taste.
– Cooking time and methods: Gently pour 4 cups of chicken broth over all the ingredients. Ensure everything is submerged. Cover and set your slow cooker to low. Cook for 6 to 7 hours until the chicken is fully cooked and tender.
Finishing Touches
– Shredding the chicken: About 30 minutes before you serve, take out the chicken breasts. Use two forks to shred the chicken into bite-sized pieces. Return the shredded chicken back into the slow cooker.
– Adding cream and adjusting seasonings: Stir in 1 cup of heavy cream or coconut cream for a lighter touch. Let it cook for another 30 minutes on low to thicken. Finally, taste your chili and add more salt or pepper if needed.
Tips & Tricks
Cooking Tips for Perfect Chili
Layering your ingredients is key. Start with the chicken at the bottom. Then, add onions, garlic, beans, chilies, and corn. This order helps flavors mix well. Each layer has its cooking time, so this method enhances taste.
Every slow cooker cooks a bit differently. If yours runs hot, check the chili sooner. Cooking time may vary from 6 to 7 hours. Always ensure the chicken is tender before shredding.
Serving Suggestions
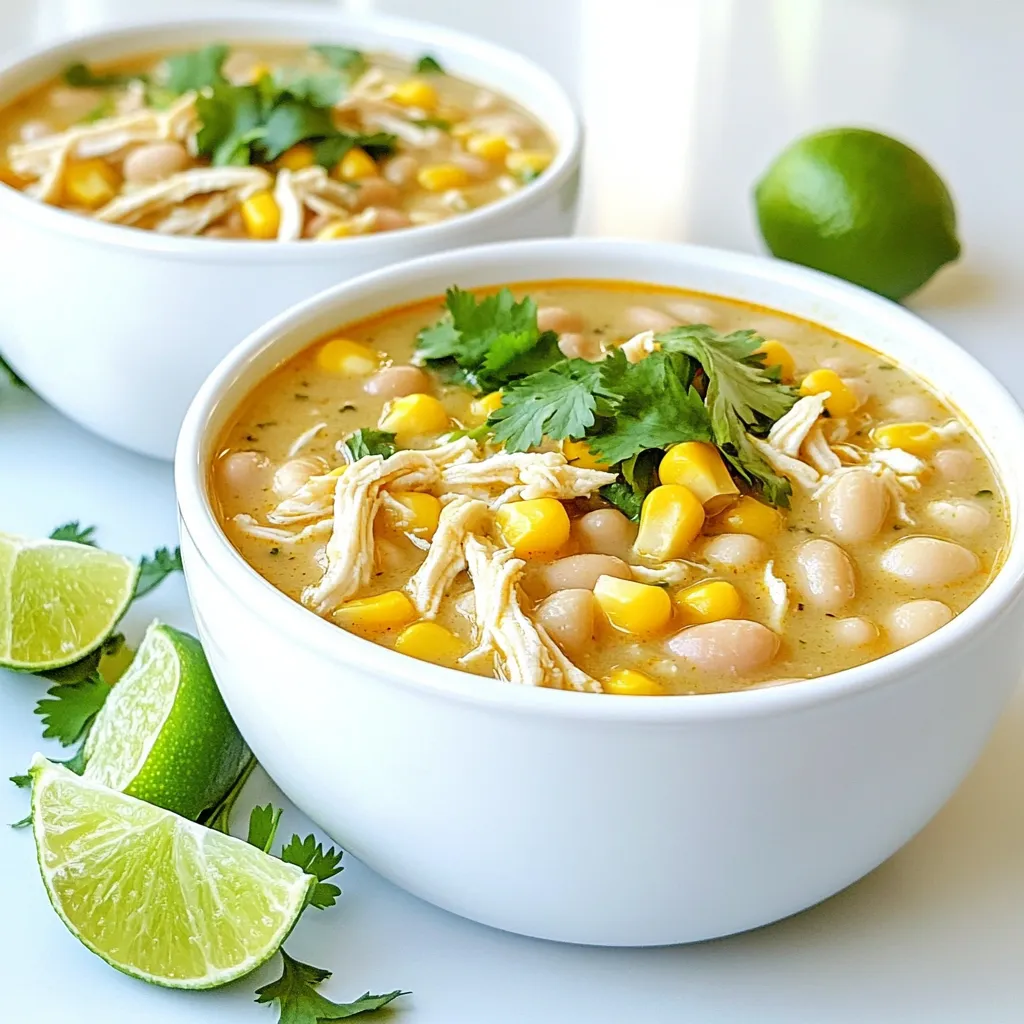
Garnish your chili with fresh cilantro. It adds a bright flavor. Squeeze lime wedges over the top for a zesty kick.
Serve with tortilla chips for crunch. Slices of avocado also bring creaminess. These pairings make your meal even more enjoyable.
Common Mistakes to Avoid
One big mistake is not seasoning well. Make sure to taste as you go. Adjust salt and pepper to enhance flavor.
Another common error is overcooking the chicken. Remove it when it’s tender, but not dry. Shred it back into the chili at the right time for the best texture.
Variations
Ingredient Swaps
You can try different proteins in this chili. Ground chicken works well. Turkey is another tasty option. If you want a meat-free dish, use extra-firm tofu or jackfruit. Both give great texture. You can also add more beans for protein. Black beans or pinto beans add flavor and fiber.
Flavor Enhancements
Want some heat? Add fresh jalapeños. Slice them thin and mix them in. This will give your chili a nice kick. You can also try using different beans. Each bean type adds its own taste. Mixing white beans with some black beans can create a fun look and flavor.
Regional Twists
You might want to explore regional flavors. For a Mexican twist, add corn tortillas or avocado on top. This gives a fresh kick and makes it more filling. For a Southwestern style, toss in some smoked paprika or chipotle peppers. These spices will deepen the flavor and make it smokier.
Storage Info
Storing Leftovers
After you finish your creamy white chicken chili, let it cool down. This step helps keep your food safe. You can use airtight containers for storage. Glass or plastic containers work well. Make sure to label them with the date. This way, you’ll know how long they have been in the fridge. If you want to freeze it, use freezer bags. Squeeze out as much air as possible before sealing. This helps prevent freezer burn.
Reheating Tips
When it’s time to eat again, you can reheat the chili in several ways. The stovetop is quick and easy. Just pour the chili into a pot and heat over medium. Stir often to prevent sticking. You can also use the microwave. Place the chili in a microwave-safe bowl. Heat in short bursts, stirring in between. To keep the creaminess, add a splash of broth or cream as you reheat. This keeps the texture nice and smooth.
Shelf Life
In the fridge, your creamy white chicken chili lasts about 3 to 4 days. If you freeze it, it can last for up to 3 months. Always check for signs of spoilage. If it smells off or has an unusual color, it’s best to toss it. Freshness is key to enjoying this dish.
FAQs
How long can I store leftover creamy white chicken chili?
You can store leftover creamy white chicken chili in the fridge for up to three days. Make sure to keep it in an airtight container. If you want to store it longer, freeze it. It can last up to three months in the freezer.
Can I use frozen chicken breasts in this recipe?
Yes, you can use frozen chicken breasts. Just add an extra hour to the cooking time. The slow cooker will cook them safely and keep them tender.
What can I substitute for heavy cream in this chili?
Coconut cream is a great substitute for heavy cream. It gives a nice flavor and keeps it creamy. You can also use milk or a non-dairy milk if you prefer a lighter option.
Is this recipe easy to double or halve?
Yes, this recipe is simple to double or halve. Just adjust the ingredients accordingly. Make sure your slow cooker can handle the amount you want to make.
Can this chili be made in a different type of slow cooker?
Absolutely! You can use any slow cooker. Just be aware of the cooking times. Some cook faster or slower than others. Always check the chicken for doneness.
In this post, I covered how to make a creamy white chicken chili. You learned about key ingredients like chicken, beans, and spices. I gave steps for preparation, cooking, and tips for serving. We also explored variations and smart storage methods.
Remember, great chili comes from layering flavors and avoiding common mistakes. Use this guide to create your own delicious version. Enjoy every bite, and don’t be afraid to make it your own!


