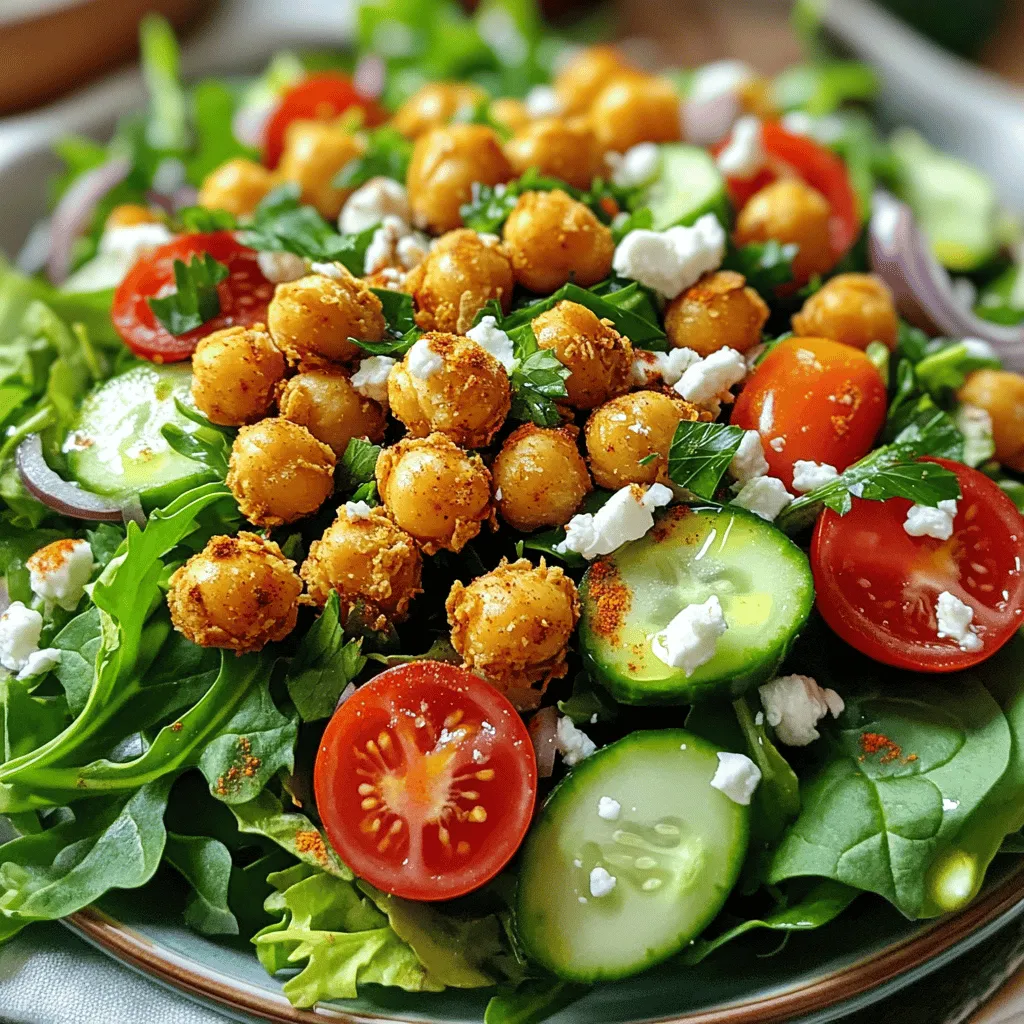
Are you ready to elevate your salad game? This Crispy Chickpea Salad is not only fresh and flavorful, but it’s also packed with nutrients. With perfectly roasted chickpeas and a colorful mix of veggies, this dish satisfies every craving. Follow my easy instructions to create a crunchy, delicious meal in no time. Trust me, once you try it, you’ll crave it again and again!
Ingredients
Detailed Ingredients List
– Chickpeas and seasoning
– 1 can (15 oz) chickpeas, drained and rinsed
– 2 tablespoons olive oil
– 1 teaspoon smoked paprika
– 1/2 teaspoon garlic powder
– 1/2 teaspoon cumin
– Salt and pepper to taste
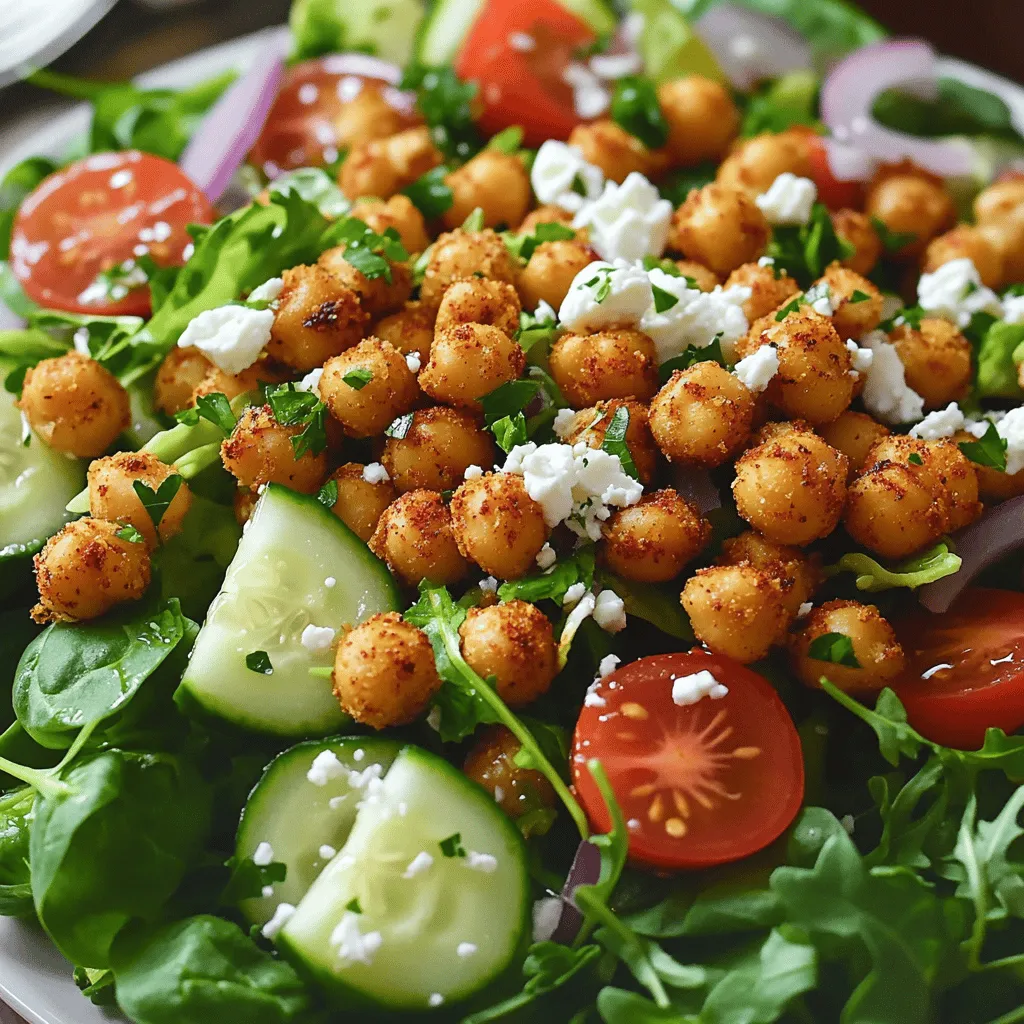
Chickpeas are the star of this dish. They are high in protein and fiber. Their nutty flavor pairs well with spices. I love using smoked paprika for a warm taste. The garlic powder adds depth, while cumin brings a nice earthiness. You can adjust the salt and pepper to your liking.
– Fresh vegetable ingredients
– 4 cups mixed greens (spinach, arugula, and lettuce)
– 1 cup cherry tomatoes, halved
– 1/2 cucumber, diced
– 1/4 red onion, thinly sliced
Fresh vegetables add crunch and color. Mixed greens provide a lovely base. Cherry tomatoes burst with flavor and sweetness. Diced cucumber gives a refreshing bite. Red onion offers a sharp contrast. Feel free to mix and match your favorite greens.
– Optional toppings and dressing ingredients
– 1/4 cup feta cheese, crumbled (optional)
– 2 tablespoons tahini
– 1 tablespoon lemon juice
– Fresh parsley for garnish
Feta cheese adds creaminess and saltiness. If you want to keep it vegan, skip the feta. The tahini dressing is rich and nutty. A little lemon juice brightens the flavors. Fresh parsley gives a pop of green and freshness. You can use other herbs too, like basil or cilantro.
Step-by-Step Instructions
Preparation Steps
1. Start by preheating your oven to 400°F (200°C). Line a baking sheet with parchment paper. This helps the chickpeas crisp up nicely.
2. In a medium bowl, take your drained chickpeas. Add 2 tablespoons of olive oil, 1 teaspoon of smoked paprika, 1/2 teaspoon of garlic powder, 1/2 teaspoon of cumin, and a pinch of salt and pepper. Toss everything well until the chickpeas are coated.
3. In a large bowl, mix the salad components. Combine 4 cups of mixed greens, 1 cup of halved cherry tomatoes, 1/2 diced cucumber, and 1/4 sliced red onion. This mix adds crunch and freshness.
Baking the Chickpeas
1. Spread the seasoned chickpeas on the lined baking sheet. Make sure they are in a single layer for even cooking.
2. Bake them in the preheated oven for 25-30 minutes. Halfway through, shake the pan. This helps them cook evenly and become crispy. Watch closely near the end to avoid burning.
Assembling the Salad
1. Once the chickpeas are golden and crispy, remove them from the oven and let them cool for a minute.
2. Top your salad mix with the crispy chickpeas. Drizzle your tahini dressing over everything. To make the dressing, whisk together 2 tablespoons of tahini, 1 tablespoon of lemon juice, and a pinch of salt and pepper in a small bowl. You can add a bit of water if you want it thinner.
3. If you like, sprinkle 1/4 cup of crumbled feta cheese on top. Finish with fresh parsley for that pop of color.
Tips & Tricks
Enhancing Flavor
To boost flavor, consider adding spices like cayenne pepper or turmeric. You could also mix in fresh herbs such as cilantro or basil. Each herb or spice brings a unique taste.
For the dressing, try using yogurt instead of tahini for a creamier texture. You can also add a splash of balsamic vinegar for a tangy kick. A sprinkle of lemon zest can brighten the dish too.
Achieving Perfect Crispiness
To get crispy chickpeas, drying them well is key. After rinsing, pat them dry with a towel. This step helps them crisp up nicely.
When baking, spread them out on the pan without overcrowding. This allows hot air to circulate. You can also shake the pan halfway through baking for even crispness.
If you have an air fryer, use it! It cooks chickpeas faster and often makes them crispier. Cook them at 400°F for about 15 minutes, shaking halfway through.Enjoy your cooking!
Variations
Ingredient Substitutions
You can change up the greens in this salad. Try kale, romaine, or even cabbage. Each green adds its own flavor and texture. If you want a vegan option, leave out the feta cheese. You can still enjoy a tasty salad without it. Consider adding avocado for creaminess instead.
Add-on Ingredients
Want to boost the protein? Add grilled chicken or shrimp. You can even toss in quinoa for a hearty touch. For toppings, think nuts or seeds. Toasted almonds or sunflower seeds add a nice crunch. You could also sprinkle some fresh herbs like basil or cilantro for extra flavor. These small changes can make your crispy chickpea salad feel new and exciting.
Storage Info
Storing Leftovers
To keep your salad fresh, store it in an airtight container. Make sure to refrigerate it right away. The greens will stay crisp for a day or two. Avoid mixing the dressing with the salad until you are ready to eat. This keeps everything from getting soggy.
For the crispy chickpeas, store them in a separate container. Use a glass jar or a paper bag. This helps them stay crunchy longer. If you store them with the salad, they will lose their crispiness.
Reheating Crispy Chickpeas
When you reheat crispy chickpeas, use the oven for best results. Preheat your oven to 350°F (175°C). Spread the chickpeas on a baking sheet. Heat them for about 5 to 10 minutes. Check often to avoid burning.
If you want to use the microwave, place the chickpeas on a plate. Cover them with a paper towel. This helps absorb moisture. Heat them in short bursts of 30 seconds until warm. Avoid heating too long, as they will get soggy. Enjoy your crispy chickpeas as a tasty snack or salad topping!
FAQs
What can I substitute for tahini?
You can use almond butter or sunflower seed butter instead of tahini. Both have a nice, creamy texture. They add a different flavor but still taste great in the salad. You can also try using Greek yogurt for a tangy twist.
How do I make this salad gluten-free?
This salad is mostly gluten-free already! Just make sure the tahini and any store-bought ingredients are gluten-free. Always check labels for hidden gluten. Using fresh produce and canned chickpeas keeps it safe.
Can I prepare the salad in advance?
Yes, you can prep parts of the salad ahead. Keep the crispy chickpeas separate until serving. This way, they stay crunchy. You can mix the greens and veggies in advance and dress them just before eating.
Is this recipe suitable for meal prep?
Absolutely! This salad works well for meal prep. Just store the chickpeas, salad, and dressing in separate containers. You can enjoy it all week. It makes a great lunch or dinner option.
How do I make the chickpeas extra crispy?
To get crispy chickpeas, dry them well before seasoning. Use a towel to remove moisture. Bake them at a high temperature, around 400°F (200°C). Shake the pan halfway through baking for even crispiness. For even better results, try using an air fryer!
In this blog post, we explored a tasty chickpea salad recipe. We covered key ingredients, like chickpeas and fresh veggies, to create a great meal. You learned step-by-step instructions for preparation, baking, and assembly. I shared tips on enhancing flavors and achieving the perfect crispiness. You also discovered variations to suit your taste, storage tips for leftovers, and answers to common questions.
Try this chickpea salad and make it your own. You will love the flavors and textures! Enjoy!


