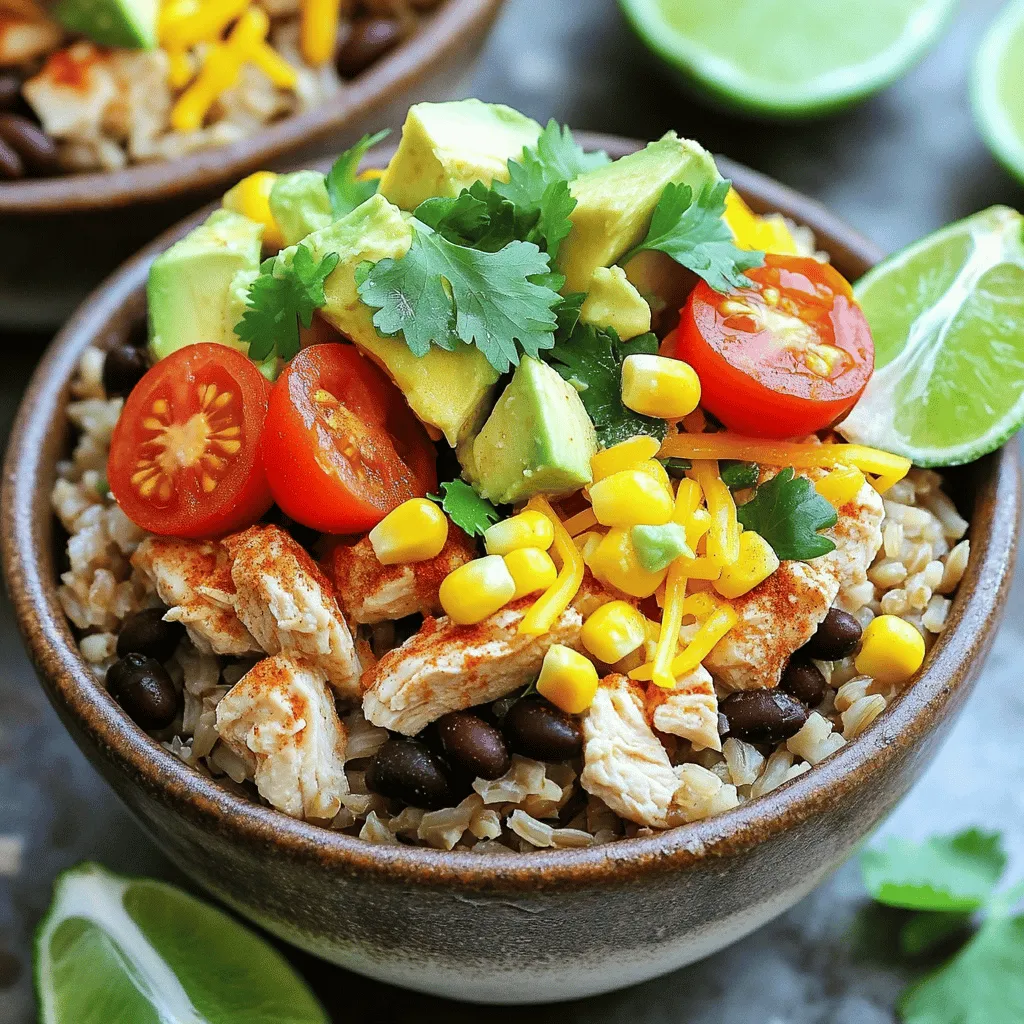
Are you craving a quick and tasty meal? Look no further! My Easy Chicken Burrito Bowls are packed with flavor and can be made in no time. With simple ingredients like chicken, black beans, and brown rice, you’ll have a healthy dinner on the table fast. Plus, you can customize each bowl with your favorite toppings. Let’s dive into this delicious meal that’s sure to please everyone at your table!
Ingredients
Essential Ingredients for Easy Chicken Burrito Bowls
– 2 cups cooked brown rice
– 1 lb chicken breast, diced
– 1 can black beans, rinsed and drained
For a tasty chicken burrito bowl, you need some key ingredients. First, the base is cooked brown rice. It adds fiber and a nutty flavor. Next, you’ll need chicken breast. Diced chicken cooks quickly and absorbs all the flavors. Lastly, black beans are a must. They are packed with protein and give great texture.
Seasonings and Flavor Enhancers
– 1 tablespoon olive oil
– 1 teaspoon chili powder
– 1 teaspoon cumin
– 1/2 teaspoon garlic powder
– 1/2 teaspoon onion powder
– Salt and pepper to taste
Seasoning is vital for a flavorful meal. Start with olive oil to cook the chicken. Then add chili powder and cumin for warmth. Garlic powder and onion powder enhance the taste. Don’t forget salt and pepper to bring it all together. These simple spices make your burrito bowl pop with flavor.
Toppings and Garnishes
– 1 cup corn (canned or frozen)
– 1 cup cherry tomatoes, halved
– 1 avocado, diced
– 1/2 cup shredded cheese (cheddar or Mexican blend)
– 1/4 cup chopped fresh cilantro
– Lime wedges for serving
Toppings make your bowl fun and fresh. Add corn for a sweet crunch. Cherry tomatoes bring a burst of color and flavor. Diced avocado adds creaminess and richness. Top with shredded cheese for a savory finish. Fresh cilantro gives a nice herbal note. Finally, serve with lime wedges for a zesty kick.
Step-by-Step Instructions
Cooking the Chicken
– Heat one tablespoon of olive oil in a large skillet over medium heat.
– Add 1 pound of diced chicken breast to the skillet.
– Season the chicken with 1 teaspoon of chili powder, 1 teaspoon of cumin, 1/2 teaspoon of garlic powder, 1/2 teaspoon of onion powder, salt, and pepper to taste.
– Cook the chicken for 5-7 minutes. Stir it often until it is cooked through and no longer pink in the center.
Preparing the Rice
– While the chicken cooks, follow the package instructions for cooking 2 cups of brown rice.
– Make sure it is fluffy and ready to serve when you layer your bowls.
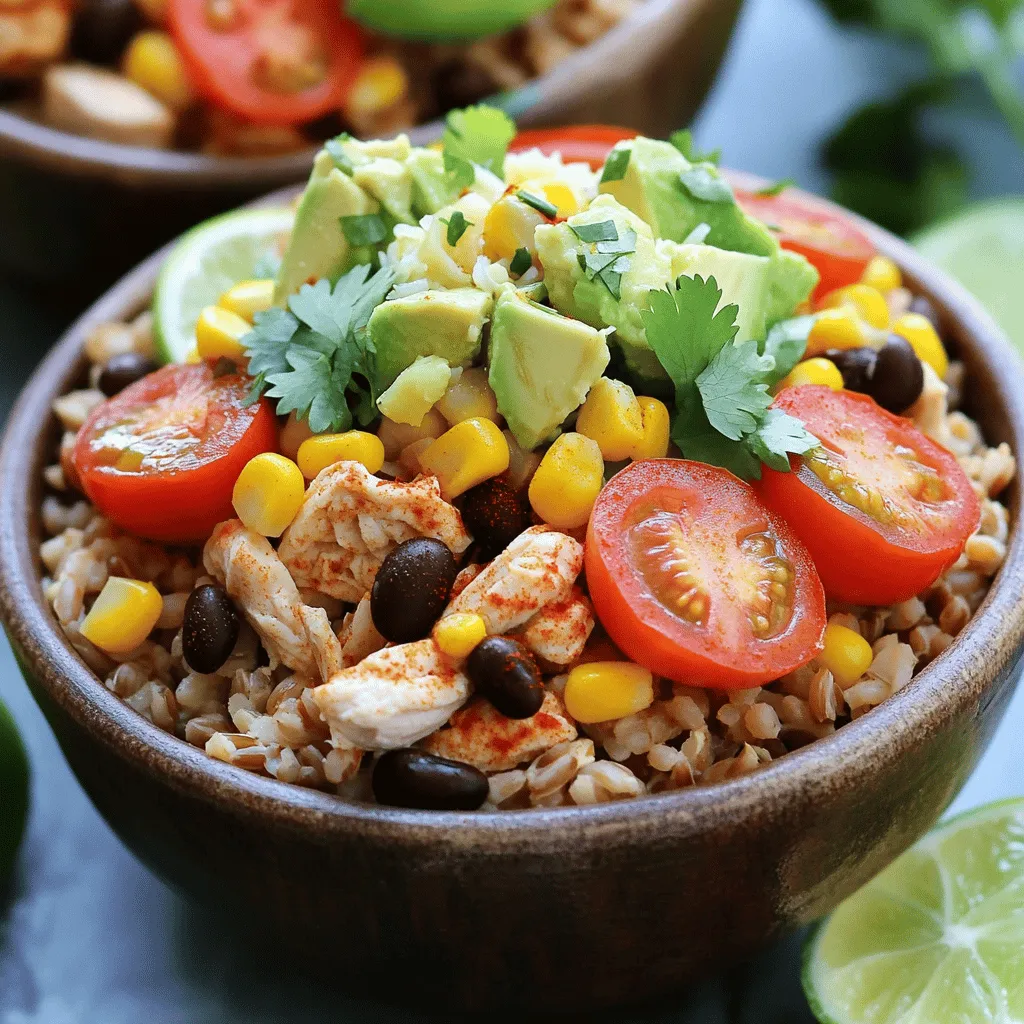
Assembling the Burrito Bowls
– In serving bowls, layer the cooked brown rice, 1 can of rinsed black beans, 1 cup of corn, and the seasoned chicken.
– Top each bowl with 1 cup of halved cherry tomatoes, 1 diced avocado, and 1/2 cup of shredded cheese.
– Garnish with 1/4 cup of chopped fresh cilantro and a squeeze of lime juice.
– Serve immediately, alongside lime wedges for an extra zesty kick.Enjoy your tasty creation!
Tips & Tricks
How to Perfectly Cook Chicken
To cook chicken right, use a skillet. Heat 1 tablespoon of olive oil over medium heat. Add the diced chicken breast. Sprinkle on 1 teaspoon of chili powder, 1 teaspoon of cumin, 1/2 teaspoon of garlic powder, 1/2 teaspoon of onion powder, and salt and pepper to taste. Cook for 5-7 minutes. Stir often until the chicken is no longer pink. This keeps it juicy and flavorful.
Customizing Your Burrito Bowls
You can change up the flavors in your burrito bowls! Swap brown rice for quinoa or cauliflower rice. Try diced bell peppers or zucchini for added veggies. If you like heat, add jalapeños or hot sauce. Use different beans like pinto or chickpeas for a twist. You can also switch the cheese for feta or vegan options.
Making it Ahead of Time
Meal prep makes life easier! Cook the chicken and rice in advance. Store them in airtight containers in the fridge. You can also chop the veggies ahead of time. When you are ready to eat, just assemble your bowls. To reheat, warm the chicken and rice in the microwave. This dish stays good for up to four days in the fridge.
Variations
Vegetarian Option
To make this dish plant-based, swap the chicken for protein-rich ingredients. Here are a few tasty ideas:
– Use 1 can of drained chickpeas for a hearty texture.
– Try 1 cup of sautéed mushrooms for an earthy flavor.
– Use grilled zucchini or bell peppers for freshness.
These options keep the meal filling and delicious while being meat-free.
Flavor Enhancements
Want to spice things up? Here are some ideas:
– Add a pinch of cayenne pepper for heat.
– Mix in taco seasoning for a flavor boost.
– Drizzle some hot sauce or salsa for zest.
Experiment with these options to find your favorite blend.
Serving Suggestions
Pair your burrito bowls with the right sides or drinks. Here are some great options:
– Serve with tortilla chips and salsa for crunch.
– Try a fresh green salad to balance flavors.
– Enjoy with a light beverage like iced tea or lemonade.
These pairings add variety and make your meal even more enjoyable.
Storage Info
How to Store Leftovers
After enjoying your Easy Chicken Burrito Bowls, store leftovers in airtight containers. Make sure the bowls cool down before sealing them. This helps keep food fresh and safe. Refrigerate the containers within two hours of cooking. You can enjoy these tasty bowls for lunch or dinner later in the week.
Freezing Burrito Bowls
To freeze burrito bowls, first, let them cool completely. Divide the bowls into serving sizes. Use freezer-safe containers or bags to keep them fresh. Remove as much air as possible from bags to prevent freezer burn. When you’re ready to eat, thaw the bowls in the fridge overnight. Reheat in the microwave or on the stove until hot.
Shelf Life
In the fridge, your burrito bowls last about 3 to 4 days. If you freeze them, they can last up to 3 months. Mark containers with the date so you know when to use them. Always check for any signs of spoilage before eating. Enjoy your bowls fresh, and don’t let them go to waste!
FAQs
Can I use brown rice instead of white rice?
Yes, you can use brown rice. Brown rice adds more fiber and nutrients. It has a nutty flavor and chewy texture. This makes your burrito bowl more filling and healthy. You can cook it just like white rice.
How do I make the dish spicier?
To add heat, use spices like cayenne pepper or smoked paprika. You can also add diced jalapeños or hot sauce. These will give your dish a nice kick. Just adjust the amount to your taste.
What’s a good substitute for avocado?
If you don’t like avocado, try using sour cream or Greek yogurt. You can also add diced mango or fresh salsa for creaminess. These options can keep your bowl tasty and fresh.
What can I use instead of chicken?
For a meatless option, use black beans or lentils. You can also try grilled shrimp or beef. Tofu is another great choice for vegetarians. Each option will bring its own flavor to your bowl.
Is this recipe gluten-free?
Yes, this recipe can be gluten-free. Use gluten-free rice and check the labels on canned beans. Most beans are gluten-free, making them a safe choice. Enjoy your burrito bowl without worry!
This blog post laid out a simple way to make chicken burrito bowls. We covered essential ingredients like brown rice, chicken, and black beans. The blog also shared step-by-step instructions, tips for perfecting the dish, and ways to customize. Finally, I outlined how to store leftovers and answered common questions.
With these details, you can enjoy a fun, easy meal anytime. You’re ready to impress with flavorful burrito bowls!


