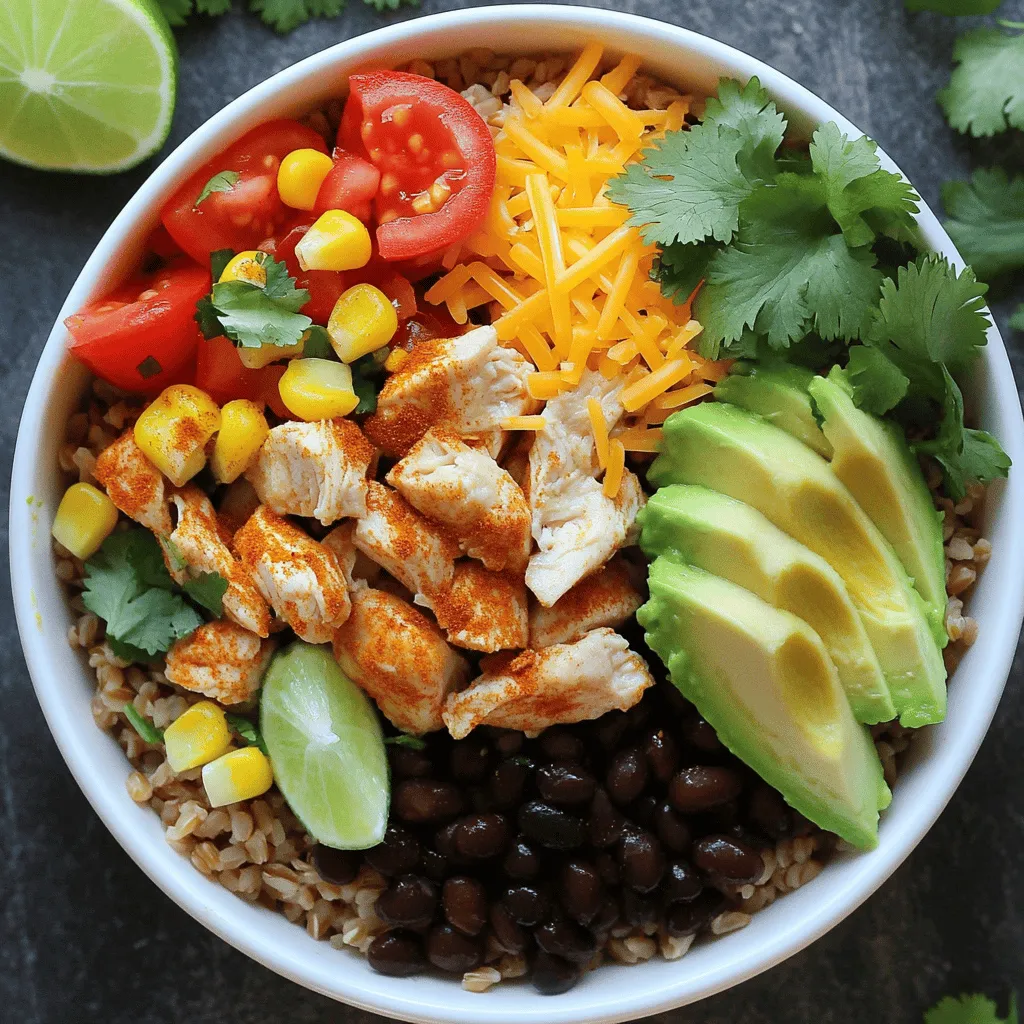
Want a fast, tasty meal that’s perfect for busy weeknights? Look no further! My Easy Chicken Burrito Bowls pack all the flavors you love into one bowl. With juicy chicken, fluffy rice, and fresh veggies, they are satisfying and simple to make. Plus, you can customize each bowl to meet your family’s taste. Let’s dive into the ingredients and steps to create this delightful dish. Your weeknight dinners will never be the same!
Ingredients
Main Ingredients
– 1 lb boneless, skinless chicken breasts, diced
– 2 cups cooked brown rice
– 1 cup black beans, drained and rinsed
– 1 cup corn (fresh or frozen)
– 1 medium tomato, diced
– 1 avocado, sliced
The chicken is the star here. I prefer boneless, skinless chicken breasts for their ease. They cook fast and are tender. Dice them into small pieces for even cooking. Brown rice adds fiber and nice texture. If you want, you can use white rice too. Black beans and corn bring a sweet, hearty touch to the dish. Fresh tomatoes and avocado add color and creaminess.
Spices and Seasonings
– 1 tablespoon olive oil
– 1 teaspoon cumin
– 1 teaspoon chili powder
– 1 teaspoon garlic powder
– Salt and pepper to taste
Spices make the burrito bowls come alive. I start with olive oil to cook the chicken. Cumin gives a warm, earthy taste. Chili powder adds a bit of heat, while garlic powder adds depth. A sprinkle of salt and pepper enhances all the flavors.
Toppings
– 1/2 cup shredded cheese (cheddar or taco blend)
– 1/4 cup fresh cilantro, chopped
– 1 lime, cut into wedges
Don’t skip the toppings! Shredded cheese melts nicely over the warm chicken. I love using a taco blend for extra flavor. Fresh cilantro adds brightness. Squeeze fresh lime over everything for a zesty finish that brightens up the dish.
Step-by-Step Instructions
Cooking the Chicken
First, grab a large skillet. Pour in one tablespoon of olive oil. Heat the oil over medium heat. Once hot, add one pound of diced chicken breasts.
Now, let’s add some flavor! Sprinkle one teaspoon each of cumin, chili powder, and garlic powder over the chicken. Don’t forget to add salt and pepper to taste.
Cook the chicken for about six to eight minutes. Stir occasionally. You want it to turn golden brown and be fully cooked.
Preparing the Rice
While the chicken cooks, it’s time to prepare the brown rice. If you don’t have it cooked yet, just follow the package instructions. You’ll need two cups of cooked brown rice for this recipe.
This step is simple, but it gives the bowl a great base.
Assembling the Burrito Bowls
Once the chicken is ready, reduce the heat. Add one cup of black beans and one cup of corn to the skillet. Stir everything together and heat for another two to three minutes.
Now for the fun part! Grab your bowls. Place a portion of brown rice at the bottom of each one. Spoon the chicken mixture over the rice.
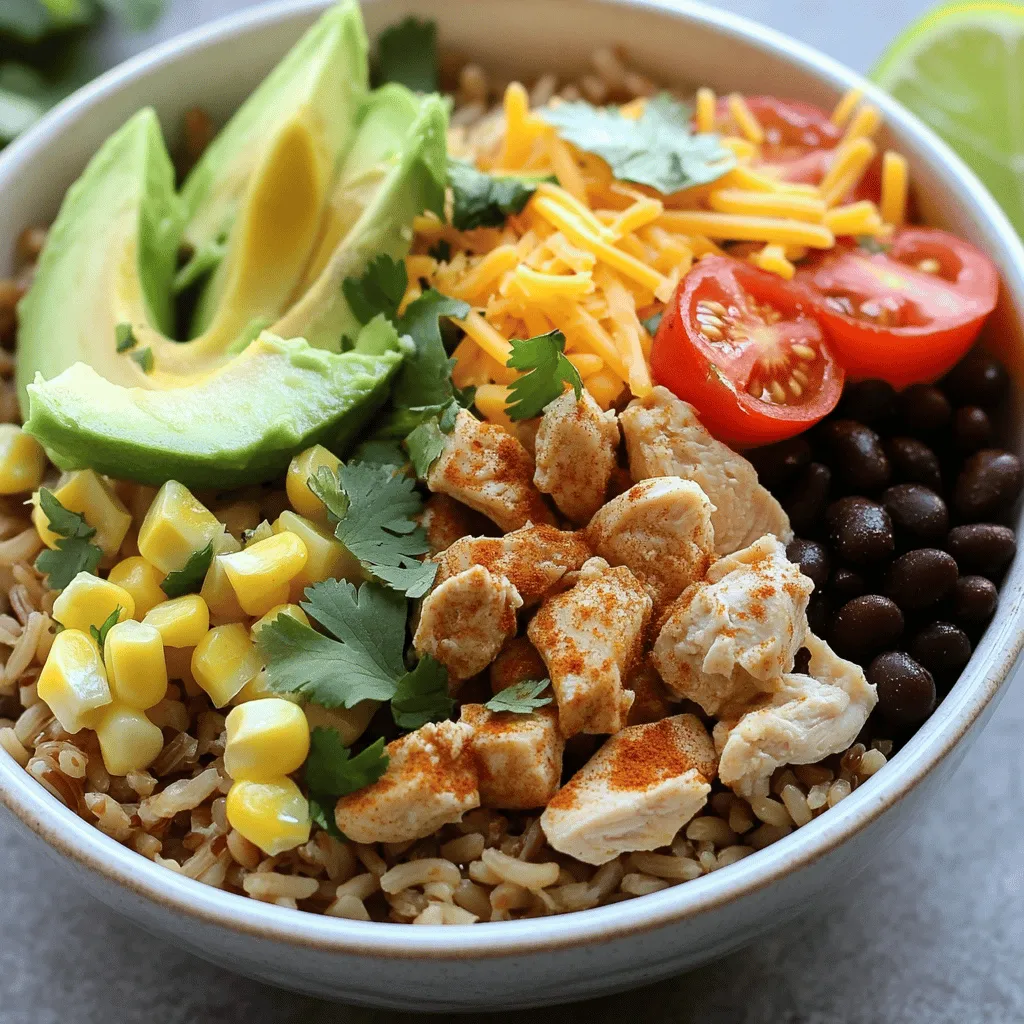
Next, add diced tomatoes and sliced avocado on top. Finish it off with some shredded cheese and a sprinkle of fresh cilantro.
Don’t forget the lime wedges! Serve them on the side for a zesty squeeze.
Tips & Tricks
Cooking Tips
To ensure your chicken is cooked through, always check the internal temperature. It should reach 165°F. Use a meat thermometer for the best results. Cook the chicken for about 6-8 minutes. Stir it often to get an even golden brown color.
For flavor enhancements, don’t be afraid to add extras. Consider adding fresh lime juice while cooking for a zesty kick. Try marinating the chicken in spices for an hour before cooking. This will add depth to the taste and make it more juicy.
Serving Suggestions
Pair your burrito bowls with sides for a complete meal. Chips and salsa are a great choice. A fresh side salad can add crunch and color. You can also serve with guacamole for extra creaminess.
For presentation ideas, use clear bowls to show off the layers. Arrange each ingredient in sections for a colorful look. Add a sprinkle of cilantro on top for a fresh pop of color. A wedge of lime on the side adds a nice touch.
Making it Kid-Friendly
To make it kid-friendly, consider simple swaps. Use plain cheese instead of a blend if your kids are picky. Swap diced tomatoes for mild salsa for some added flavor. You can also use less spice in the chicken seasoning.
If your kids prefer, serve the ingredients separately. Let them build their own burrito bowls. This way, they can choose what they like. Making it fun can help them try new foods!
Variations
Protein Alternatives
You can switch up the protein in your burrito bowls for fun. Try using ground turkey instead of chicken for a leaner option. Turkey cooks fast and tastes great with the spices. If you want a meatless meal, swap the chicken for tofu. Firm tofu absorbs flavors well. Just press it first to remove water and then cube it. Both options keep the dish tasty and satisfying.
Grain Substitutions
Rice is great, but you can change it up! Quinoa is a smart choice. It’s high in protein and has a nice nutty taste. Just cook it like rice. If you’re looking for a low-carb option, use cauliflower rice. Simply pulse cauliflower florets in a food processor until they look like rice. Sauté it lightly for a fresh, veggie-packed base.
Flavor Twists
Want to kick up the flavor? Add hot sauce to your chicken while it cooks. This gives it a spicy kick. You can also mix in different spices. Try paprika for a smoky taste or oregano for a fresh, herbal note. Experimenting with flavors can make each bowl unique and exciting.
Storage Info
Storing Leftovers
After enjoying your meal, store leftovers right away. Let the food cool first. Place the chicken burrito bowl in an airtight container. This keeps it fresh and safe. You can store it in the fridge for up to three days. Use clear containers. This helps you see what’s inside.
Reheating Instructions
When reheating, use the microwave for quick results. Place your bowl in the microwave for about two minutes. Stir halfway through to heat evenly. If you want to keep the flavor, add a splash of water. This will help it stay moist. You can also reheat on the stove. Place the mixture in a pan over low heat. Stir often until warmed through.
Freezing Options
Want to save some for later? You can freeze the chicken burrito bowls! Pack them in freezer-safe containers. Make sure to leave some space for expansion. You can freeze them for up to three months. To thaw, move the bowl to the fridge overnight. Reheat as mentioned above. This way, you’ll enjoy the same great flavors later.
FAQs
Can I make this ahead of time?
Yes, you can prep this meal in advance. Cook the chicken, rice, and veggies. Store them separately in airtight containers. This way, you can mix and heat them when ready to eat.
How do I reheat the burrito bowls?
To reheat, place the bowl in the microwave for 1-2 minutes. Stir halfway through to heat evenly. You can also use a skillet on medium heat for a few minutes, stirring often.
What can I use instead of chicken?
You can use turkey or tofu for a different protein. Grilled shrimp or beans work well too. Just adjust the cooking time based on what you choose.
How long do leftovers last in the fridge?
Leftovers last about 3-4 days in the fridge. Make sure to store them in airtight containers. Always check for any signs of spoilage before eating.
Can I serve this dish cold?
Yes, you can serve the burrito bowls cold. They make a great salad-like dish. Just add some extra lime juice for fresh flavor. Enjoy it on a hot day!
This article covered how to make tasty burrito bowls. We looked at the main ingredients like chicken, rice, and veggies. Spices like cumin and chili powder add great flavor. Cooking tips help ensure your meal is delicious and fun for kids. You can also try different proteins or grains for variety. Remember, store leftovers properly to enjoy later. With these steps and ideas, you can create a meal everyone will love. Enjoy your cooking adventure!


