Looking for a tasty, healthy snack? Easy roasted chickpeas are the answer! They are crunchy, flavorful, and simple to make. You’ll love how versatile they are, too. Whether you prefer spicy or sweet, I’ll guide you through each step. Get ready to impress your taste buds and your friends with this easy recipe! Let’s dive in and create a snack you can enjoy anytime.
Ingredients
Essential Ingredients for Easy Roasted Chickpeas
To make easy roasted chickpeas, you need just a few key items. Here’s what you will need:
– 1 can (15 oz) chickpeas, drained and rinsed
– 2 tablespoons olive oil
– 1 teaspoon smoked paprika
– 1 teaspoon garlic powder
– 1/2 teaspoon cumin
– 1/2 teaspoon ground coriander
– 1/4 teaspoon cayenne pepper (adjust to taste)
– Salt to taste
These ingredients form the base of the recipe. The chickpeas give you protein and fiber, while the olive oil helps them crisp up. The spices add flavor that makes them truly enjoyable.
Optional Seasonings and Flavor Enhancements
You can easily change up the taste with some optional spices. Try adding:
– 1 teaspoon onion powder
– 1 teaspoon Italian seasoning
– A squeeze of lemon juice
– A dash of hot sauce
Feel free to mix and match these spices. The more you play around, the more fun flavors you can create!
Suggested Garnishes
Garnishes can make your roasted chickpeas stand out. I suggest:
– Fresh parsley, chopped
– A sprinkle of nutritional yeast for a cheesy flavor
– Sliced green onions
These garnishes not only add color but also provide a fresh touch. Whether you want to keep it simple or fancy, these options enhance your dish.
Step-by-Step Instructions
Preparation of Chickpeas
Start by preheating your oven to 400°F (200°C). Next, take one can of chickpeas and drain them well. Rinse the chickpeas under cold water to remove any canning liquid. This keeps the flavor fresh. Once rinsed, pat the chickpeas dry with paper towels. Removing moisture is key for that perfect crunch. If they are wet, they won’t get crispy.
Seasoning and Coating Process
In a large mixing bowl, add the dry chickpeas. Pour in two tablespoons of olive oil. This helps the spices stick and adds flavor. Next, sprinkle in one teaspoon each of smoked paprika and garlic powder. Add half a teaspoon of cumin and ground coriander for warmth. For a bit of heat, include a quarter teaspoon of cayenne pepper. You can adjust this to make it spicier or milder. Finish with salt to taste. Toss everything well until all the chickpeas are coated.
Roasting Time and Temperature
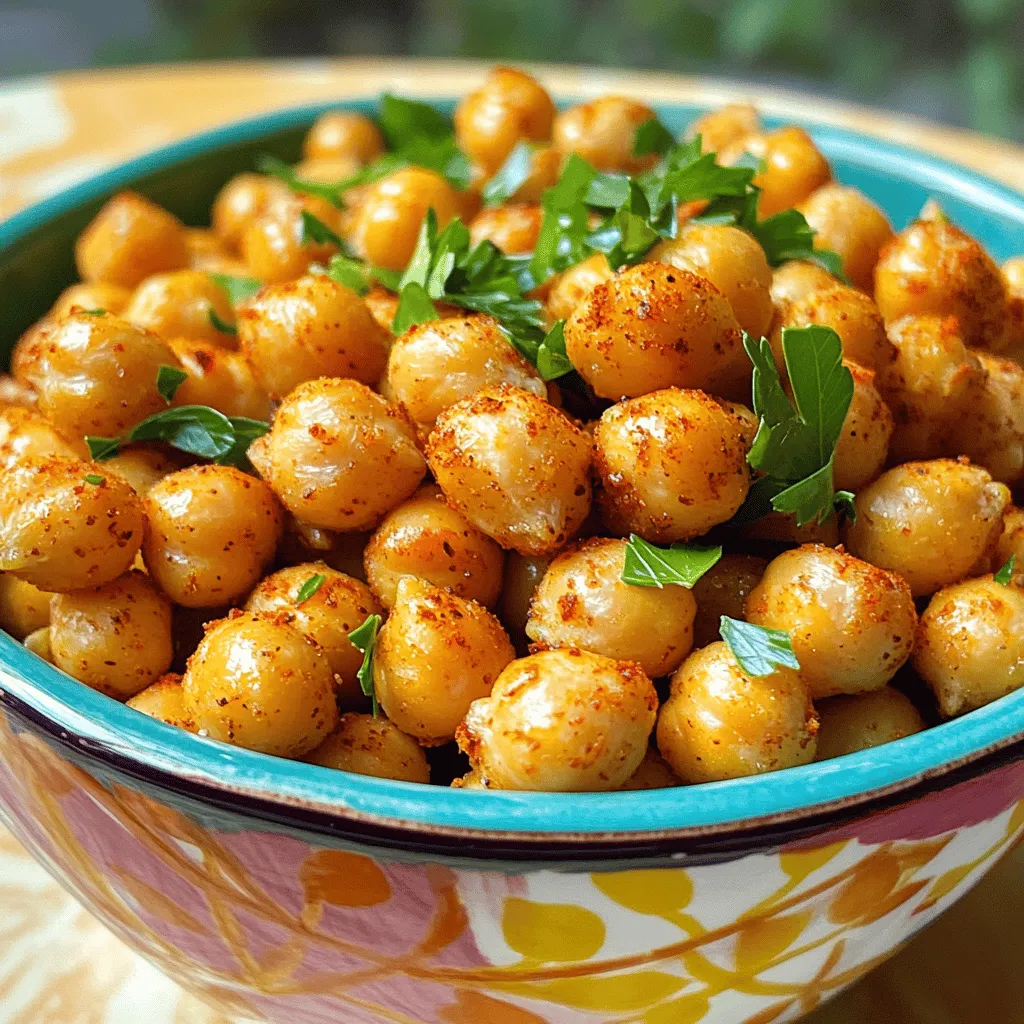
Spread the seasoned chickpeas on a baking sheet lined with parchment paper. This makes cleanup easy. Roast the chickpeas in your preheated oven for about 20 to 30 minutes. Make sure to stir them every 10 minutes. This ensures even cooking. The chickpeas are done when they look golden brown and feel crispy. After roasting, let them cool for a few minutes. They will crisp up even more as they cool. Garnish with fresh chopped parsley for a pop of color.
Tips & Tricks
Achieving Maximum Crispiness
To get the best crunch, start by drying your chickpeas well. After you rinse them, use paper towels to soak up extra moisture. This step is key! If they are wet, they won’t crisp up. Once dry, coat them evenly with olive oil and spices. Spread them in a single layer on your baking sheet. This helps them roast evenly. Stir them every ten minutes while they cook. This ensures all sides get golden and crunchy!
Common Mistakes to Avoid
One common mistake is skipping the drying step. Wet chickpeas won’t turn crunchy. Another mistake is overcrowding the pan. If they are too close, they will steam instead of roast. Lastly, don’t skip the stirring! If you leave them alone, some may burn while others stay soft. Follow these tips, and you will have perfect roasted chickpeas!
Serving Suggestions for Crispy Roasted Chickpeas
Serve your crispy chickpeas in a bright bowl. They make a great snack or a topping for salads. You can also pair them with a dip, like tahini sauce or vegan yogurt. For a fun twist, sprinkle some extra spices on top right before serving. Enjoy these tasty bites with friends or as a healthy snack during movie night!

Variations
Different Seasoning Blends to Try
You can change the flavor of roasted chickpeas easily. Try a mix of spices. For a savory blend, use onion powder, chili powder, and a touch of thyme. For a Mediterranean twist, combine oregano, lemon zest, and a pinch of salt. If you love herbs, add rosemary or dill for freshness. The options are endless!
Spicy vs. Sweet Roasted Chickpeas
You can make chickpeas spicy or sweet. For a spicy kick, increase the cayenne pepper. Add some chili flakes for more heat. If you prefer sweet, try cinnamon with a little sugar or maple syrup. This gives a warm, sweet touch. Sweet chickpeas make a great snack or dessert!
Adding Extra Ingredients for More Flavor
Boost the flavor by adding extra ingredients. Toss in some nuts or seeds for crunch. You can even mix in dried fruit like raisins or cranberries for a sweet surprise. Another idea is to add garlic cloves while roasting. They will soften and add a rich garlic flavor. These additions make the snack even more exciting and tasty!
Storage Info
How to Store Leftover Roasted Chickpeas
After enjoying your roasted chickpeas, let them cool completely. Place them in an airtight container. This keeps them fresh and crunchy. If you do not have an airtight container, use a zip-top bag. Make sure to squeeze out as much air as possible before sealing.
Reheating Instructions for Best Results
Roasted chickpeas are best when fresh, but you can reheat them. Preheat your oven to 350°F (175°C). Spread the chickpeas on a baking sheet in a single layer. Bake for about 10 minutes, or until they are warm and crispy again. Avoid microwaving them; this can make them soft.
Shelf Life and Storage Tips
Properly stored roasted chickpeas last about 3 to 4 days. Keep them away from heat and moisture. For longer storage, consider freezing them. Just make sure to use a freezer-safe container. When ready to eat, let them thaw in the fridge overnight, then reheat as mentioned above. Enjoy keeping your snacks tasty and fresh!
FAQs
Can I use dried chickpeas instead of canned?
Yes, you can use dried chickpeas. First, soak them in water overnight. This helps them soften. After soaking, cook them until they are tender. This usually takes about an hour. Then, drain and rinse them well.Using dried chickpeas might take longer but can add a fresher taste.
What are the best ways to serve roasted chickpeas?
Roasted chickpeas are very versatile. You can serve them as a snack on their own. They also make a great salad topper. Try adding them to grain bowls for crunch. For a fun twist, serve them with vegan yogurt or tahini sauce for dipping. You can even mix them into trail mix for a healthy snack.
How do I know when roasted chickpeas are done?
You will know they are done when they are golden brown and crunchy. Check them around the 20-minute mark. Stir them every 10 minutes to ensure even cooking. If they look dry and crispy, they are ready. Let them cool slightly after roasting. They will get crunchier as they cool down.
Easy roasted chickpeas are a healthy and tasty snack. We covered ingredients, from essentials to fun seasonings. You learned how to prepare, coat, and roast your chickpeas to crispy perfection. I shared tips to avoid common mistakes and ways to serve them. You can also explore flavor variations and proper storage. Keep this guide on hand for your next snacking adventure! Enjoy your delicious roasted chickpeas, and make them your own.


