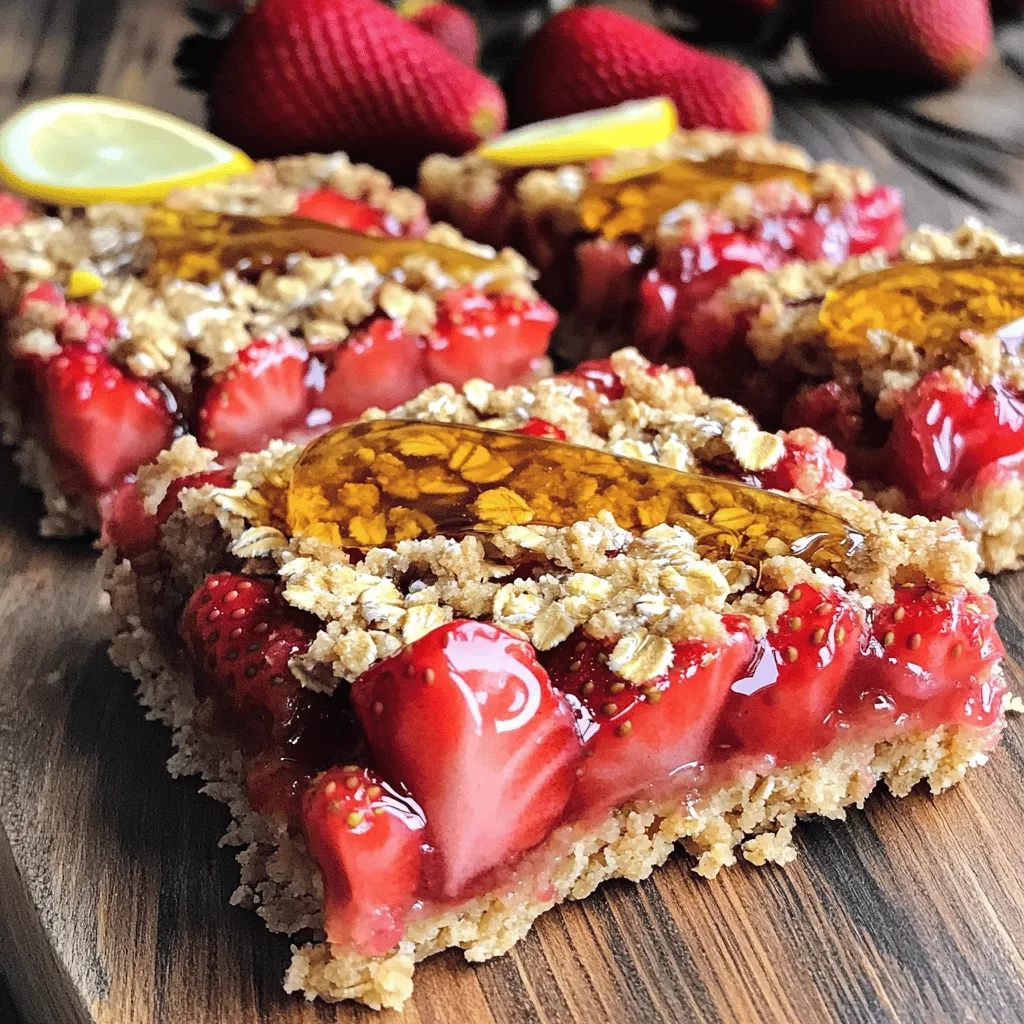
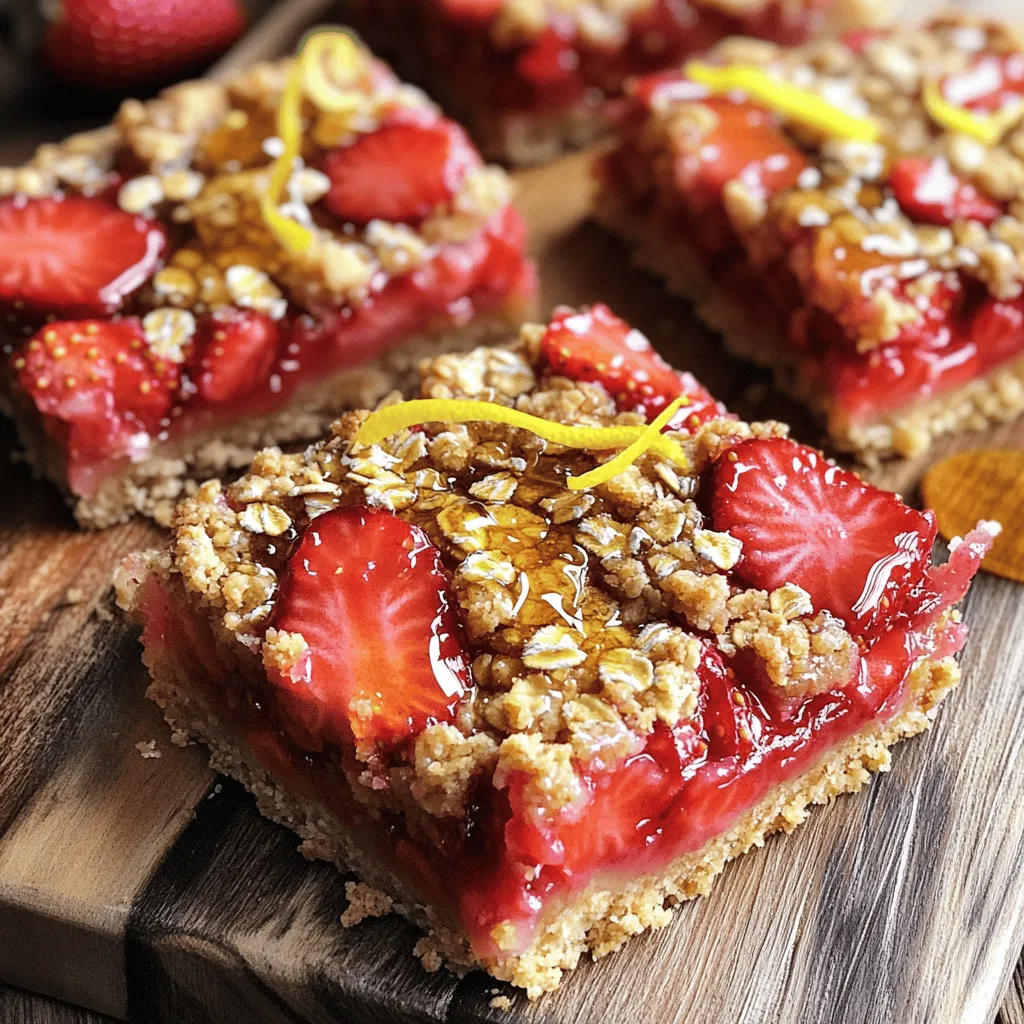
Looking for a sweet and easy treat? You’re in the right place! These Easy Strawberry Oat Bars are simple to make and delicious to eat. With just a few ingredients, you can whip up a snack that everyone will love. Whether you want a cozy dessert or a grab-and-go breakfast, this recipe checks all the boxes. Let’s get started on these delightful bars together!
Ingredients
Detailed Ingredient List
To make Easy Strawberry Oat Bars, gather the following ingredients:
– 1 ½ cups rolled oats
– ½ cup almond flour
– ½ cup brown sugar, packed
– 1 teaspoon baking powder
– ¼ teaspoon salt
– ½ teaspoon cinnamon
– ½ cup unsalted butter, melted
– 1 large egg
– 1 teaspoon vanilla extract
– 1 ½ cups fresh strawberries, hulled and chopped
– 2 tablespoons honey or maple syrup
– Zest of 1 lemon
These ingredients are simple yet pack a delightful punch. The oats give a hearty base, while strawberries bring a fresh burst of flavor.
Substitutions for Common Ingredients
You can easily swap some ingredients if needed. Here are a few ideas:
– Use whole wheat flour instead of almond flour for a heartier texture.
– Swap brown sugar for coconut sugar for a lower glycemic option.
– Replace unsalted butter with coconut oil for a dairy-free treat.
– Use flaxseed meal mixed with water as a vegan egg substitute.
These swaps help you cater the recipe to your taste or dietary needs.
Optional Add-ins for Enhanced Flavor
Want to take your bars to the next level? Here are some fun add-ins:
– Mix in ½ cup of chopped nuts like walnuts or almonds for crunch.
– Add ½ teaspoon of vanilla bean paste for a richer flavor.
– Toss in some chocolate chips for a sweet twist.
– Sprinkle in seeds like chia or hemp for added nutrition.
These optional ingredients let you get creative while enjoying the classic strawberry taste.
Step-by-Step Instructions
Preparation Steps for Easy Strawberry Oat Bars
Start by gathering your ingredients. You will need rolled oats, almond flour, brown sugar, and more. Preheat your oven to 350°F (175°C). This step is key for baking. Grease an 8×8 inch baking dish or line it with parchment paper. This makes it easier to remove the bars later.
In a big bowl, mix the rolled oats, almond flour, brown sugar, baking powder, salt, and cinnamon. Stir well to blend everything. In another bowl, whisk the melted butter, egg, and vanilla extract. This adds flavor and moisture to your bars. Now, pour this wet mixture into the dry mix. Stir until just combined.
Press about two-thirds of this oat mixture into the bottom of your prepared dish. This will form the base. Next, chop fresh strawberries and combine them with honey and lemon zest in a skillet. Cook this mix over medium heat for about five minutes. The strawberries will soften and become juicy.
Once done, spread this strawberry mix evenly over the oat base. Crumble the remaining oat mix on top of the strawberries. This adds a nice texture.
Baking Process and Temperature
Place the dish in your preheated oven. Bake for 25-30 minutes. The top should turn golden brown and feel firm. Keep an eye on it, so it doesn’t overbake.
After baking, let the bars cool in the pan for at least 15 minutes. If you used parchment paper, this is the time to lift the bars out. Cool them completely on a wire rack before cutting them into squares.
Tips for Ensuring Perfect Texture
For a chewy texture, do not overmix the wet and dry ingredients. Press the base firmly, but not too hard. This keeps it light. Use fresh strawberries for the best flavor. If you want, use a mix of fruits for variety.
If the bars seem too crumbly, try adding a bit more melted butter next time. This can help them stick together better. Enjoy your Easy Strawberry Oat Bars as a delightful snack!
Tips & Tricks
Common Mistakes to Avoid
When making Easy Strawberry Oat Bars, avoid these common mistakes:
– Not measuring ingredients: Use a measuring cup for each ingredient.
– Overmixing: Mix wet and dry ingredients until just combined to keep bars soft.
– Skipping the parchment paper: This helps with easy removal and cleanup.
– Not cooling before cutting: Let the bars cool completely, or they may crumble.
How to Make Ahead and Freeze
You can easily make these bars ahead. Bake and cool them completely. Then, wrap each bar in plastic wrap. Place the wrapped bars in a freezer bag. They last up to three months. Thaw them in the fridge overnight before enjoying.
Serving Suggestions for Strawberry Oat Bars
Serve your bars in fun ways:
– Top with yogurt: A dollop of yogurt adds creaminess.
– Drizzle with honey: A little extra honey enhances sweetness.
– Add fresh fruit: Scatter fresh strawberries on top for color and flavor.
– Pair with a drink: Enjoy with tea or milk for a tasty snack.
Variations
Different Fruit Options for Customization
You can swap strawberries for other fruits. Think blueberries, raspberries, or peaches. Each fruit brings its own flavor. Blueberries add sweetness, while raspberries add a tart touch. You can even mix fruits together for a tasty twist. Just remember to adjust the sugar if needed.
Vegan Version Modifications
Making these bars vegan is simple. Replace the egg with a flax egg. Mix one tablespoon of flaxseed meal with three tablespoons of water. Let it sit until it thickens. You can also use coconut oil instead of butter. This keeps the bars rich and flavorful without dairy.
Gluten-Free Adaptations
To make these bars gluten-free, choose certified gluten-free oats. Almond flour is already gluten-free, so you’re set there. You can also try using coconut flour or a gluten-free flour blend. Just adjust the liquid in your recipe since these flours absorb moisture differently.
Storage Info
Best Practices for Storing Leftovers
To keep your Easy Strawberry Oat Bars fresh, store them in an airtight container. Use parchment paper between layers to prevent sticking. Place them in a cool, dry spot or in the fridge for longer freshness. This method keeps the bars soft and tasty.
How Long Do Strawberry Oat Bars Last?
When stored properly, these bars last about 5 days at room temperature. If you refrigerate them, they can stay fresh for up to 7 days. Always check for any signs of spoilage before eating.
Reheating Tips for Enjoyment
If you want to enjoy your bars warm, simply microwave them for 10-15 seconds. This will bring back some of the fresh-baked goodness. You can also enjoy them cold, paired with yogurt for a refreshing treat. For the best flavor, I recommend serving them soon after baking.
FAQs
Can I use frozen strawberries instead of fresh?
Yes, you can! Frozen strawberries work well in this recipe. Just thaw them first and drain any extra juice. This helps keep the bars from getting too soggy.
How can I make these bars healthier?
To boost the health factor, consider these tips:
– Use whole grain oats for more fiber.
– Replace brown sugar with maple syrup or honey.
– Add nuts or seeds for healthy fats.
– Swap almond flour with a nut-free option if needed.
What should I serve with Easy Strawberry Oat Bars?
These bars pair well with many tasty treats. Try serving them with:
– A scoop of yogurt for creaminess.
– Fresh fruit slices for extra flavor.
– A drizzle of honey for sweetness.
Can I replace almond flour with regular flour?
Yes, you can use regular flour instead of almond flour. However, this might change the texture a bit. Almond flour adds moisture and nutty flavor that regular flour lacks.
Is it possible to double the recipe?
Absolutely! Just double all the ingredients. Use a larger baking dish, like a 9×13 inch pan, to fit everything. Keep an eye on the baking time, as it may need a little longer.
In this article, we explored how to make simple, tasty strawberry oat bars. We covered the ingredients, including substitutes and add-ins. I shared step-by-step instructions for prep and baking. Tips helped you avoid common mistakes and offered serving ideas. We also looked at different fruit variations and storage tips. These bars are fun to customize and easy to store. Enjoy making your own batch!


