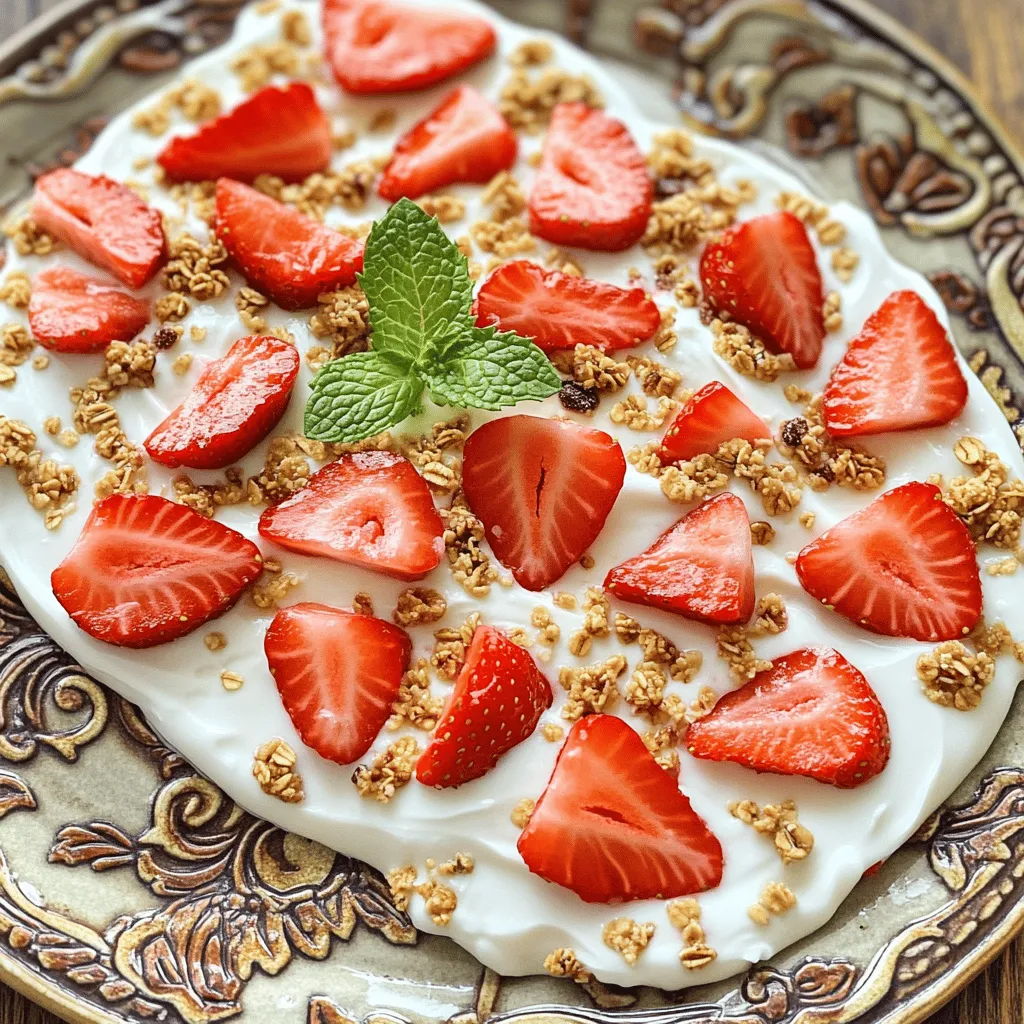
Looking for a tasty and fun treat? You’ll love this Easy Strawberry Yogurt Bark! It’s simple to make and great for snacks or dessert. With fresh strawberries and creamy yogurt, this bark is both delicious and healthy. Plus, you can customize it to suit your taste! Let’s dive into the easy steps to create this delightful dessert that will refresh your day.
Ingredients
Key Ingredients for Easy Strawberry Yogurt Bark
To make Easy Strawberry Yogurt Bark, you need a few simple items. Here’s what you’ll need:
– 2 cups Greek yogurt (plain or vanilla)
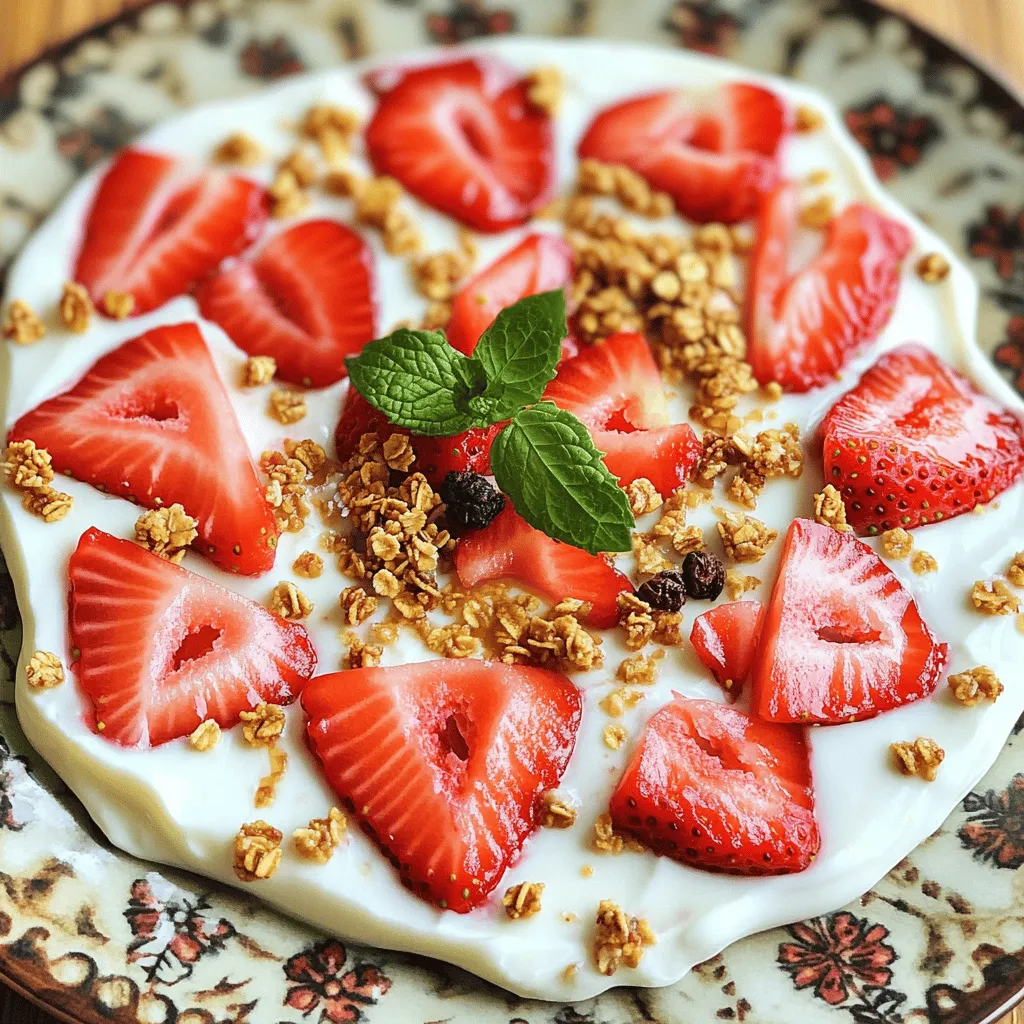
– 1 cup fresh strawberries, hulled and sliced
– 2 tablespoons honey or maple syrup (optional, adjust to taste)
– 1/4 cup granola or crushed nuts for topping
– A few mint leaves for garnish (optional)
Each ingredient plays a role. The Greek yogurt gives a creamy base. Strawberries add a bright, fruity flavor. The honey or maple syrup adds sweetness. Granola or nuts give a nice crunch.
Optional Add-ins for Enhanced Flavor
If you want to make your yogurt bark even better, consider these add-ins:
– Chopped dark chocolate or mini chocolate chips
– Other berries like blueberries or raspberries
– Coconut flakes for a tropical touch
– A sprinkle of cinnamon for warmth
These extras can take your bark to the next level. Feel free to mix and match to find your favorite flavor combo.
Suggested Substitutions for Dietary Needs
You might have some dietary needs. Here are some easy swaps:
– Use dairy-free yogurt for a vegan option.
– Swap honey with agave nectar for a vegan-friendly sweetener.
– If nuts are a no-go, skip them or use seeds like pumpkin or sunflower.
These substitutions keep the recipe friendly for everyone. Enjoy making your Easy Strawberry Yogurt Bark!
Step-by-Step Instructions
Preparation Details for a Perfect Yogurt Base
Start by lining a baking sheet with parchment paper. Make sure the paper hangs over the edges. This helps with easy removal later. Next, mix the Greek yogurt in a bowl. If you want, add honey or maple syrup for sweetness. Stir well until smooth. Taste it to see if you like the sweetness. Adjust it if needed. This yogurt base is the star of your bark.
Layering the Strawberries and Toppings
Once you have the yogurt ready, pour it onto the baking sheet. Spread it out evenly until it’s about 1/4-inch thick. This thickness helps the bark freeze nicely. Now, take your sliced strawberries and spread them over the yogurt. Press them down gently to keep them in place. Finally, sprinkle granola or crushed nuts on top. This adds a nice crunch to your treat.
Freezing Tips for Optimal Texture
Place the baking sheet in the freezer. Freeze it for about 3 to 4 hours. Your yogurt should be completely frozen when you check it. To serve, take it out and break the bark into pieces. If you want to keep it fresh, store it in an airtight container. It can last in the freezer for up to a week.
Tips & Tricks
How to Achieve the Best Flavor Balance
To get the best flavor, use ripe strawberries. They add natural sweetness and a burst of flavor. You can also taste the yogurt mixture before freezing. Add more honey or syrup if it needs sweetness. A mix of plain and vanilla yogurt offers a nice contrast. This mix gives you creaminess and a hint of sweetness.
Common Mistakes to Avoid When Making Yogurt Bark
One common mistake is not pressing the strawberries down. Make sure you press them lightly into the yogurt. This step helps them stick and not fall off later. Another mistake is not letting the yogurt freeze long enough. If it’s too soft, it won’t break into pieces well. Aim for at least 3-4 hours in the freezer.
Creative Serving Suggestions for Entertaining
To impress guests, serve the yogurt bark on a colorful platter. Add fresh mint leaves for a pop of color. You can cut it into fun shapes with cookie cutters. This makes it playful for kids. Pair it with a bowl of extra granola or nuts. This way, guests can add their own toppings. Enjoy this treat as a fun snack or a light dessert.
Variations
Alternative Fruit Combinations for Different Flavors
You can change the flavor of your yogurt bark easily. Try using bananas, blueberries, or peaches instead of strawberries. Each fruit brings its own taste and charm. For a tropical twist, add mango and pineapple. If you want a tart kick, raspberries work great. Mix and match to find your favorite combo!
Using Different Types of Yogurt for Unique Textures
The type of yogurt you use can change the texture of your bark. Greek yogurt gives a thick, creamy feel. Regular yogurt is lighter and smoother. For a fluffier bark, try whipped yogurt. Each type adds a unique taste and mouthfeel, so feel free to experiment.
Dairy-Free or Vegan Options for Yogurt Bark
You can make a dairy-free version of yogurt bark. Use coconut yogurt or almond yogurt for a tasty treat. These options keep the same creamy texture while being plant-based. Look for unsweetened varieties to control the sugar levels. This way, everyone can enjoy a cool snack!
Storage Info
How to Store Leftover Yogurt Bark
To store leftover yogurt bark, place it in an airtight container. Make sure to separate pieces with parchment paper if you stack them. This keeps them from sticking together. Store the container in your freezer. This way, your yogurt bark stays fresh and ready to enjoy.
Best Practices for Freezing and Thawing
When freezing yogurt bark, let it freeze fully. This usually takes about 3-4 hours. If you want to thaw it, take out only what you will eat. Let it sit at room temperature for a few minutes. Avoid using the microwave. This could make the texture mushy.
Shelf Life of Easy Strawberry Yogurt Bark
Easy Strawberry Yogurt Bark lasts for about one week in the freezer. After that, the texture may change. For the best taste and texture, eat it within that week. If you notice ice crystals, it’s still safe but may not taste as fresh. Enjoy your tasty treat while it’s at its best!
FAQs
Can I use frozen strawberries instead of fresh?
Yes, you can use frozen strawberries. They work well too. Just thaw them and pat them dry. This helps avoid excess water in your yogurt bark. Fresh strawberries give a nice crunch, but frozen ones add sweetness.
How long does it take to freeze yogurt bark?
Freezing yogurt bark takes about 3 to 4 hours. It needs to be solid to break into pieces easily. For best results, leave it in the freezer overnight if you want it extra firm.
What can I use instead of honey or maple syrup?
You can use agave syrup or stevia for a low-sugar option. If you prefer, skip the sweetener altogether. The strawberries add enough sweetness for many people. You can also use fruit puree for a different flavor.
Can I make this recipe ahead of time?
Yes, you can prepare yogurt bark ahead of time. It keeps well in the freezer for up to a week. Just store it in an airtight container. This makes it easy to grab a quick snack or dessert.
This blog post covered how to make easy strawberry yogurt bark. We explored key ingredients, optional add-ins, and substitutions. The step-by-step guide showed how to prepare the yogurt and freeze it. We also shared tips to improve flavor, avoid common mistakes, and offered fun serving ideas. Variations included different fruits and dietary options. Lastly, we discussed storage tips and answered common questions.
You now have all the tools to create delicious yogurt bark. Enjoy making and sharing this treat!


