Craving a festive treat that’s both indulgent and easy to make? You’re in the right place! My Eggnog Frosted Brownies are the ultimate holiday delight that will wow your friends and family. With rich, fudgy brownies topped with creamy eggnog frosting, these treats combine all the flavors of the season. Let’s dive into the recipe and fill your holiday gatherings with joy!
Why I Love This Recipe
- Festive Flavor: This recipe combines the rich flavor of brownies with the classic taste of eggnog, making it perfect for holiday gatherings.
- Simple Instructions: The step-by-step guide ensures that even beginner bakers can create these delicious treats without any hassle.
- Customizable Toppings: You can easily add your favorite toppings, like whipped cream or extra spices, to make these brownies uniquely yours.
- Great for Sharing: This recipe yields a generous batch, making it ideal for sharing with family and friends during the festive season.
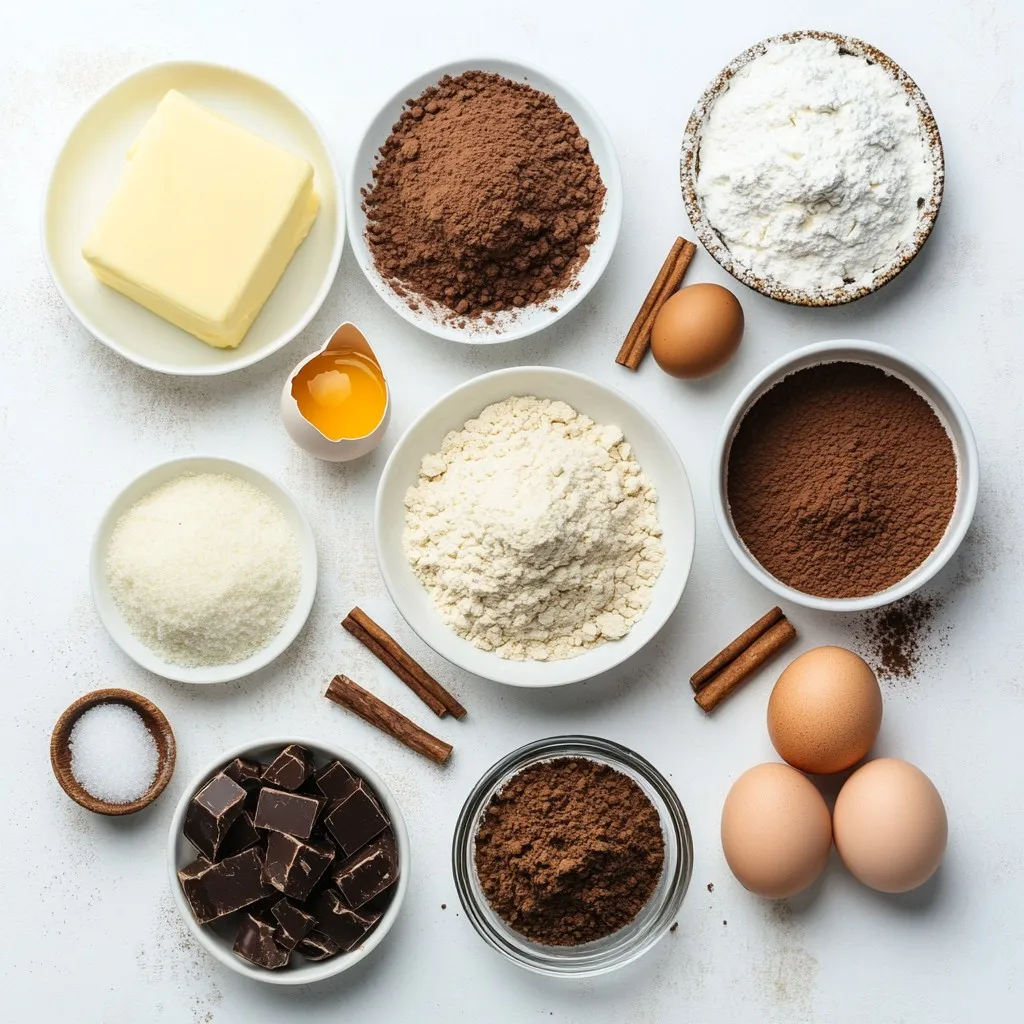
Ingredients
Brownie Ingredients
To make these rich brownies, gather the following:
– 1 cup unsalted butter, melted
– 1 cup granulated sugar
– 1 cup brown sugar, packed
– 4 large eggs
– 1 teaspoon vanilla extract
– 1 cup all-purpose flour
– 1/2 cup unsweetened cocoa powder
– 1 teaspoon baking powder
– 1/2 teaspoon salt
These ingredients combine to create a fudgy base. The melted butter gives a rich flavor while the sugars add sweetness. The eggs help bind everything together. Flour and cocoa powder create that classic brownie texture.
Eggnog Frosting Ingredients
For the delightful eggnog frosting, you will need:
– 1/2 cup unsalted butter, softened
– 2 cups powdered sugar
– 1/4 cup eggnog (store-bought or homemade)
– 1/2 teaspoon ground nutmeg
– 1/4 teaspoon cinnamon
This frosting adds a creamy layer on top of your brownies. The butter makes it smooth, while the eggnog gives it a festive flavor. Nutmeg and cinnamon bring warmth to each bite.
Optional Garnishes
To make your brownies look extra special, consider these garnishes:
– Whipped cream
– Additional nutmeg for sprinkling
Whipped cream adds a light touch, while nutmeg enhances the eggnog flavor. These simple extras create a beautiful presentation that will impress your guests.
Step-by-Step Instructions
Preparing the Brownie Batter
Start by preheating your oven to 350°F (175°C). Grease a 9×13 inch baking pan. In a big bowl, mix 1 cup of melted butter, 1 cup of granulated sugar, and 1 cup of brown sugar. Stir until smooth. Next, add 4 large eggs, one at a time. Mix well after each egg. Then, stir in 1 teaspoon of vanilla extract.
In another bowl, whisk together 1 cup of all-purpose flour, 1/2 cup of cocoa powder, 1 teaspoon of baking powder, and 1/2 teaspoon of salt. Gradually add this dry mix to your wet mixture. Stir gently until just combined. This is your brownie batter!
Baking the Brownies
Pour the brownie batter into the greased pan. Spread it out evenly. Bake in the preheated oven for 25-30 minutes. Check for doneness by inserting a toothpick into the center. It should come out mostly clean. Once baked, let the brownies cool completely in the pan on a wire rack.
Making the Eggnog Frosting
While the brownies cool, make the frosting. In a bowl, beat 1/2 cup of softened butter with an electric mixer until creamy. Gradually add 2 cups of powdered sugar, mixing until smooth. Then, add 1/4 cup of eggnog, 1/2 teaspoon of nutmeg, and 1/4 teaspoon of cinnamon. Mix until well combined. If the frosting is too thick, add more eggnog. If it’s too thin, add more powdered sugar.
Frosting the Brownies
Once the brownies are cool, it’s time to frost them! Spread the eggnog frosting evenly over the top of the brownies. For a fun touch, consider piping whipped cream around the edges. Sprinkle a bit of nutmeg on top for extra flavor. Now, cut the brownies into squares and they are ready to serve!
Tips & Tricks
How to Achieve the Perfect Brownie Texture
To get that rich, fudgy texture, focus on your mixing. Mix the butter and sugars until creamy. Then, add the eggs one by one, blending well each time. This step is key for a smooth batter. When you mix in the dry ingredients, do it gently. Over-mixing can lead to tough brownies. Just stir until you see no more flour. Bake them until a toothpick comes out mostly clean. This ensures a gooey center and a slight crust on top.
Frosting Consistency Adjustments
For the eggnog frosting, start with softened butter. Beat it until creamy for the best texture. When you add powdered sugar, do this gradually. If the frosting is too thick, add a splash more eggnog. If it’s too runny, add more powdered sugar. You want a spreadable but thick frosting. A good frosting should hold its shape when spread on the brownies.
Serving Suggestions and Presentation Ideas
When serving, cut the brownies into nice squares. For a festive touch, pipe whipped cream around the edges. Then, sprinkle a little nutmeg on top. This adds color and a holiday vibe. You can also serve them warm, right out of the pan. Warm brownies with cold frosting create a delightful contrast. Pair these treats with a glass of eggnog for a perfect holiday snack.
Pro Tips
- Use Room Temperature Ingredients: Allow your eggs and butter to come to room temperature for better incorporation and a smoother batter.
- Don’t Overmix the Batter: Mix until just combined to ensure your brownies remain fudgy and moist rather than cakey.
- Cool Completely Before Frosting: Let the brownies cool fully in the pan before applying the frosting to prevent it from melting.
- Experiment with Toppings: Feel free to add crushed nuts, chocolate chips, or festive sprinkles on top of the frosting for added texture and flavor.
Variations
Substituting Ingredients for Dietary Needs
You can easily make these brownies fit your diet. For a gluten-free option, swap the all-purpose flour with a gluten-free blend. For those avoiding dairy, use coconut oil instead of butter. Egg substitutes like applesauce or flaxseed can replace eggs. This way, everyone can enjoy these tasty treats during the holidays.
Adding Mix-Ins to the Brownies
Mix-ins add fun and flavor to your brownies. Consider adding chocolate chips for extra sweetness. You can also add nuts, like walnuts or pecans, for a bit of crunch. Dried fruits, such as cranberries or cherries, can bring a nice tartness. Be creative! Just keep the total mix-ins to about one cup.
Frosting Flavor Variations
While the eggnog frosting is delightful, you can switch it up. Try adding peppermint extract for a minty twist. Or, use flavored creamers like vanilla or caramel to enhance the taste. You can also opt for a simple chocolate frosting if you want something rich. Each variation adds a new layer of joy to your brownies.
Storage Info
How to Store Leftover Brownies
To store your leftover brownies, first let them cool completely. Place them in an airtight container. This keeps them fresh for several days. You can also wrap them in plastic wrap for extra protection. They will stay tasty for about 3 to 4 days at room temperature. If you want to keep them longer, consider freezing them.
Freezing Brownies for Later
Freezing brownies is simple and a great way to save them. Cut the brownies into squares before freezing. Wrap each square in plastic wrap tightly. After that, place the wrapped brownies in a freezer bag. Label the bag with the date. Brownies can last in the freezer for about 2 to 3 months. When you’re ready to enjoy them, just thaw them in the fridge overnight.
Reheating Tips
To reheat brownies, use your oven for the best results. Preheat the oven to 350°F (175°C). Place the brownies on a baking sheet. Heat them for about 10 minutes. This warms them up nicely without drying them out. If you’re in a hurry, you can use the microwave. Heat them in 10-second bursts until warm. Avoid heating too long to keep them moist. Enjoy these treats warm with a scoop of ice cream!
FAQs
Can I use a different type of frosting?
Yes, you can use other frostings. Cream cheese frosting adds a nice tang. Chocolate ganache gives a rich touch. You can even try vanilla buttercream for a lighter taste. Just make sure it pairs well with the brownie flavor.
How long do eggnog frosted brownies last?
Eggnog frosted brownies last about three to five days. Store them in an airtight container. Keep them in the fridge to stay fresh longer. This helps keep the frosting creamy and tasty.
Can I make these brownies ahead of time?
Yes, you can make these brownies ahead of time. Bake them a day or two in advance. Just frost them when you’re ready to serve. This keeps the brownies soft and the frosting fresh.
What can I substitute for eggnog in the frosting?
You can use heavy cream or milk as a substitute. If you want a festive twist, try using spiced rum or almond milk. You may need to adjust spices to match the flavors.
These brownies combine rich chocolate and creamy eggnog frosting for a festive treat. We covered ingredients, from fluffy brownie batter to frosty toppings. Tips helped you achieve the best texture and presentation. Variations let you tailor the recipe to fit your needs.
In the end, enjoy your baking and satisfy your sweet tooth. These brownies can brighten any occasion. So get creative, have fun, and share your treats with other