Looking for a fun summer dip? Fresh Peach Salsa is bright, tasty, and super easy to make! In this post, I’ll guide you through the simple steps and share some handy tips. You’ll learn how to pick ripe peaches, mix rich flavors, and even store your salsa. Ready to impress your friends at your next party? Let’s dive into this delicious twist on a classic dip!
Ingredients
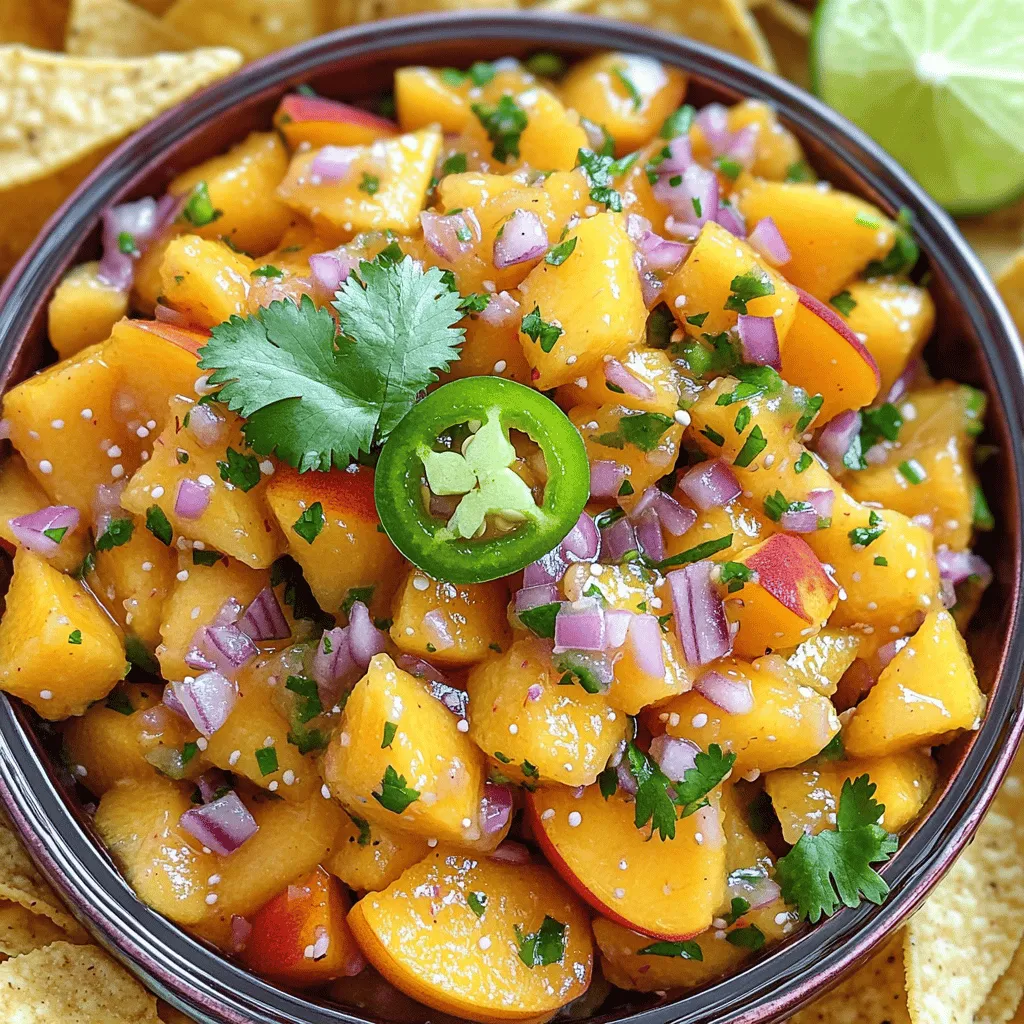
Fresh Peaches
To make fresh peach salsa, start with ripe peaches. Choose three juicy peaches for the best flavor. Look for fruits that are soft but not mushy. Ripe peaches smell sweet and feel slightly tender when you press them. Dice the peaches into small pieces for a nice texture.
Optional Ingredients
You can add a bit of honey for extra sweetness. One tablespoon will do nicely if you like it sweet. It balances the tangy lime juice and spicy jalapeño. If you love a hit of flavor, consider adding diced bell peppers. They give a nice crunch and color.
Spices and Seasonings
Use simple spices to enhance the salsa. You will need garlic powder, salt, and black pepper. These spices add depth without overpowering the peach taste. The lime juice is key; it adds bright acidity. Mix in half a teaspoon of garlic powder, a quarter teaspoon of salt, and a quarter teaspoon of black pepper. This blend will elevate your fresh peach salsa.
Step-by-Step Instructions
Preparation of Ingredients
First, gather all your ingredients. You will need ripe peaches, red onion, jalapeño, cilantro, lime, garlic powder, salt, black pepper, and honey. Start with the peaches. Cut each peach in half and remove the pit. Then, dice the peach into small pieces. Make sure the pieces are not too big. Next, chop the red onion finely. This will help it mix well. Mince the jalapeño after removing the seeds. This step controls the heat level. Finally, chop the cilantro and juice the lime.
Mixing the Salsa
In a medium bowl, combine the diced peaches, red onion, and jalapeño. Add in the chopped cilantro, lime juice, garlic powder, salt, and black pepper. If you like sweetness, drizzle in the honey. Use a spatula to gently toss all the ingredients together. Be careful not to mash the peach pieces. You want them to stay chunky for texture. Once everything is mixed, taste the salsa. Adjust the seasoning, adding more lime juice or salt if needed.
Flavor Development Time
After mixing, let the salsa sit at room temperature for 15 to 20 minutes. This time helps the flavors meld together. As the salsa rests, the onion and jalapeño will soften. The lime juice will brighten the taste of the peaches. When ready, serve it in a colorful bowl. You can pair it with tortilla chips or use it as a topping for grilled chicken or fish. Enjoy the fresh and vibrant flavors!
Tips & Tricks
Selecting Ripe Peaches
Choose peaches that are firm but slightly soft when you press them. Look for a golden color. A sweet smell is also a good sign. Avoid peaches with brown spots or wrinkles. These may not taste good. For the best flavor, buy them at your local farmer’s market if you can.
Adjusting Spice Levels
If you like heat, keep the seeds from the jalapeño. If you prefer a milder taste, remove them. You can also add more or less jalapeño to match your taste. For an extra kick, try adding a pinch of cayenne pepper. Taste as you go to find the perfect balance.
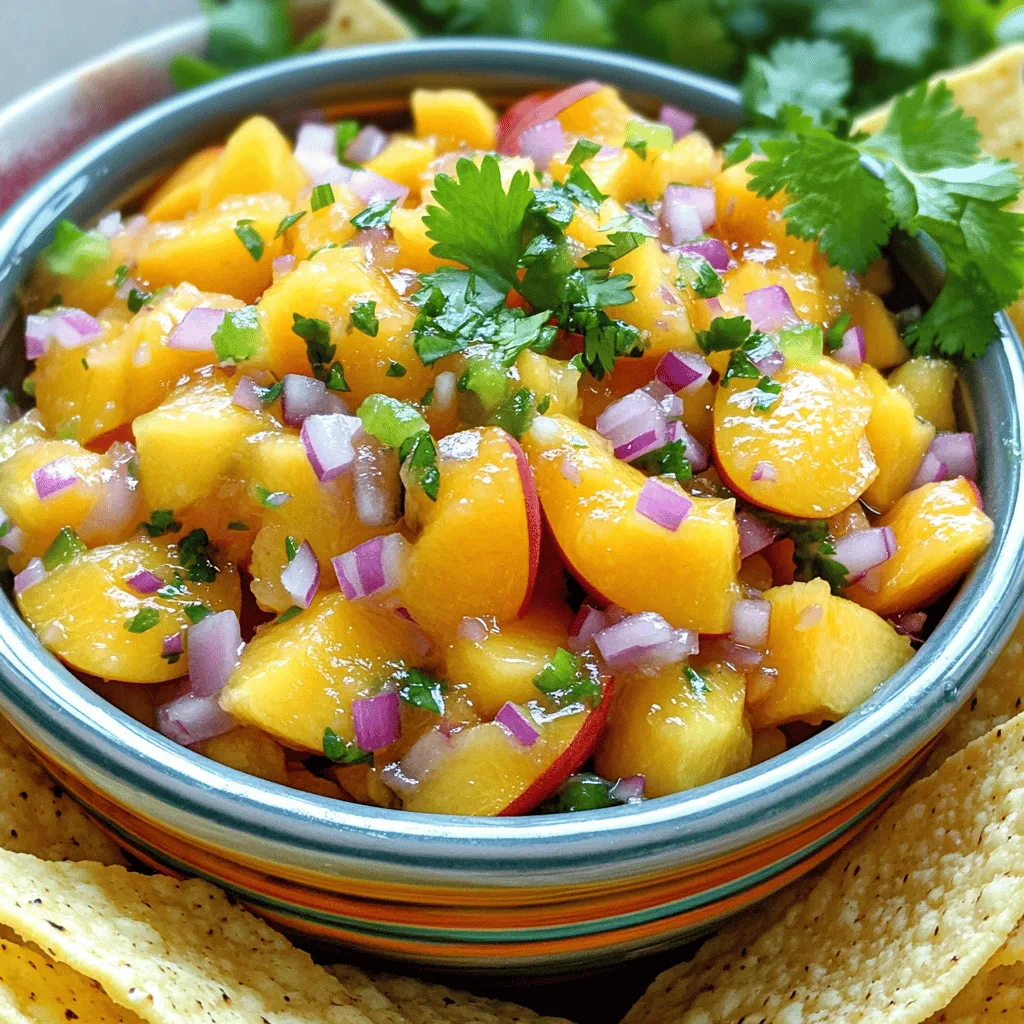
Presentation Suggestions
Serve your salsa in a bright bowl to make it pop. Garnish with extra cilantro leaves for a fresh look. Pair it with crispy tortilla chips for dipping. This salsa also makes a great topping for grilled chicken or fish. Enjoy it at your summer parties or family gatherings.
Variations
Adding Fruits
You can mix in other fruits to give your salsa a twist. Try mango for a sweet touch. Pineapple adds a fun tropical vibe. Apples can add crunch and a mild flavor. Each fruit brings its own taste and texture. Just keep the balance in mind. You want the peaches to shine through!
Different Herbs
Switching up the herbs can change your salsa’s flavor. Basil adds a sweet, aromatic note. Mint gives a fresh, cool taste. If you like a stronger flavor, try parsley or dill. Use a mix of herbs for a unique twist. Remember, fresh herbs make your salsa pop!
Heat Adjustments
Do you like it hot? You can adjust the spice level easily. Add more jalapeño for extra heat. If you want less spice, remove the seeds. You can also use a milder pepper, like a poblano. For a smoky flavor, try chipotle peppers. It’s all about your taste!
Storage Info
Refrigeration Guidelines
After making your fresh peach salsa, store it in a sealed container. Place the container in the fridge. This keeps the salsa fresh and flavorful. It’s best to enjoy it within a few days. If you see any change in color or smell, it’s time to toss it.
Shelf Life
Fresh peach salsa lasts about 3 to 5 days in the fridge. As time goes by, the flavors may change. For the best taste, plan to eat it within this timeframe. If you notice the peaches getting mushy, it’s a sign to eat it soon.
Freezing Suggestion
You can freeze peach salsa if you want to save some for later. Use an airtight container or a freezer bag. Leave some space for expansion as it freezes. The salsa can last for up to 3 months in the freezer. When you’re ready to use it, thaw it in the fridge. Keep in mind that the texture may change after freezing.
FAQs
How do you make Fresh Peach Salsa?
To make Fresh Peach Salsa, start with fresh peaches. Dice three ripe peaches. Then, finely chop half a red onion. Next, deseed and mince one jalapeño. In a bowl, mix the peaches, onion, and jalapeño. Add 1/4 cup chopped cilantro. Squeeze in the juice of one lime. Stir in 1/2 teaspoon garlic powder, 1/4 teaspoon salt, and 1/4 teaspoon black pepper. If you want it sweeter, add 1 tablespoon honey. Toss everything gently so the peaches stay intact. Let it sit for 15-20 minutes. This helps the flavors blend nicely.
Can I use canned peaches for this recipe?
You can use canned peaches, but fresh is best. Canned peaches can be softer and sweeter. If you use them, drain the syrup well. Then dice them like fresh peaches. Keep in mind, the texture may change. Fresh peaches offer that perfect crunch. They also add bright flavor.
What can I serve with Fresh Peach Salsa?
Fresh Peach Salsa pairs well with many dishes. Serve it with tortilla chips for a fun snack. It also works great as a topping for grilled chicken or fish. You can even add it to tacos for a fresh twist. Try it with cream cheese spread on crackers for a quick appetizer. This salsa brightens up any dish and adds zest. Enjoy the summer vibes with every bite!
In this post, we explored making fresh peach salsa. We covered key ingredients like ripe peaches, spices, and optional items to boost flavor. I gave step-by-step instructions, plus tips on picking peaches and adjusting spice levels. We also discussed cool variations and how to store your salsa.
Fresh peach salsa is easy and fun to make. Enjoy it with chips or tacos. Try your unique mix, and share your favorite twist!


