If you love vibrant, fresh flavors, you’re in for a treat! This Fresh Pineapple Salsa is a bright and flavorful delight that will enhance any meal. Packed with tropical goodness, it’s easy to make and perfect for summer gatherings or cozy dinners. In this guide, you’ll discover scrumptious ingredients, step-by-step instructions, and creative tips to elevate your salsa game. Let’s dive into the sweetness of pineapple and make your taste buds dance!
Ingredients
Essential Ingredients for Fresh Pineapple Salsa
To make Fresh Pineapple Salsa, gather these key ingredients:
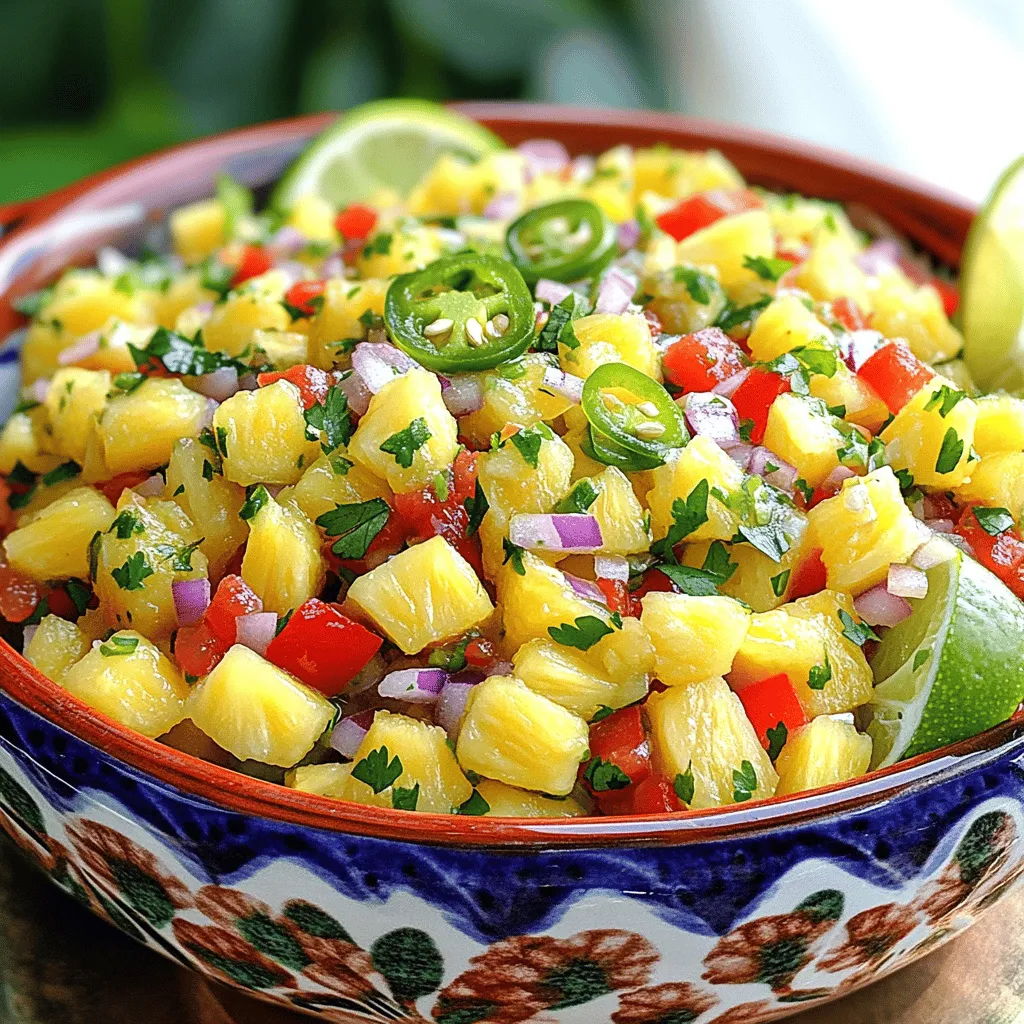
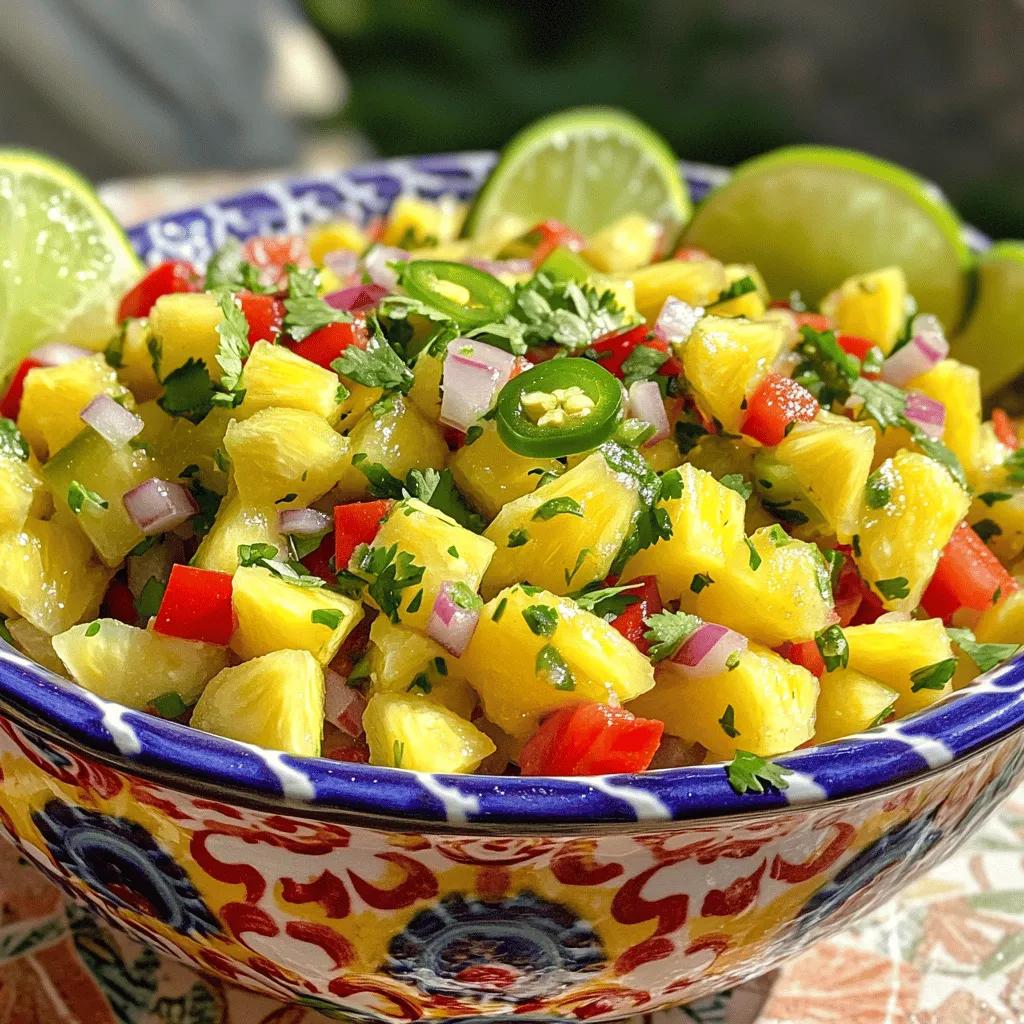
– 1 ripe pineapple, finely diced
– 1 red bell pepper, diced
– 1 small red onion, finely chopped
– 1 jalapeño, seeded and minced
– 1/4 cup fresh cilantro, chopped
– Juice of 2 limes
– Salt to taste
These ingredients work together. The pineapple gives a sweet base. The bell pepper adds crunch. The red onion brings a mild bite. The jalapeño gives a little heat. Cilantro adds a fresh herb taste. Lime juice brightens up the whole mix.
Optional Ingredients to Enhance Flavor
You might want to add a few extra touches. These optional ingredients can make your salsa pop:
– 1 tablespoon honey
– Avocado, diced
Adding honey gives a sweet note. Diced avocado adds creaminess and richness. Both enhance the overall flavor and texture of the salsa.
Freshness Tips for Choosing Pineapple
When picking a pineapple, look for these signs of freshness:
– A sweet aroma at the base
– Firm but slightly soft feel
– Bright, green leaves
A sweet smell means it’s ripe. If it feels too hard, it may not be ready. If it feels too soft, it may be overripe. Good leaves should be green and fresh-looking. This ensures your salsa will taste bright and flavorful.
Step-by-Step Instructions
How to Prepare Fresh Pineapple
First, grab a ripe pineapple. Cut it in half and remove the tough core. This part is not tasty. After that, dice the fruit into small, even pieces. Aim for 1/2-inch cubes for the best texture. Place the diced pineapple into a large mixing bowl.
Combining Ingredients for the Best Flavor
Next, add diced red bell pepper to the bowl. This gives a nice crunch and color. Then, finely chop a small red onion and add it in. To add some heat, mince one jalapeño and mix it in. Don’t forget the fresh cilantro! Chop about 1/4 cup and sprinkle it over the top.
Recommended Marinating Time for Optimal Taste
The key to great flavor is marinating. After mixing all the ingredients, let the salsa sit for at least 15 minutes. This allows the flavors to blend. If you have time, refrigerate it for up to an hour. A cooler salsa tastes even better!
Tips & Tricks
Expert Tips for Chopping and Dicing
When you chop pineapple, use a sharp knife for clean cuts. Start by slicing off the top and bottom. Stand the pineapple upright, then cut off the skin in strips. Make sure to remove the eyes, too. Once the skin is off, slice the pineapple into rings. Stack the rings and cut them into small pieces. You want uniform chunks for the best salsa.
How to Adjust Spice Levels to Taste
If you like spice, add more jalapeño to your salsa. Start small; you can always add more later. If the salsa is too spicy, mix in some more diced pineapple to cool it down. A dash of honey can also help balance the heat. Taste as you go to get it just right for your palate.
Serving Suggestions for Varied Occasions
Serve your pineapple salsa at summer barbecues or taco nights. It pairs well with grilled chicken, fish, or shrimp. For a fun twist, use it as a topping on nachos. You can also serve it in small bowls with tortilla chips for snacking. This salsa brightens up any meal with its fresh flavors. Try it at your next gathering!
Variations
Tropical Twist with Mango or Avocado
You can change the flavor of your salsa by adding mango or avocado. Mango adds a sweet, juicy taste. Diced avocado brings creaminess and richness. To make this twist, simply replace half of the pineapple with diced mango or avocado. This combination makes the salsa even more colorful and fun!
Zesty Additions: Incorporating Other Fruits
Think about adding other fruits for more flavor. Chopped kiwi or diced strawberries can work well. These fruits add a tangy and sweet note that balances the pineapple. Just mix in your chosen fruit with the original recipe. This keeps the salsa fresh and exciting every time you make it.
Adding Heat: Different Types of Peppers
If you like heat, try different peppers in your salsa. Instead of jalapeño, use serrano or habanero for a kick. Just be careful with the amount, as these peppers can be hot! Start with a small amount, then taste and adjust. This way, you create a salsa that fits your spice level perfectly.
Storage Info
How to Store Leftover Pineapple Salsa
To keep your pineapple salsa fresh, store it in an airtight container. Make sure the lid seals tightly. This prevents air from getting in and keeps the salsa flavorful. Place the container in the fridge right after you finish your meal. If you used fresh ingredients, it will taste great the next day.
Shelf Life and Best Practices for Freshness
Fresh pineapple salsa lasts about 3 to 5 days in the fridge. After this time, the flavors may fade. Always check for signs of spoilage, like a change in smell or color. To maintain its freshness, avoid adding salt until you are ready to eat. Salt can draw out moisture and make the salsa watery.
Freezing Pineapple Salsa: A How-To
You can freeze pineapple salsa for later use. Begin by transferring it into a freezer-safe bag or container. Make sure to squeeze out as much air as possible. This helps prevent freezer burn. Label the bag with the date. Pineapple salsa can last up to 3 months in the freezer. To use it, thaw it in the fridge overnight before serving. For the best taste, consume it within a month of freezing.
FAQs
How long does fresh pineapple salsa last?
Fresh pineapple salsa lasts about 2 to 3 days in the fridge. Store it in an airtight container. This keeps the salsa fresh and tasty. After a few days, the flavors may dull. You might notice the pineapple getting softer too. If you want it to stay crisp, eat it sooner.
Can I use canned pineapple for this recipe?
Yes, you can use canned pineapple. Just make sure to drain it well. Canned pineapple is often sweeter than fresh. This can change the flavor of your salsa. If you use canned, try adding a bit of lime juice to balance it. Fresh pineapple gives a crunch that canned lacks.
What dishes pair well with pineapple salsa?
Pineapple salsa pairs well with many dishes. It shines on tacos, especially fish or chicken tacos. Try it on grilled meats, like pork or shrimp. You can also use it as a dip with tortilla chips. It adds a fresh twist to salads and rice bowls too. For a fun snack, top your grilled cheese sandwich with it!
Fresh pineapple salsa is a simple, tasty dish. We covered key ingredients, preparation steps, and helpful tips. Use fresh pineapple for the best taste, and adjust spice levels as you like. Don’t forget to store leftovers properly for later enjoyment. Explore fun variations by adding mango or peppers to mix things up. With these ideas, you’ll create a flavorful salsa for any occasion. Enjoy making this salsa and impress your family and friends with your skills!


