If you crave something rich and chewy, you’re in the right place! Fudgy brownie cookies blend the best of brownies and cookies in one bite. I’ll share my favorite recipe and tips for the perfect texture. You’ll also find options to customize and store them. Get ready to bake some delicious memories with your friends and family. Let’s dive into the world of fudgy brownie cookies!
Ingredients
List of Ingredients for Fudgy Brownie Cookies
To make fudgy brownie cookies, gather these key ingredients:
– 1 cup dark chocolate chips
– 1/2 cup unsalted butter, cubed
– 1 cup granulated sugar
– 2 large eggs
– 1 teaspoon vanilla extract
– 1/2 cup all-purpose flour
– 1/4 cup unsweetened cocoa powder
– 1/4 teaspoon baking powder
– 1/4 teaspoon salt
– 1/2 cup chocolate chunks or nuts (optional for added texture)
Each ingredient plays a special role. The chocolate chips and cocoa powder give the cookies their rich flavor. Butter adds moisture, while sugar helps them stay chewy. Eggs bind everything together. Flour gives structure, and baking powder helps them rise a bit.
Ingredient Substitutions
If you need to change an ingredient, here are some good swaps:
– Use semi-sweet chocolate chips if you want a sweeter taste.
– Coconut oil can replace unsalted butter for a dairy-free option.
– Brown sugar can substitute granulated sugar. This swap adds a slight caramel flavor.
– You can use gluten-free flour instead of all-purpose flour for a gluten-free version.
These substitutions can change the flavor and texture. Experiment to find what you like best!
Importance of Ingredient Quality
Using high-quality ingredients makes a big difference. Fresh chocolate chips will melt better and taste richer. Real vanilla extract enhances the cookie’s flavor. Choose fresh eggs and good flour.
The better the ingredients, the better the cookies. You want fudgy brownie cookies that are rich and chewy. When you use quality ingredients, your cookies will impress everyone who tries them.
Step-by-Step Instructions
Prepping the Oven and Baking Sheet
Start by preheating your oven to 350°F (175°C). This helps the cookies bake evenly. While the oven warms up, take a baking sheet and line it with parchment paper. This step keeps your cookies from sticking and makes cleanup easy.
Mixing the Wet Ingredients
In a microwave-safe bowl, place the dark chocolate chips and cubed butter. Heat them in the microwave for 30 seconds. Stir after each interval until everything melts and blends smoothly. Let this mixture cool a bit. In a separate bowl, whisk together the granulated sugar, eggs, and vanilla extract. Mix until everything is well combined. Now, pour the melted chocolate mixture into the sugar and egg mix. Stir until fully mixed together.
Combining the Dry Ingredients and Baking
In another bowl, sift together the flour, cocoa powder, baking powder, and salt. This step helps to aerate the dry ingredients. Gradually add this dry mix to the wet ingredients. Use a spatula to fold it in gently. Be careful not to overmix. If you want extra texture, fold in the chocolate chunks or nuts at this point. Using a cookie scoop or tablespoon, drop rounded balls of dough onto your lined baking sheet. Space them about 2 inches apart. Bake in the oven for 10-12 minutes. The edges should be set, but the centers will still be soft. Let the cookies cool on the baking sheet for 5 minutes, then transfer them to a wire rack to cool completely.
Tips & Tricks
Achieving the Perfect Fudgy Texture
To get that rich, fudgy texture in your cookies, use high-quality dark chocolate. Dark chocolate chips melt well and give a deep flavor. Make sure to mix the melted chocolate with the eggs and sugar until smooth. Don’t overmix the dry ingredients; just fold them in gently. This keeps the cookies chewy and soft. To enhance the fudginess, bake them slightly less than you think. The centers should look soft but not raw.
Common Mistakes to Avoid
One common mistake is using cold ingredients. Always let your butter and eggs come to room temperature. This helps create a smooth batter. Another mistake is baking too long. Keep an eye on your cookies, as they continue to cook after you take them out. Overbaking leads to dry cookies. Finally, don’t skip the cooling time on the baking sheet. It allows the cookies to firm up while keeping them soft inside.
How to Store and Reheat Cookies
To keep your fudgy brownie cookies fresh, store them in an airtight container. They can last up to a week at room temperature. For longer storage, freeze them in a zip-top bag. When you’re ready to enjoy them again, let them thaw at room temperature. To reheat, pop them in the microwave for 10-15 seconds. This warms them up and makes them gooey again. You can also bake them briefly at 350°F (175°C) for a fresh-out-of-the-oven feel. Try serving them warm with ice cream for a treat!
Variations
Nut-Free or Gluten-Free Options
You can easily make fudgy brownie cookies nut-free or gluten-free. For nut-free cookies, skip the nuts in the recipe. Choose ingredients without nuts, like chocolate chips.
For a gluten-free version, swap all-purpose flour for a gluten-free blend. Many brands work well in cookies without changing the taste. Just check the package for the right measurements.
Flavor Additions (Mint, Espresso, etc.)
Want to boost the flavor? You can add mint or espresso to your cookie dough. For mint, mix in 1 teaspoon of mint extract with the wet ingredients. It gives a fresh taste.
If you love coffee, add 1 tablespoon of instant espresso powder. Stir it into the dry ingredients. This gives a rich, deep flavor to the cookies.
Customizing with Mix-Ins
You can make these cookies your own by adding mix-ins. Chocolate chunks add rich bites of chocolate. You can also use white chocolate or caramel bits for a fun twist.
Try adding dried fruit like cherries or cranberries for a sweet surprise. You can also use coconut flakes for a tropical touch. The possibilities are endless!
Storage Info
Best Practices for Storing Cookies
To keep your fudgy brownie cookies fresh, store them in an airtight container. Make sure the cookies are completely cool before you put them away. If you stack them, place parchment paper between layers. This way, they won’t stick together. Keep the container in a cool, dry place. Avoid light and heat, as they can dry out the cookies.
Freezing Fudgy Brownie Cookies
You can freeze these cookies for later. First, let them cool completely. Then, wrap each cookie in plastic wrap. This helps keep them moist. Place the wrapped cookies in a freezer-safe bag or container. They can last up to three months in the freezer. When you want to enjoy them, let them thaw at room temperature or heat them up in the microwave for a few seconds.
Shelf Life and Freshness Tips
Fudgy brownie cookies taste best within the first week. After that, they may lose some of their chewy texture. If stored correctly, they can stay fresh for about a week. To check for freshness, look for any signs of dryness or hardening. If they seem dry, you can warm them slightly to bring back some moisture. For the best flavor, enjoy them fresh or within the week.
FAQs
How do I know when my fudgy brownie cookies are done?
You want to look for set edges. The centers should still look soft. Bake them for about 10-12 minutes. They will continue to cook while cooling. If you want them extra fudgy, take them out a minute early. Trust your oven timer, but also trust your eyes.
Can I use cocoa powder instead of chocolate chips?
Yes, you can use cocoa powder, but it changes the texture. Cocoa powder gives a deeper chocolate flavor. You might need to adjust the fat in the recipe. Try using 1/2 cup of cocoa powder and add 1/4 cup more butter. This keeps the cookies moist and rich.
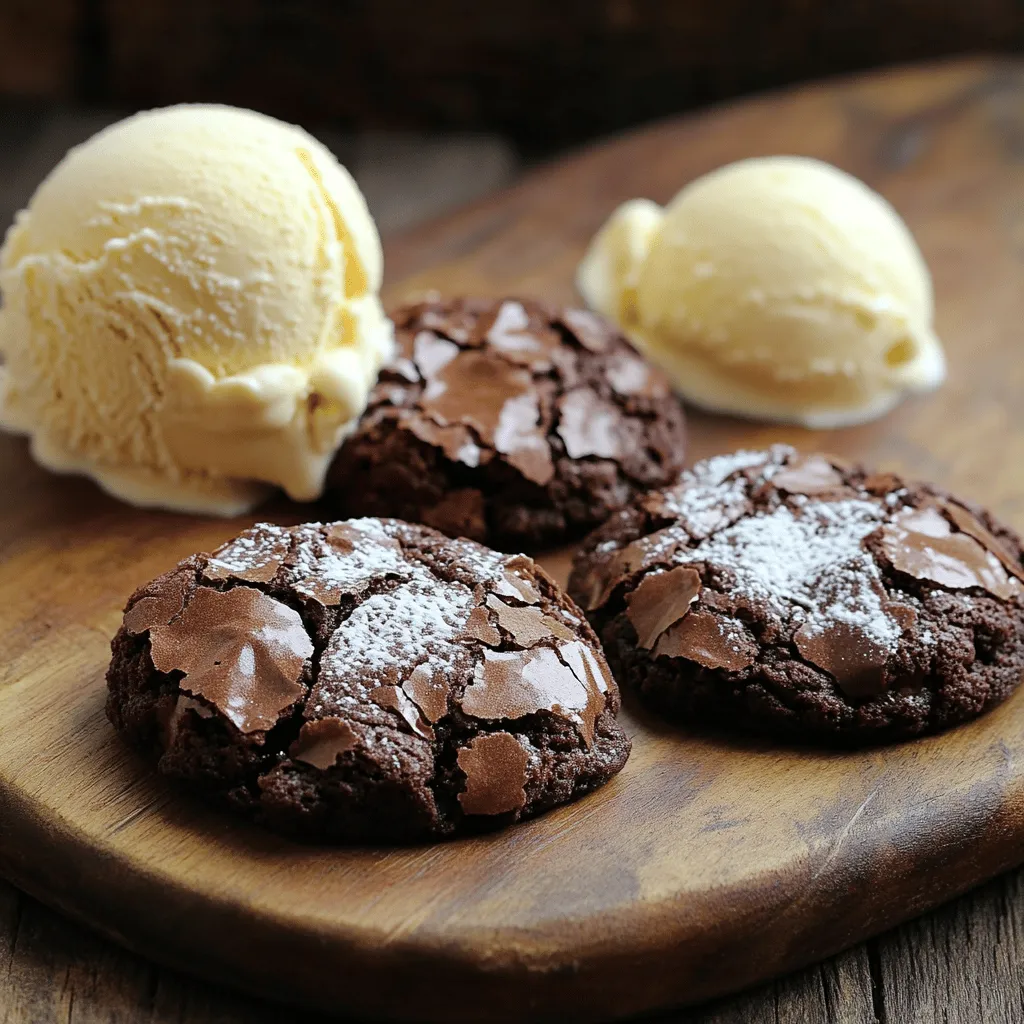
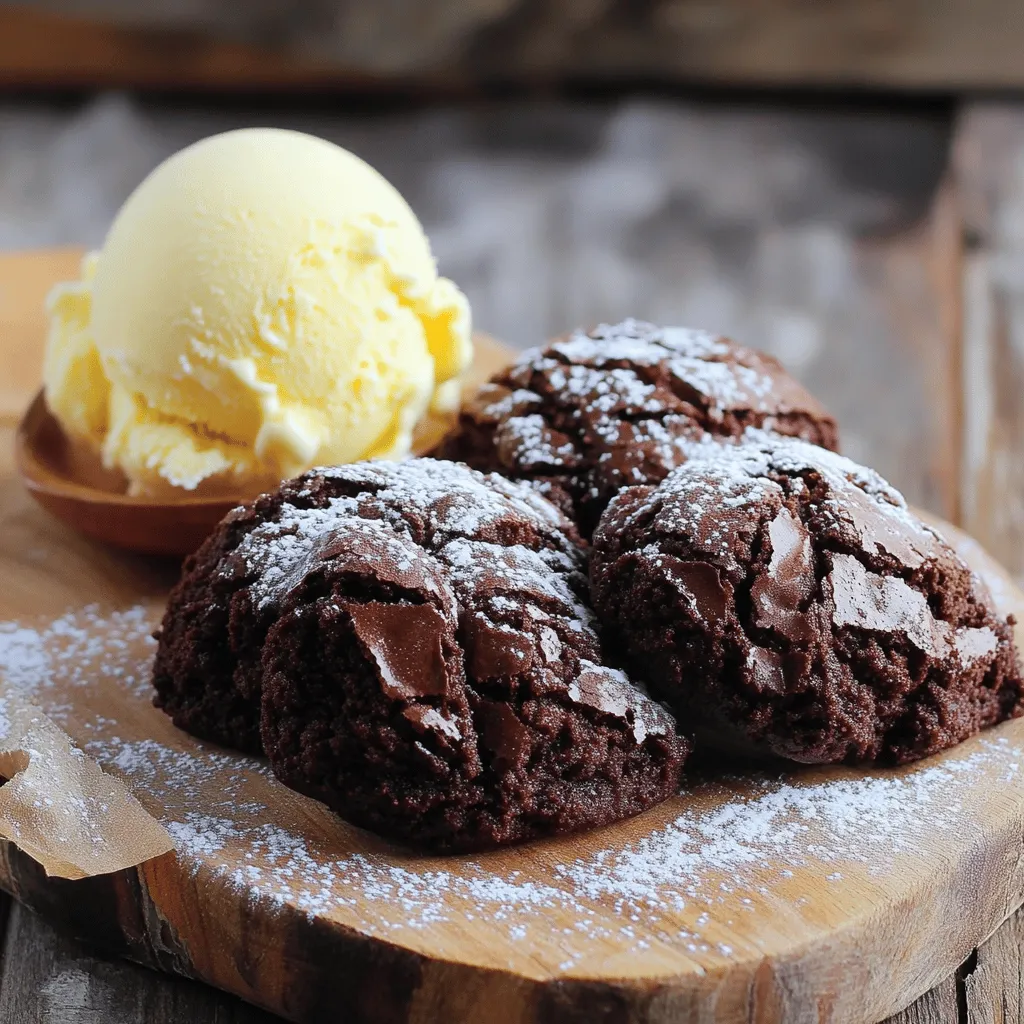
What can I serve with fudgy brownie cookies?
Serve these cookies warm with vanilla ice cream. You can also pair them with a glass of milk. For a twist, try them with a coffee or a rich chocolate sauce. Dusting them with powdered sugar adds a nice touch too. These simple additions elevate the dessert experience.
This article covered how to make fudgy brownie cookies. We explored the right ingredients, including possible substitutions. You learned how to prep, mix, and bake for perfect results. I shared tips for that ideal fudgy texture and common mistakes to avoid. We also discussed storage and exciting variations for custom flavors.
Baking should be fun and rewarding. Experiment, enjoy, and share these tasty treats!


