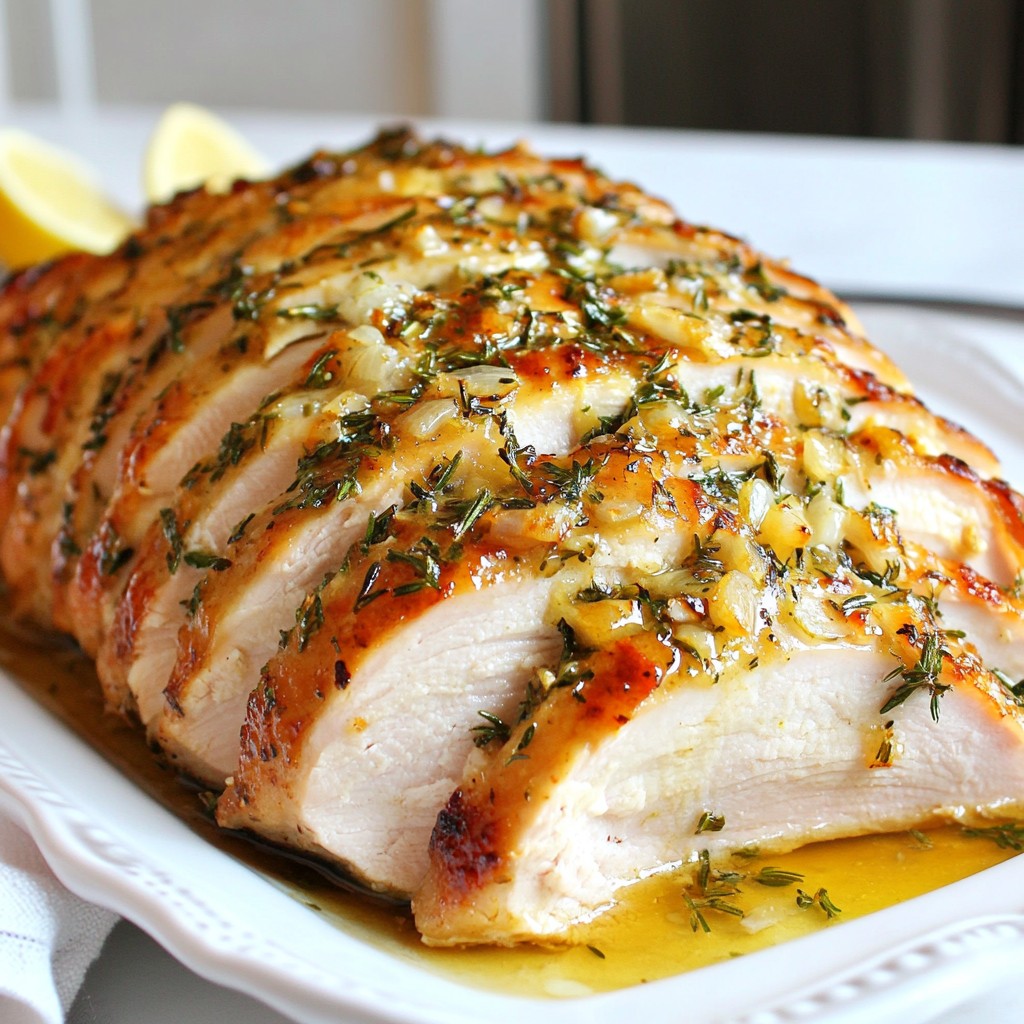
Are you ready to impress your family or guests with a mouthwatering meal? This Garlic Herb Roasted Turkey Breast is juicy, flavorful, and simple to prepare. I’ll guide you through each easy step, from prepping the turkey to roasting it to perfection. Whether it’s a festive feast or a cozy dinner, this dish will shine. Let’s get started and make your next meal unforgettable!
Why I Love This Recipe
- Flavorful Herb Infusion: The combination of garlic, rosemary, and thyme creates an aromatic experience that elevates the turkey’s natural flavors.
- Moist and Juicy: By loosening the skin and applying the herb paste underneath, you ensure the turkey remains moist and tender throughout the cooking process.
- Simple Preparation: With only 20 minutes of prep time, this recipe is an easy choice for a delicious home-cooked meal.
- Perfect for Any Occasion: This roasted turkey breast is ideal for holiday gatherings, family dinners, or even a special weekend meal.
Ingredients
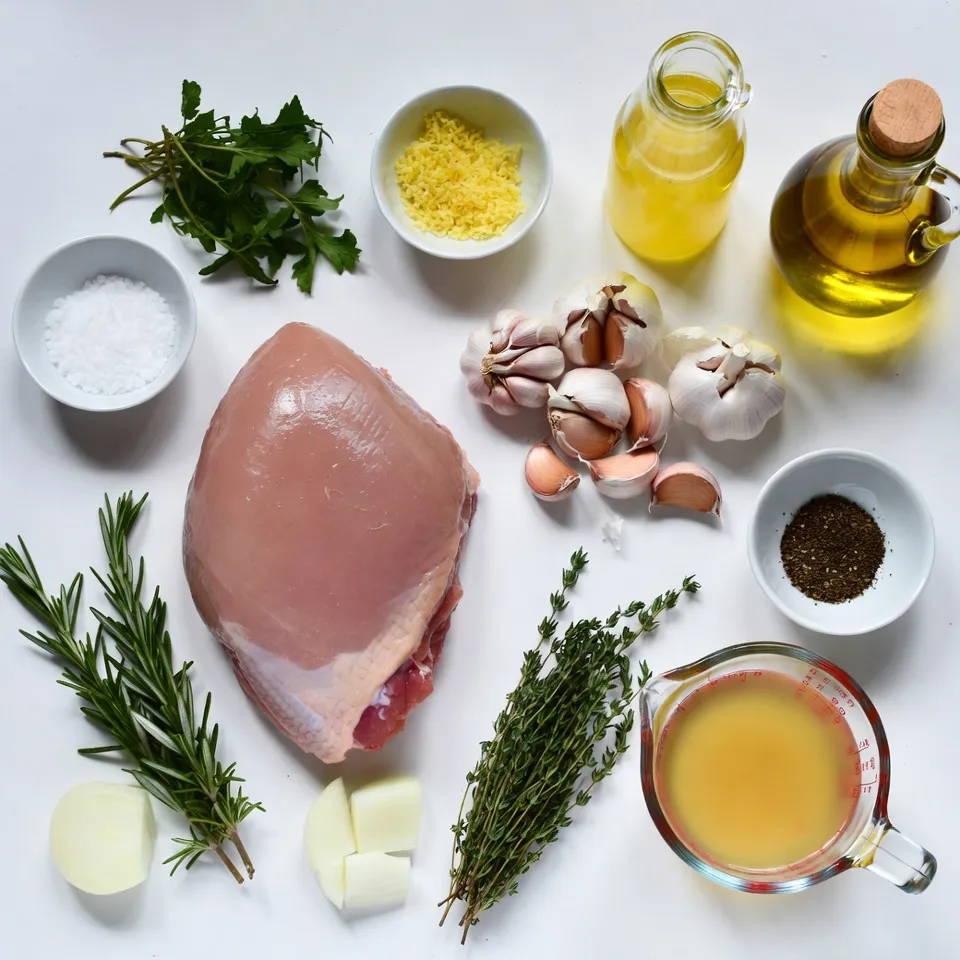
Main Ingredients for Garlic Herb Roasted Turkey Breast
– 1 boneless turkey breast (about 3-4 pounds)
– 5 cloves garlic, minced
– 1/4 cup fresh rosemary, finely chopped
– 1/4 cup fresh thyme, finely chopped
– 1/4 cup olive oil
– 2 teaspoons salt
– 1 teaspoon black pepper
– 1 tablespoon lemon zest
– 1 tablespoon fresh lemon juice
– 1 medium onion, quartered
– 2 cups low-sodium chicken broth
When making Garlic Herb Roasted Turkey Breast, you need a good turkey breast. I suggest a boneless turkey breast weighing around three to four pounds. This size cooks evenly and stays moist.
The garlic adds a rich flavor. Fresh rosemary and thyme bring a wonderful herbal note. Olive oil helps the herbs stick and keeps the meat juicy. Salt and black pepper add the right amount of seasoning. Lemon zest and juice brighten the dish and balance the flavors. The onion adds sweetness and depth.
Essential Seasonings and Marinade
To make the herb paste, mix minced garlic, chopped rosemary, thyme, olive oil, salt, black pepper, lemon zest, and lemon juice. This mix packs a punch! It infuses the turkey with flavor and keeps it from drying out. Rub half of the paste under the turkey skin. Spread the rest on the outside.
This method helps the herbs flavor the meat. It also creates a flavorful crust as the turkey roasts. The chicken broth in the pan helps keep the meat moist during cooking.
Recommended Equipment & Utensils
You need some basic tools to make this dish. Here’s what I recommend:
– Roasting pan
– Meat thermometer
– Small bowl for mixing the herb paste
– Paper towels for drying the turkey
– Basting brush for the juices
A good meat thermometer is key. It helps ensure your turkey reaches the safe temperature of 165°F (74°C). Use a roasting pan that holds the turkey and broth well. This keeps everything neat and easy.
With these ingredients and tools, you are ready to create a juicy and flavorful garlic herb roasted turkey breast!
Step-by-Step Instructions
Prepping the Turkey Breast
Start by preheating your oven to 375°F (190°C). This step helps cook the turkey evenly. Next, take your boneless turkey breast and pat it dry with paper towels. Drying the meat is key. It allows the skin to get crispy.
Carefully loosen the skin from the breast. Do this gently so you do not rip it. Create small pockets under the skin. This is where you will add flavor.
Creating the Herb Paste
Now, let’s make the herb paste. In a small bowl, combine five minced garlic cloves, 1/4 cup of finely chopped rosemary, and 1/4 cup of finely chopped thyme. Add 1/4 cup of olive oil, 2 teaspoons of salt, and 1 teaspoon of black pepper.
Then, mix in 1 tablespoon of lemon zest and 1 tablespoon of fresh lemon juice. This paste gives the turkey a bright and fresh taste.
Take half of the herb paste and squeeze it under the skin. Use your fingers to spread it around. Rub the rest of the paste on the outside of the turkey.
Roasting the Turkey to Perfection
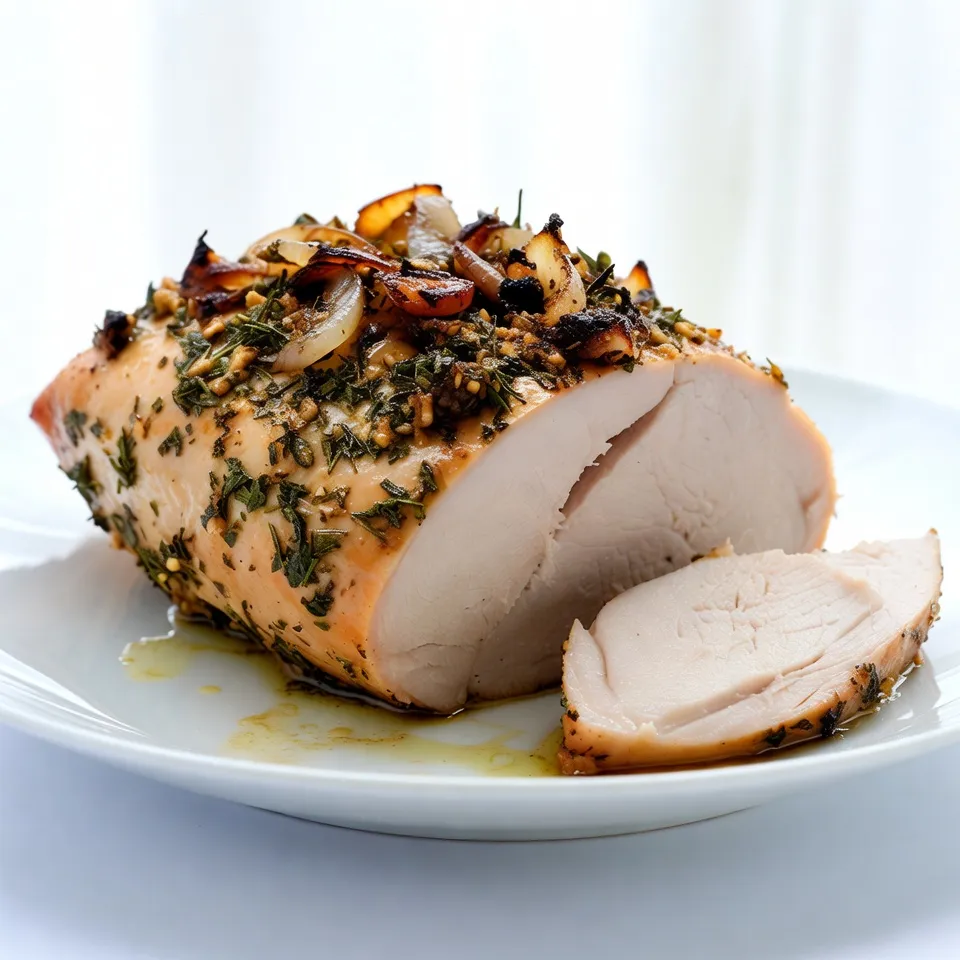
Place a quartered onion in the bottom of a roasting pan. Set the turkey breast on top of the onions. Pour in 2 cups of low-sodium chicken broth. This broth keeps the turkey moist while cooking.
Roast the turkey in your preheated oven for about 1.5 to 2 hours. Check that the internal temperature reaches 165°F (74°C). Baste the turkey with pan juices every 30 minutes. This adds more flavor and keeps it juicy.
When done, take the turkey out and let it rest for 15 to 20 minutes. This helps lock in all the juices. Slice the turkey and serve it with the pan juices on top for extra flavor. Enjoy your delicious garlic herb roasted turkey breast!
Tips & Tricks
Basting for Extra Flavor
Basting adds flavor and moisture to your turkey breast. I recommend basting every 30 minutes. Use the pan juices and spoon them over the turkey. This keeps the meat juicy and enhances the herb flavors. Plus, it gives the skin a lovely golden color. Don’t skip this step; it makes a huge difference!
Resting Time Importance
Resting time might seem unimportant, but it’s crucial. After roasting, let your turkey breast rest for 15 to 20 minutes. This allows the juices to settle back into the meat. If you cut too soon, juices flow out, and the turkey can dry out. Trust me, waiting is worth it for juicy slices!
Achieving the Perfect Temperature
The key to a perfect turkey breast is temperature. Use a meat thermometer to check the internal temperature. Aim for 165°F (74°C) in the thickest part of the meat. This ensures safety and juiciness. If your turkey breast is not done, roast it a bit longer. Keep checking every 10 minutes until it reaches the right temperature.
Pro Tips
- Resting is Essential: Allow the turkey to rest after roasting to ensure the juices redistribute, resulting in a more flavorful and moist meat.
- Use a Meat Thermometer: To ensure perfect doneness, use a meat thermometer to check that the internal temperature reaches 165°F (74°C).
- Customize the Herbs: Feel free to experiment with different herbs, such as sage or parsley, to create a unique flavor profile that suits your taste.
- Save the Pan Juices: Don’t discard the pan juices after roasting; they can be used to make a delicious gravy or sauce to serve alongside the turkey.
Variations
Herb Substitutions
You can change herbs to suit your taste. If you don’t have rosemary, use sage or tarragon. Both add a nice flavor to the turkey. Thyme can be swapped for oregano or basil. Each herb gives a unique twist to the dish. Feel free to mix and match. Just keep the amounts the same for best results.
Using Spices for a Flavor Twist
Spices can also add fun flavors. Try adding paprika for a smoky touch. You can use cumin for a warm, earthy flavor. A pinch of cayenne gives a nice kick if you like heat. Experiment with your favorite spices. This can change the whole vibe of the dish, making it truly yours.
Side Dishes to Complement the Turkey
Pair your turkey with simple sides that shine. Roasted vegetables like carrots and Brussels sprouts work great. A fresh salad with lemon vinaigrette adds brightness. Mashed potatoes or rice soak up the tasty juices. You might also serve cranberry sauce for a sweet touch. These sides will make your meal even more special.
Storage Info
How to Store Leftover Turkey
To keep leftover turkey fresh, place it in an airtight container. Make sure to cool the turkey to room temperature first. If you have slices, layer them with parchment paper to keep them from sticking. Store the container in the fridge for up to three days. If you want to keep it longer, consider freezing.
Reheating Tips for Best Results
When reheating turkey, avoid drying it out. Preheat your oven to 325°F (163°C). Place the turkey in a baking dish. Add a splash of chicken broth or water to keep it moist. Cover the dish with foil to trap steam. Heat for about 20-30 minutes or until warmed through. Check that it reaches 165°F (74°C) before serving.
Freezing Options and Guidelines
Freezing turkey is a great way to save it for later. Wrap slices tightly in plastic wrap, then place them in a freezer bag. Remove as much air as possible before sealing. You can freeze turkey for up to three months. When ready to eat, thaw it in the fridge overnight before reheating.
FAQs
How long should I roast a turkey breast per pound?
You should roast a turkey breast for about 20 to 25 minutes per pound. For example, if your turkey breast weighs 4 pounds, roast it for 1.5 to 2 hours. Always check the internal temperature. It should reach 165°F (74°C) for safe eating. This ensures the meat is juicy and cooked through.
Can I use frozen turkey breast for this recipe?
Yes, you can use a frozen turkey breast, but it needs to be thawed first. Thaw it in the fridge for 24 hours for every 5 pounds. Never thaw it at room temperature. This keeps bacteria from growing. Once thawed, you can follow the same steps in the recipe.
What’s the best way to know if my turkey is done cooking?
The best way to check if your turkey is done is to use a meat thermometer. Insert it into the thickest part of the breast. It should read 165°F (74°C). Another way is to check if the juices run clear when you cut into it. If they are pink, the turkey needs more time.
You learned how to cook a flavorful garlic herb roasted turkey breast. I shared key ingredients, step-by-step instructions, tips, and storage information. Each detail helps you roast the turkey to perfection. Remember, resting your turkey makes it juicier. Explore your own herb choices and side dishes. After all, roasted turkey is great for any meal. Use these ideas to impress others and enjoy. You now hold the recipe to delicious turkey at home. Happy cookin