Are you ready to impress your family with a simple yet delicious meal? Garlic Parmesan Crusted Tilapia is the perfect dinner choice! With its crispy crust and rich flavor, this dish is sure to satisfy everyone at your table. In this blog post, I’ll share easy steps, helpful tips, and even options for variations. Let’s dive into making a meal you’ll want to cook again and again!
Why I Love This Recipe
- Quick and Easy: This recipe takes only 25 minutes from start to finish, making it perfect for busy weeknights.
- Flavorful Crust: The combination of garlic and Parmesan creates a deliciously crunchy topping that elevates the mild flavor of tilapia.
- Healthy Option: Tilapia is a lean source of protein, and this recipe uses olive oil and fresh ingredients to keep it light and nutritious.
- Versatile Pairing: This dish pairs beautifully with a variety of sides, from salads to roasted vegetables, allowing for endless meal combinations.
Ingredients
List of Essential Ingredients
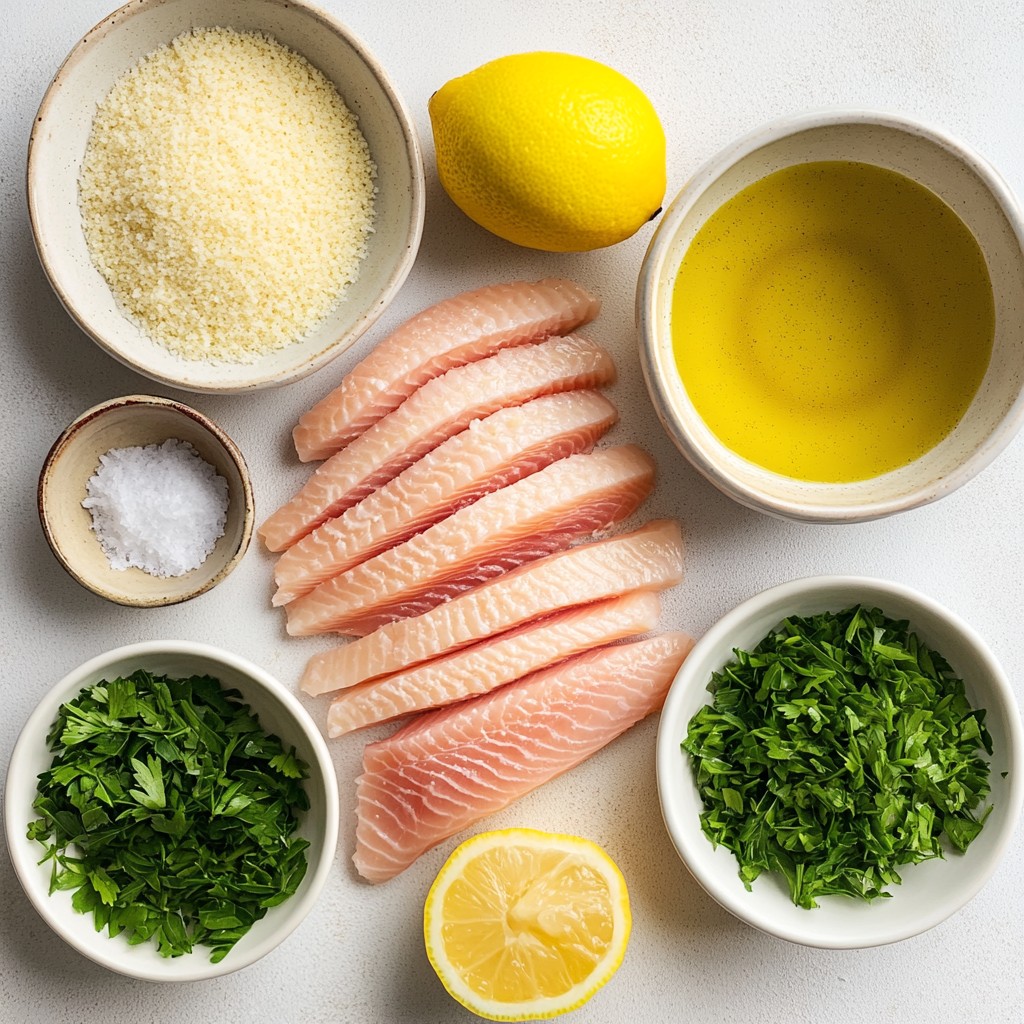
To make Garlic Parmesan Crusted Tilapia, you need the following items:
- 4 tilapia fillets
- 1 cup breadcrumbs (panko works best for crunch)
- 1/2 cup grated Parmesan cheese
- 3 cloves garlic, minced
- 1/4 cup fresh parsley, chopped
- 1 lemon (zest and juice)
- 1/4 cup olive oil
- Salt and pepper to taste
These ingredients come together to create a tasty dish that is both easy and quick.
Ingredient Substitutions
If you don’t have panko, regular breadcrumbs can work. For a nutty flavor, try almond flour instead of breadcrumbs. You can swap tilapia for other white fish like cod or haddock. If you lack fresh parsley, dried parsley can be a substitute. For a lighter option, use low-fat cheese or leave it out completely.
Notes on Freshness and Quality
Always choose fresh tilapia fillets. Look for clear eyes and bright skin. If possible, buy fish from a trusted source. Fresh garlic is key for strong flavor. Use firm lemons for more juice. Fresh parsley gives a bright taste, so use it if you can. Quality ingredients make a big difference in this dish.
Step-by-Step Instructions
Preheating the Oven
Start by preheating your oven to 400°F (200°C). This step is key for cooking the fish evenly. While the oven heats, line a baking sheet with parchment paper. This makes cleanup a breeze.
Preparing the Breadcrumb Mixture
In a bowl, mix 1 cup of breadcrumbs, 1/2 cup of grated Parmesan cheese, 3 minced garlic cloves, and 1/4 cup of chopped parsley. Stir well until combined. This mixture adds great texture and flavor to your tilapia.
Coating the Tilapia Fillets
In another bowl, whisk together 1/4 cup of olive oil, the juice of 1 lemon, and the lemon zest. Add salt and pepper to taste. Dip each tilapia fillet into the olive oil mix, making sure it's well coated. This adds moisture and helps the breadcrumbs stick.
Baking the Tilapia
Place the coated tilapia fillets on the prepared baking sheet. Evenly sprinkle the breadcrumb mixture on top of each fillet. Press down lightly to ensure it sticks. Bake in the preheated oven for 12-15 minutes. The fish should flake easily with a fork and the crust should be golden brown.
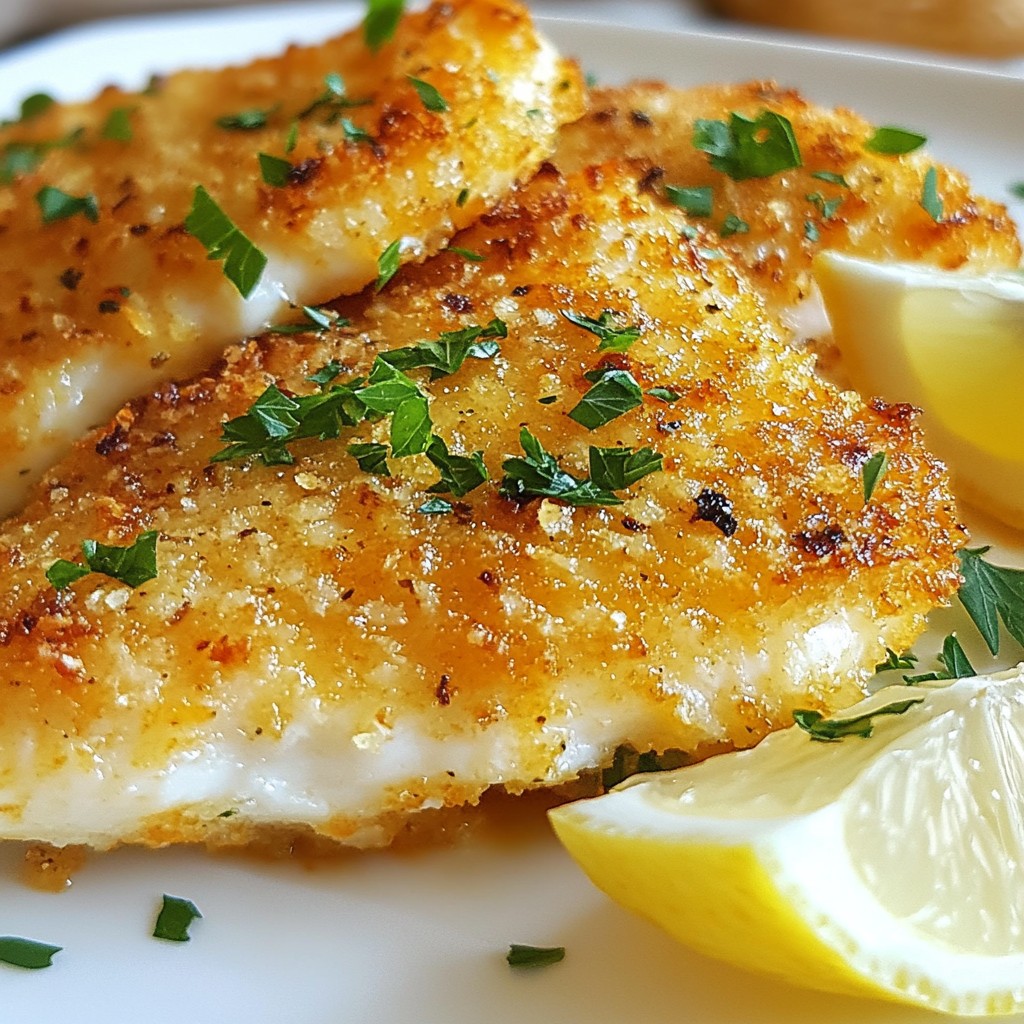
Serving Suggestions
Once baked, take the tilapia out and let it rest for a couple of minutes. Serve it on a platter with lemon wedges and a sprinkle of fresh parsley. Pair it with a side salad or some roasted veggies for a full meal. Enjoy your delicious Garlic Parmesan Crusted Tilapia!
Tips & Tricks
Achieving the Perfect Crust
To get that perfect crust on your tilapia, use panko breadcrumbs. They give a nice crunch. Mix the breadcrumbs with grated Parmesan cheese, minced garlic, and chopped parsley. This adds flavor and texture. Press the mixture down lightly on the fish to help it stick. Bake until the crust is golden brown for the best results.
Flavor Enhancements
You can boost the flavor of your dish easily. Add lemon zest and juice to the breadcrumb mix. This brightens the taste and adds freshness. You might also try mixing in some spices, like paprika or Italian herbs. These can take your tilapia to the next level. Fresh herbs like dill or basil can also add a nice touch.
Cooking Time and Temperature Adjustments
Cooking at 400°F works well for tilapia. It ensures even cooking and a crispy crust. Bake the fish for 12-15 minutes. Check for doneness by seeing if the fish flakes easily with a fork. If your fillets are thicker, you may need a few extra minutes. Always keep an eye on the crust to avoid burning.
Pro Tips
- Use Fresh Ingredients: For the best flavor, use fresh garlic and parsley. Fresh ingredients can elevate the taste of your dish significantly.
- Adjust the Breadcrumbs: If you prefer a different texture, try using crushed crackers or cornmeal instead of breadcrumbs for a unique twist.
- Check for Doneness: Ensure the tilapia is fully cooked by checking that it flakes easily with a fork. Avoid overcooking to prevent dryness.
- Experiment with Seasoning: Feel free to add additional spices or herbs to the breadcrumb mixture, such as cayenne pepper for heat or thyme for an earthy flavor.
Variations
Alternative Proteins
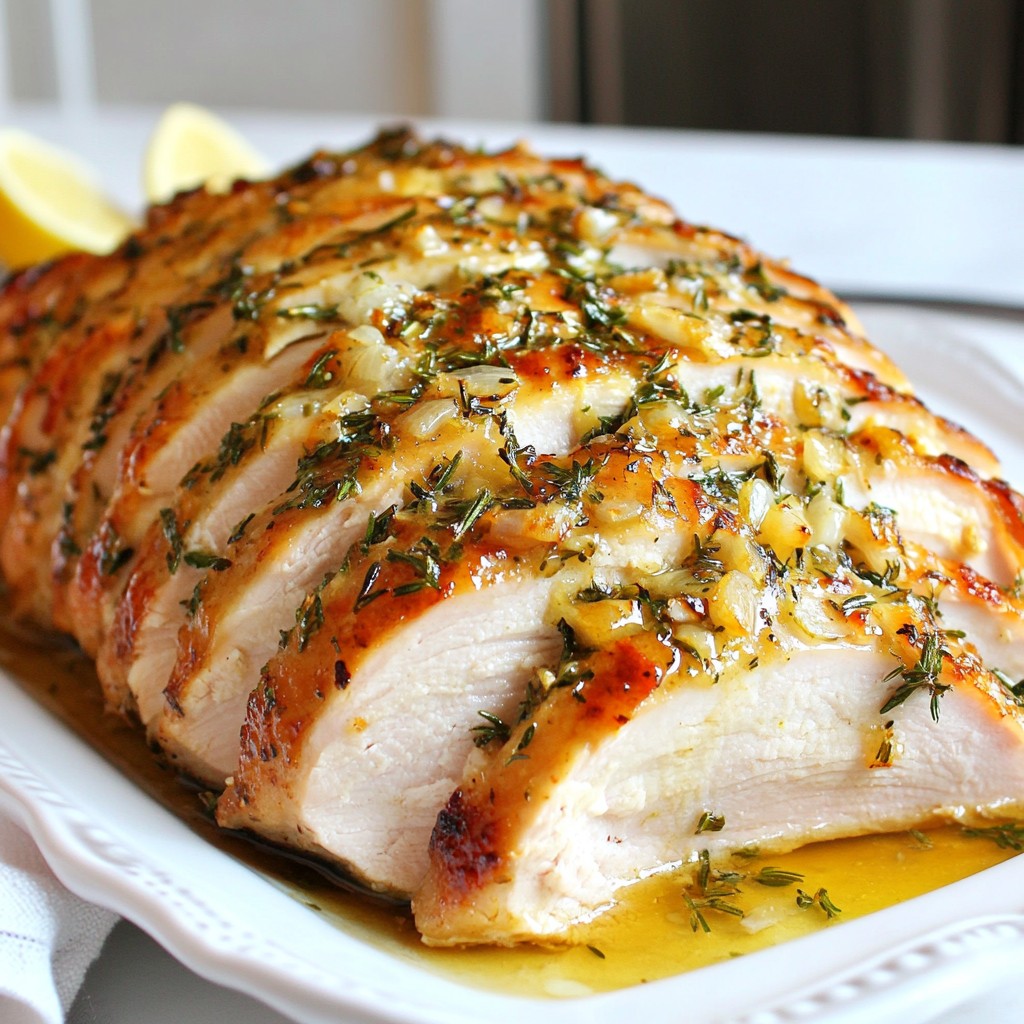
You can swap tilapia with other fish, like cod or haddock. Both have a mild taste. Chicken breasts also work well. They can soak in the garlic and Parmesan flavors nicely. If you prefer shellfish, shrimp can be a fun option. Just adjust the cooking time since shrimp cooks quickly.
Gluten-Free Options
To make this dish gluten-free, use gluten-free breadcrumbs. Many brands sell these at stores. You can also crush gluten-free crackers or cornflakes for a crunchy topping. Both options will still give you a nice crust. Make sure to check the labels to avoid hidden gluten.
Different Seasoning Ideas
You can switch up the flavors with different herbs and spices. Try adding some paprika for a smoky touch. Fresh dill or thyme pairs well with fish, too. If you like heat, sprinkle some cayenne pepper in the mix. You can even use Italian seasoning for a classic taste. Experiment to find your favorite combination!
Storage Info
How to Store Leftovers
After enjoying your Garlic Parmesan Crusted Tilapia, store any leftovers in an airtight container. This keeps the fish fresh. Place it in the fridge. It will stay good for up to three days. Make sure to let it cool first. This helps avoid sogginess in the crust.
Reheating Instructions
To reheat leftovers, preheat your oven to 350°F (175°C). Place the tilapia on a baking sheet. Cover it with foil to keep it moist. Bake for about 10 minutes. Check if it's warm all the way through. You can also reheat it in the microwave. Use a low power setting for best results.
Freezing Tips
If you want to freeze your tilapia, wrap each fillet tightly in plastic wrap. Then place them in a freezer bag. Label the bag with the date. The tilapia can stay in the freezer for up to two months. When you're ready to eat, thaw it in the fridge overnight before reheating.
FAQs
What can I serve with Garlic Parmesan Crusted Tilapia?
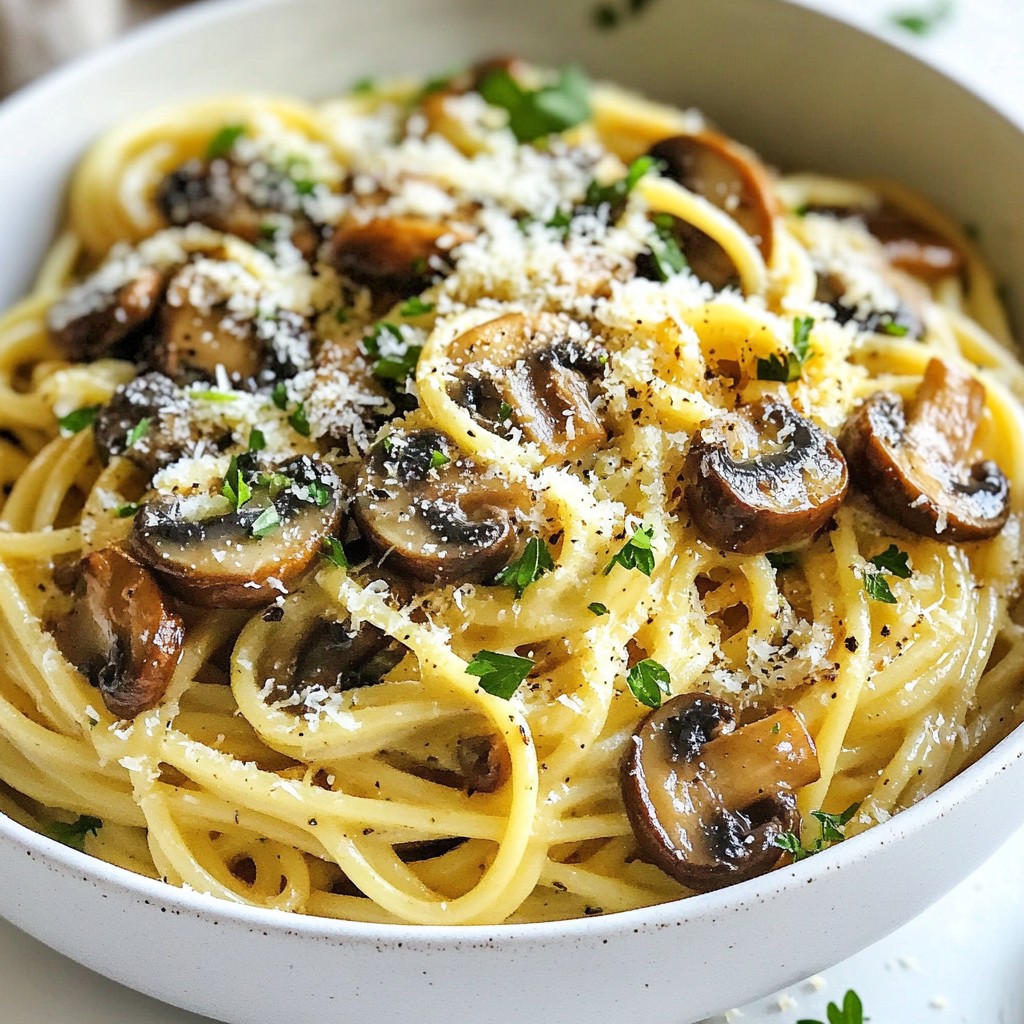
You can serve Garlic Parmesan Crusted Tilapia with many sides. Think about a fresh salad, roasted veggies, or rice. A simple arugula salad with lemon dressing pairs nicely too. You could also serve it with mashed potatoes for a hearty meal. Lemon wedges add a burst of flavor and color to the plate.
How do I know when tilapia is cooked?
Tilapia is cooked when it flakes easily with a fork. It should look opaque and white, not translucent. The internal temperature should reach 145°F (63°C). Use a meat thermometer to check if you want to be precise.
Can I use other types of fish for this recipe?
Yes, you can use other fish for this recipe. Cod, haddock, or even salmon work well. Just keep in mind that cooking times may vary. Use the same coating and baking method for best results. Adjust the cooking time based on the thickness of the fish.
How do I make it dairy-free?
To make Garlic Parmesan Crusted Tilapia dairy-free, skip the Parmesan cheese. You can use nutritional yeast for a cheesy flavor. Another option is to replace Parmesan with a dairy-free cheese. Just make sure to check the labels for any hidden dairy ingredients.
This post covered key ingredients and step-by-step instructions for Garlic Parmesan Crusted Tilapia. I shared tips for perfecting the dish and variations for different diets. Proper storage methods keep your leftovers fresh and tasty.
Cooking should be fun and easy. Use this guide to create a meal everyone loves. Enjoy experimenting with flavors and variations. Your kitchen can be a place for creativity and joy!