Looking for a tasty snack that’s super easy to make? You’re in the right place! My Garlic Parmesan Knots are the perfect blend of buttery goodness and savory flavor. With simple ingredients and quick steps, you’ll whip these up in no time. Whether for a party or a cozy night in, these knots will impress everyone. Get ready to elevate your snack game with this delicious recipe!
Ingredients
List of Ingredients
– 1 package pizza dough (store-bought or homemade)
– 4 tablespoons unsalted butter, melted
– 4 cloves garlic, minced
– 1/4 cup grated Parmesan cheese
– 2 tablespoons fresh parsley, chopped
– 1 teaspoon dried oregano
– 1/2 teaspoon salt
– 1/4 teaspoon black pepper
– Extra Parmesan cheese for sprinkling (optional)
The key to great Garlic Parmesan Knots lies in using fresh ingredients. You can find pizza dough at your local store, or you can make it at home if you prefer. The choice is yours!
Butter is vital for flavor. I always choose unsalted butter for control over salt. Minced garlic adds that bold taste we crave. I usually use four cloves, but you can adjust this if you want less garlic.
Grated Parmesan cheese is a must-have. It gives the knots a rich flavor. I also love adding fresh parsley for color and a bit of freshness. Dried oregano, salt, and black pepper round out the flavor nicely.
If you’re a cheese lover, sprinkle extra Parmesan on top before baking. It adds a delightful crunch and extra taste.
Gather all these ingredients, and you’re ready to make the best Garlic Parmesan Knots!
Step-by-Step Instructions
Preparation Steps
1. Preheat oven and prepare baking sheet
First, set your oven to 425°F (220°C). This heat makes the knots crispy. Line a baking sheet with parchment paper. This helps with easy cleanup.
2. Combine melted butter and seasonings
In a small bowl, mix 4 tablespoons of melted butter with 4 minced garlic cloves, 2 tablespoons of chopped parsley, 1 teaspoon of dried oregano, 1/2 teaspoon salt, and 1/4 teaspoon black pepper. Stir it well. This mix gives the knots great flavor.
3. Roll out pizza dough and cut into strips
On a floured surface, roll out 1 pound of pizza dough into a rectangle. Aim for about 1/2 inch thick. Cut the dough into strips, each about 1 inch wide and 4 inches long. This size is perfect for tying knots.
Forming the Knots
4. Tying knots and placing on baking sheet
Take each strip of dough and tie it into a knot. Tuck the ends under the knot to keep it secure. Place each knot on the prepared baking sheet, leaving space between them. This helps them bake evenly.
Baking the Knots
5. Brushing knots with garlic butter mixture
Brush each knot with the garlic butter mix. Make sure every knot is well-coated. This adds a tasty layer.
6. Sprinkling Parmesan cheese before baking
Evenly sprinkle 1/4 cup of grated Parmesan cheese over the knots. You can add more cheese if you like.
7. Baking time and cooling process
Bake the knots for 12-15 minutes. They should be golden brown and puffed up. After baking, let them cool for a few minutes. Brush with any leftover garlic butter for extra flavor. Enjoy the warm, cheesy goodness!
Tips & Tricks
Perfecting the Knots
To tie consistent knots, use strips of dough that are even in size. I cut each strip to about 1 inch wide and 4 inches long. When tying, start by making a simple loop, then pull one end through the center. Tuck the ends underneath to keep them secure. This helps them hold their shape while baking. Make sure your oven is preheated to 425°F. This ensures even baking. Place the knots apart on the baking sheet so they have room to rise.
Enhancing Flavor
To boost flavor, consider adding more herbs. Fresh basil or thyme can bring a nice twist. You can also mix different cheeses. Try mixing mozzarella with Parmesan for a creamy taste. If you like a kick, add crushed red pepper or garlic powder. These small changes can make a big difference in taste.
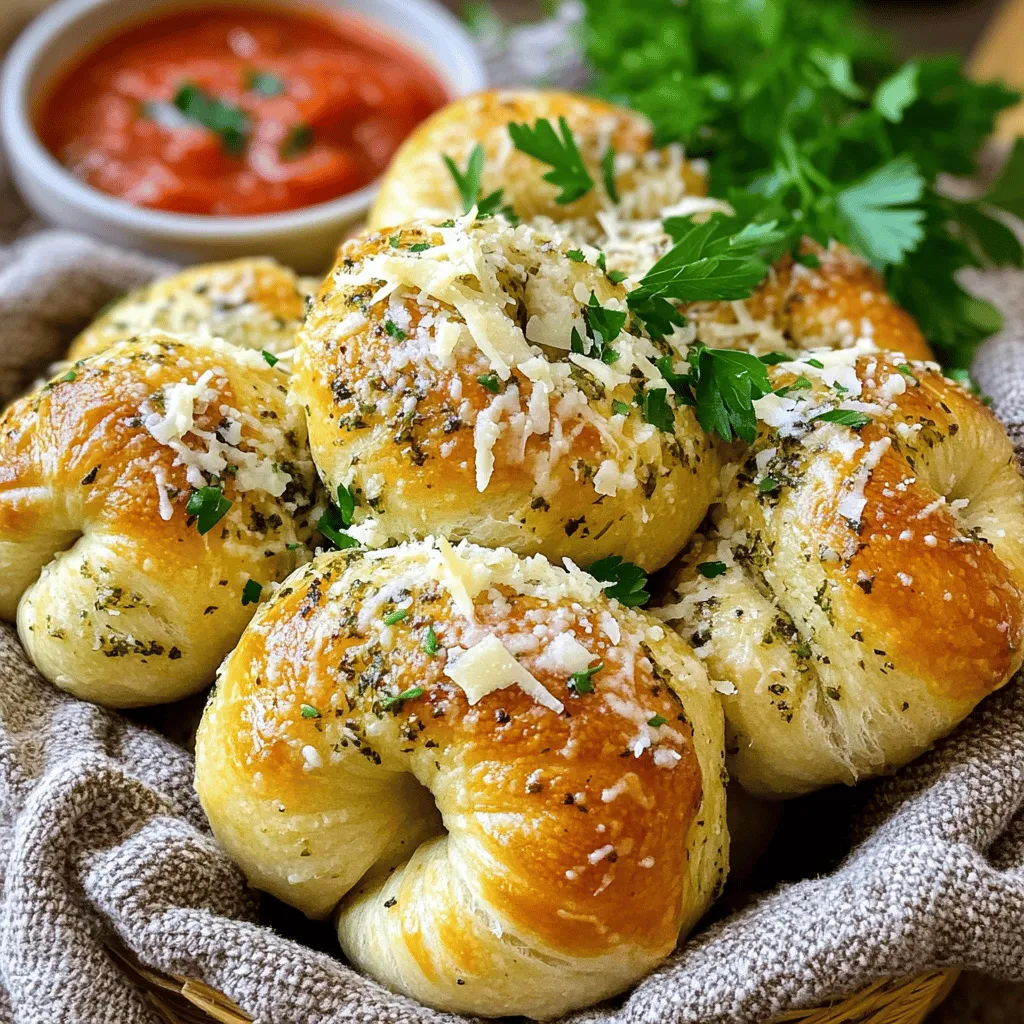
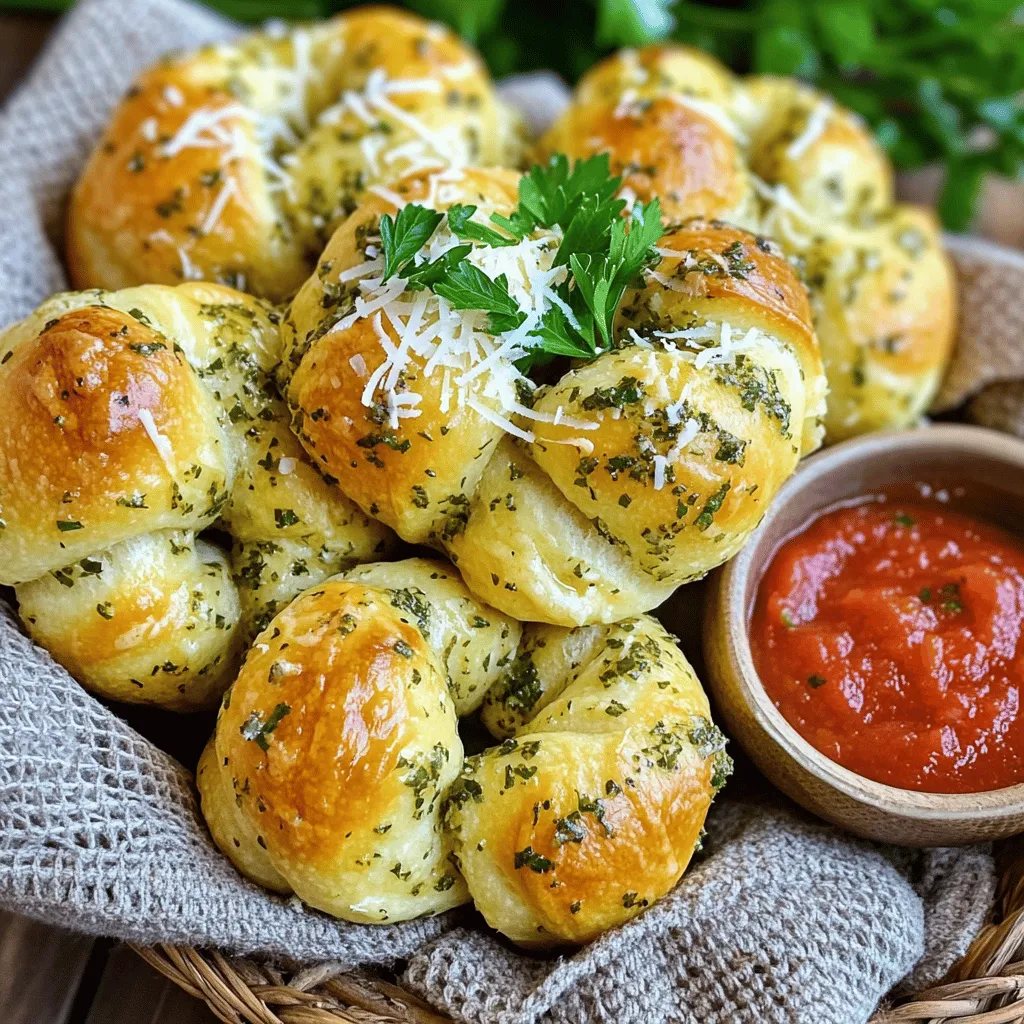
Serving Suggestions
Garlic Parmesan knots shine when served warm. A warm basket lined with a cloth keeps them fresh. Pair them with marinara sauce for dipping. It adds a nice touch. For a pop of color, sprinkle fresh parsley on top. This makes your dish look even more inviting.
Variations
Add-Ins and Mix-Ins
You can change up your garlic knots by adding different cheeses. Cheddar, mozzarella, or even feta can bring new flavor. Mix in spices like crushed red pepper for a kick. You can also add herbs like thyme or rosemary for extra aroma. These little tweaks keep the recipe fresh and exciting.
Dough Alternatives
If you need a gluten-free option, try using gluten-free pizza dough. Many stores sell good quality gluten-free dough now. Homemade dough can also be gluten-free if you use the right flour. Store-bought dough is quick and easy, while homemade gives a personal touch. Both can make tasty garlic knots.
Cooking Methods
You can cook garlic knots in an air fryer for a crispy finish. Set the air fryer to 375°F and cook for about 8 to 10 minutes. This method needs less fat and cooks faster. If you prefer slow cooking, bake them at a lower heat. Just make sure to check them often, so they don’t burn. Each method offers its unique texture and flavor.
Storage Info
Storing Leftovers
After baking, let your garlic Parmesan knots cool completely. This helps keep them from getting soggy. Place them in an airtight container. You can store them in the fridge for up to three days. If you want to keep them longer, consider freezing.
Reheating Instructions
To reheat, preheat your oven to 350°F (175°C). Place the knots on a baking sheet. Heat for about 10 minutes or until warm. This method keeps them crispy. You can also microwave them for 20-30 seconds, but they might get soft.
Freezing Garlic Parmesan Knots
To freeze, wrap the knots tightly in plastic wrap. Then, place them in a freezer-safe bag. They can stay frozen for up to three months. When you’re ready to eat, thaw them in the fridge overnight. Reheat them in the oven for the best results. Enjoy your tasty knots anytime!
FAQs
Common Questions about Garlic Parmesan Knots
Can I use pre-made garlic butter?
Yes, you can use pre-made garlic butter. It saves time and adds flavor. Just brush it on before baking. You may want to add more Parmesan to enhance the taste.
How do I store baked garlic knots?
To store baked garlic knots, let them cool first. Place them in an airtight container. They can last for up to three days in the fridge. You can also wrap them tightly in foil for longer freshness.
What dips pair well with Garlic Parmesan Knots?
Garlic Parmesan knots go well with marinara sauce for dipping. You can also try ranch dressing or garlic aioli. These dips add a fun twist to your meal.
Can I make these knots ahead of time?
Yes, you can prepare the knots ahead of time. Just shape and place them on the baking sheet, then cover with plastic wrap. Keep them in the fridge for a few hours. Bake them right before serving for fresh, warm knots.
You learned how to make tasty Garlic Parmesan Knots from start to finish. We covered each ingredient, preparation steps, and baking tips. You also found fun ways to enhance the flavor and serve them nicely. Remember, practice makes perfect, so don’t worry if they’re not perfect right away. Enjoy trying different mixes and storing leftovers for later. These knots can add joy to any meal or snack time. Now, it’s time to get in the kitchen and make them!


