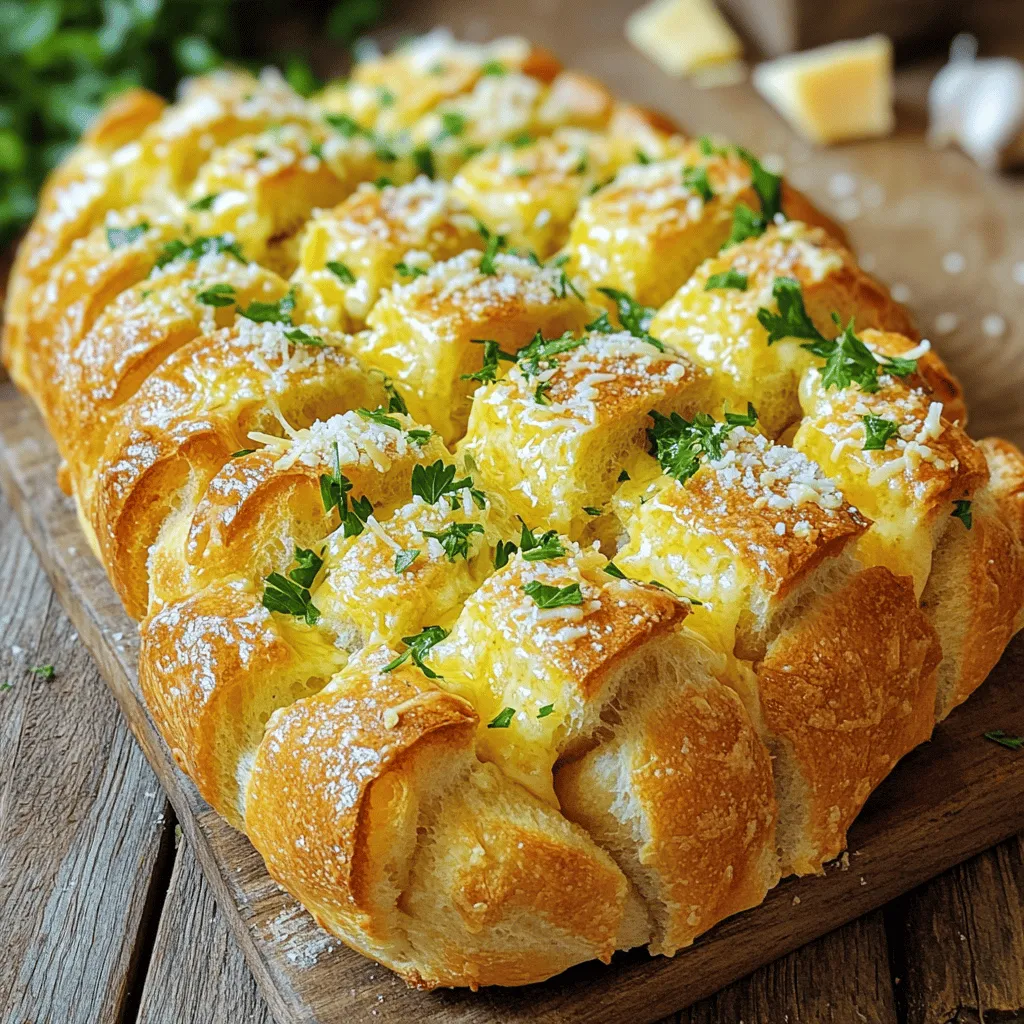
If you love garlic and cheese, you’ll adore this Garlic Parmesan Pull-Apart Bread. It’s warm, gooey, and simply delightful. In this easy recipe, I’ll guide you through each step, from mixing the dough to pulling apart the tasty pieces. Whether you want a snack, side dish, or appetizer, this bread fits any meal. Let’s dive into the ingredients and get baking something scrumptious!
Ingredients
Essential Ingredients for Garlic Parmesan Pull-Apart Bread
To make this tasty bread, you need a few key items:
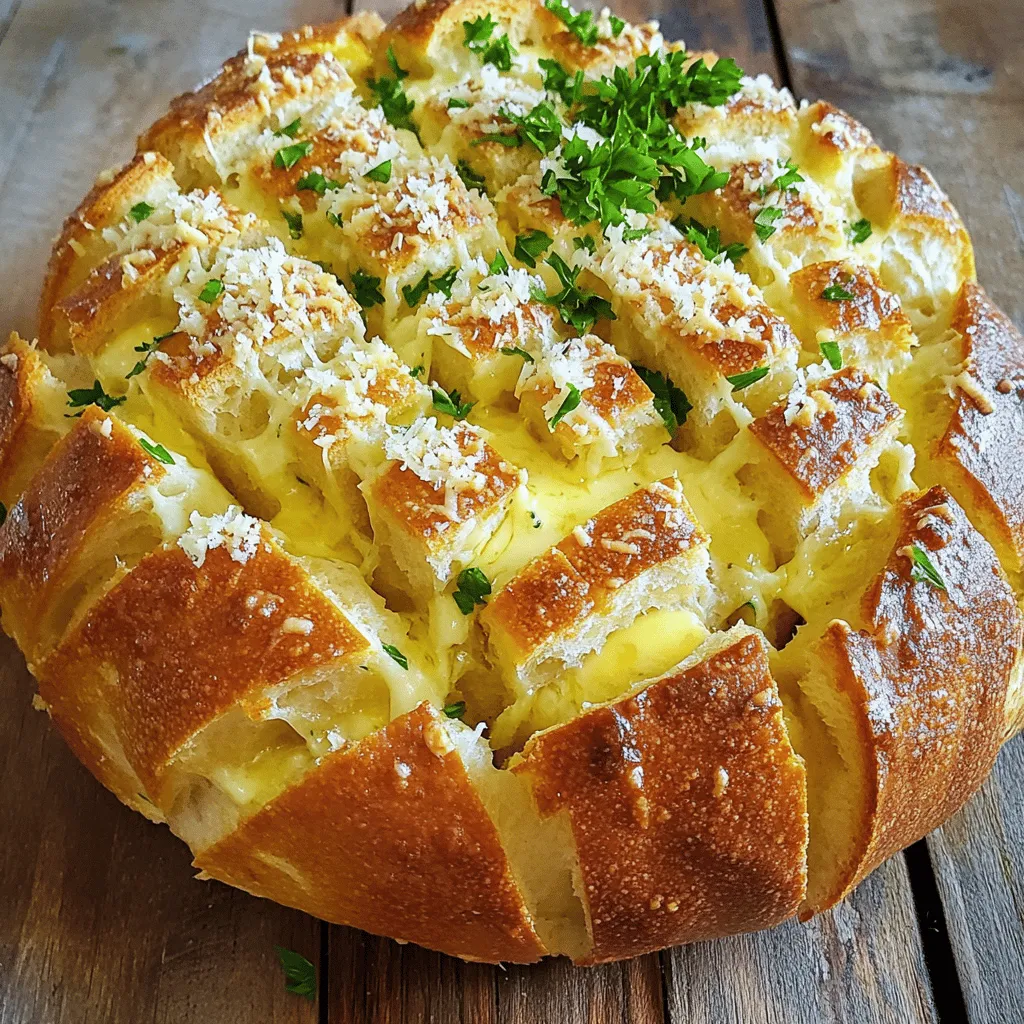
– 1 loaf of fresh Italian bread (round or rectangular)
– 8 tablespoons unsalted butter, melted
– 4 cloves garlic, minced
– 1 cup grated Parmesan cheese
– 2 tablespoons fresh parsley, chopped
– 1 teaspoon Italian seasoning
– 1/2 teaspoon salt
– 1/4 teaspoon black pepper
These ingredients come together to create a rich, flavorful pull-apart bread. The garlic and butter mix with the cheese, making each bite super cheesy.
Optional Ingredients for Extra Flavor
If you want to change up the taste a bit, you can add:
– 1/2 teaspoon red pepper flakes for heat
This extra kick makes the bread even more exciting. You can adjust the heat to your taste.
Substitutions for Common Ingredients
Not all ingredients have to be set in stone. Here are some easy swaps:
– Use garlic powder if you don’t have fresh garlic. One teaspoon works well.
– Try another cheese like mozzarella or cheddar if you want a different flavor.
– Swap fresh parsley for dried herbs if you don’t have fresh on hand.
These substitutions can help you use what you already have at home. Embrace your creativity in the kitchen!
Step-by-Step Instructions
Preparation Steps for the Dough
First, preheat your oven to 375°F (190°C). This helps the bread bake evenly. Next, take your loaf of fresh Italian bread. Carefully make cuts in the bread in a grid pattern. Make sure not to cut all the way through. You want small squares that will pull apart easily.
In a small bowl, mix the melted butter, minced garlic, Italian seasoning, salt, pepper, and optional red pepper flakes. This garlic butter mixture gives the bread its rich flavor. Use a brush to coat the insides of the cuts in the bread. Get that garlic butter into every crevice for maximum taste.
Baking Process
Now, sprinkle the grated Parmesan cheese over the bread. Press it slightly to make sure it sticks in the cuts. Place the bread on a baking sheet lined with parchment paper or foil. Cover the bread loosely with aluminum foil and bake for 15 minutes. This keeps the bread soft inside.
After 15 minutes, remove the foil. Bake for another 10-15 minutes or until the bread turns golden brown and crispy on the outside. Keep an eye on it to prevent burning. Once done, take the bread out of the oven.
Serving Suggestions for the Finished Bread
Sprinkle fresh parsley over the top for color and freshness. Serve the bread warm, pulling apart the pieces. Enjoy the cheesy, garlicky goodness. Pair it with your favorite dip or soup for a perfect meal.
Tips & Tricks
Best Practices for Cutting the Bread
When you cut the bread, use a sharp knife. Make cuts that form a grid pattern. Cut deep, but do not slice all the way through. Leave the base intact. This helps the bread stay together. Each piece will pull apart easily. Aim for about one-inch squares. This size allows for even flavor and crispy edges.
Ensuring the Garlic Butter Mixture is Perfect
To make the garlic butter mixture, melt the butter first. Add minced garlic and stir well. This step is key; the garlic needs to infuse. I like to add Italian seasoning, salt, and pepper. If you want heat, add red pepper flakes. Brush the mixture generously into every cut. Don’t hold back! The more garlic butter, the better the flavor.
How to Achieve the Best Texture
For the best texture, bake the bread covered for part of the time. This helps it cook through without burning. Then, remove the foil to let it crisp up. The bottom should be golden brown. The cheese should melt and create a nice crust. To finish, sprinkle fresh parsley on top. This adds a burst of color and flavor. Enjoy your warm, cheesy, and garlicky pull-apart bread!
Variations
Adding Different Cheeses for Flavor
You can switch up the cheese in this recipe. Try using mozzarella for a gooey pull. Cheddar adds a sharp bite that many love. You could even mix cheeses for a richer taste. A blend of mozzarella and parmesan gives both creaminess and a nice crisp.
Enhancing with Herbs and Spices
Adding herbs and spices can boost the flavor. Try fresh rosemary or thyme for an earthy touch. A sprinkle of oregano brings a classic Italian taste. Don’t forget about garlic powder for an extra garlic kick. You can also add a hint of cayenne for heat.
Vegan and Gluten-Free Alternatives
You can make this bread vegan by using plant-based butter and cheese. Look for vegan parmesan or another nut-based cheese. For gluten-free bread, choose a gluten-free loaf. There are many options now that taste great, so you won’t miss the gluten.
Storage Info
How to Store Leftover Bread
Once you enjoy your Garlic Parmesan Pull-Apart Bread, you may have leftovers. To store them, wrap the bread in plastic wrap or foil. This keeps the bread from drying out. Place it in a cool, dry place, like your kitchen counter. If you plan to eat it within two days, this method works well. For longer storage, consider freezing.
Reheating Tips for Maximum Freshness
When you’re ready to enjoy your leftover bread, reheating is key. Preheat your oven to 350°F (175°C). Unwrap the bread and place it on a baking sheet. Bake for about 10 minutes. This warms the bread and brings back its crispy texture. If you want a softer option, you can microwave it for 15-20 seconds. Just be careful not to overheat.
Freezing Garlic Parmesan Pull-Apart Bread
If you want to save your bread for later, freezing is a great option. Wrap the bread tightly in plastic wrap. Then, place it in a freezer bag. This helps prevent freezer burn. You can freeze it for up to three months. When you’re ready to eat it, let the bread thaw in the fridge overnight. After that, reheat using the oven for the best taste.
FAQs
How do I make Garlic Parmesan Pull-Apart Bread ahead of time?
You can prepare the bread a few hours in advance. Cut the loaf and mix the garlic butter. Brush the mixture into the cuts of the bread. Wrap it tightly in plastic wrap to keep it fresh. When you are ready to bake, just remove the wrap.This way, you save time when serving.
Can I use a different type of bread?
Yes, you can use many types of bread. French bread or sourdough work well. You can even try whole wheat bread for a different taste. Just make sure the bread has a good crust to hold the toppings. This helps keep the cheese and butter inside.
What dips pair well with this bread?
Many dips work great with this bread. Cheesy dips, like spinach or artichoke, add flavor. A simple marinara sauce gives a nice touch, too. You can also try ranch dressing or a garlic aioli. These dips will enhance the cheesy, garlicky flavor of the bread.
Can I add more cheese?
Absolutely! You can mix in mozzarella for extra stretch. Cheddar adds a sharp taste that pairs nicely. Just keep the balance of flavors in mind. Too much cheese can overwhelm the garlic and parsley notes.
How do I know when the bread is done baking?
The bread is done when it turns golden brown. You should also hear a nice crisp sound when you tap it. If you want a crunchier crust, leave it in the oven a little longer. Just keep an eye on it to avoid burning.
Can I make this bread spicy?
Yes, you can add heat easily! Just include red pepper flakes in the garlic butter mix. You can also use a spicy cheese, like pepper jack. This gives the bread a nice kick!
How do I keep this bread warm for a party?
To keep the bread warm, wrap it in aluminum foil after baking. Place it in a warm oven set to low heat. This will keep it warm without overcooking. Just be careful not to let it dry out.
What is the best way to serve this bread?
Serve the bread warm and fresh from the oven. Place it on a large platter for sharing. You can add small bowls of dips around it. This invites everyone to dig in and enjoy!
Garlic Parmesan pull-apart bread is simple and fun to make. We covered essential ingredients, easy steps, and helpful tips. You can add your favorite cheeses, herbs, or even go vegan. Proper storage lets you enjoy it later, too. Remember, the best bread has a crispy crust and soft middle. Try these recipes and make your family smile. Enjoy your cooking and tasty bread!


