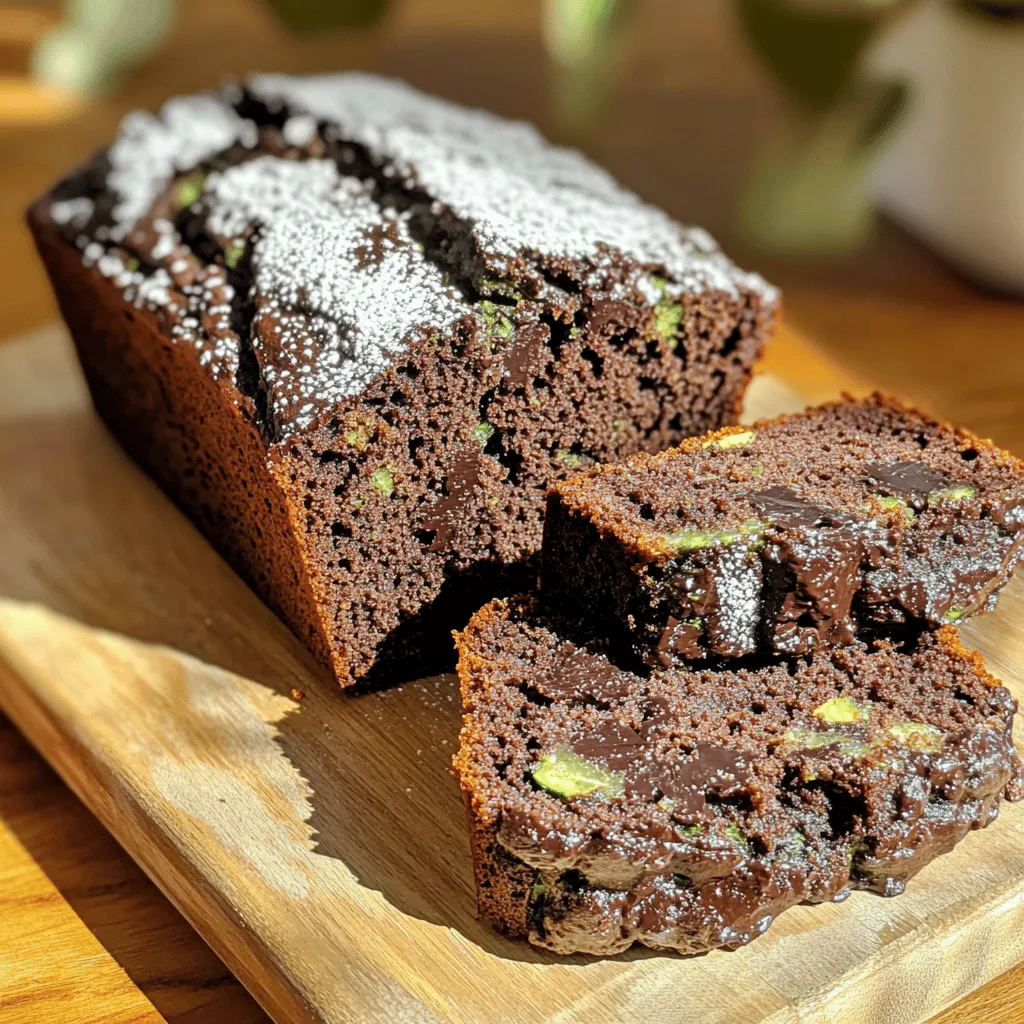
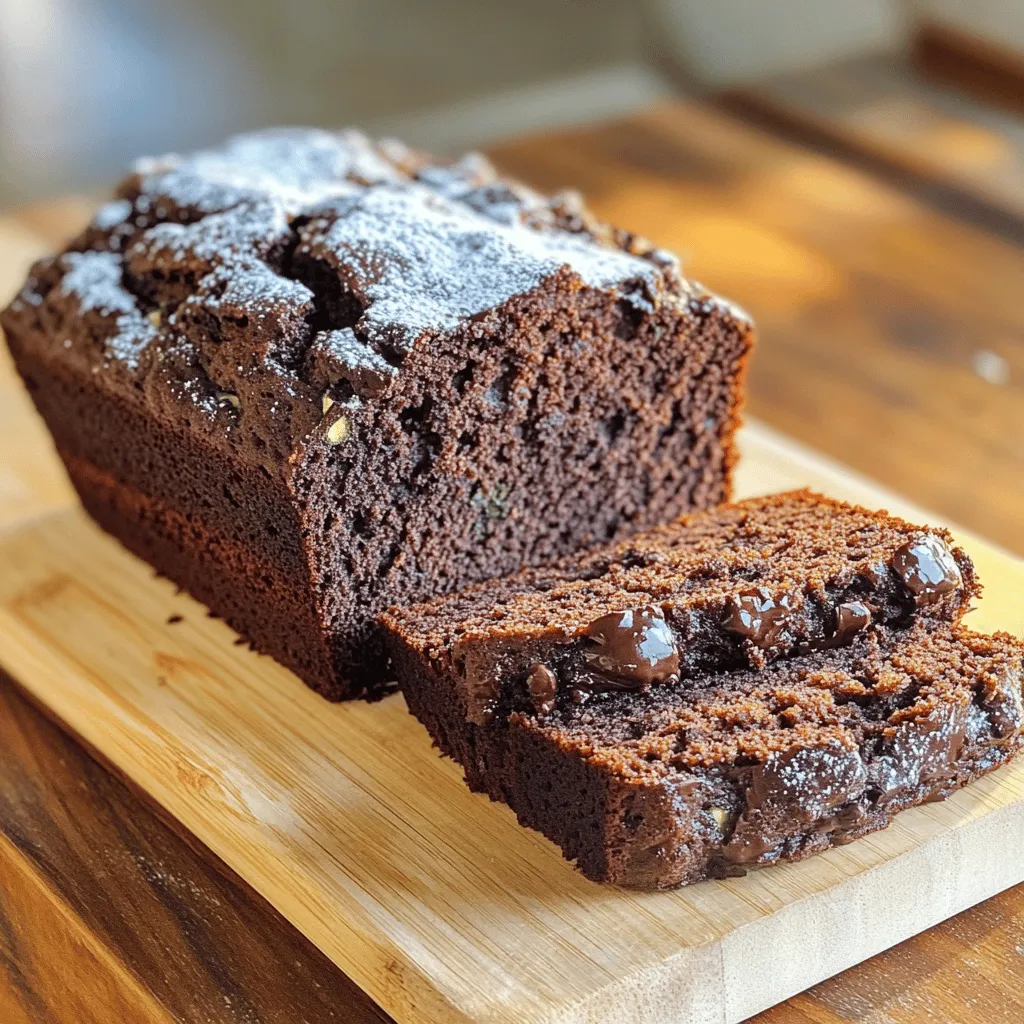
Looking for a quick and easy treat that’s both tasty and healthy? You’ve landed on the right recipe! My Healthy Chocolate Zucchini Bread combines rich chocolate flavor with nutrient-packed zucchini. It’s moist, satisfying, and simple to make. Whether you want a snack or a dessert, this bread hits the spot. Let’s dive into the ingredients and steps that will get you baking in no time!
Ingredients
Main Ingredients
– 1 medium zucchini, grated
– 1 cup whole wheat flour
– 1/2 cup unsweetened cocoa powder
– 1/2 teaspoon baking soda
– 1/2 teaspoon baking powder
– 1/4 teaspoon salt
– 1/2 cup maple syrup or honey
– 1/4 cup unsweetened applesauce
– 2 large eggs
– 1 tablespoon vanilla extract
These main ingredients form the base of our healthy chocolate zucchini bread. The grated zucchini adds moisture and nutrition without a strong flavor. Whole wheat flour and cocoa powder give it a rich, chocolatey taste while boosting fiber. The sweeteners, like maple syrup or honey, create a natural sweetness. Eggs help bind everything together.
Optional Ingredients
– 1/2 cup dark chocolate chips (optional)
– 1/4 cup chopped walnuts or pecans (optional)
You can enhance your bread with optional ingredients. Dark chocolate chips add a decadent touch. Chopped nuts offer a crunchy contrast to the soft bread. Both options make the dish more fun and tasty.
Ingredient Substitutions
– Alternative flours or sweeteners
– Dairy-free options
If you need to make changes, you can use different flours, like almond or oat flour. For sweeteners, you might try agave syrup or coconut sugar. If you want a dairy-free version, swap the eggs for flax eggs. Just mix one tablespoon of ground flaxseed with three tablespoons of water and let it sit for five minutes. This will make a great binding agent!
Step-by-Step Instructions
Preparation Steps
Start by prepping your zucchini. Grate one medium zucchini and set it aside. This will add moisture and nutrients to your bread. In a large bowl, mix the grated zucchini with 1/2 cup of maple syrup, 1/4 cup of unsweetened applesauce, 2 large eggs, and 1 tablespoon of vanilla extract. Stir until everything blends well.
Next, prepare your dry ingredients. In another bowl, whisk together 1 cup of whole wheat flour, 1/2 cup of unsweetened cocoa powder, 1/2 teaspoon of baking soda, 1/2 teaspoon of baking powder, and 1/4 teaspoon of salt. This mix will give your bread a nice rise and rich chocolate flavor. Slowly add this dry mixture to the wet ingredients. Stir gently until just combined. Be careful not to over mix, as this keeps your bread fluffy.
Baking Instructions
Now it’s time to bake! Pour the batter into a greased 9×5-inch loaf pan. Use a spatula to smooth the top. This helps it bake evenly. Preheat your oven to 350°F (175°C) before placing the pan inside. Bake the bread for 45 to 50 minutes. To check if it’s done, insert a toothpick into the center. If it comes out clean, your bread is ready!
Cooling and Serving
Once baked, remove the bread from the oven. Let it cool in the pan for 10 minutes. Then, transfer it to a wire rack to cool completely. This prevents sogginess. For a fun presentation, slice the bread and serve it warm. You can dust a little powdered sugar on top or spread some nut butter for extra flavor. Enjoy every bite!
Tips & Tricks
Baking Tips
To make your Healthy Chocolate Zucchini Bread moist, you need to use grated zucchini. Grate it finely and measure it after grating. This ensures you add the right amount. Zucchini adds moisture without a strong flavor, so don’t skip it.
Avoid overmixing the batter. Stir the wet and dry ingredients together gently. Mix just until you see no dry flour. Overmixing can make the bread dense and tough, not fluffy.
Flavor Enhancements
You can enhance the flavor by adding spices or extracts. Cinnamon or nutmeg pairs well with chocolate and zucchini. Just a pinch can elevate the taste.
Feel free to mix in dark chocolate chips or nuts. These add texture and extra flavor. Fold them in gently to keep your batter light and airy.
Nutritional Tips
Zucchini is a great source of vitamins and minerals. It adds fiber and helps keep the bread moist. This veggie also contains antioxidants, which are good for your health.
Using whole wheat flour boosts the nutrition. Whole grains provide more fiber than white flour. This makes your bread heartier and more filling. You can feel good about enjoying this tasty treat.
Variations
Flavor Variations
You can play with flavors in your healthy chocolate zucchini bread. Here are a couple of fun ideas:
– Chocolate mint zucchini bread: Add a few drops of peppermint extract. This gives a fresh, minty taste that pairs well with chocolate.
– Spicy chocolate zucchini bread: Mix in a dash of cayenne pepper or cinnamon. It adds warmth and a unique twist to the classic recipe.
Texture Variations
Changing the texture can make your bread even more exciting. Here are some options:
– Adding oats or seeds: Stir in rolled oats or chia seeds. This boosts fiber and gives a hearty bite to your bread.
– Adjusting thickness with additional ingredients: If you want a thicker bread, add more flour or cocoa powder. For a moister bread, try adding a bit more applesauce.
Dietary Variations
Making this recipe fit your diet is easy. Here are some suggestions:
– Gluten-free adjustments: Replace whole wheat flour with a gluten-free flour blend. This way, you can enjoy your bread without worry.
– Vegan alternatives: Swap out the eggs for flaxseed meal or applesauce. Use a plant-based sweetener like maple syrup to keep it vegan-friendly.
Feel free to explore these variations to make the healthy chocolate zucchini bread your own.
Storage Info
Short-term Storage
To keep your Healthy Chocolate Zucchini Bread fresh, store it in an airtight container. You can place it in the pantry or the fridge. If you choose the pantry, the bread stays best for about three days. In the fridge, it can last up to a week. To keep it moist, wrap it tightly in plastic wrap before placing it in the container.
Long-term Storage
For longer storage, freezing is your best bet. Slice the bread into individual pieces and wrap each slice in plastic wrap. Then, place the wrapped slices in a freezer bag. This method helps keep the bread fresh and easy to grab. When you’re ready to enjoy it, simply take a slice out and let it thaw at room temperature. For the best texture, you can also warm it in the oven for a few minutes.
Shelf Life
At room temperature, the Healthy Chocolate Zucchini Bread lasts about three days. When refrigerated, it can stay fresh for up to a week. If you freeze it, you can expect the bread to last for about three months. This makes it a great option for meal prep or a quick treat later on.
FAQs
Common Questions
Can I use frozen zucchini for this recipe?
Yes, you can use frozen zucchini. Just thaw it first and drain any extra water. Frozen zucchini will work well, but fresh is best.
How can I tell if the bread is done baking?
To check if it’s done, insert a toothpick in the center. If it comes out clean, the bread is ready. If it has batter on it, bake for a few more minutes.
Health-related Questions
What are the health benefits of zucchini in baked goods?
Zucchini adds moisture while being low in calories. It also provides fiber, vitamins, and minerals. This makes your baked goods healthier without losing flavor.
Is this recipe suitable for diabetic diets?
This recipe can fit into a diabetic diet if you control portion sizes. Use maple syrup or honey wisely to keep sugars balanced. Always consult a doctor for personal advice.
Recipe Adjustments
Can I reduce the sugar in this recipe?
Yes, you can cut the sugar down. Try using half the amount, or replace some with mashed banana for natural sweetness.
How to make a smaller or larger batch of healthy chocolate zucchini bread?
To adjust the batch size, simply halve or double the ingredients. Keep the baking time the same for a larger loaf, but start checking for doneness a bit earlier.
This blog post covered how to make healthy chocolate zucchini bread. We explored ingredients, baking steps, and tips for success. You learned about substitutions, variations in flavor and texture, and how to store your bread for freshness.
Keep experimenting with ingredients and flavors. Each tweak offers a new way to enjoy this treat. With practice, you’ll master this recipe and impress anyone who tastes it. Enjoy baking your healthy chocolate zucchini bread!


