Looking for a tasty side dish that will impress everyone? Honey Garlic Glazed Carrots are a must-try! This dish combines sweet honey with savory garlic for a burst of flavor. It’s quick to make and perfect for any meal. I’ll guide you through simple steps, share helpful tips, and suggest ways to personalize this recipe. Get ready to elevate your dinner with these mouthwatering glazed carrots!
Ingredients
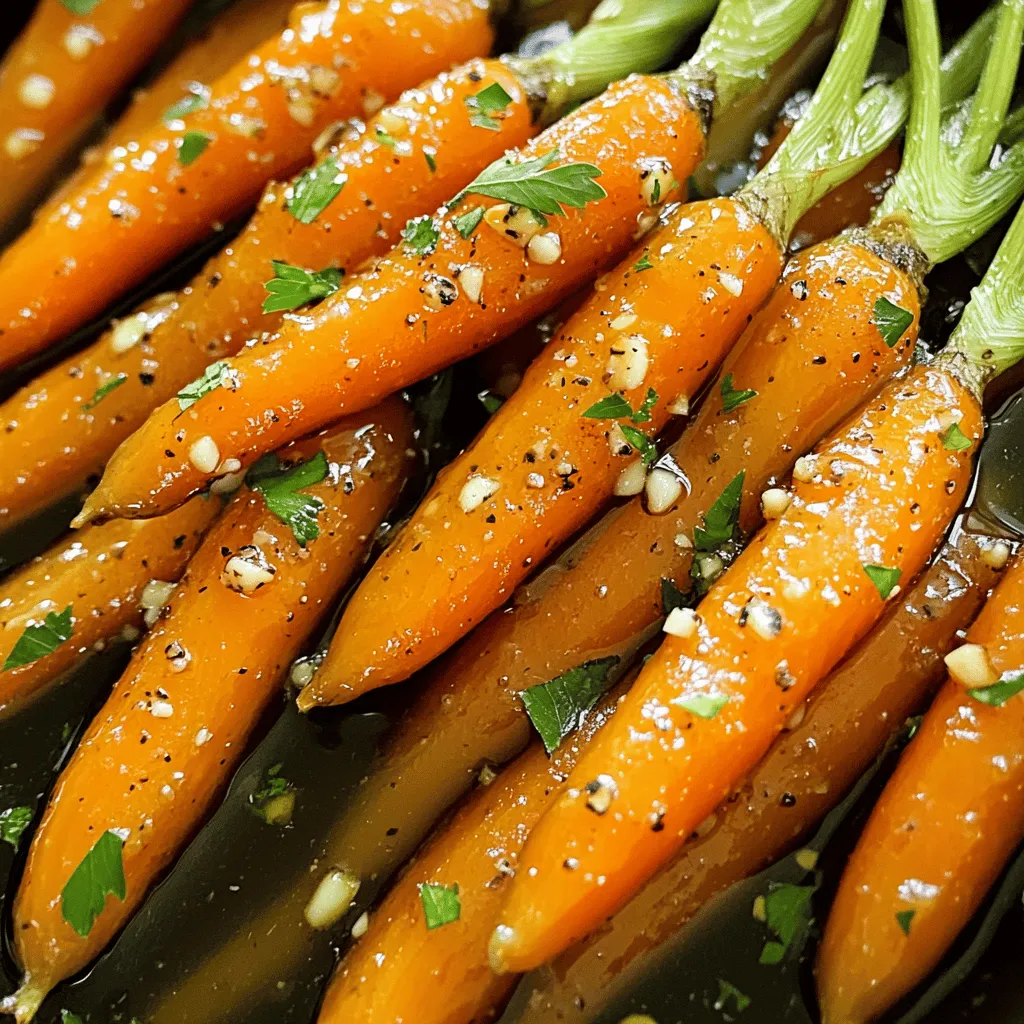
List of Ingredients for Honey Garlic Glazed Carrots
To make these tasty honey garlic glazed carrots, you will need:
– 1 lb baby carrots (or chopped regular carrots)
– 3 tablespoons honey
– 2 tablespoons unsalted butter
– 2 cloves garlic, minced
– 1 tablespoon fresh ginger, grated
– Salt and pepper to taste
– 2 tablespoons chopped fresh parsley (for garnish)
Key Ingredient Tips
When choosing carrots, fresh is best. Look for firm, bright orange baby carrots. If using regular carrots, pick ones that are smooth and free of blemishes. The honey adds sweetness, while the garlic and ginger bring depth. For a richer flavor, use high-quality unsalted butter. This way, you control the salt level in your dish.
Optional Ingredients for Enhanced Flavor
For extra flavor, consider adding a splash of soy sauce or a pinch of red pepper flakes. These can give your dish a savory boost. You might also enjoy adding a squeeze of lemon juice for brightness. Another fun option is to mix in some chopped nuts, like walnuts or pecans, for crunch. Each of these additions can elevate your honey garlic glazed carrots even more.
Step-by-Step Instructions
Detailed Cooking Process
To make honey garlic glazed carrots, start by preparing your carrots. If using regular carrots, wash and peel them first. If you have baby carrots, just rinse them well.
Next, grab a large skillet and melt the butter over medium heat. Watch for it to foam, which means it’s ready. Add the minced garlic and grated ginger. Sauté these for 1-2 minutes, until they smell amazing, but don’t let them brown.
Now, mix in the honey. Stir it well with the garlic and ginger. This will create a lovely glaze. Then, add your carrots to the skillet. Toss them in the honey garlic mixture so they get coated evenly.
Season with salt and pepper. Turn the heat down to low and cover the skillet. Let the carrots cook for about 10-15 minutes. Stir them every few minutes until they are tender.
Once they are soft, take off the lid. Increase the heat back to medium. Sauté for an extra 2-3 minutes to let the glaze get a bit sticky.
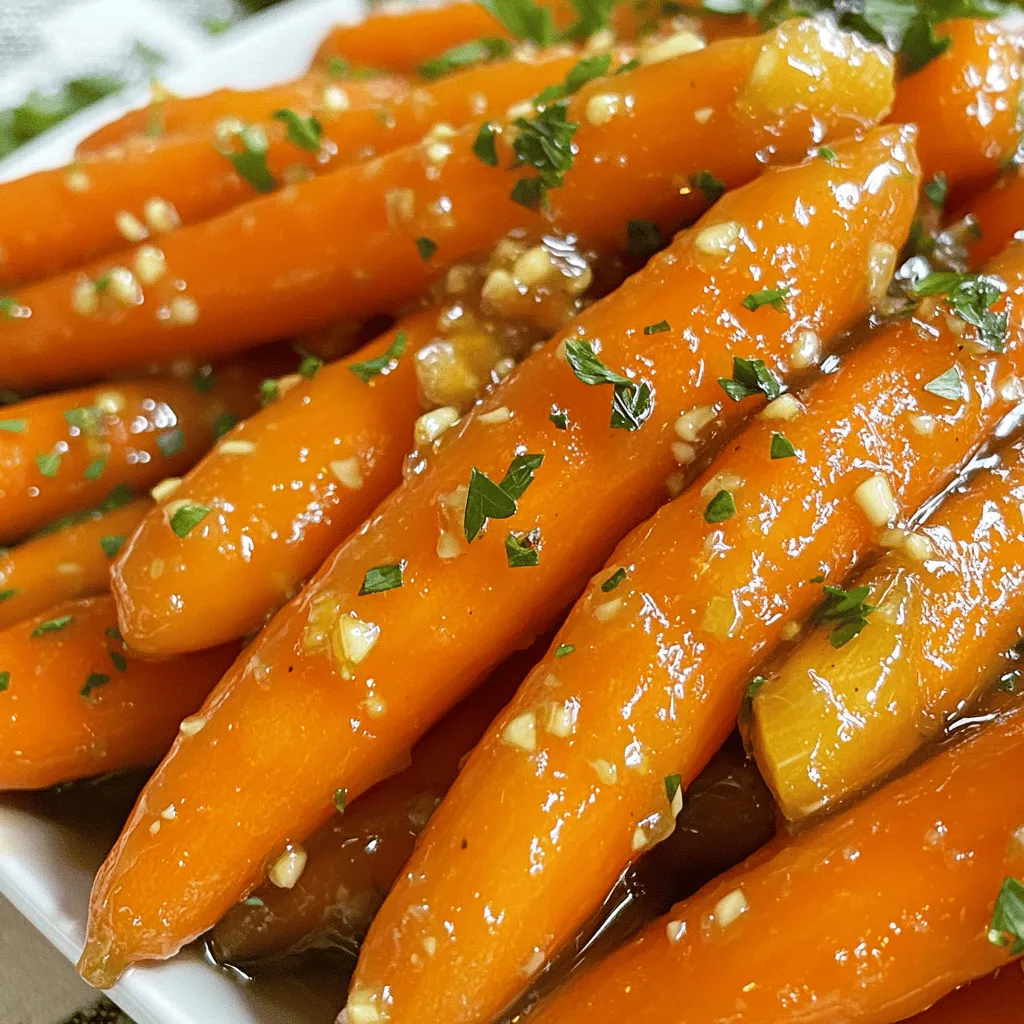
Finally, remove the skillet from heat. Transfer the glazed carrots to a serving dish. Don’t forget to garnish with fresh parsley for a bright touch.
Tips for Beginners
Using fresh ingredients makes a big difference. Choose fresh carrots and garlic for more flavor.
If you find the glaze too thick, add a splash of water to loosen it up. When sautéing garlic, keep an eye on it. Burnt garlic can make the dish taste bitter.
If you prefer a sweeter flavor, add a bit more honey. Always taste as you go to adjust flavors to your liking.
Cooking Time Breakdown
– Prep Time: 10 minutes
– Cooking Time: 15 minutes
– Total Time: 25 minutes
This means you can whip up a delicious side in no time!
Tips & Tricks
Perfecting the Glaze
To make the glaze perfect, keep an eye on the heat. Start with medium heat to melt the butter. Then, add garlic and ginger carefully. Sauté just until you smell the aroma. This step is key for flavor. After adding honey, mix well to coat all the carrots. Keep stirring gently so nothing sticks or burns. As you finish, raise the heat to caramelize the glaze. This gives a rich, shiny coating.
Common Mistakes to Avoid
Don’t rush the cooking time. If the carrots are not tender, your glaze won’t stick. Make sure to cover the skillet at low heat. This helps the carrots cook evenly. Another mistake is not tasting your glaze. Always check the flavor before serving. If it’s too sweet, add a pinch of salt. If it’s bland, a dash of pepper can make a difference.
Flavor Enhancements and Pairings
For extra flavor, try adding lemon juice or zest. This brightens the dish and balances the sweetness. You can also use herbs like thyme or rosemary. They add a nice earthy tone. Honey garlic glazed carrots pair well with roasted meats. Think chicken or pork for a great meal. You can also serve them with grains like quinoa or rice. These side dishes complement the sweet glaze perfectly.
Variations
Substituting Ingredients
You can make changes to the recipe based on what you have at home. Here are some easy swaps:
– For a deeper flavor, try using maple syrup instead of honey.
– Use olive oil instead of butter for a dairy-free option.
– If you don’t have fresh ginger, ground ginger works too. Just use less, about half a teaspoon.
Vegan and Gluten-Free Options
This dish can fit many diets. To make it vegan, replace honey with agave syrup. Use coconut oil instead of butter for a plant-based fat. For gluten-free eaters, this recipe is safe as it uses no gluten-containing products.
Creative Additions to the Recipe
Get creative with your carrots! Here are some fun ideas to try:
– Add a pinch of red pepper flakes for a spicy kick.
– Toss in some sliced bell peppers for color and crunch.
– Top with toasted sesame seeds for extra texture and flavor.
– Mix in some chopped nuts, like walnuts or pecans, for a nutty twist.
Feel free to explore these options. Each variation can make your honey garlic glazed carrots unique and tasty.
Storage Info
How to Store Leftover Carrots
After enjoying your honey garlic glazed carrots, cool them down. Place them in an airtight container. Store it in the fridge. They will stay fresh for up to four days. If you plan to eat them later, make sure they are fully cooled before sealing.
Reheating Methods
To reheat, you have a few options. The best way is to use a skillet. Heat a little butter or oil over low heat. Add the carrots and stir until they are warm. This keeps the glaze nice. You can also use the microwave. Just place the carrots in a bowl and cover them. Heat for about one to two minutes, stirring halfway through.
Freezing Tips for Meal Prep
If you want to save some for later, freezing works great. First, let the carrots cool completely. Then, place them in a freezer-safe bag or container. Remove as much air as possible. These can last up to three months in the freezer. When you’re ready to eat, thaw them overnight in the fridge. Then, reheat using one of the methods above. This way, you can enjoy this tasty side any time.
FAQs
How long do honey garlic glazed carrots last in the refrigerator?
Honey garlic glazed carrots can last up to five days in the fridge. Be sure to store them in an airtight container. This keeps them fresh and tasty. When ready to eat, just reheat them on the stove or in the microwave.
Can I use regular carrots instead of baby carrots?
Yes, you can use regular carrots! Just chop them into bite-sized pieces. Baby carrots are great for quick prep. Regular carrots offer a richer flavor. Either way, you will enjoy this dish.
What dishes pair well with honey garlic glazed carrots?
Honey garlic glazed carrots pair well with many dishes. They complement roasted chicken or grilled salmon nicely. You can also serve them with rice or quinoa for a balanced meal. Their sweet and savory notes work well with many flavors.
In this blog post, we explored how to make honey garlic glazed carrots. We covered the ingredients, cooking steps, and useful tips. I shared ways to enhance flavor and avoid mistakes. You can also find storage tips and variations for dietary needs.
These carrots make a sweet and savory side dish. With these keys, you can impress friends and family. Happy cooking, and enjoy your tasty creation!


