Are you ready for a refreshing treat? My Honey Lime Fruit Salad is the perfect blend of sweet and tangy flavors. It’s easy to make, and you can customize it to your taste. Whether you enjoy it as a light snack or a colorful side at your next gathering, this dish is sure to impress. Let’s dive into the simple steps and tips to create this healthy delight!
Ingredients
List of Ingredients
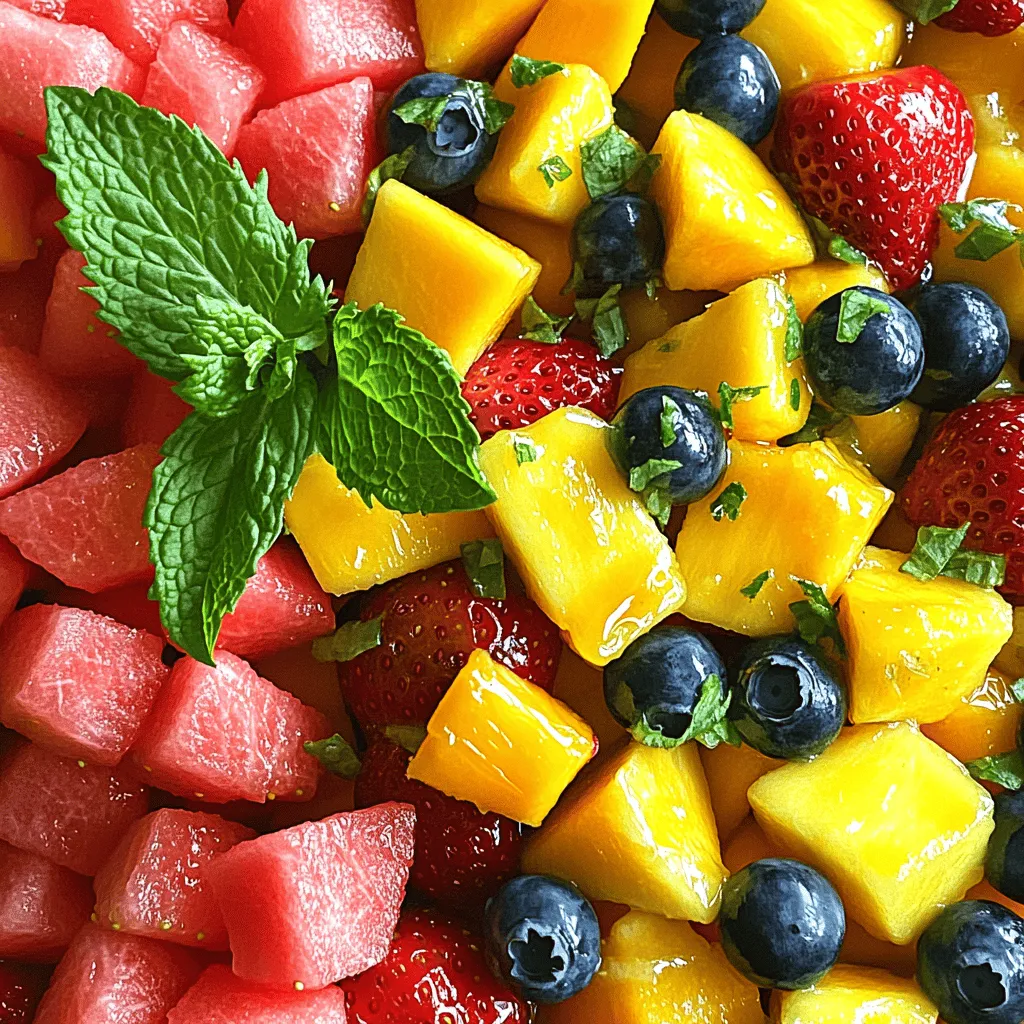
To make a tasty Honey Lime Fruit Salad, you need the following ingredients:
– 2 cups diced watermelon
– 1 cup diced pineapple
– 1 cup diced mango
– 1 cup sliced strawberries
– 1 cup blueberries
– 1 tablespoon honey
– 2 tablespoons fresh lime juice
– 1 teaspoon lime zest
– Fresh mint leaves for garnish
These ingredients create a colorful and refreshing dish. Each fruit adds its unique flavor and texture. You can also personalize your salad with optional ingredients. Consider adding:
– Kiwi for extra zing
– Grapes for sweetness
– Chopped nuts for crunch
– A sprinkle of cinnamon for warmth
Feel free to mix and match based on what you have at home. Remember, the more colorful your salad, the more fun it will be to eat!
Step-by-Step Instructions
Preparation of Ingredients
To make a great Honey Lime Fruit Salad, start by dicing and slicing your fruits. Here’s how:
– Watermelon: Cut the melon in half. Use a sharp knife to slice it into strips. Then, dice those strips into small cubes.
– Pineapple: Cut off the top and bottom. Stand it up and slice off the skin. Remove the core and dice the fruit.
– Mango: Slice the mango around the pit. Cut the flesh into cubes while still in the skin. Then scoop it out.
– Strawberries: Remove the green tops. Slice them from top to bottom.
– Blueberries: These are easy! Just rinse them well under cold water.
For freshness, always pick ripe fruits. Check for bright colors and a sweet smell. This ensures your salad has the best flavor.
Mixing the Salad
Now it’s time to combine the fruits. In a large mixing bowl, add all your diced and sliced fruits together. Gently stir them to mix well.
Next, let’s make the honey-lime dressing. In a small bowl, whisk these together until smooth:
– 1 tablespoon honey
– 2 tablespoons fresh lime juice
– 1 teaspoon lime zest
Pour this honey-lime mixture over the fruit in the mixing bowl.
Final Touches
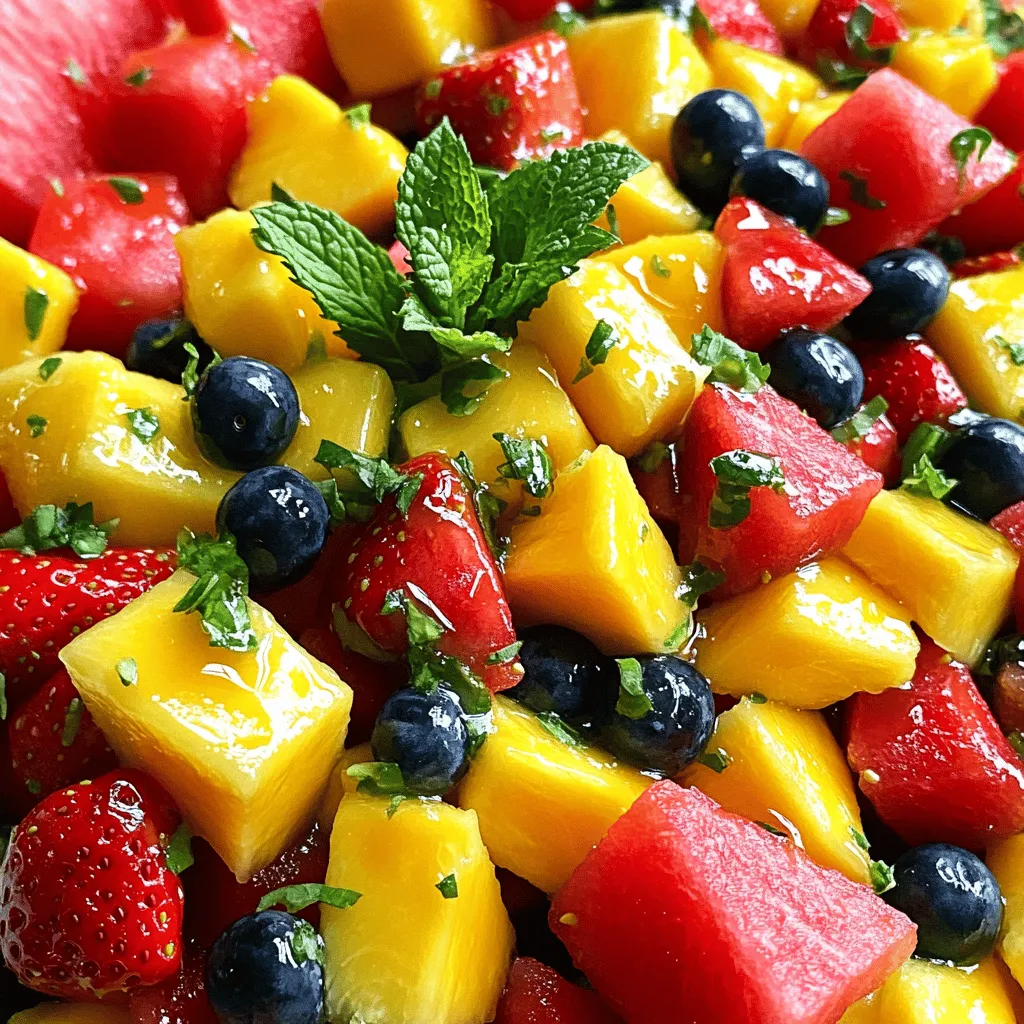
Gently toss the fruit salad. You want every piece to be coated with the dressing. Be careful not to mash the fruit; you want it to stay whole.
Let the salad sit for about 10 minutes. This resting time helps the flavors blend. Before serving, add fresh mint leaves on top for a pretty touch.Enjoy your refreshing and healthy dish!
Tips & Tricks
Best Practices for Making Honey Lime Fruit Salad
To make the best Honey Lime Fruit Salad, start with ripe fruits. Ripe fruits taste sweeter. Look for watermelons that feel heavy and have a uniform color. Choose pineapples that smell sweet at the base. Mangoes should give slightly when pressed. Strawberries should be bright red with no white spots. Blueberries should be plump and firm.
Avoid over-mixing the salad. If you toss too hard, fruits can break apart. Gently mix the fruits and dressing. This keeps the salad looking fresh and colorful. Let it sit for about ten minutes after mixing. This helps the flavors blend nicely.
Serving Suggestions
For serving, use a clear glass bowl. This lets the colors shine through. You can also serve it in hollowed-out fruits like oranges or pineapples. It adds a fun twist!
Pair this salad with grilled chicken or fish. It works great for picnics, barbecues, or brunch. You can even serve it as a light dessert. Kids love it too!
Dietary Modifications
You can make this salad vegan by skipping the honey. Use maple syrup or agave nectar instead. Both options give a nice sweetness.
For low-sugar choices, reduce the honey or syrup even more. You can also try using sugar-free sweeteners. They work well without changing the taste.
Variations
Seasonal Fruit Variations
You can change the fruits based on the season. In summer, use juicy peaches or nectarines. In fall, try crisp apples or pears. Mixing in nuts or granola can add a nice crunch. Almonds or walnuts work great. You can also sprinkle in some granola for extra texture. This makes your salad not just tasty, but also fun to eat.
International Flavors
To give your salad a new twist, add some spices. A pinch of chili powder can bring a nice kick. If you prefer a warm taste, try adding fresh ginger. For a citrus boost, mix in orange or grapefruit. These small changes can create exciting flavors. You will be surprised by how different your fruit salad can taste.
Unique Presentation Ideas
How you serve the salad can impress your guests. You can hollow out a melon or pineapple to hold the fruit. This makes for a beautiful serving dish. Another fun idea is to layer the salad in a trifle dish. This creates a colorful display. Your guests will love the look and taste of your Honey Lime Fruit Salad!
Storage Info
How to Store Leftover Fruit Salad
To keep your honey lime fruit salad fresh, store it in the fridge. Use a clean, airtight container to prevent air from spoiling the fruit. This method helps keep the flavors vibrant and the fruits crisp. Aim to eat the salad within three days for the best taste.
Freezing Options
Can you freeze fruit salad? Yes, but it’s tricky. Freezing changes the texture of fruits. If you choose to freeze it, do so without the dressing. Pack the fruit tightly in a freezer-safe bag, removing as much air as possible. To defrost, place the bag in the fridge overnight. This slow method helps maintain some texture.
Signs of Spoilage
How can you tell when the salad is no longer fresh? Look for signs of mushiness or off-smells. If the fruit looks dull or has excessive liquid, it’s time to toss it. For safety, do not eat spoiled food. Always trust your senses to ensure your meals are safe and tasty.
FAQs
How to make Honey Lime Fruit Salad?
To make Honey Lime Fruit Salad, follow these steps:
1. Gather your fruits. You need watermelon, pineapple, mango, strawberries, and blueberries.
2. Dice the watermelon, pineapple, and mango into bite-sized pieces. Slice the strawberries.
3. In a large bowl, mix all the fruits together.
4. In a smaller bowl, whisk 1 tablespoon of honey, 2 tablespoons of lime juice, and 1 teaspoon of lime zest.
5. Pour the honey-lime mix over the fruits.
6. Gently toss the fruits to coat them in the dressing.
7. Let it rest for about 10 minutes. This helps the flavors mix.
8. Add fresh mint leaves on top before serving.
This simple process makes a bright and tasty dish in just 25 minutes.
What fruits can be used in Honey Lime Fruit Salad?
You can use many fruits in this salad. Here are some great options:
– Apples for a crunch.
– Kiwi for a tangy twist.
– Grapes for added sweetness.
– Oranges for a juicy burst.
Feel free to mix and match based on what you like or have at home!
Can I make this salad ahead of time?
Yes, you can prepare this salad ahead of time.
– Make it up to 2 hours before serving.
– Keep it in the fridge to stay fresh.
– If you make it too early, the fruits might get mushy.
Toss the salad just before serving to keep it crisp.
This blog post has covered everything you need for a tasty Honey Lime Fruit Salad. We started with key ingredients and clear steps for prep and mixing. I shared tips to enhance freshness and how to serve it well. We explored variation ideas to keep it exciting, and I gave you storage tips for leftovers. Remember, this salad is fun to make and customize. Enjoy the fresh tastes, and don’t hesitate to experiment with your favorites!


