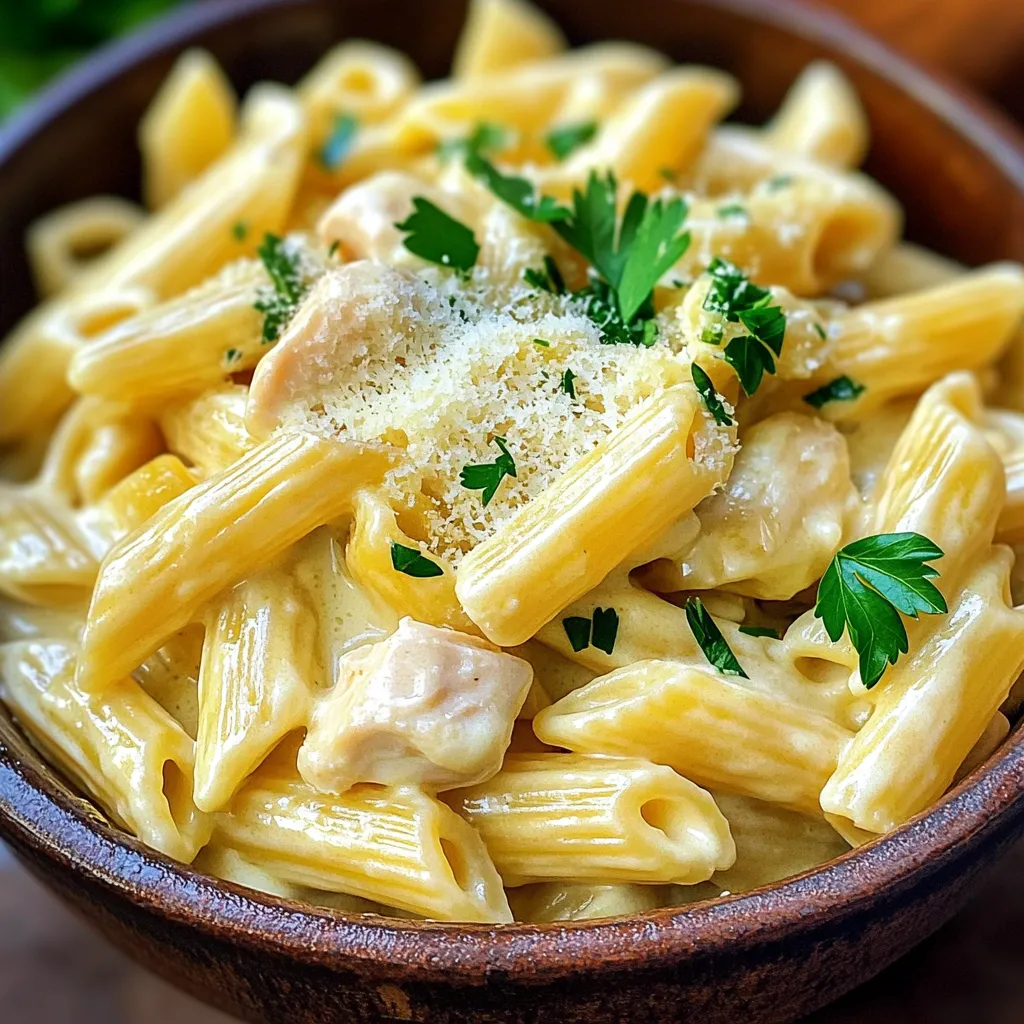
Looking for a quick and creamy dinner recipe? You’ve found it! My Instant Pot Creamy Chicken Parmesan Pasta Delight is easy and full of flavor. Picture tender chicken and delicious pasta cooked in a rich, cheesy sauce—all in one pot! In this article, I’ll share the simple ingredients, step-by-step instructions, and tips to make your cooking a breeze. Let’s dive in and transform dinnertime into a delight!
Ingredients
List of Ingredients
– 2 tablespoons olive oil
– 1 pound boneless, skinless chicken breasts, cut into bite-sized pieces
– 1 teaspoon garlic powder
– 1 teaspoon onion powder
– Salt and pepper, to taste
– 2 cups low-sodium chicken broth
– 12 ounces penne pasta (or pasta of choice)
– 1 cup heavy cream
– 1 cup grated Parmesan cheese
– 1 teaspoon dried Italian herbs (basil, oregano, etc.)
– Fresh parsley, chopped (for garnish)
Gather these ingredients before you start cooking. The olive oil helps to cook the chicken and adds flavor. Boneless, skinless chicken breasts are easy to cut and cook quickly. Garlic powder and onion powder add great taste without much fuss. Salt and pepper are key for seasoning. Low-sodium chicken broth keeps the dish light.
Next, you’ll need penne pasta. It holds the creamy sauce well and cooks perfectly in the Instant Pot. Heavy cream gives the dish its rich creaminess. Grated Parmesan cheese adds a delightful cheesy flavor. Dried Italian herbs bring in classic Italian taste. Lastly, fresh parsley is perfect for a splash of color and flavor on top.
With these ingredients, you can create a delicious meal in no time!
Step-by-Step Instructions
Sautéing the Chicken
– Turn on the Instant Pot and select the Sauté function.
– Add 2 tablespoons of olive oil.
– Once the oil is hot, add 1 pound of boneless, skinless chicken breasts cut into pieces.
– Season the chicken with 1 teaspoon of garlic powder, 1 teaspoon of onion powder, salt, and pepper.
– Cook the chicken for 5 to 7 minutes until it is browned but not fully cooked.
Cooking the Pasta
– Pour in 2 cups of low-sodium chicken broth.
– Add 12 ounces of penne pasta or any pasta you like.
– Make sure the pasta is fully submerged in the broth.
– Close the lid and set the valve to the sealing position.
Pressure Cooking Process
– Select the Manual or Pressure Cook function.
– Set the timer for 4 minutes.
– After cooking, quickly release the pressure to stop the cooking.
Final Steps
– Carefully open the lid of the Instant Pot.
– Stir in 1 cup of heavy cream, 1 cup of grated Parmesan cheese, and 1 teaspoon of dried Italian herbs.
– Mix well until the cheese melts and the dish becomes creamy.
– Taste the pasta and adjust the seasoning as needed with more salt or pepper.
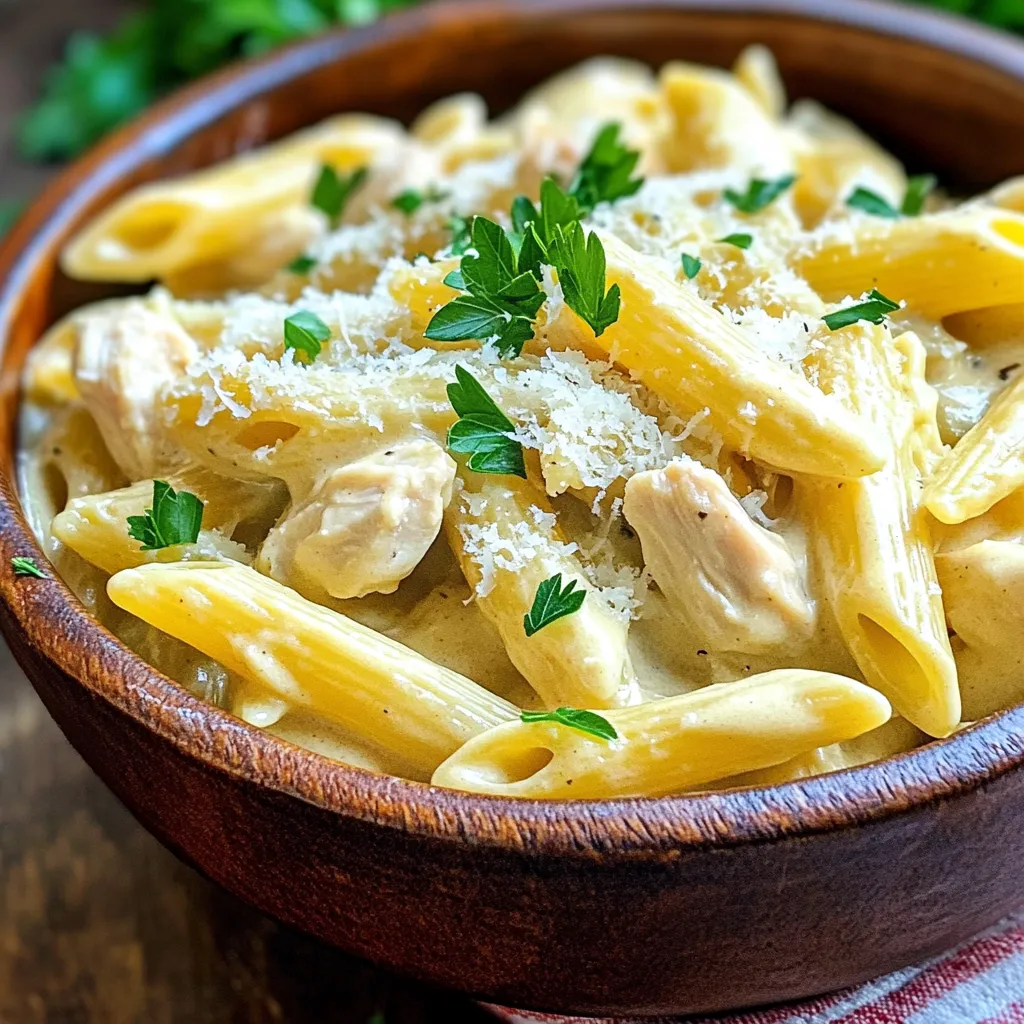
– Serve the creamy chicken Parmesan pasta in bowls.
– Garnish with fresh chopped parsley for a burst of color and flavor.
Tips & Tricks
Perfecting the Creaminess
To get that perfect creamy texture, use heavy cream. Start by adding it after cooking. This keeps it smooth and rich. Stir it in slowly to let it blend well with the pasta.
When adding cheese, do it gradually. Start with a little, then mix it in. This helps the cheese melt evenly. It also keeps the sauce from getting too thick.
Customizing Flavors
You can spice up your dish with extra seasonings. Try adding red pepper flakes for heat or fresh basil for a burst of flavor. Each addition brings new tastes to the pasta.
For a nutrition boost, add vegetables. Spinach, bell peppers, or peas work great. Just toss them in during the last few minutes of cooking. They’ll cook quickly and add color and health.
Adjusting Cooking Times
Cooking times can change based on pasta type. For whole grain or gluten-free pasta, you may need more time. Always check the package for specific cooking times.
If you want to make a larger batch, increase the cooking time slightly. A few extra minutes ensures everything cooks through. Remember, the Instant Pot makes it easy, so you can enjoy more pasta!
Variations
Alternative Proteins
You can use chicken thighs instead of breasts. Thighs have more fat, giving you a richer taste. They stay juicy and tender in the Instant Pot. For a different twist, try shrimp or tofu. Shrimp cooks fast and adds a seafood flavor. Tofu is a great plant-based option that absorbs all the sauce’s flavor.
Different Pasta Choices
You can swap penne for gluten-free or whole grain pasta. These options keep the dish healthy and tasty. If you want to play with shapes, use fusilli or farfalle. These shapes hold sauce well and make for a fun presentation.
Sauce Variations
If you want a lighter sauce, use less cream. You can also mix in some vegetable broth for a fresh taste. For a tangy twist, add tomato sauce. This will brighten up the dish and give it a new flavor profile. Mixing in some diced tomatoes can also add texture and extra nutrients.
Storage Info
Storing Leftovers
To keep your creamy pasta fresh, place it in an airtight container. Make sure to let it cool first. Store it in the refrigerator for up to three days. The creamy texture makes it easy to reheat.
Freezing Options
If you want to freeze the pasta, put it in a freezer-safe container. Leave some space at the top for expansion. It stays good for about three months. To reheat, thaw it in the fridge overnight. Warm it on the stove over low heat. Add a splash of cream to keep it creamy.
Meal Prep Suggestions
You can prepare ingredients ahead for quick meals. Chop the chicken and mix the spices. Store them in separate containers in the fridge. For easy portioning, divide the cooked pasta into meal prep boxes. This way, you can grab a meal anytime.
FAQs
How do I prevent the pasta from sticking together?
To stop the pasta from sticking, use oil and broth wisely. When you add the penne pasta, make sure it is fully submerged in the broth. This helps it cook evenly. Adding a tablespoon of olive oil can also help. The oil coats the pasta, reducing stickiness. Stir the pasta gently when you first add it. This small step makes a big difference.
Can I make this recipe in advance?
Yes, you can make this recipe ahead of time. Cook the creamy chicken parmesan pasta and let it cool. Store it in an airtight container in the fridge. This dish stays fresh for up to three days. When you’re ready to eat, reheat it on the stove. Add a splash of chicken broth to keep it creamy. This way, your meal will taste just as good.
What can I substitute for heavy cream?
If you want a lighter dish, there are great substitutes for heavy cream. You can use half-and-half for a similar texture. Another option is to use whole milk mixed with a tablespoon of flour. This mix creates creaminess without all the fat. For a dairy-free choice, try coconut milk. It gives a nice flavor and works well in this recipe.
In this post, we explored a simple and tasty creamy chicken parmesan pasta. You learned how to sauté chicken, cook pasta, and create a rich sauce. We also shared tips for customizing flavors and variations, plus storage info for leftovers.
Always aim for the right texture and a balance of flavors. Whether you try different proteins or pasta shapes, make it your own. Enjoy cooking and impress yourself with this easy dish!


