Are you ready to spice up your next meal with a twist on a classic? This Jalapeño Cheddar Cornbread is both flavorful and simple to make. With just a few ingredients and easy steps, you can enjoy a warm, cheesy cornbread that has the perfect kick. Whether it’s a family dinner or a cozy night in, this recipe will impress your taste buds and elevate your plate. Let’s get baking!
Why I Love This Recipe
- Bold Flavor Combination: The mix of spicy jalapeños and sharp cheddar creates a delightful kick that elevates traditional cornbread.
- Quick and Easy: This recipe comes together in just 10 minutes of prep time, making it perfect for a last-minute side dish.
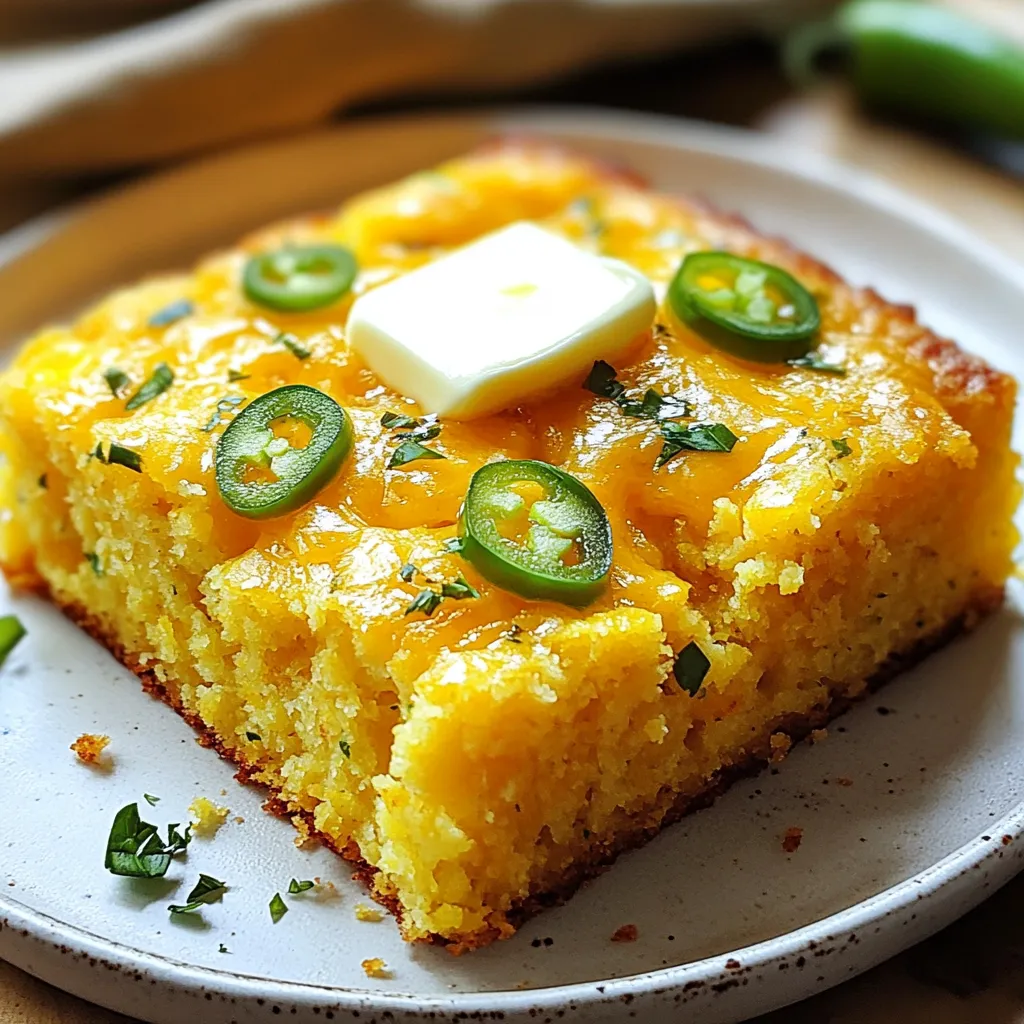
- Versatile Serving Options: Enjoy it warm with butter, or drizzle with honey for a sweet contrast to the spice.
- Perfect for Any Occasion: This cornbread pairs beautifully with everything from chili to barbecue, making it a staple for gatherings.
Ingredients
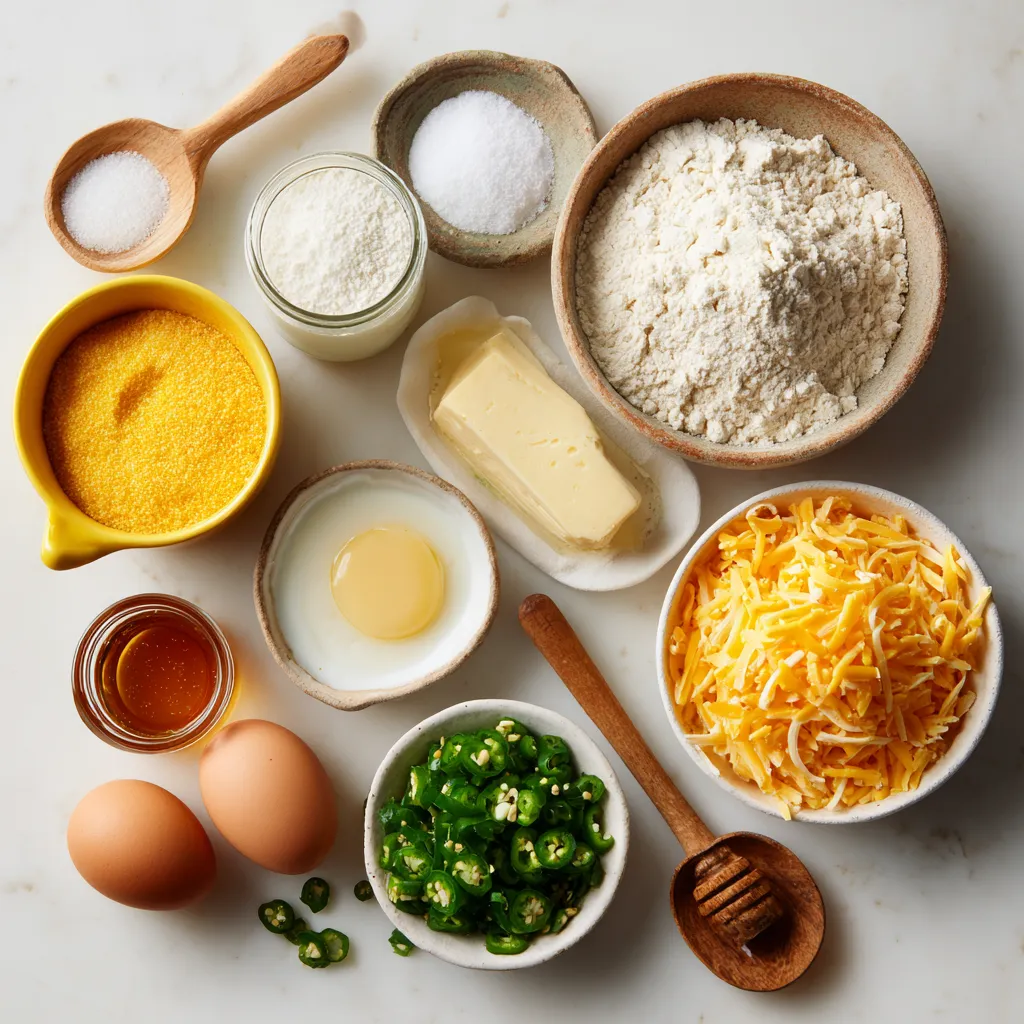
List of Ingredients
– 1 cup cornmeal
– 1 cup all-purpose flour
– 1 tablespoon baking powder
– ½ teaspoon salt
– ½ teaspoon baking soda
– 2 large eggs
– 1 cup buttermilk (or milk with 1 tablespoon lemon juice)
– ¼ cup unsalted butter, melted
– 1 cup sharp cheddar cheese, shredded
– 1-2 jalapeños, finely chopped (adjust for spice preference)
– 2 tablespoons honey (optional)
These ingredients come together to create a tasty cornbread. Each one plays an important role in flavor and texture.
Substitutions for Common Ingredients
If you want to make a few swaps, you can. Here are some ideas:
– Cornmeal: You can use polenta or masa harina for a different texture.
– All-Purpose Flour: Whole wheat flour works too, but it will change the taste.
– Buttermilk: Regular milk with lemon juice is a great substitute. You can also use yogurt or a plant-based milk.
– Unsalted Butter: Use olive oil or coconut oil if you prefer a dairy-free option.
– Sharp Cheddar: Any cheese you like can work. Pepper jack adds spice!
These substitutes let you adjust the recipe to fit your taste or what you have at home.
Tips for Selecting Fresh Jalapeños and Cheese
Choosing the right jalapeños and cheese makes a big difference. Here’s how you can select the best:
– Jalapeños: Look for firm peppers that are bright green. They should feel heavy for their size. Avoid any that are wrinkled or soft.
– Cheddar Cheese: Go for a block of cheese instead of pre-shredded. Block cheese melts better and tastes fresher. Look for cheese labeled “sharp” for a strong flavor.
With fresh ingredients, your cornbread will taste amazing!
Step-by-Step Instructions
Prepping the Oven and Baking Pan
First, set your oven to 400°F (200°C). This temperature helps the cornbread rise well. Next, grease an 8-inch square or round baking pan. You can use butter or cooking spray for this. Greasing the pan stops the cornbread from sticking.
Mixing the Dry Ingredients
In a large bowl, whisk together the dry ingredients. You need 1 cup of cornmeal, 1 cup of all-purpose flour, 1 tablespoon of baking powder, ½ teaspoon of salt, and ½ teaspoon of baking soda. Make sure these ingredients mix well. This step ensures your cornbread has a nice texture.
Combining Wet Ingredients
In another bowl, crack 2 large eggs and beat them. Add 1 cup of buttermilk, or make your own with regular milk and 1 tablespoon of lemon juice. Then, pour in ¼ cup of melted butter and 2 tablespoons of honey if you want a sweet touch. Mix these until they are smooth. The wet mix gives flavor and moisture.
Creating the Cornbread Batter
Now, pour the wet mixture into the dry bowl. Mix gently until just combined; it’s okay if the batter is a bit lumpy. Overmixing will make the cornbread tough. Then, fold in 1 cup of shredded sharp cheddar cheese and 1-2 finely chopped jalapeños. Adjust the jalapeños based on how spicy you want the cornbread to be.
Baking Instructions and Tips
Pour the batter into your prepared pan, spreading it out evenly. Bake your cornbread for 20-25 minutes. Check if it’s done by inserting a toothpick in the center. If it comes out clean, it’s ready! Once baked, take it out and let it cool for about 5 minutes. This cooling time helps with slicing. Serve warm, adding a pat of butter on top and some extra jalapeño slices for a pop of color. Enjoy this tasty twist on a classic dish!
Tips & Tricks
How to Achieve Moist Cornbread
To keep your cornbread moist, use buttermilk. Buttermilk adds richness and flavor. If you don’t have buttermilk, mix regular milk with lemon juice. Let it sit for five minutes to sour. This simple trick works well.
After mixing, don’t overmix the batter. Overmixing can make the cornbread dry. Stir gently until combined. A few lumps are okay. This keeps your cornbread light and fluffy.
Adjusting Spice Level with Jalapeños
Jalapeños add a nice kick. You can control the heat by adjusting the amount. Use one jalapeño for mild heat. For more spice, add two.
To lessen the heat, remove the seeds and ribs from the jalapeño. This part holds most of the spice. Finely chop the jalapeños to blend them well into the batter. This ensures even heat throughout.
Serving Suggestions and Additional Toppings
Serve your cornbread warm for the best taste. It pairs well with butter. Just add a pat on top and let it melt.
You can also offer honey on the side. A drizzle of honey adds a sweet touch. For a colorful look, garnish with extra jalapeño slices.
This cornbread works great with chili or soup. Enjoy it as a side dish to your favorite meals.
Pro Tips
- Use Fresh Jalapeños: Fresh jalapeños will provide the best flavor and heat. If available, opt for locally sourced ones for a fresher taste.
- Check Doneness: To ensure your cornbread is perfectly baked, insert a toothpick into the center; it should come out clean when done.
- Let It Rest: Allow the cornbread to cool for a few minutes before slicing. This will help it set and make it easier to cut.
- Experiment with Cheese: While sharp cheddar is excellent, try mixing in other cheeses like pepper jack or gouda for a unique flavor twist.
Variations
Adding Other Ingredients (e.g., Corn, Green Onions)
You can make this cornbread even better by adding fun extras. Sweet corn adds texture and a pop of sweetness. For a savory twist, toss in chopped green onions. These additions provide layers of flavor and a colorful look. You can use about 1 cup of fresh or frozen corn. For green onions, about ¼ cup, finely chopped, works well. Mix them into the batter with the jalapeños and cheese.
Gluten-Free Adaptation
If you need a gluten-free option, it’s easy! You can swap all-purpose flour with a gluten-free blend. Just ensure the blend includes xanthan gum. This will help maintain the cornbread’s texture. For the cornmeal, make sure it’s also gluten-free. Follow the same recipe for the rest of the ingredients. Your gluten-free cornbread will still be delicious and fluffy.
Vegan Option for Jalapeño Cheddar Cornbread
To make a vegan version, substitute eggs and dairy. Use flax eggs instead of regular eggs. Mix 1 tablespoon of ground flaxseed with 2.5 tablespoons of water, and let it sit for a few minutes. For the buttermilk, mix non-dairy milk with 1 tablespoon of vinegar or lemon juice. Use vegan butter in place of regular butter. For cheese, try a vegan cheddar alternative. This way, everyone can enjoy this tasty cornbread!
Storage Info
Best Storage Practices
To store your jalapeño cheddar cornbread, let it cool first. Once it’s cool, wrap it tightly in plastic wrap. You can also place it in an airtight container. This keeps it fresh and moist. Store it at room temperature for up to two days. For longer storage, freeze it.
Reheating Instructions
When you’re ready to enjoy your cornbread again, preheat your oven to 350°F (175°C). Remove the cornbread from its wrap. Place it in the oven for about 10-15 minutes. This warms it up nicely. You can also microwave it for 20-30 seconds. If you use the microwave, it may not stay as crispy.
How Long Does It Last in the Fridge or Freezer?
In the fridge, your cornbread lasts for about a week. Make sure it’s sealed well. In the freezer, it can last for up to three months. Just be sure to wrap it tightly to avoid freezer burn. When you’re ready to eat it, thaw it in the fridge overnight before reheating.
FAQs
Can I use regular milk instead of buttermilk?
Yes, you can use regular milk. To mimic buttermilk, add one tablespoon of lemon juice to one cup of milk. Let it sit for five minutes. This will give your cornbread the same tangy taste.
How can I make my cornbread spicier?
To add more heat, increase the number of jalapeños. You can also use spicier pepper varieties, like serrano or habanero. If you want a different flavor, try adding crushed red pepper flakes or cayenne pepper.
What dishes pair well with Jalapeño Cheddar Cornbread?
This cornbread goes well with chili and stews. It also complements soups like butternut squash or potato leek. For a fun twist, serve it with barbecue or grilled meats.
Can I make this in advance?
Yes, you can make cornbread a day ahead. Just store it in an airtight container at room temperature. To reheat, place it in the oven at 350°F for about 10 minutes. It will taste fresh and warm.
This blog explored how to make tasty Jalapeño Cheddar Cornbread. We covered key ingredients, fresh tips, and helpful substitutions. You learned about prep steps, mixing, and baking. We also shared tips for moist cornbread and ways to adjust spice levels. You can try fun variations and proper storage methods to keep it fresh.
Now you have everything needed to bake a delicious cornbread. Enjoy experimenting and sharing this dish at your next mea


