
Looking for a fresh, healthy dish that excites your taste buds? This Lemon Basil Chickpea Salad brings vibrant flavors and nutrients to your table. Packed with protein and bursting with zest, it’s easy to whip up and perfect for any meal. Whether you want a quick lunch or a side for dinner, this salad is versatile and delicious. Let’s dive into the simple steps and tips to make this dish shine!
Ingredients
Main Ingredients
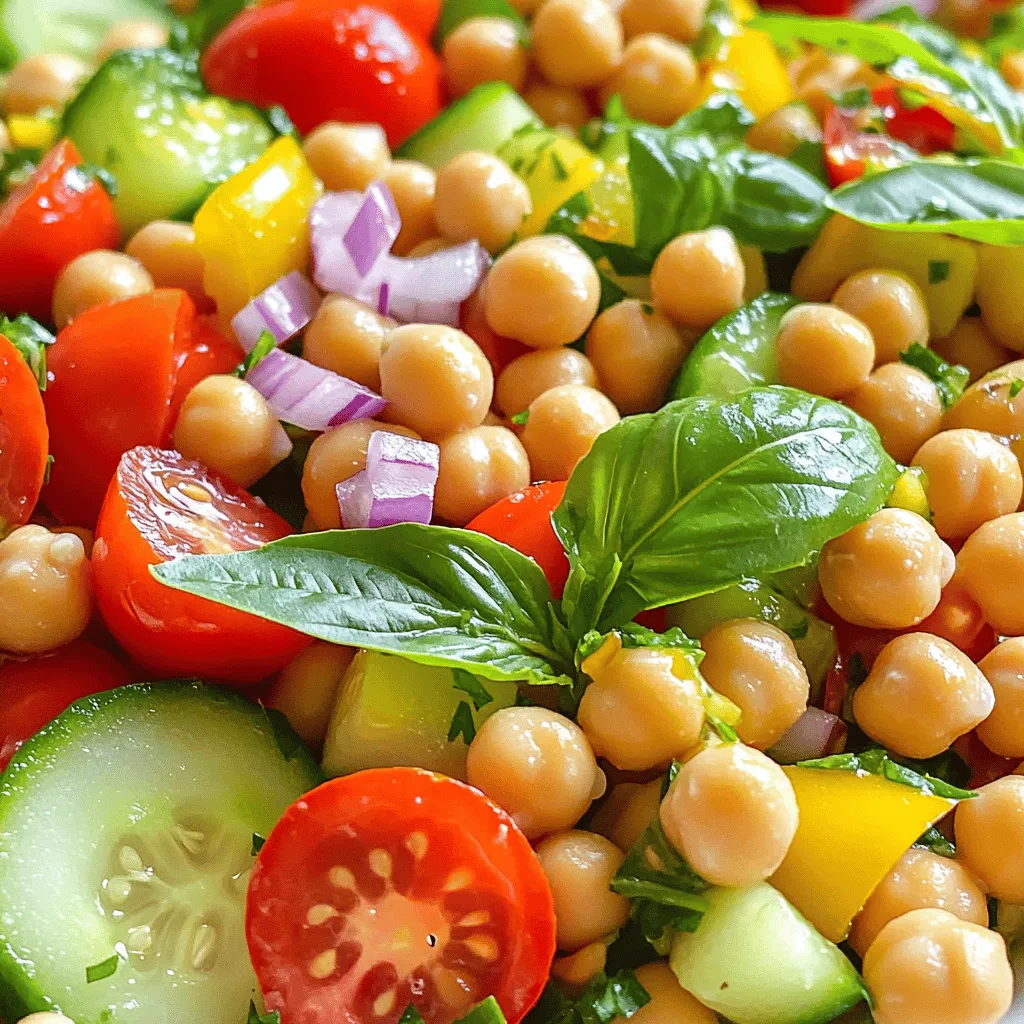
To make a refreshing Lemon Basil Chickpea Salad, you need the following:
– 1 can (15 oz) chickpeas, drained and rinsed
– 1 cup cherry tomatoes, halved
– 1 cucumber, diced
– 1 bell pepper (any color), diced
– 1/4 red onion, finely chopped
– 1/4 cup fresh basil leaves, chopped
– Juice of 1 lemon
– 3 tablespoons extra-virgin olive oil
– Salt and pepper to taste
– 1/4 teaspoon garlic powder
– 1/4 teaspoon red pepper flakes (optional)
When picking your produce, choose firm tomatoes and bright, crisp cucumbers. Look for bell peppers that feel heavy for their size. Fresh basil should smell sweet and look vibrant. These tips help ensure your salad shines with flavor.
Optional Ingredients
You can add extra flavor and texture to your salad with these options:
– Avocado, diced for creaminess
– Feta cheese, crumbled for a salty kick
– Olives, sliced for a briny touch
– Grilled corn for sweetness
Feel free to swap ingredients based on what’s in season. For example, use zucchini in summer or roasted butternut squash in fall. This flexibility makes the salad fun and fresh all year long.
Step-by-Step Instructions
Preparation Steps
To make the Lemon Basil Chickpea Salad, start with a large bowl. Combine the following ingredients:
– 1 can (15 oz) chickpeas, drained and rinsed
– 1 cup cherry tomatoes, halved
– 1 cucumber, diced
– 1 bell pepper (any color), diced
– 1/4 red onion, finely chopped
– 1/4 cup fresh basil leaves, chopped
Mix these well. The chickpeas add protein and texture. The tomatoes and cucumber bring freshness and crunch. The bell pepper adds color, while the onion gives a mild zing.
Once mixed, let’s prepare the dressing. You can serve the salad right away, but I suggest letting it sit for at least 10 minutes. This time helps the flavors blend nicely.
Dressing Preparation
For the dressing, grab a small bowl. Whisk together these ingredients:
– Juice of 1 lemon
– 3 tablespoons extra-virgin olive oil
– Salt and pepper to taste
– 1/4 teaspoon garlic powder
– 1/4 teaspoon red pepper flakes (optional)
The lemon juice gives a bright, tangy taste. Olive oil adds richness. Adjust the salt and pepper to your liking. If you want a kick, add the red pepper flakes.
Aim for a smooth blend in your dressing. Drizzle it over your salad and toss gently. Taste the salad and adjust seasoning if needed. Enjoy this vibrant dish fresh, or chill it for a refreshing bite.
Tips & Tricks
Serving Suggestions
You can pair Lemon Basil Chickpea Salad with many dishes. It goes well with grilled chicken or fish. You can also serve it with warm pita bread for a filling meal. For a light lunch, try it with a scoop of quinoa. When presenting the salad, use a large, bright bowl. This makes the colors pop and draws attention. Garnish with extra basil leaves or lemon slices for a fresh look.
Flavor Enhancement
Adjusting the seasonings can make this salad perfect for your taste. If you like more zest, add extra lemon juice. For added heat, sprinkle in more red pepper flakes. You can also mix in more garlic powder for a stronger flavor. If you have leftovers, store them in an airtight container. To enhance the flavors, let the salad rest for a bit before eating. Reheating is not usually needed, but you can warm it slightly if you prefer. Just be careful not to heat it too much, as the fresh veggies taste best cold.
Variations
Ingredient Swaps
You can easily switch up the vegetables in your Lemon Basil Chickpea Salad. Here are some ideas:
– Zucchini: Grate or dice it for a fresh crunch.
– Carrots: Shred them for a sweet touch.
– Corn: Add sweet corn for extra flavor and texture.
You can also swap out chickpeas for other legumes:
– Black beans: They add a rich, earthy taste.
– Lentils: These will make your salad even heartier.
For herbs, feel free to get creative:
– Mint: It gives a refreshing twist.
– Cilantro: Perfect if you love its bold flavor.
When it comes to dressings, you can personalize it:
– Balsamic vinaigrette: Adds a tangy sweetness.
– Greek yogurt dressing: For a creamy element.
Dietary Modifications
This salad is versatile for different diets. To make it vegan, simply ensure the dressing is plant-based. You can replace any non-vegan ingredients with plant-friendly options:
– Use nutritional yeast instead of cheese for a cheesy flavor without dairy.
For gluten-free needs, this salad is already safe! Just make sure any added ingredients are gluten-free.
To lower calories, skip the oil or use less. You can also add more veggies to bulk it up without extra calories.
If you want to boost protein, consider these options:
– Feta cheese: Crumble it on top for creamy richness.
– Grilled chicken: Adds heartiness and flavor.
With these variations, your Lemon Basil Chickpea Salad can fit any taste or diet.
Storage Info
Proper Storage Techniques
To keep your Lemon Basil Chickpea Salad fresh, store it in an airtight container. Glass containers work well, but plastic ones are fine too. Make sure the lid closes tightly. Place the salad in the fridge right away. This helps lock in flavors and keeps everything crisp.
If you have extra dressing, store it separately. This way, your salad won’t get soggy. When you’re ready to eat, simply drizzle the dressing over the salad and toss it again.
Shelf Life and Freshness
Your salad will stay fresh in the fridge for about three days. After that, the veggies may lose their crunch. Look for signs of spoilage. If the salad smells off or looks slimy, it’s time to toss it.
Make sure to check the basil too. If the leaves turn brown or wilt, it’s best to discard them. Enjoy your salad while it’s fresh for the best taste.
FAQs
Common Questions About Lemon Basil Chickpea Salad
What can I add to make this salad heartier?
You can add cooked quinoa or farro for more fiber. Chopped avocado adds creaminess. Grilled chicken or shrimp boosts protein.
Can I make this salad ahead of time?
Yes, you can make this salad ahead. It tastes even better after sitting for a while. Just store it in the fridge.
Is there a substitute for chickpeas in this recipe?
If you don’t have chickpeas, try black beans or cannellini beans. Both offer protein and a nice texture.
Nutritional Information
This salad is not just tasty; it’s healthy too. One serving has about 250 calories. It has 10 grams of fat and 12 grams of protein.
– Chickpeas provide protein and fiber.
– Tomatoes add vitamins and antioxidants.
– Cucumbers keep the salad light and refreshing.
– Basil offers flavor and has anti-inflammatory properties.
Cooking Tips
How to make the salad more flavorful?
To enhance the taste, add more lemon juice or fresh herbs. A pinch of cumin can also add depth.
Recommendation for preparing for meal prepping
When meal prepping, keep the dressing separate. This keeps the salad fresh and crisp. Store it in airtight containers for best results.
This blog post walked you through making a fresh and tasty Lemon Basil Chickpea Salad. We covered the main ingredients and tips for choosing the best produce. You learned how to make a flavorful dressing and plenty of serving ideas.
In conclusion, this salad is easy to customize for any diet and season. With proper storage, it stays fresh and tasty for days. Enjoy making this salad and share it with friends and family for a healthy treat!


